The Restoration Progress
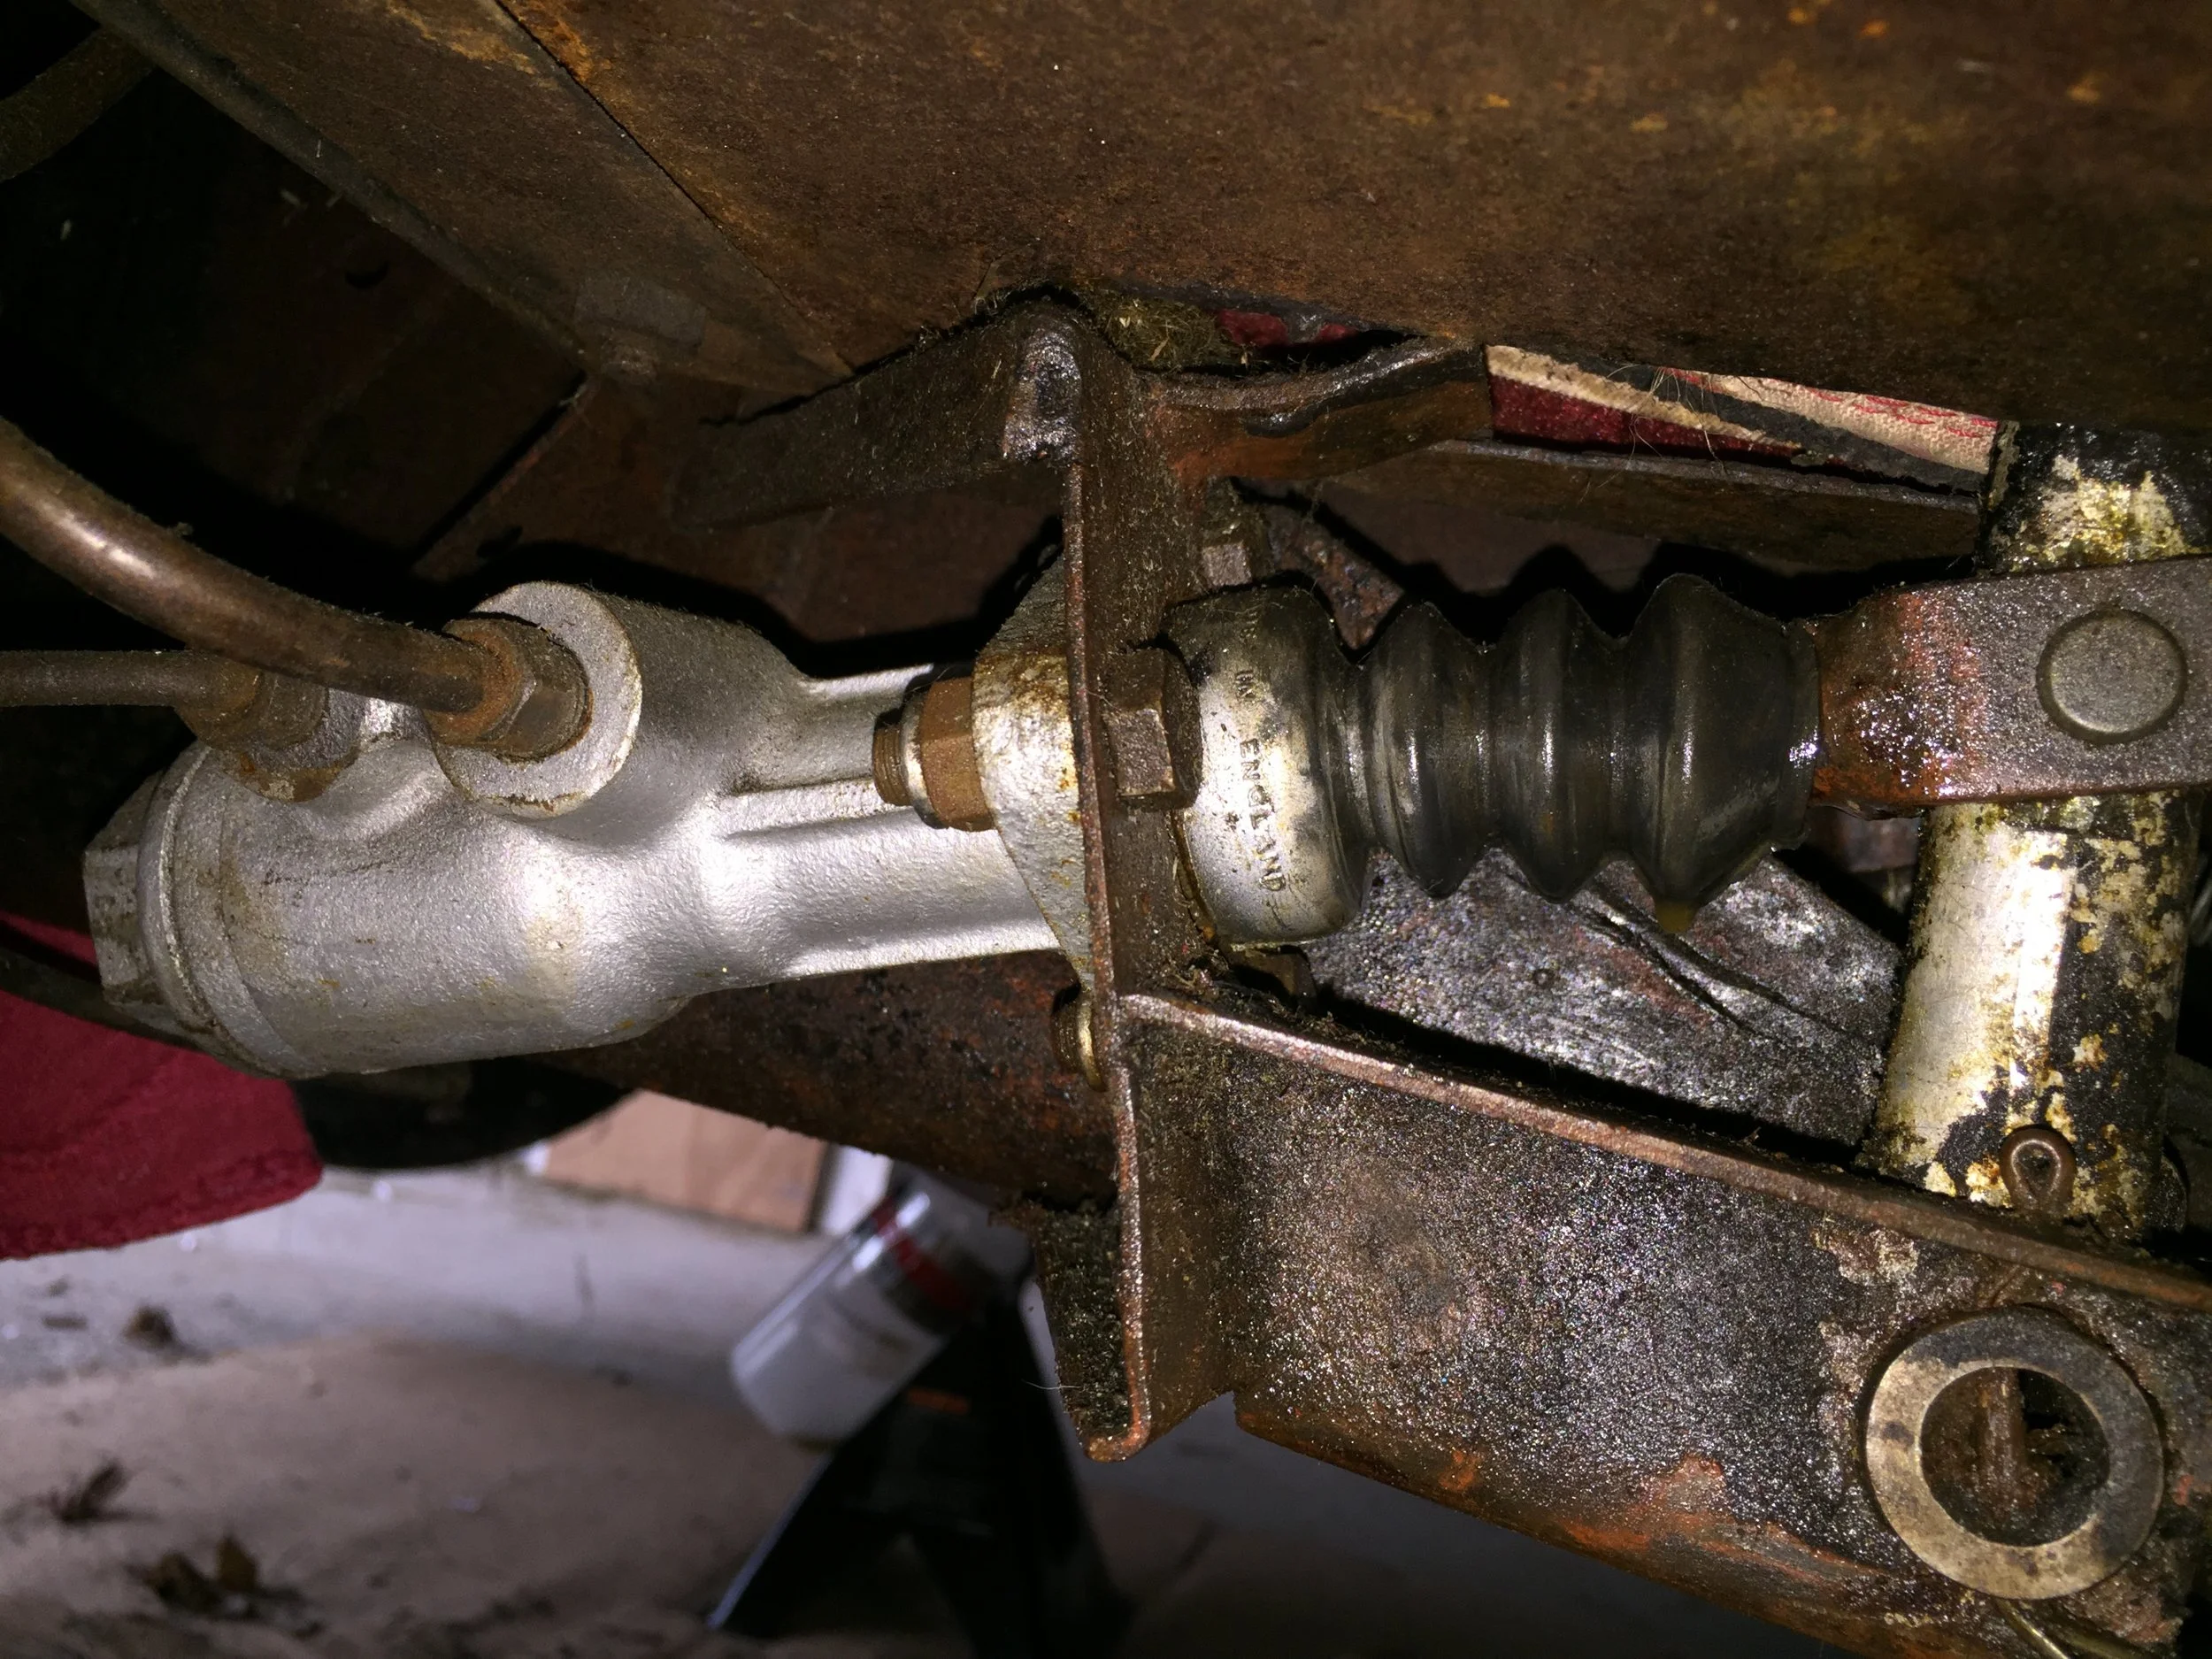
What Killed the Car
This is the clutch master cylinder. When you press the clutch pedal, the fluid should travel through the system to release the clutch. This wasn't happening... the fluid was instead spilling on the floor. Without a clutch, for those not aware, shifting the gears is out of the question.
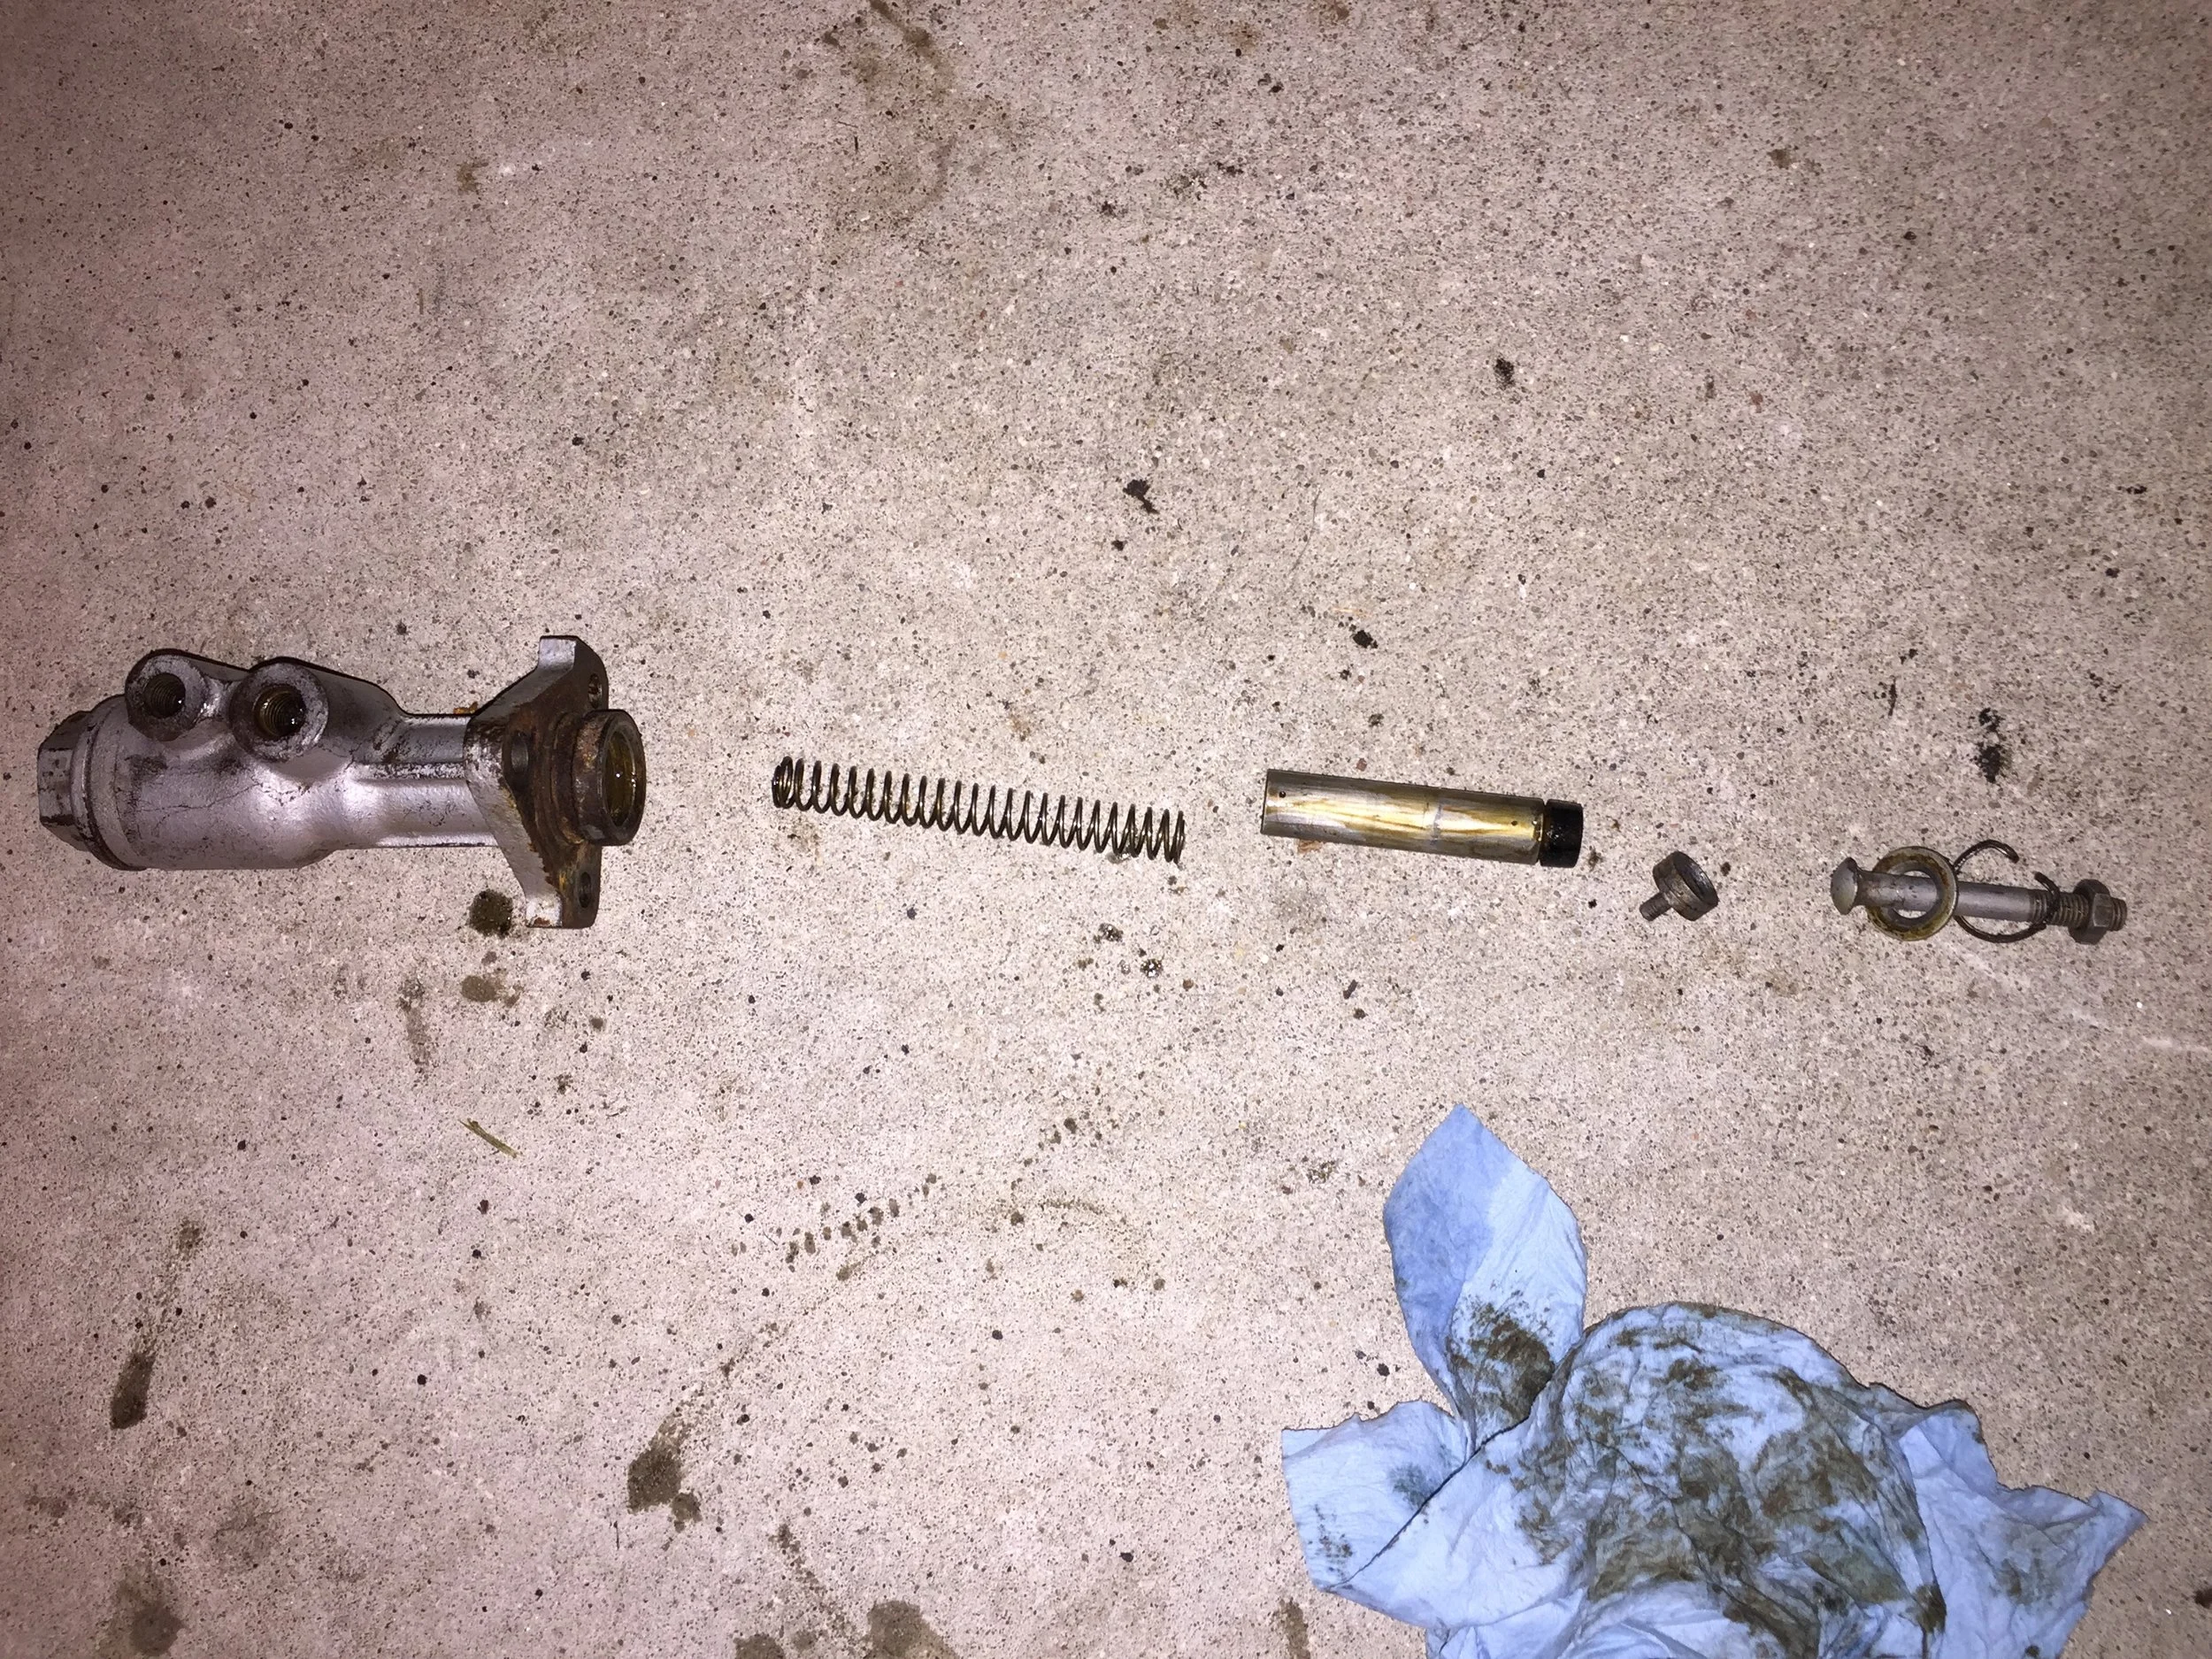
The Dirty Clutch Master Cylinder
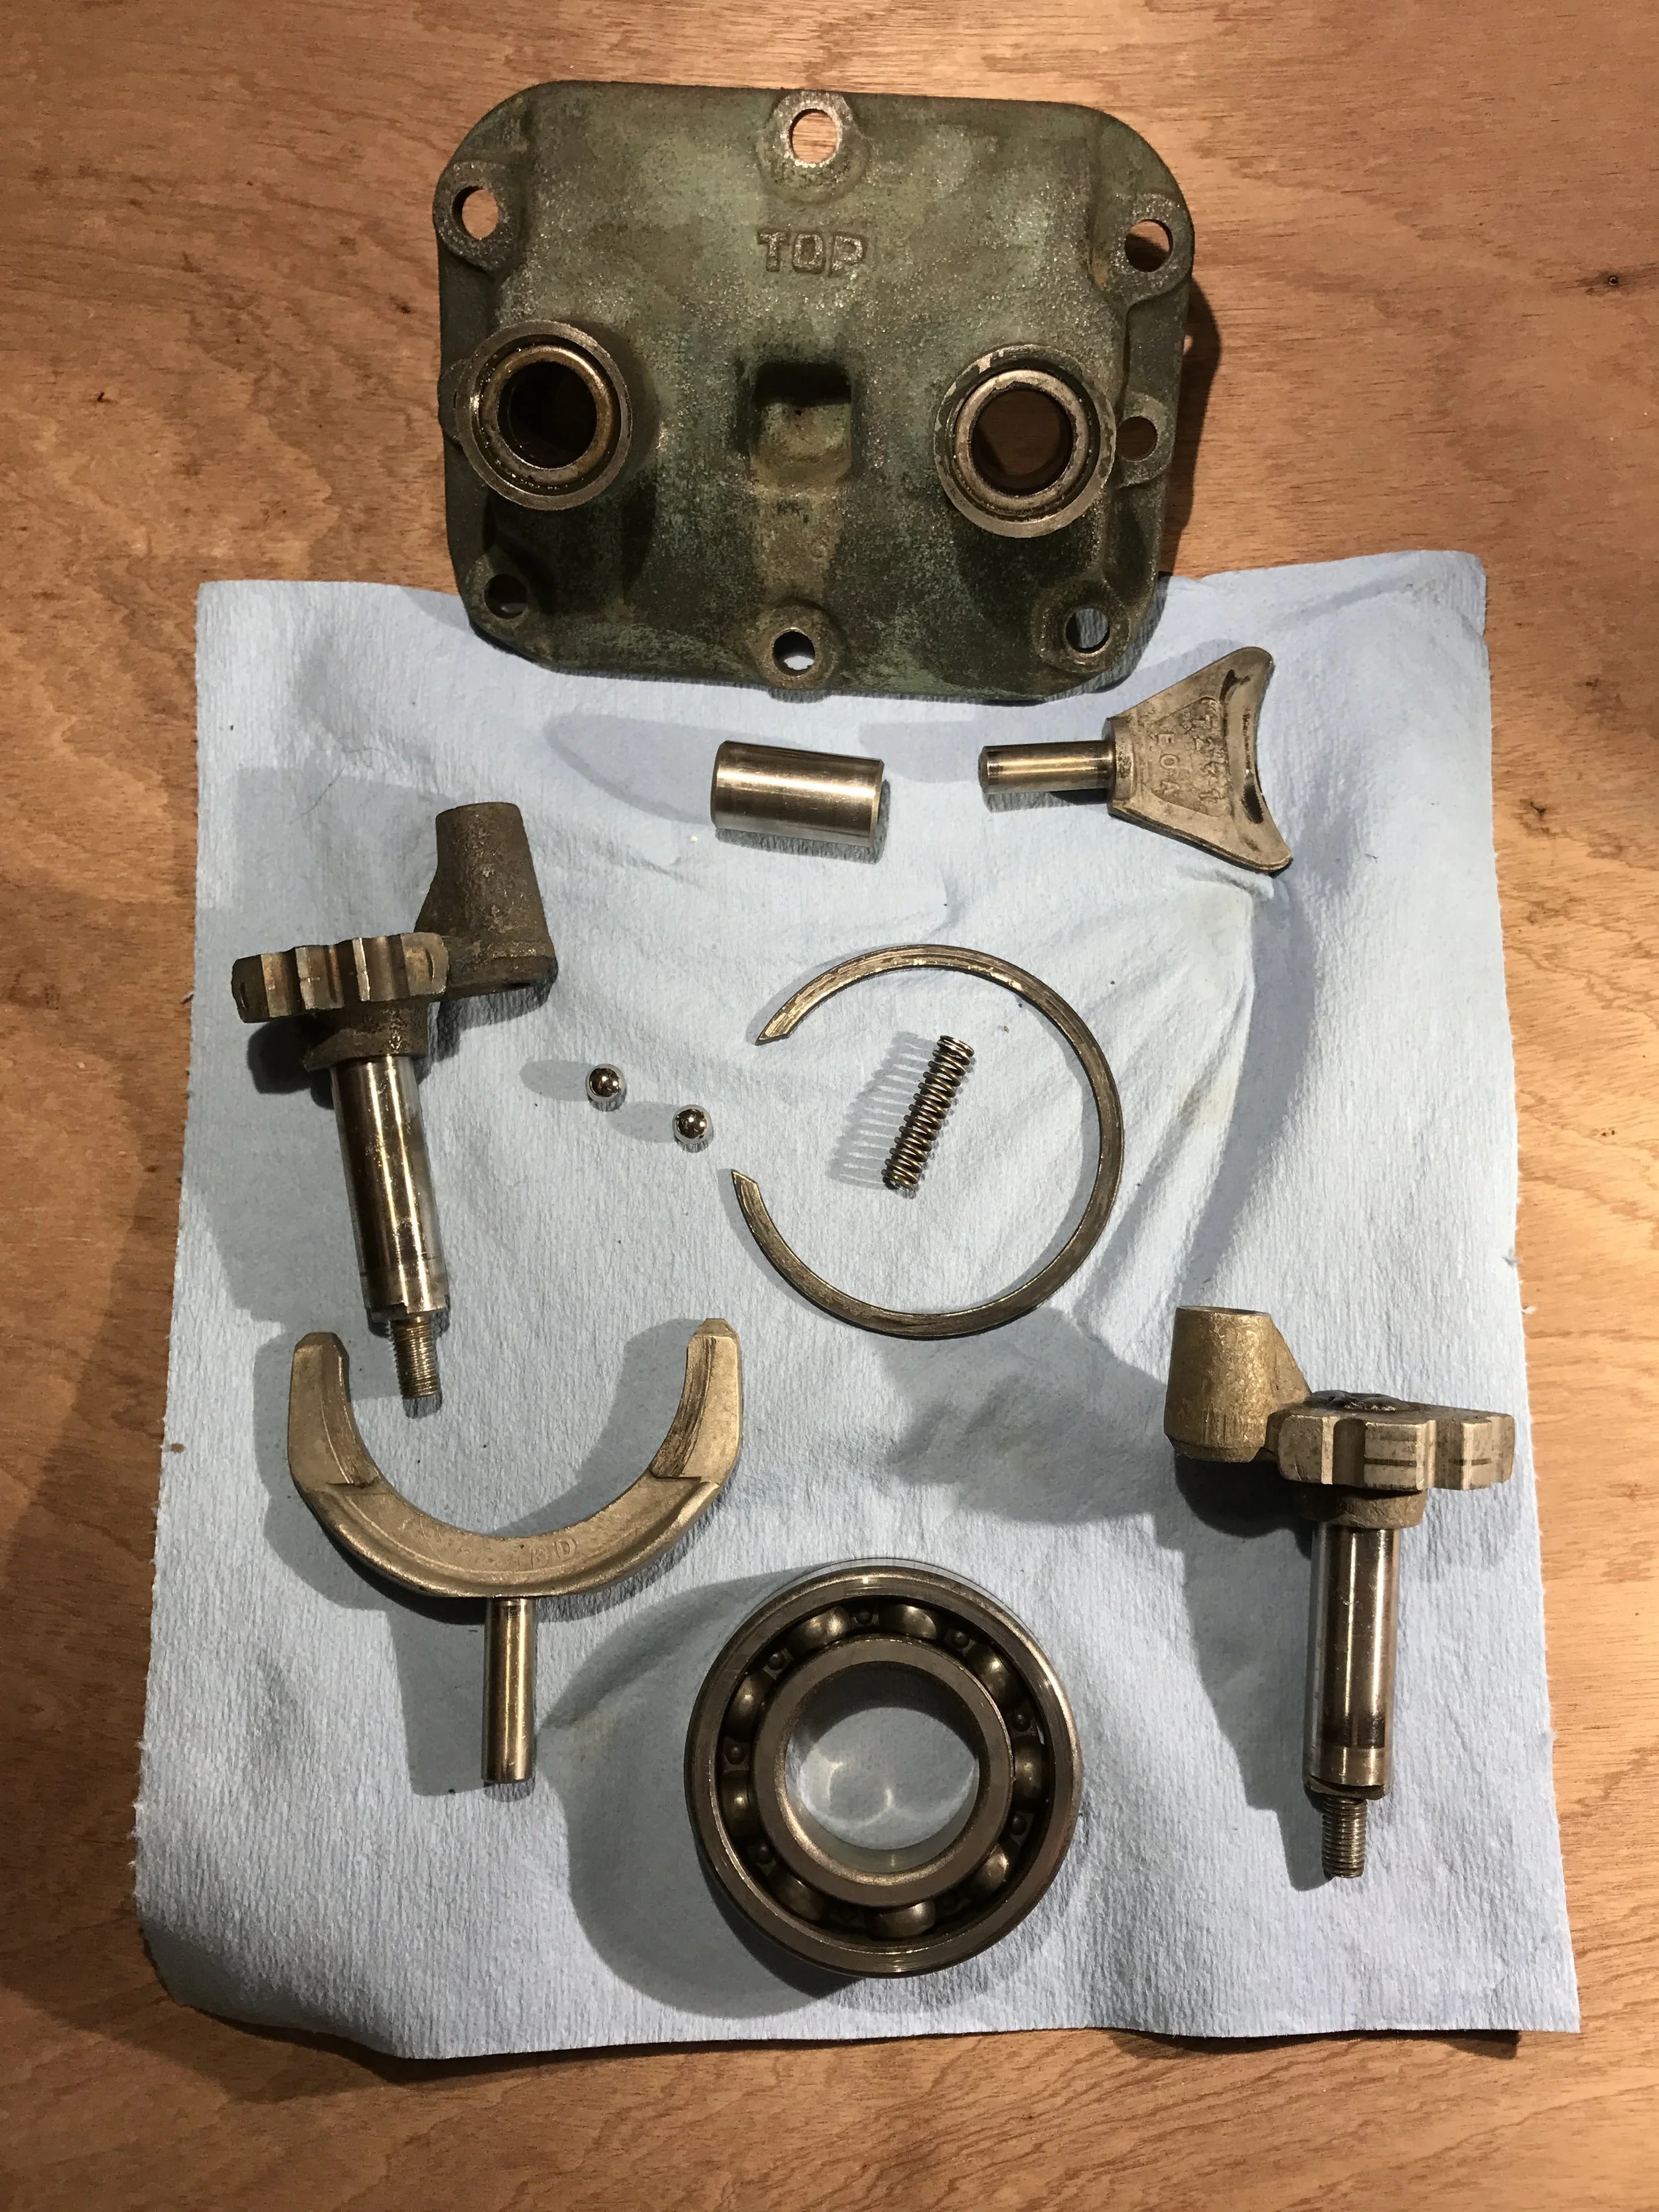
I removed the MC from the car and disassembled it. I've never done this before, so it was a fun learning opportunity. This MC is very simple - there are very few parts. It's called a single-stage, remote reservoir master cylinder. The brake cylinder is almost exactly the same, just a different diameter.
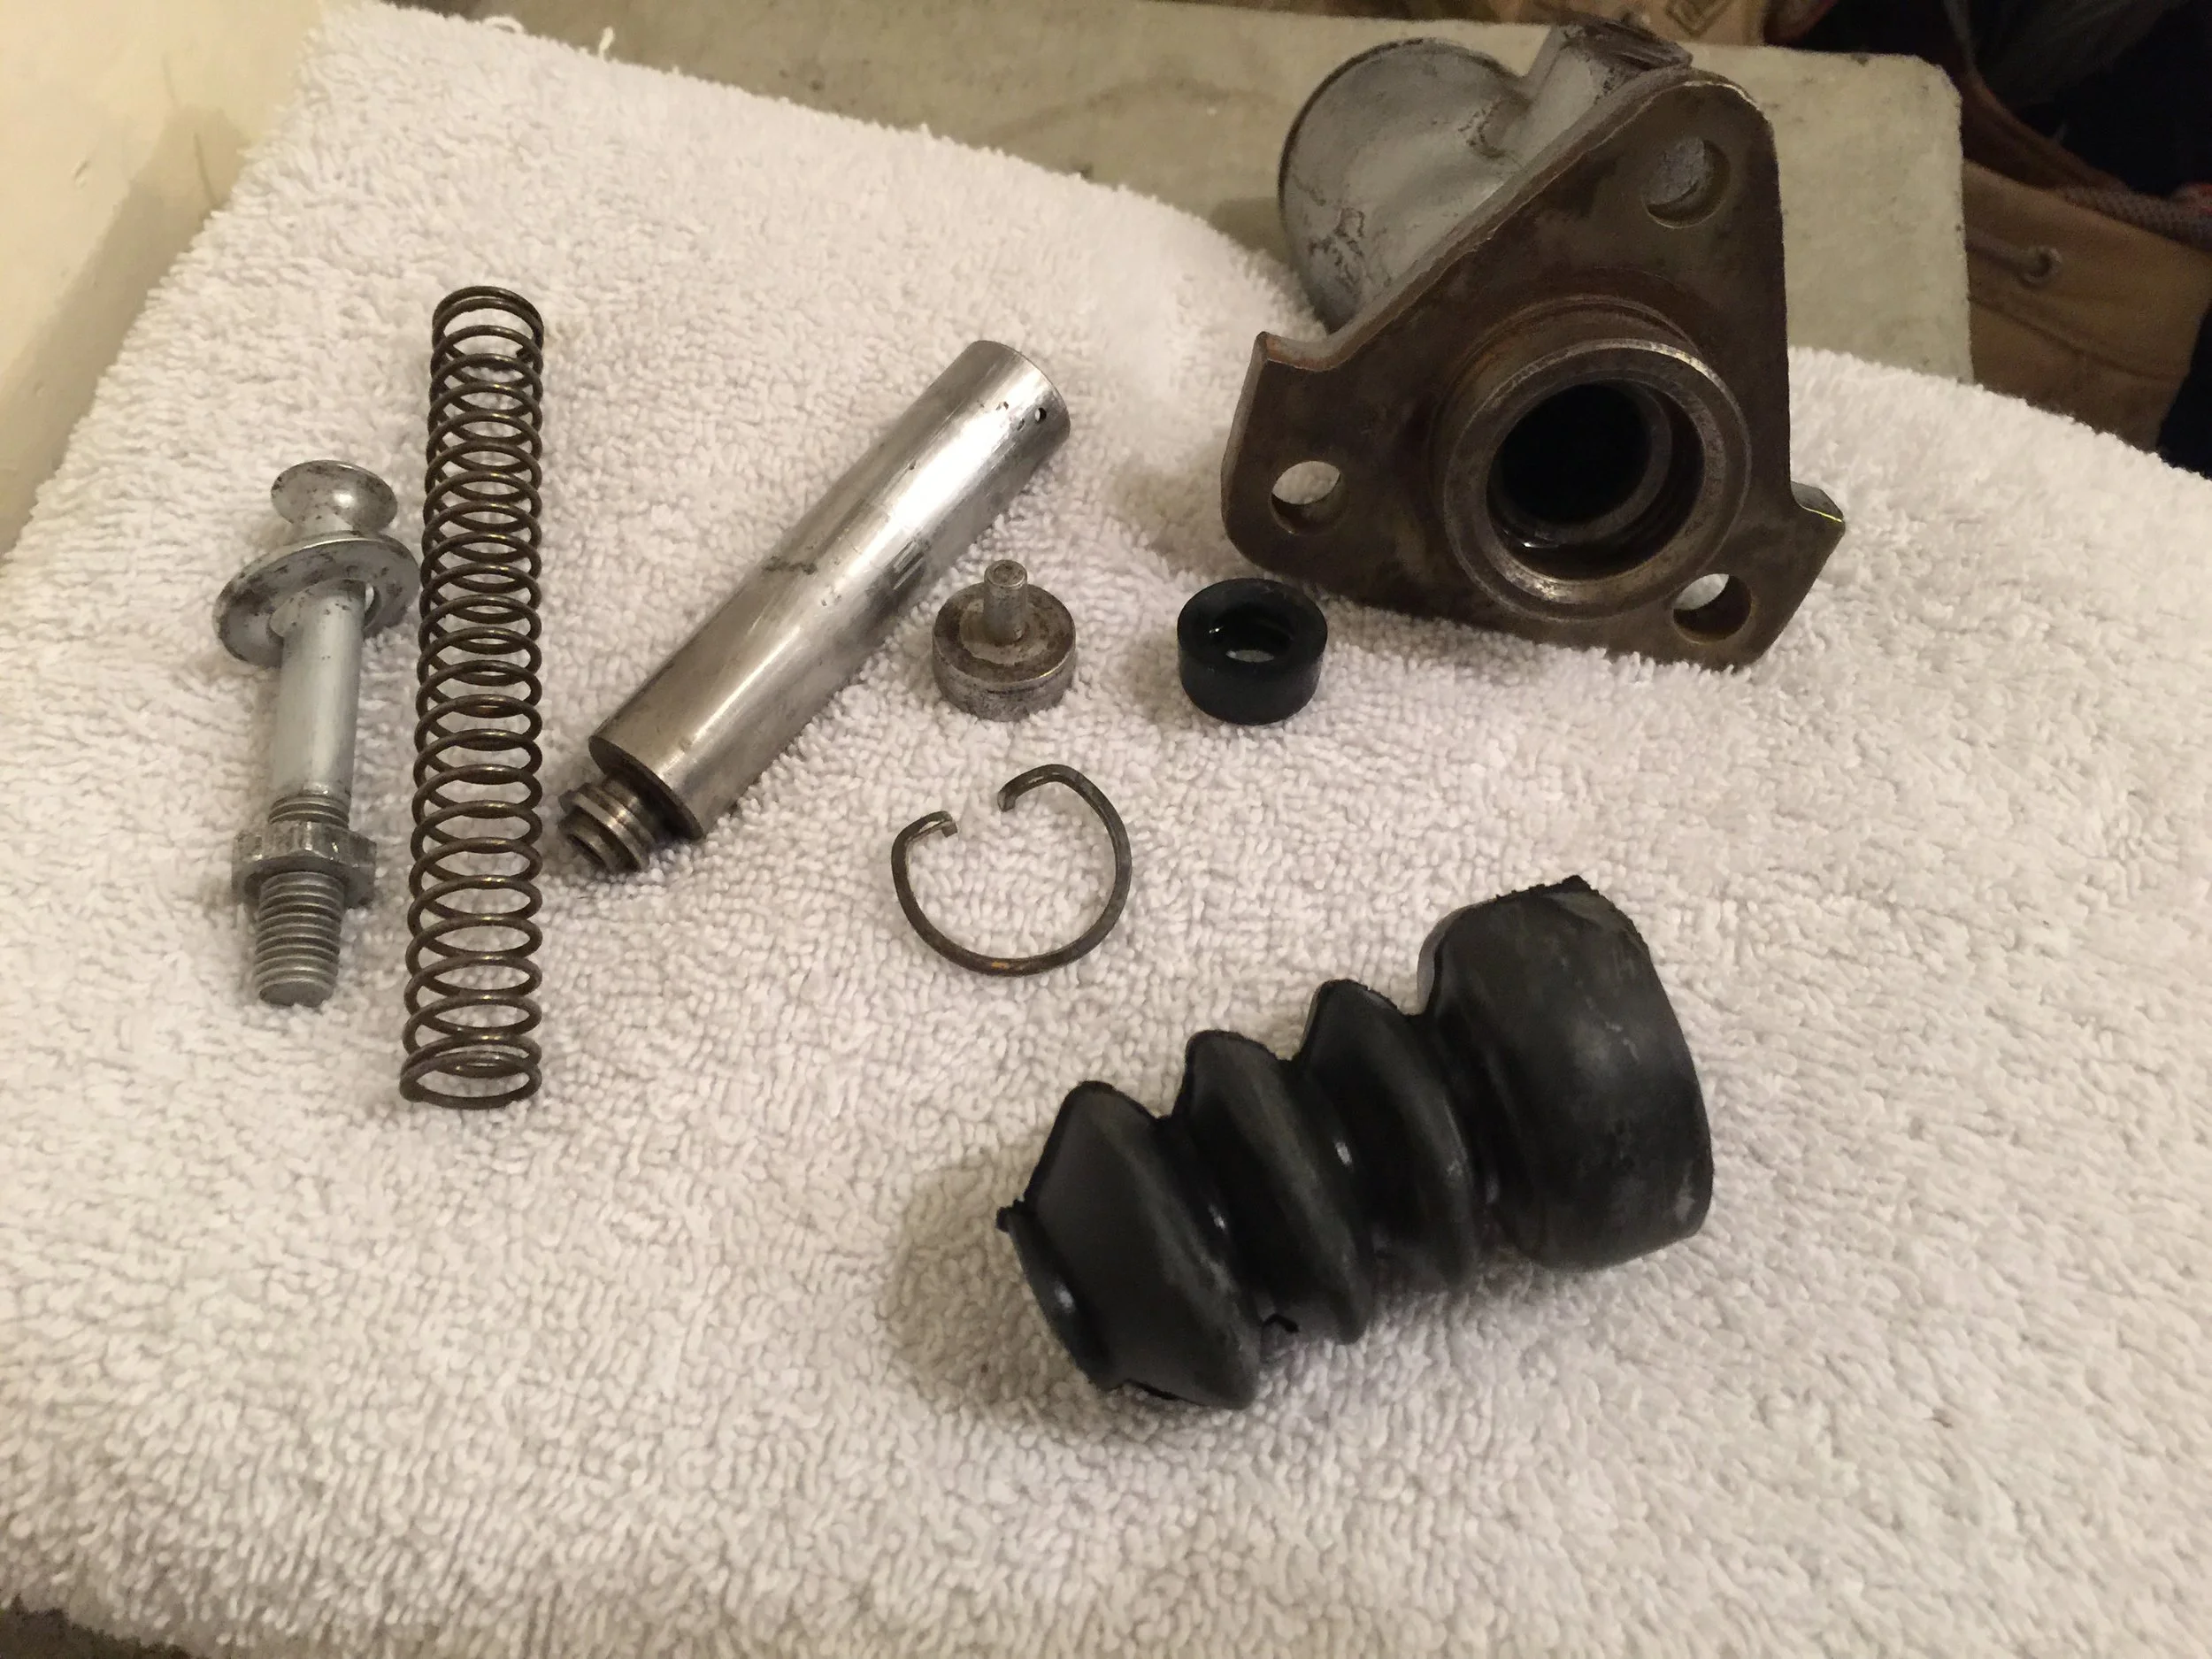
The Clean Clutch Master Cylinder
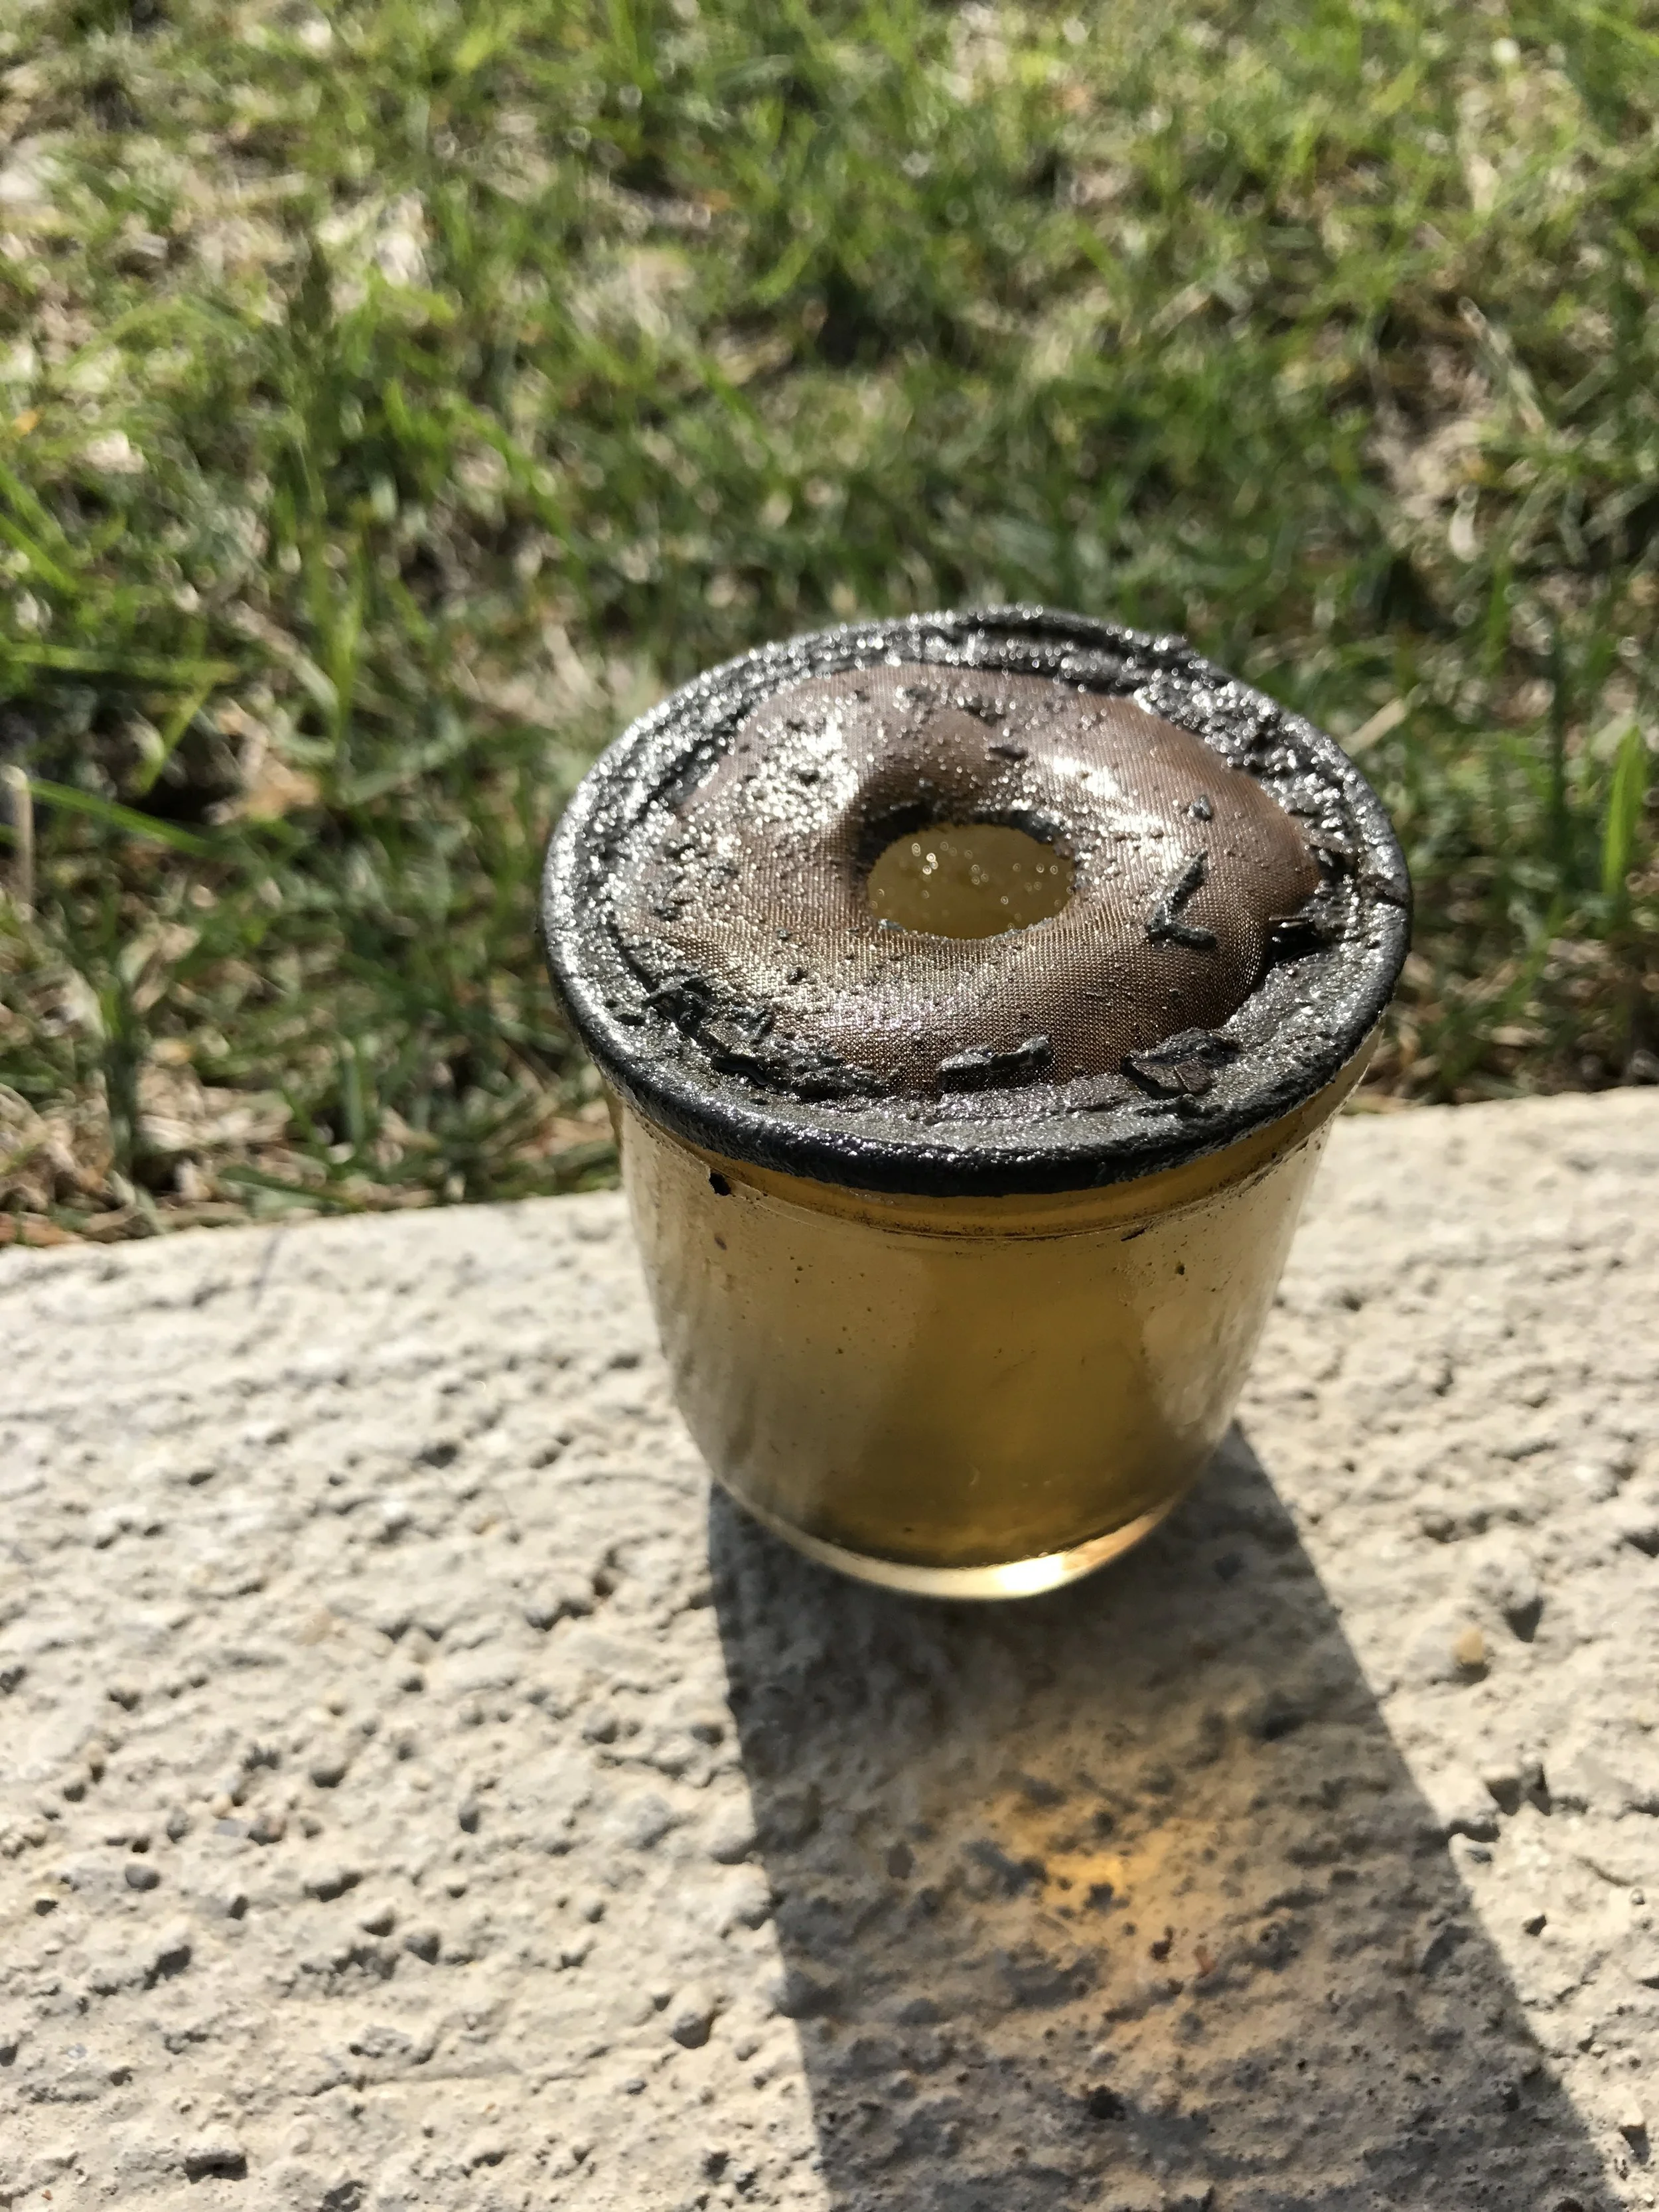
I used some Simple Green and a brass wire brush to clean the parts. It was effective, but I wouldn't do it that way again. When you present water to ferrous material, it rusts. In the future I'd use other chemicals like brake cleaner. Something alcohol-based or anything other than water-based is probably best for this kind of job.
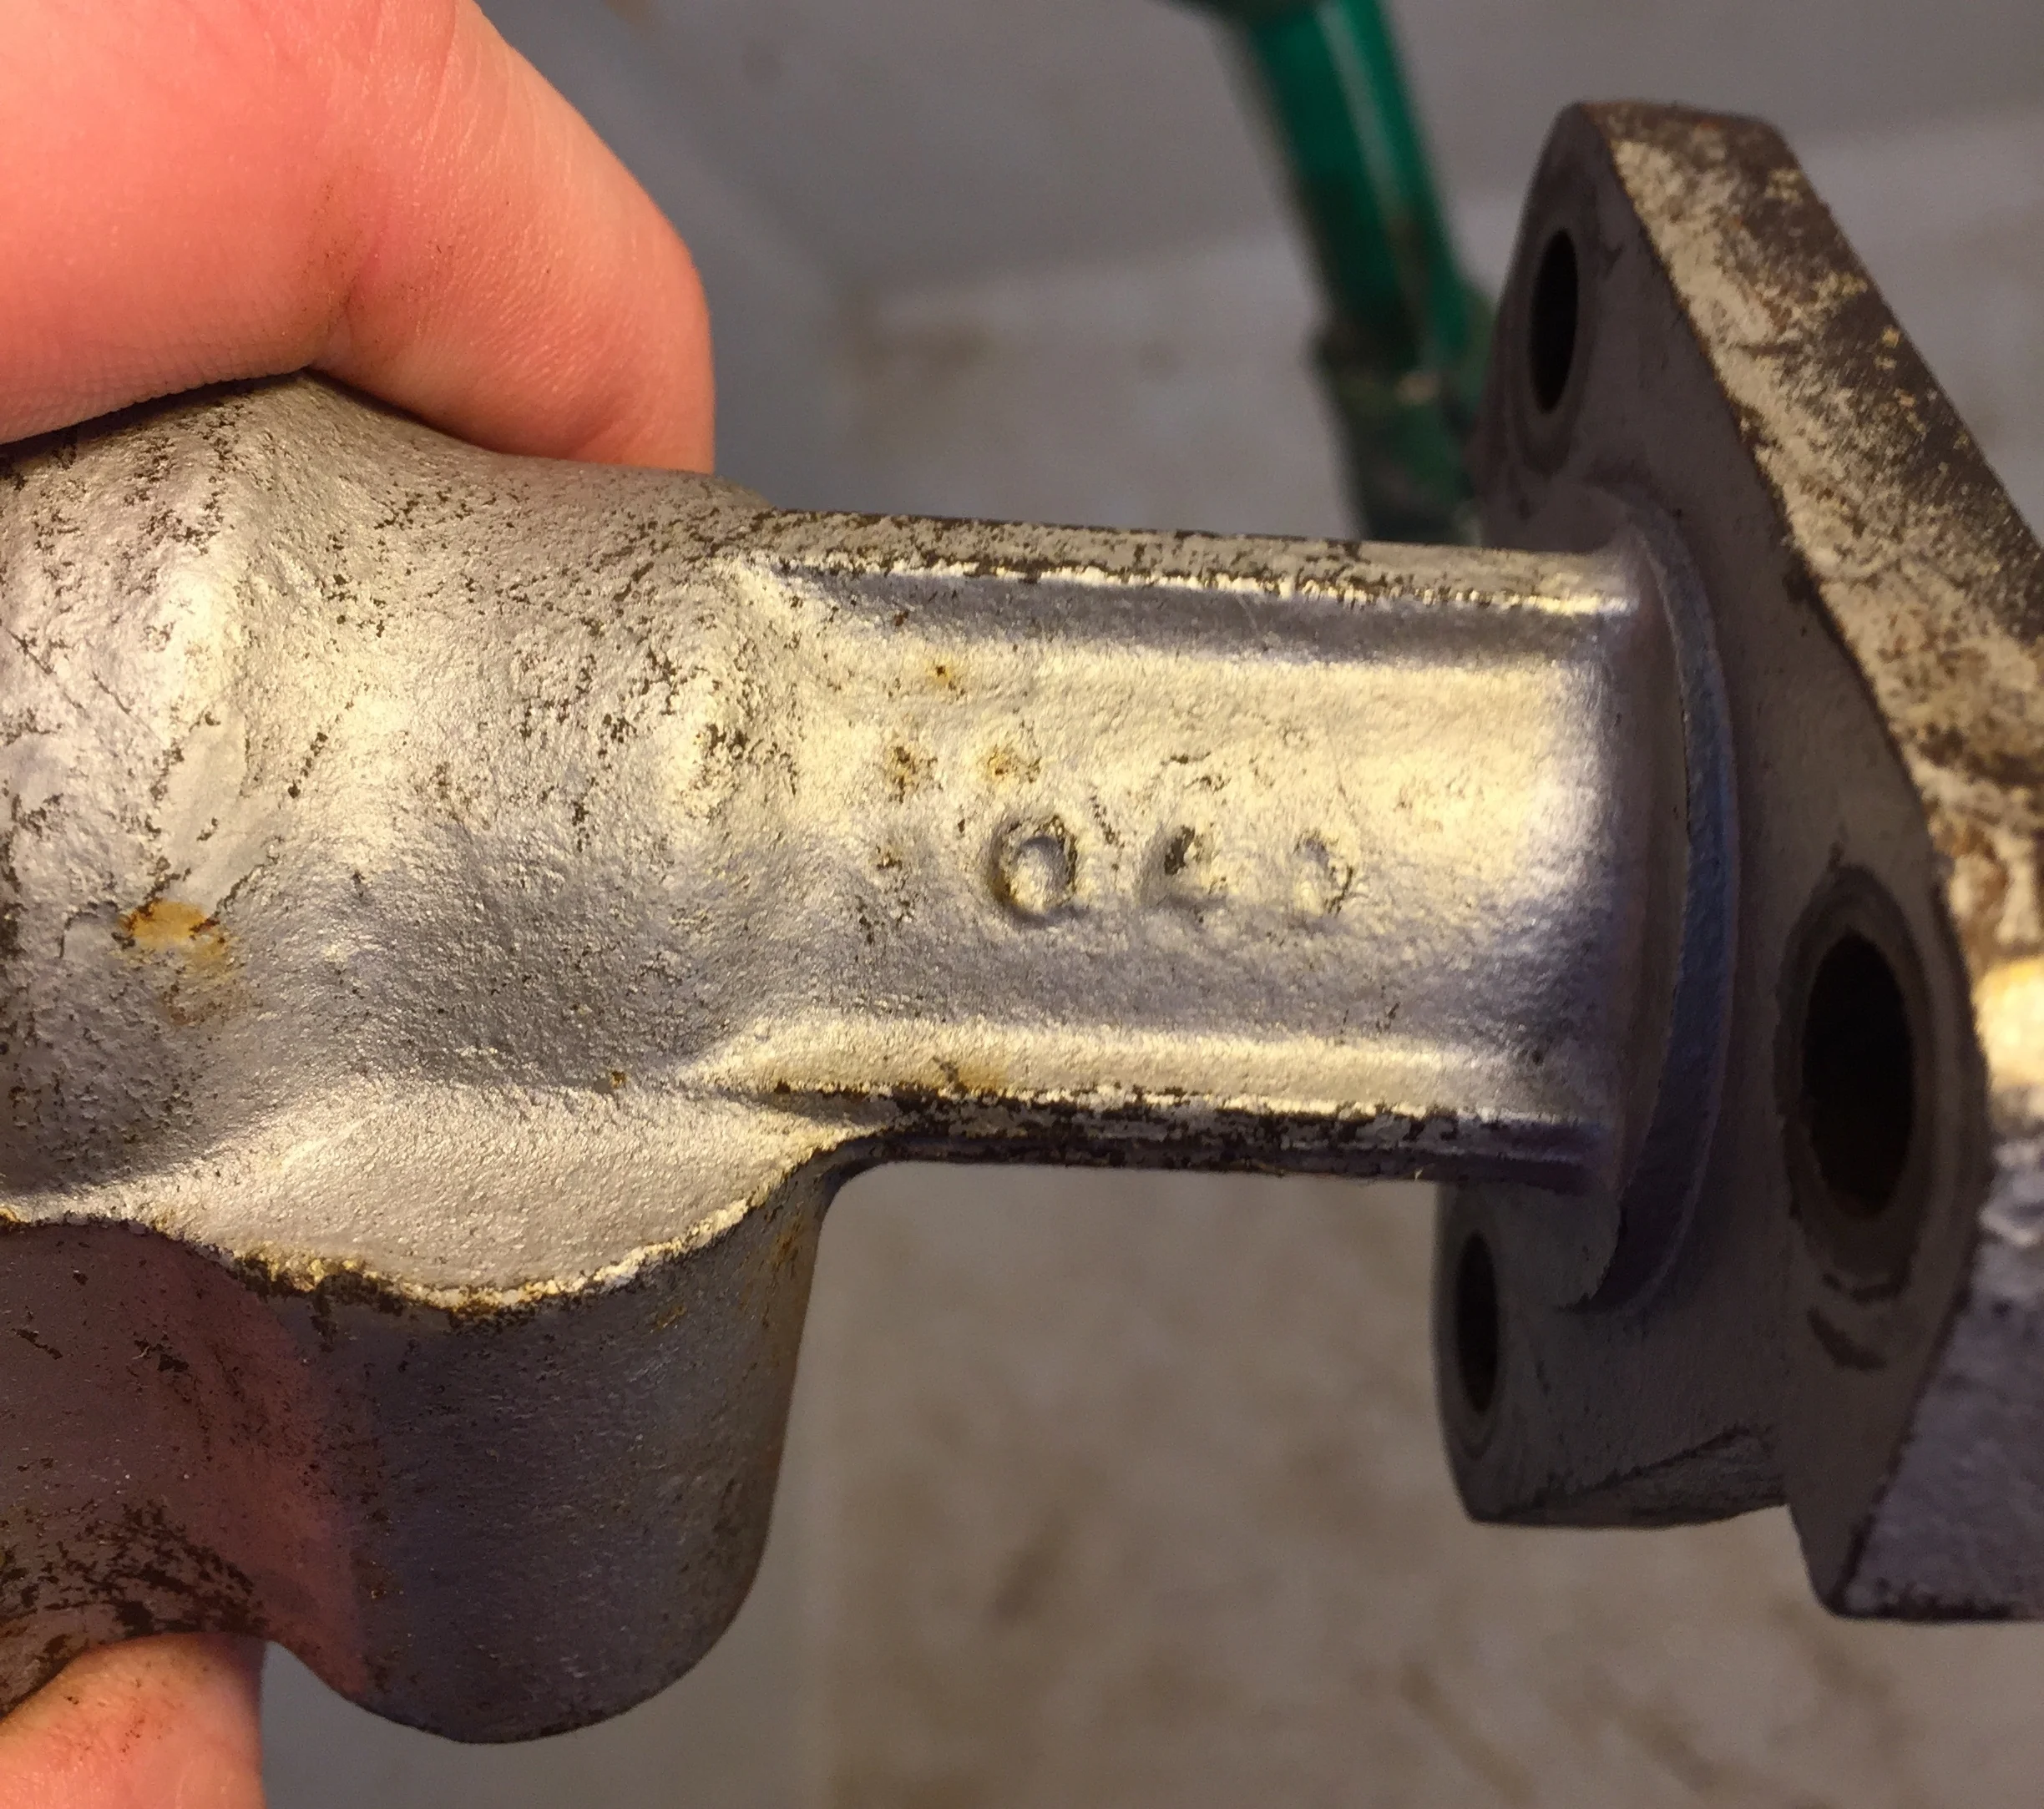
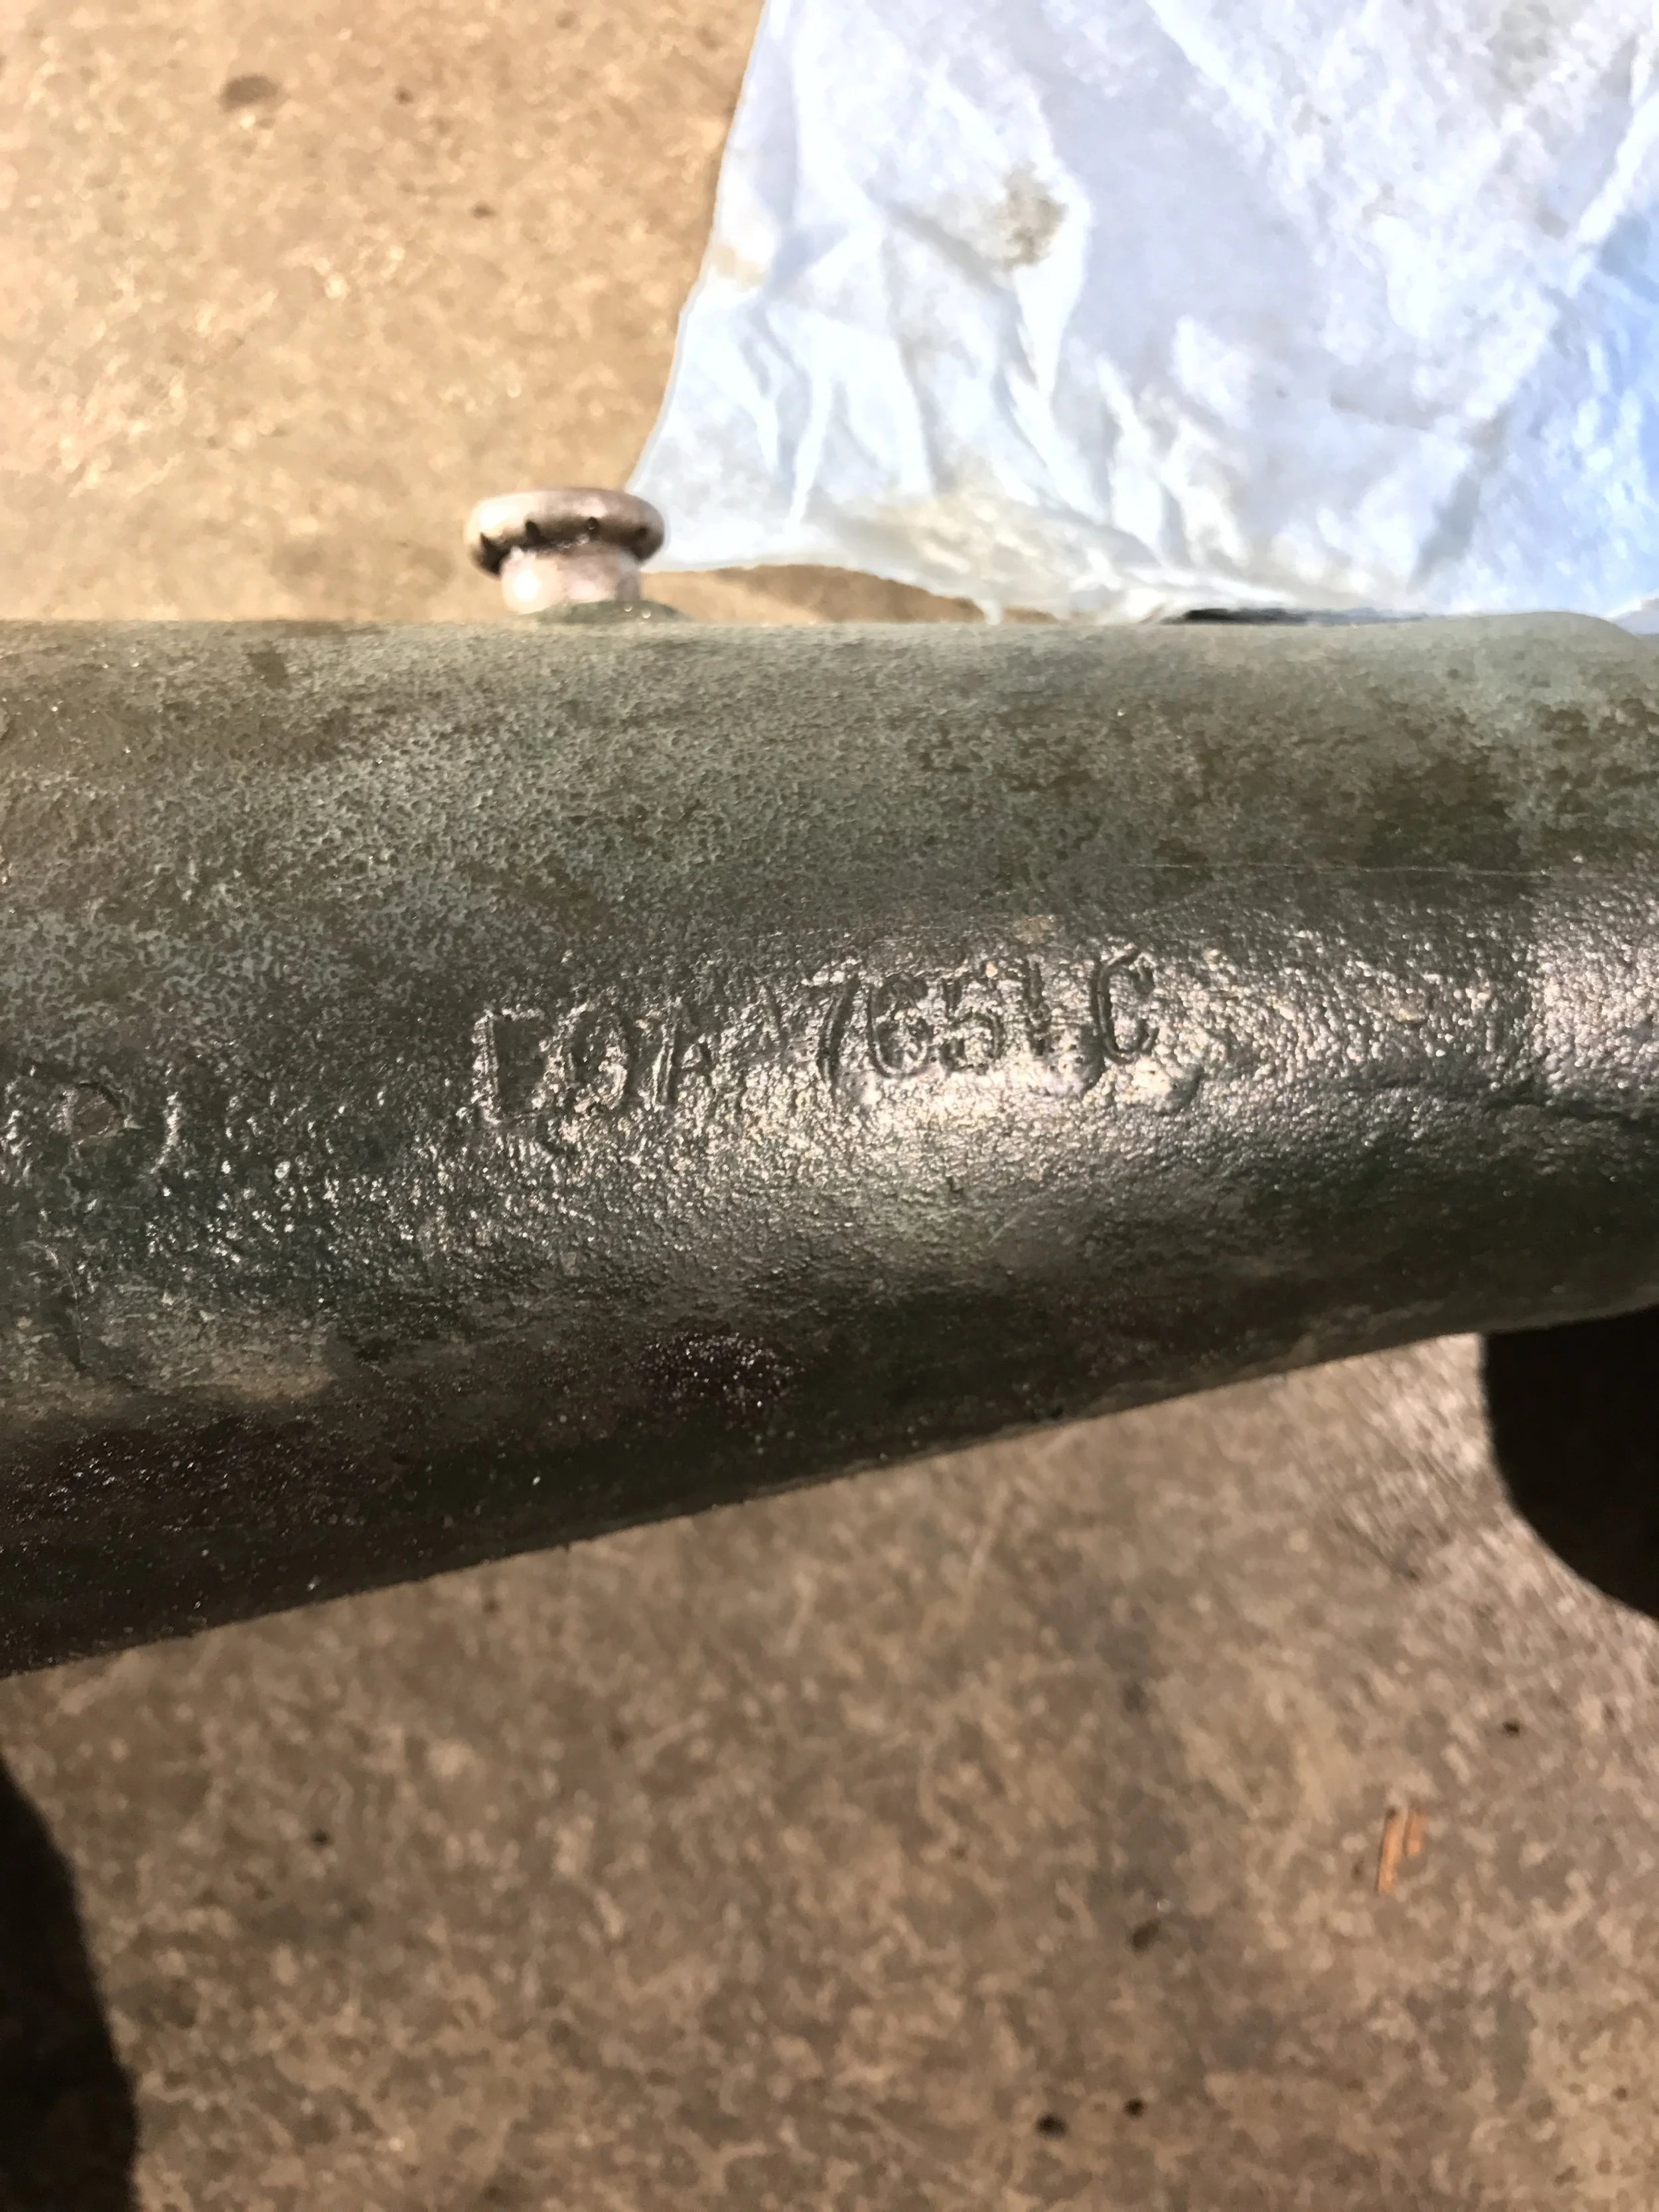
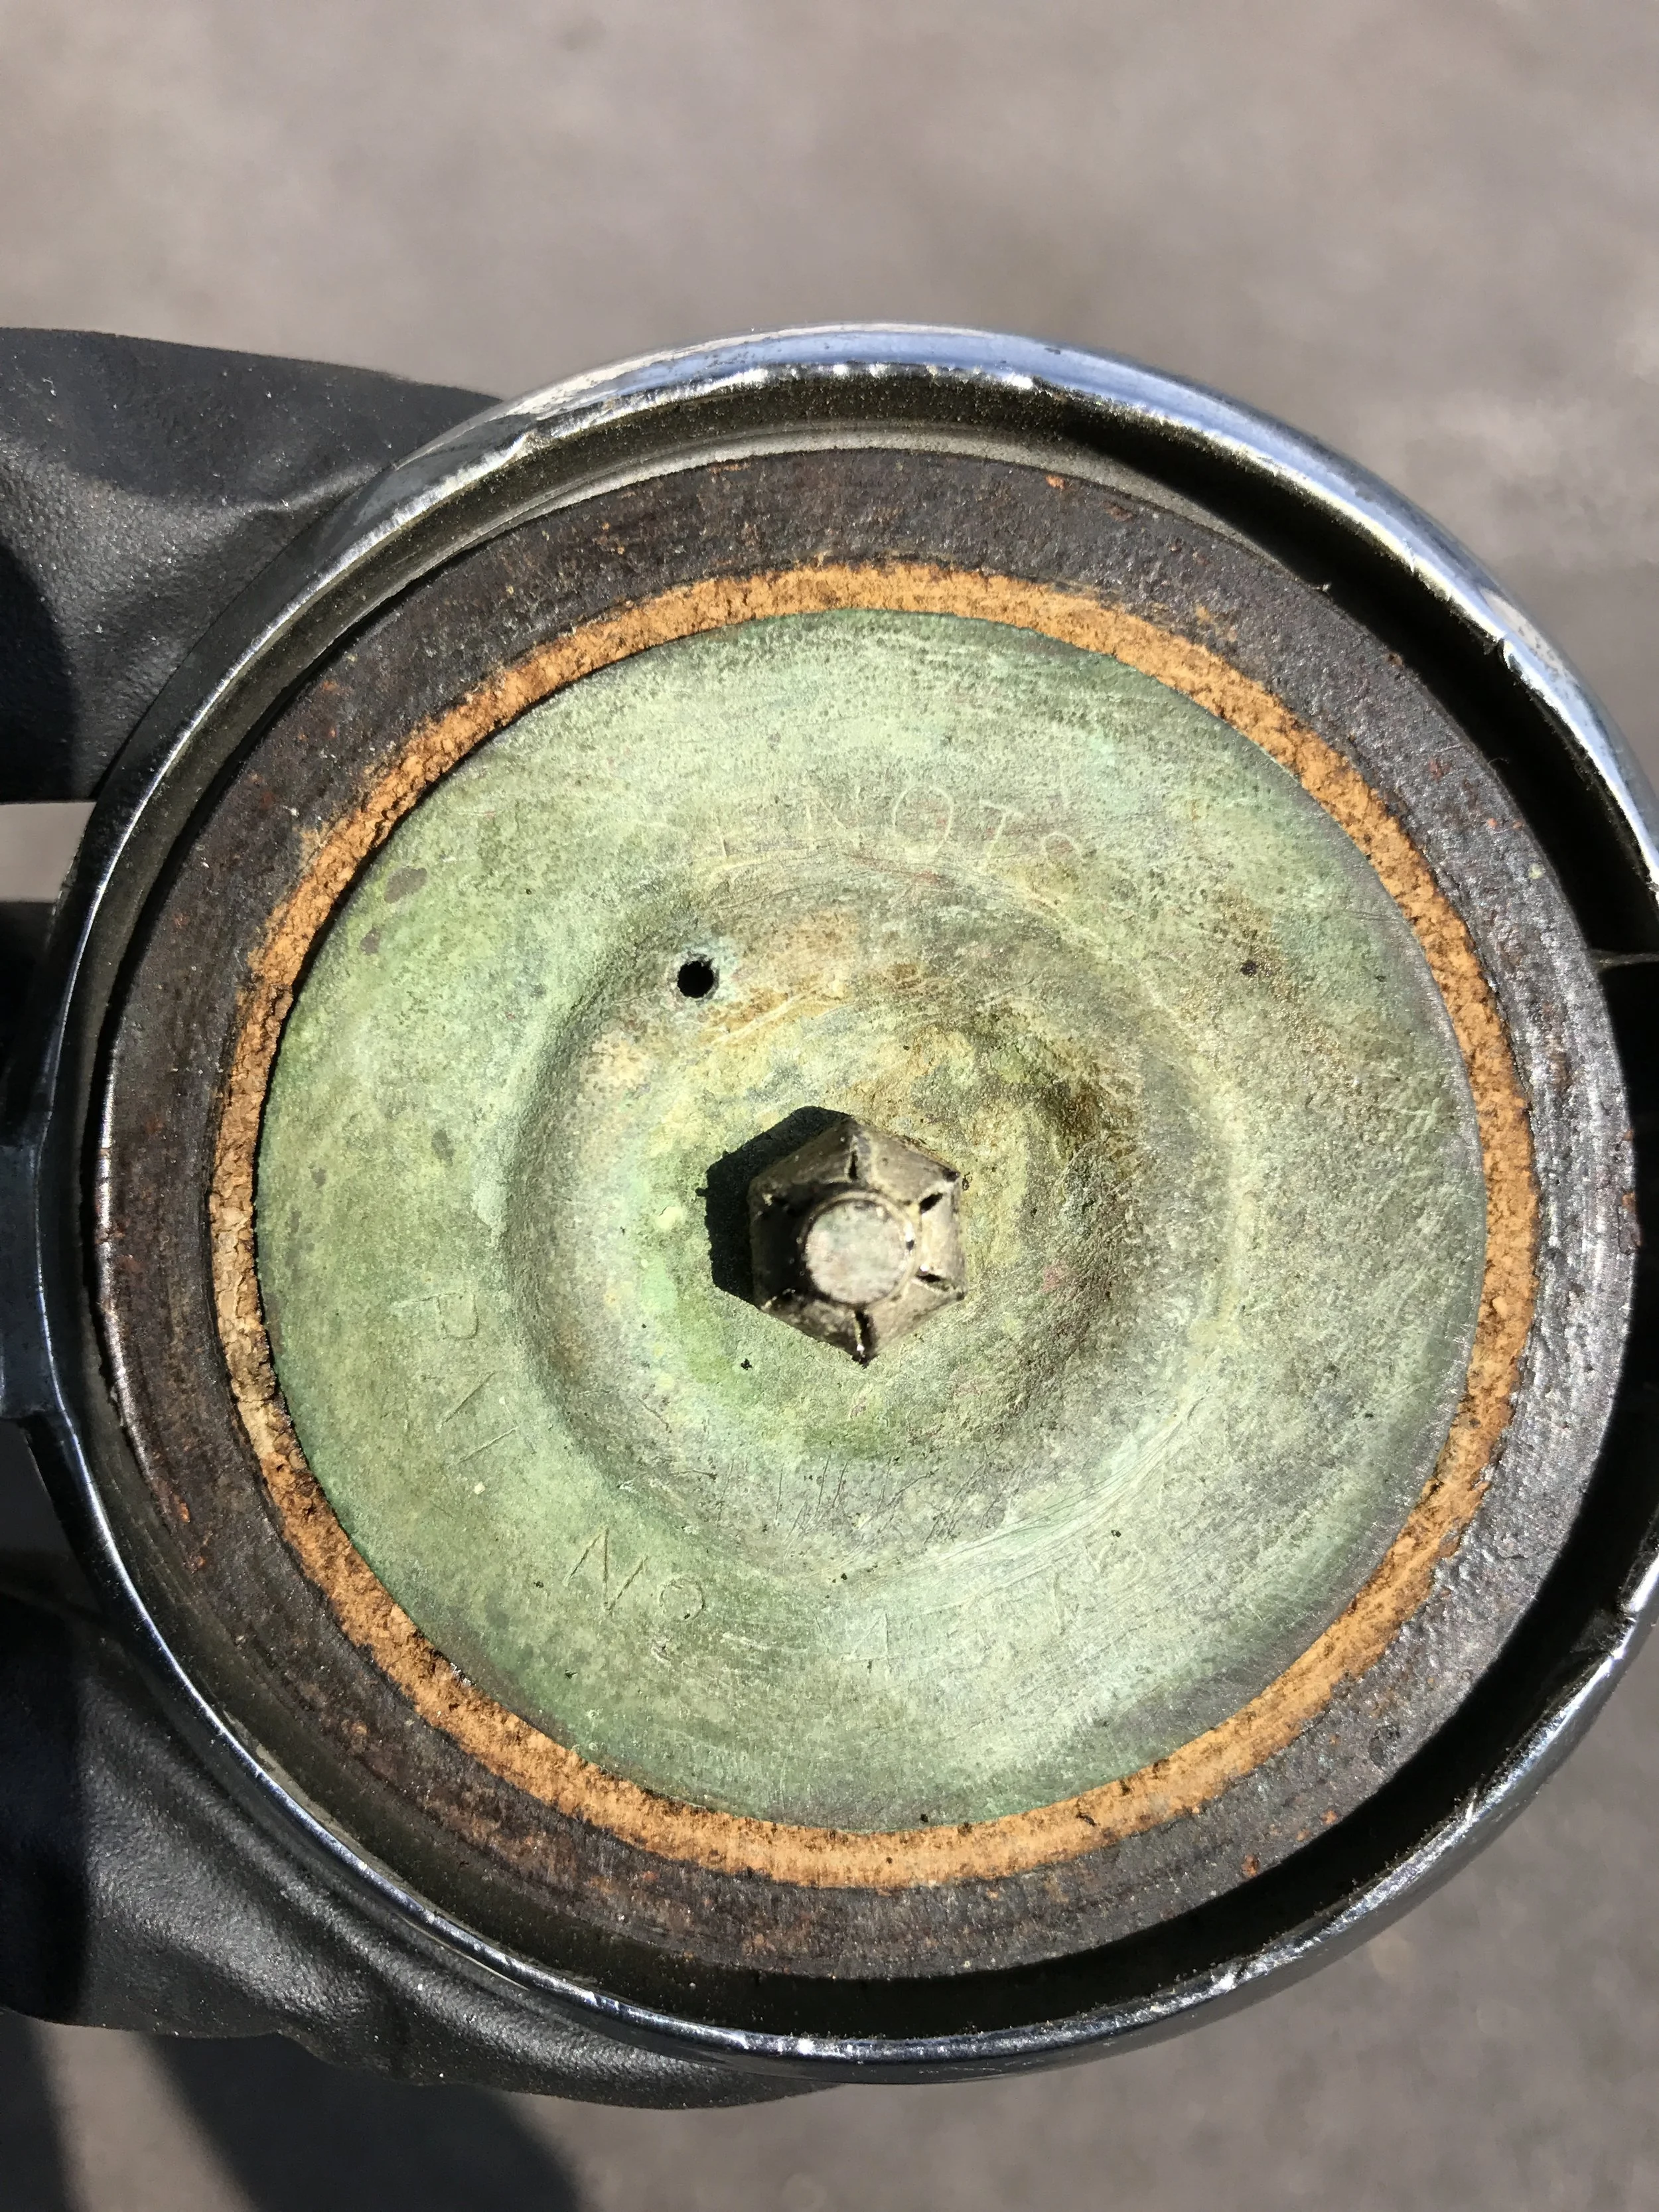
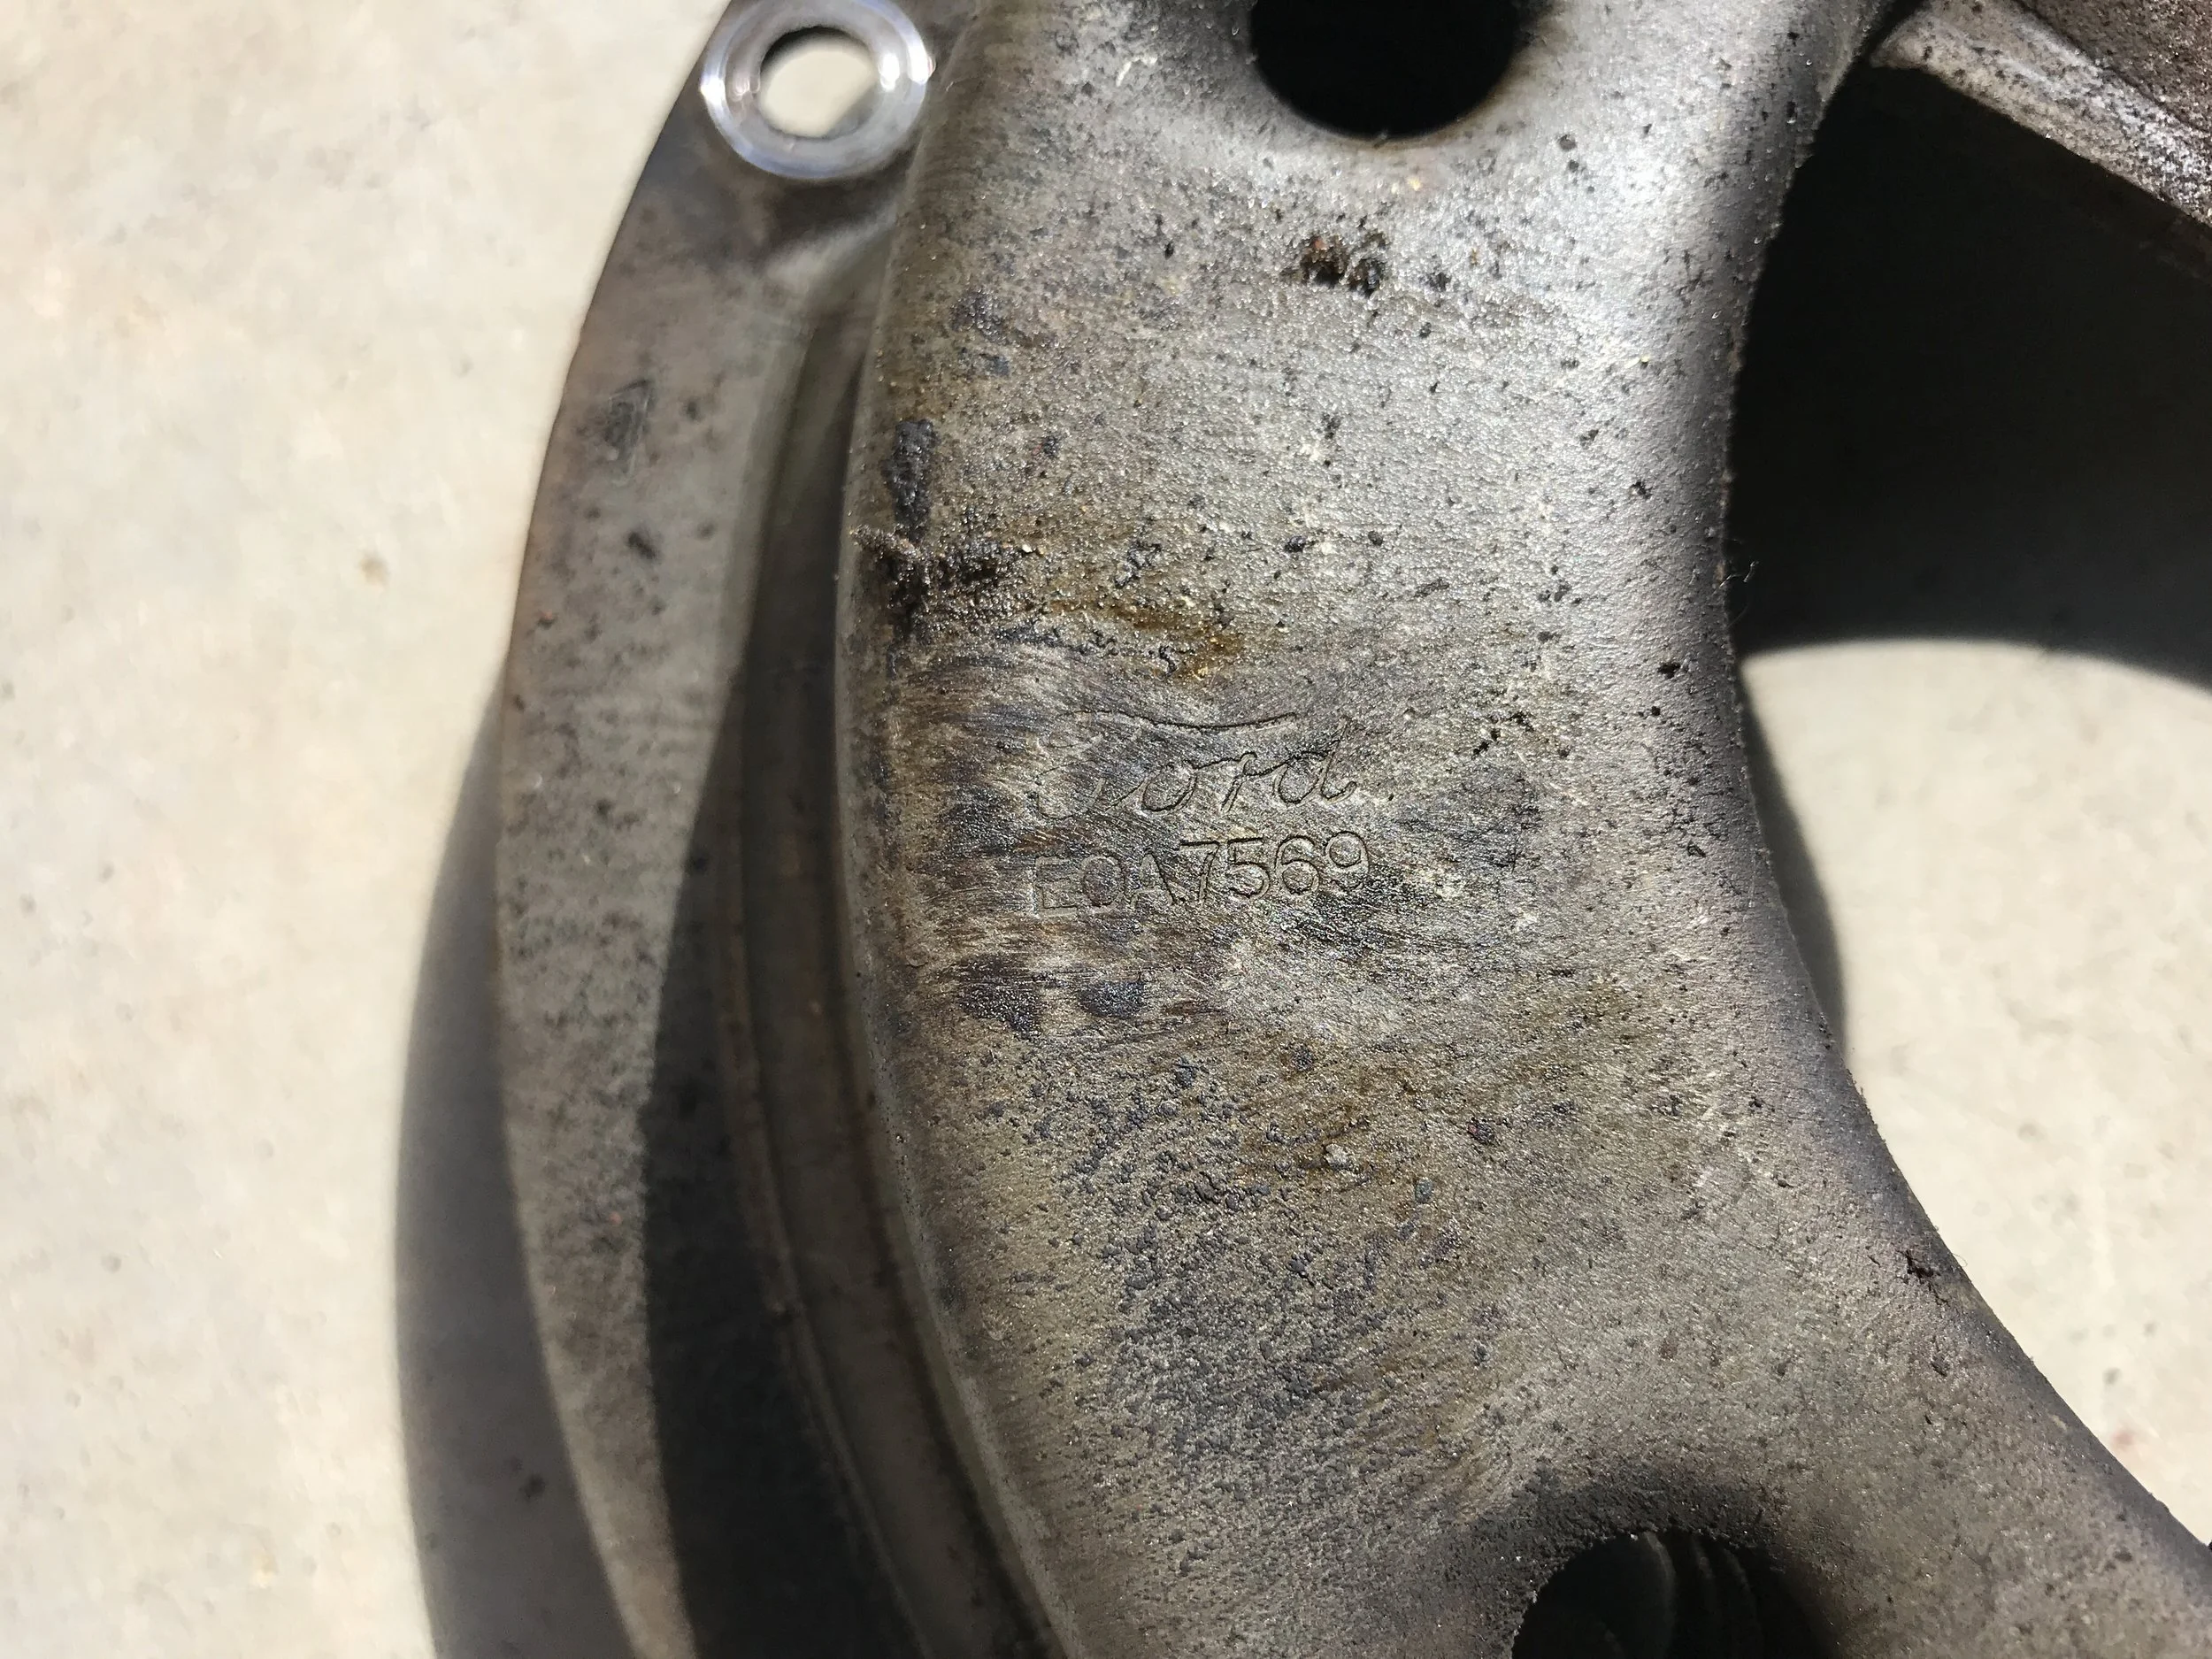
Clutch MC Casting Number
This number wasn't particularly useful during my search, but it can be used to identify the part for ordering a replacement.

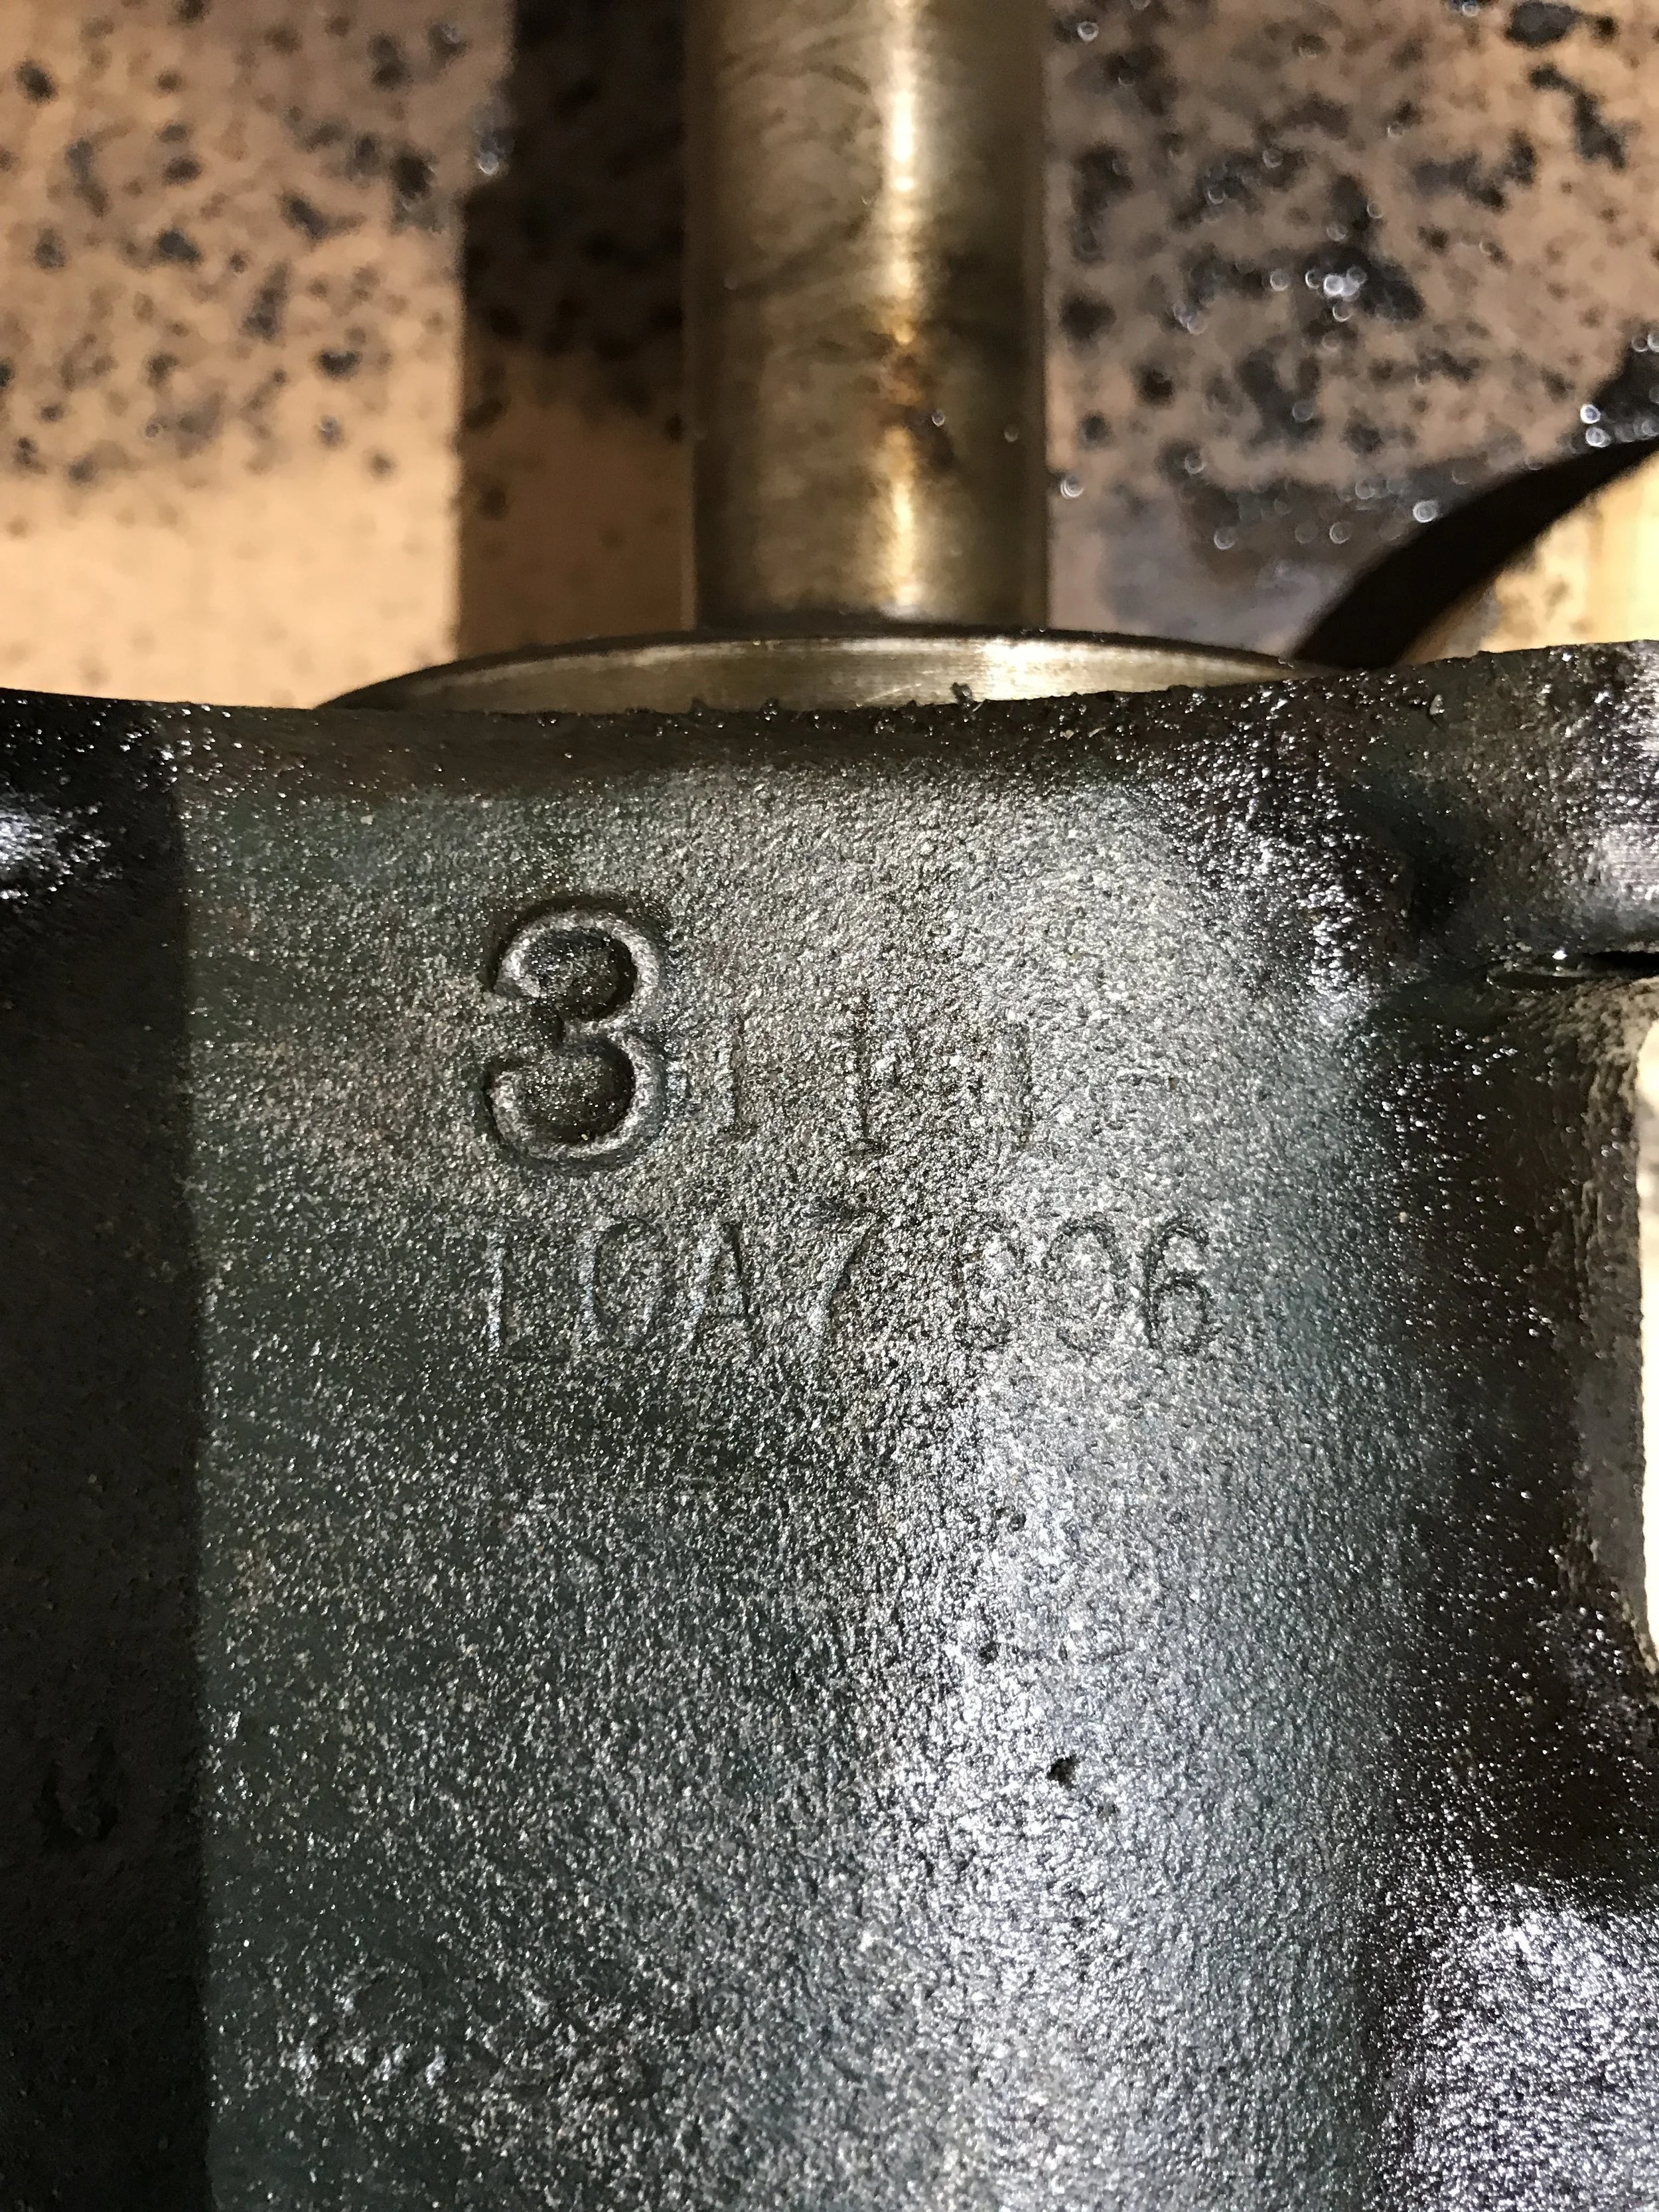
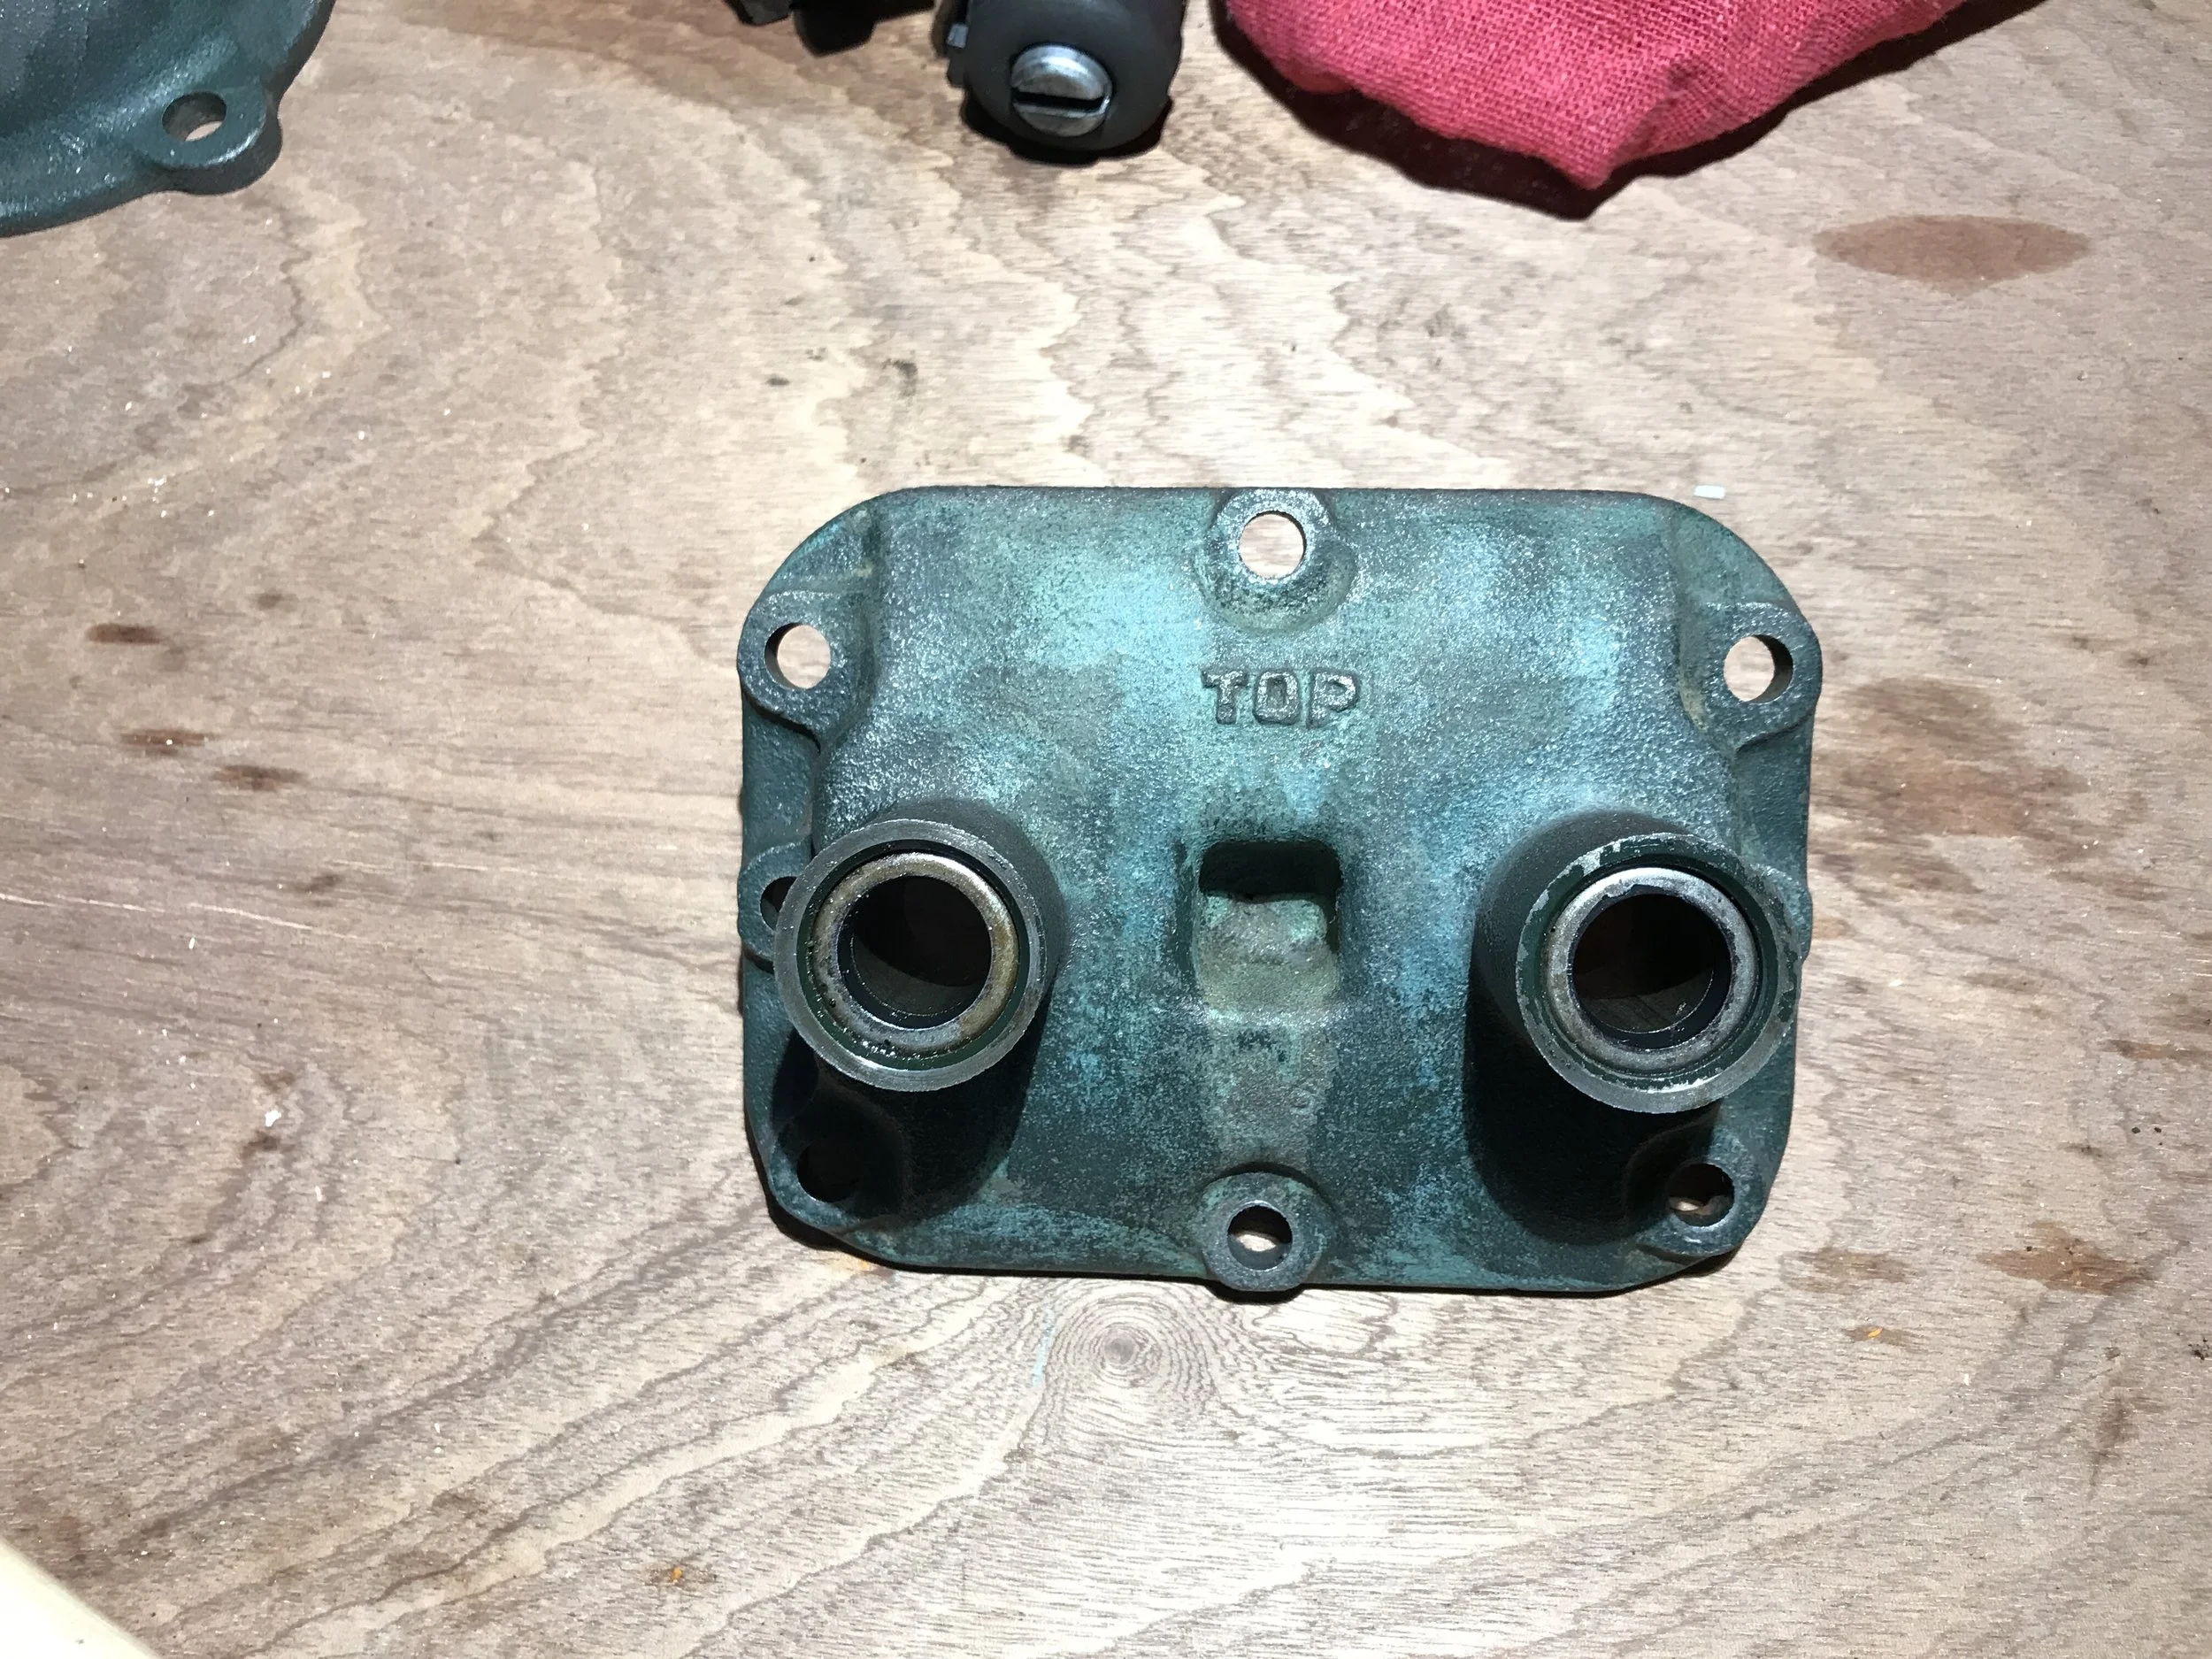
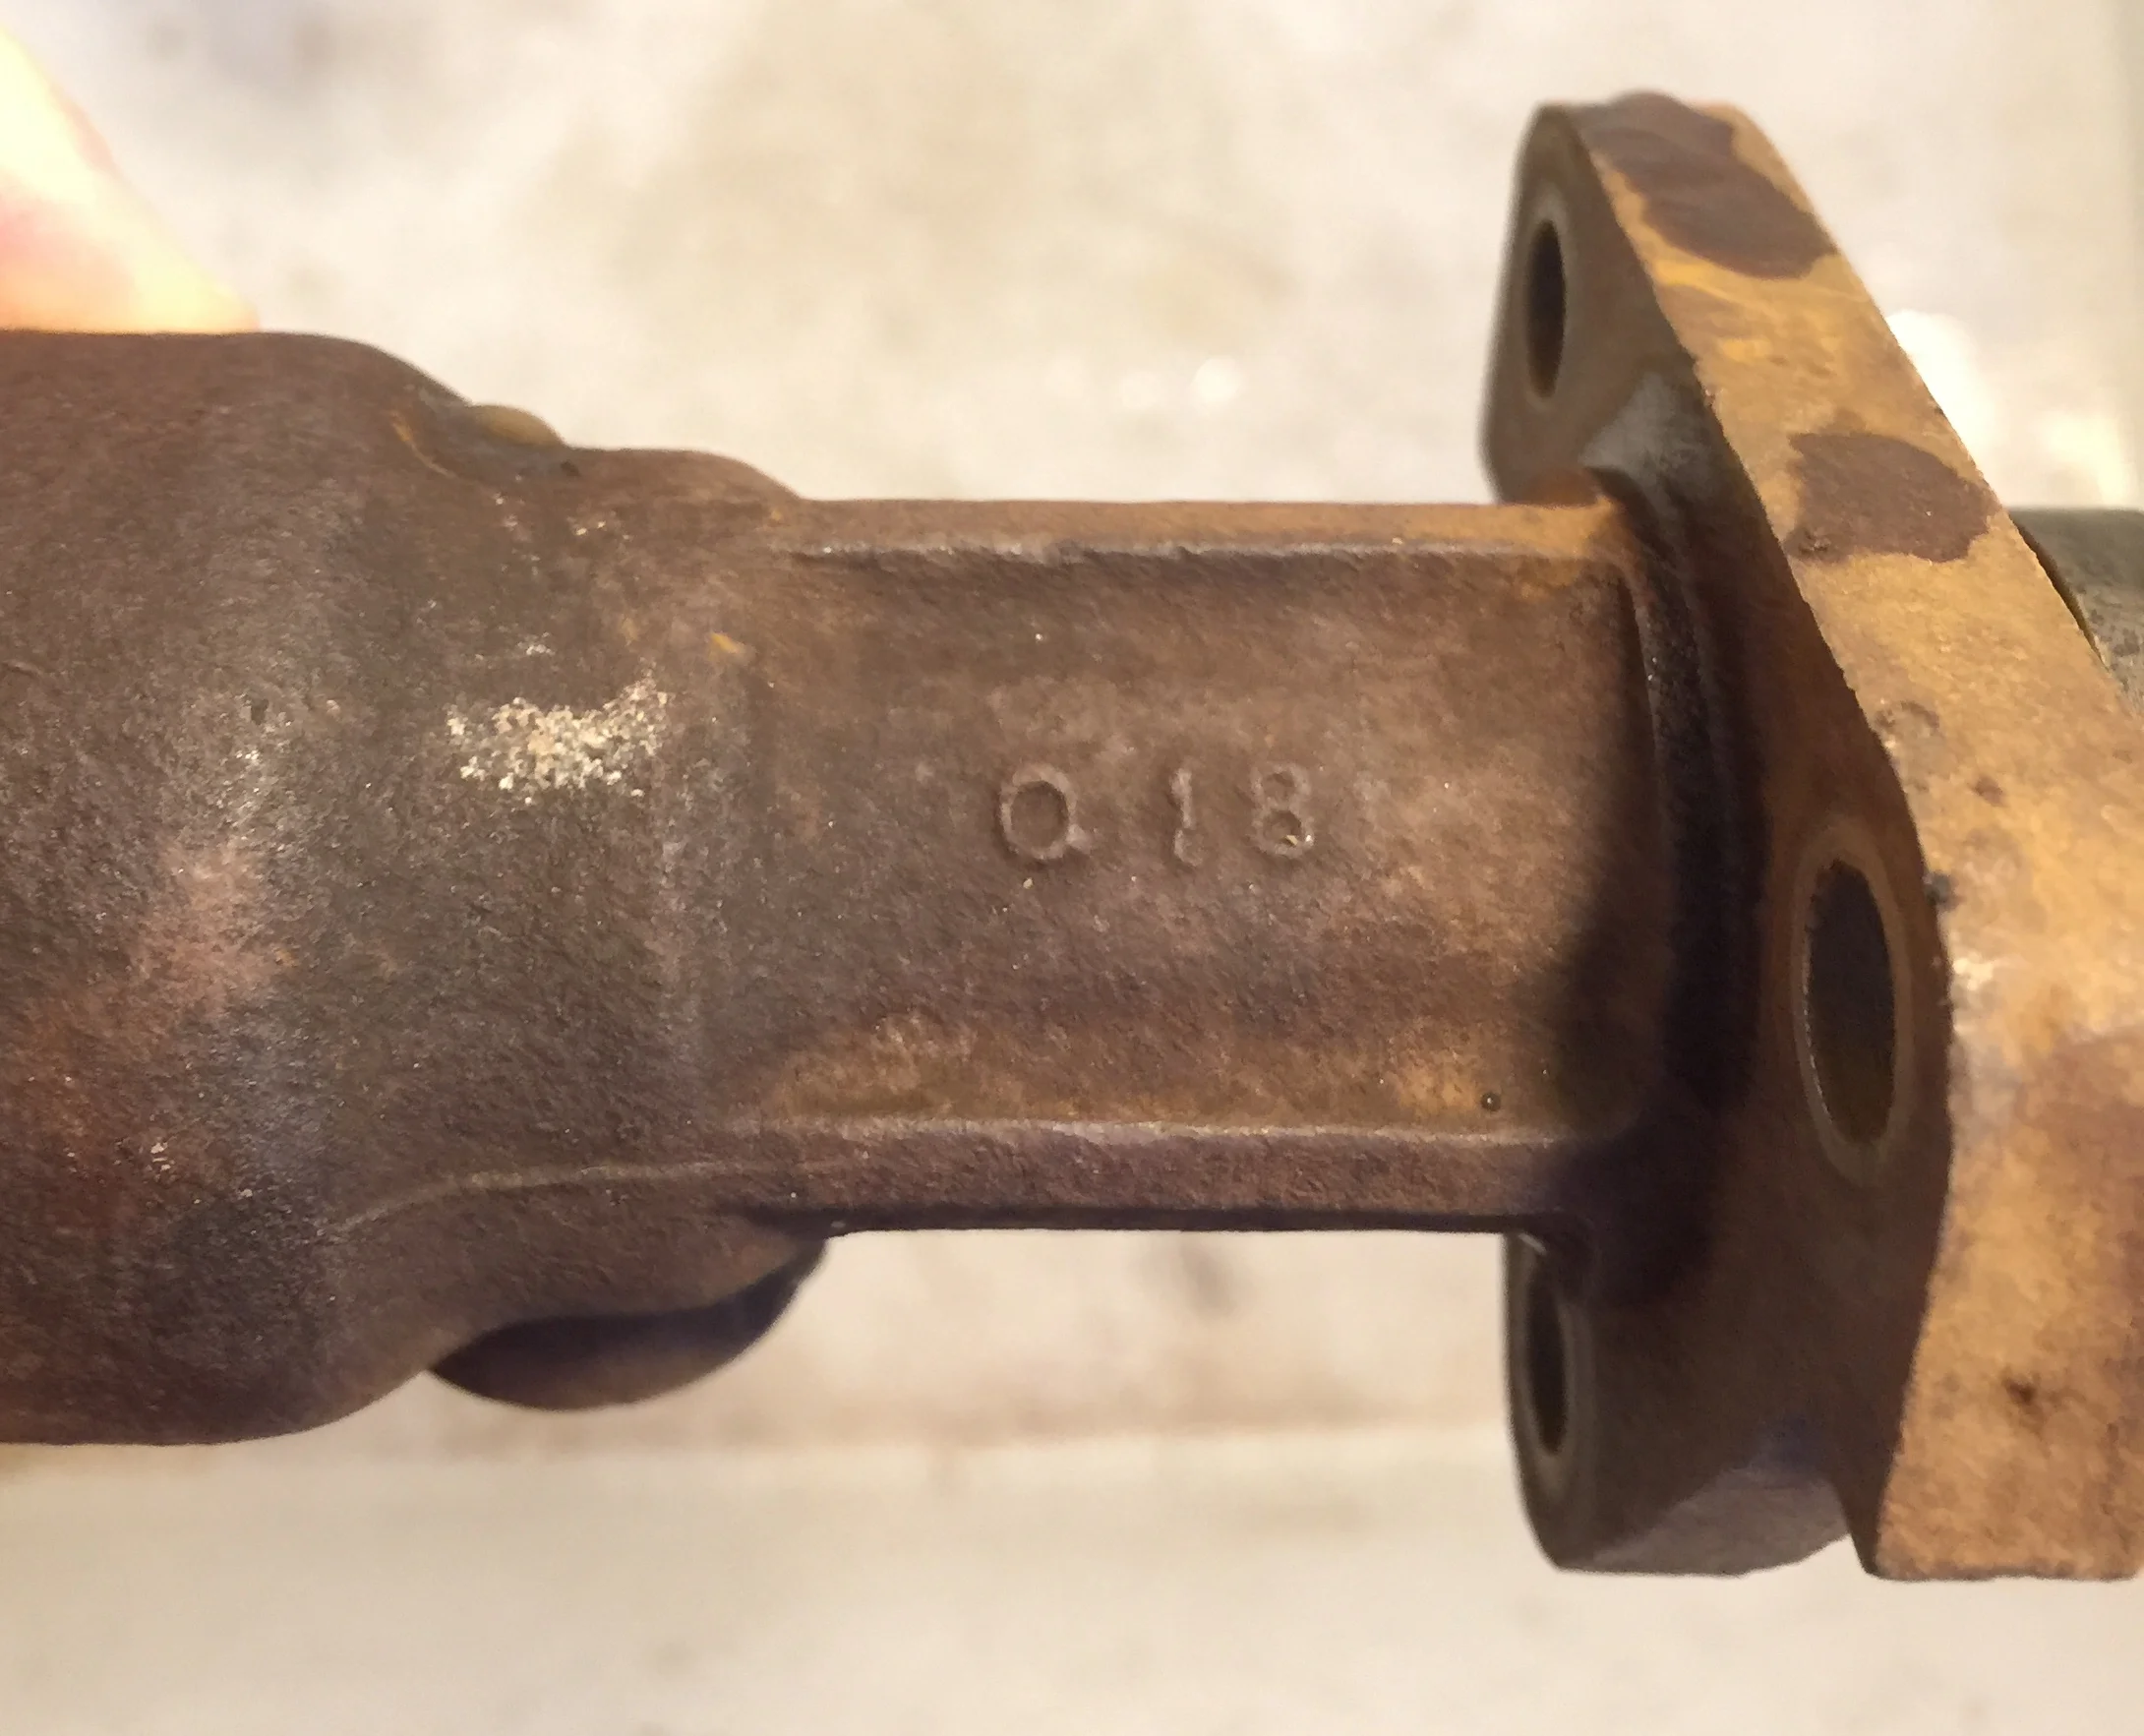
Clutch MC Casting Number
I'm not 100% sure what this number is, but it could potentially be an identifying factor when ordering replacement parts.
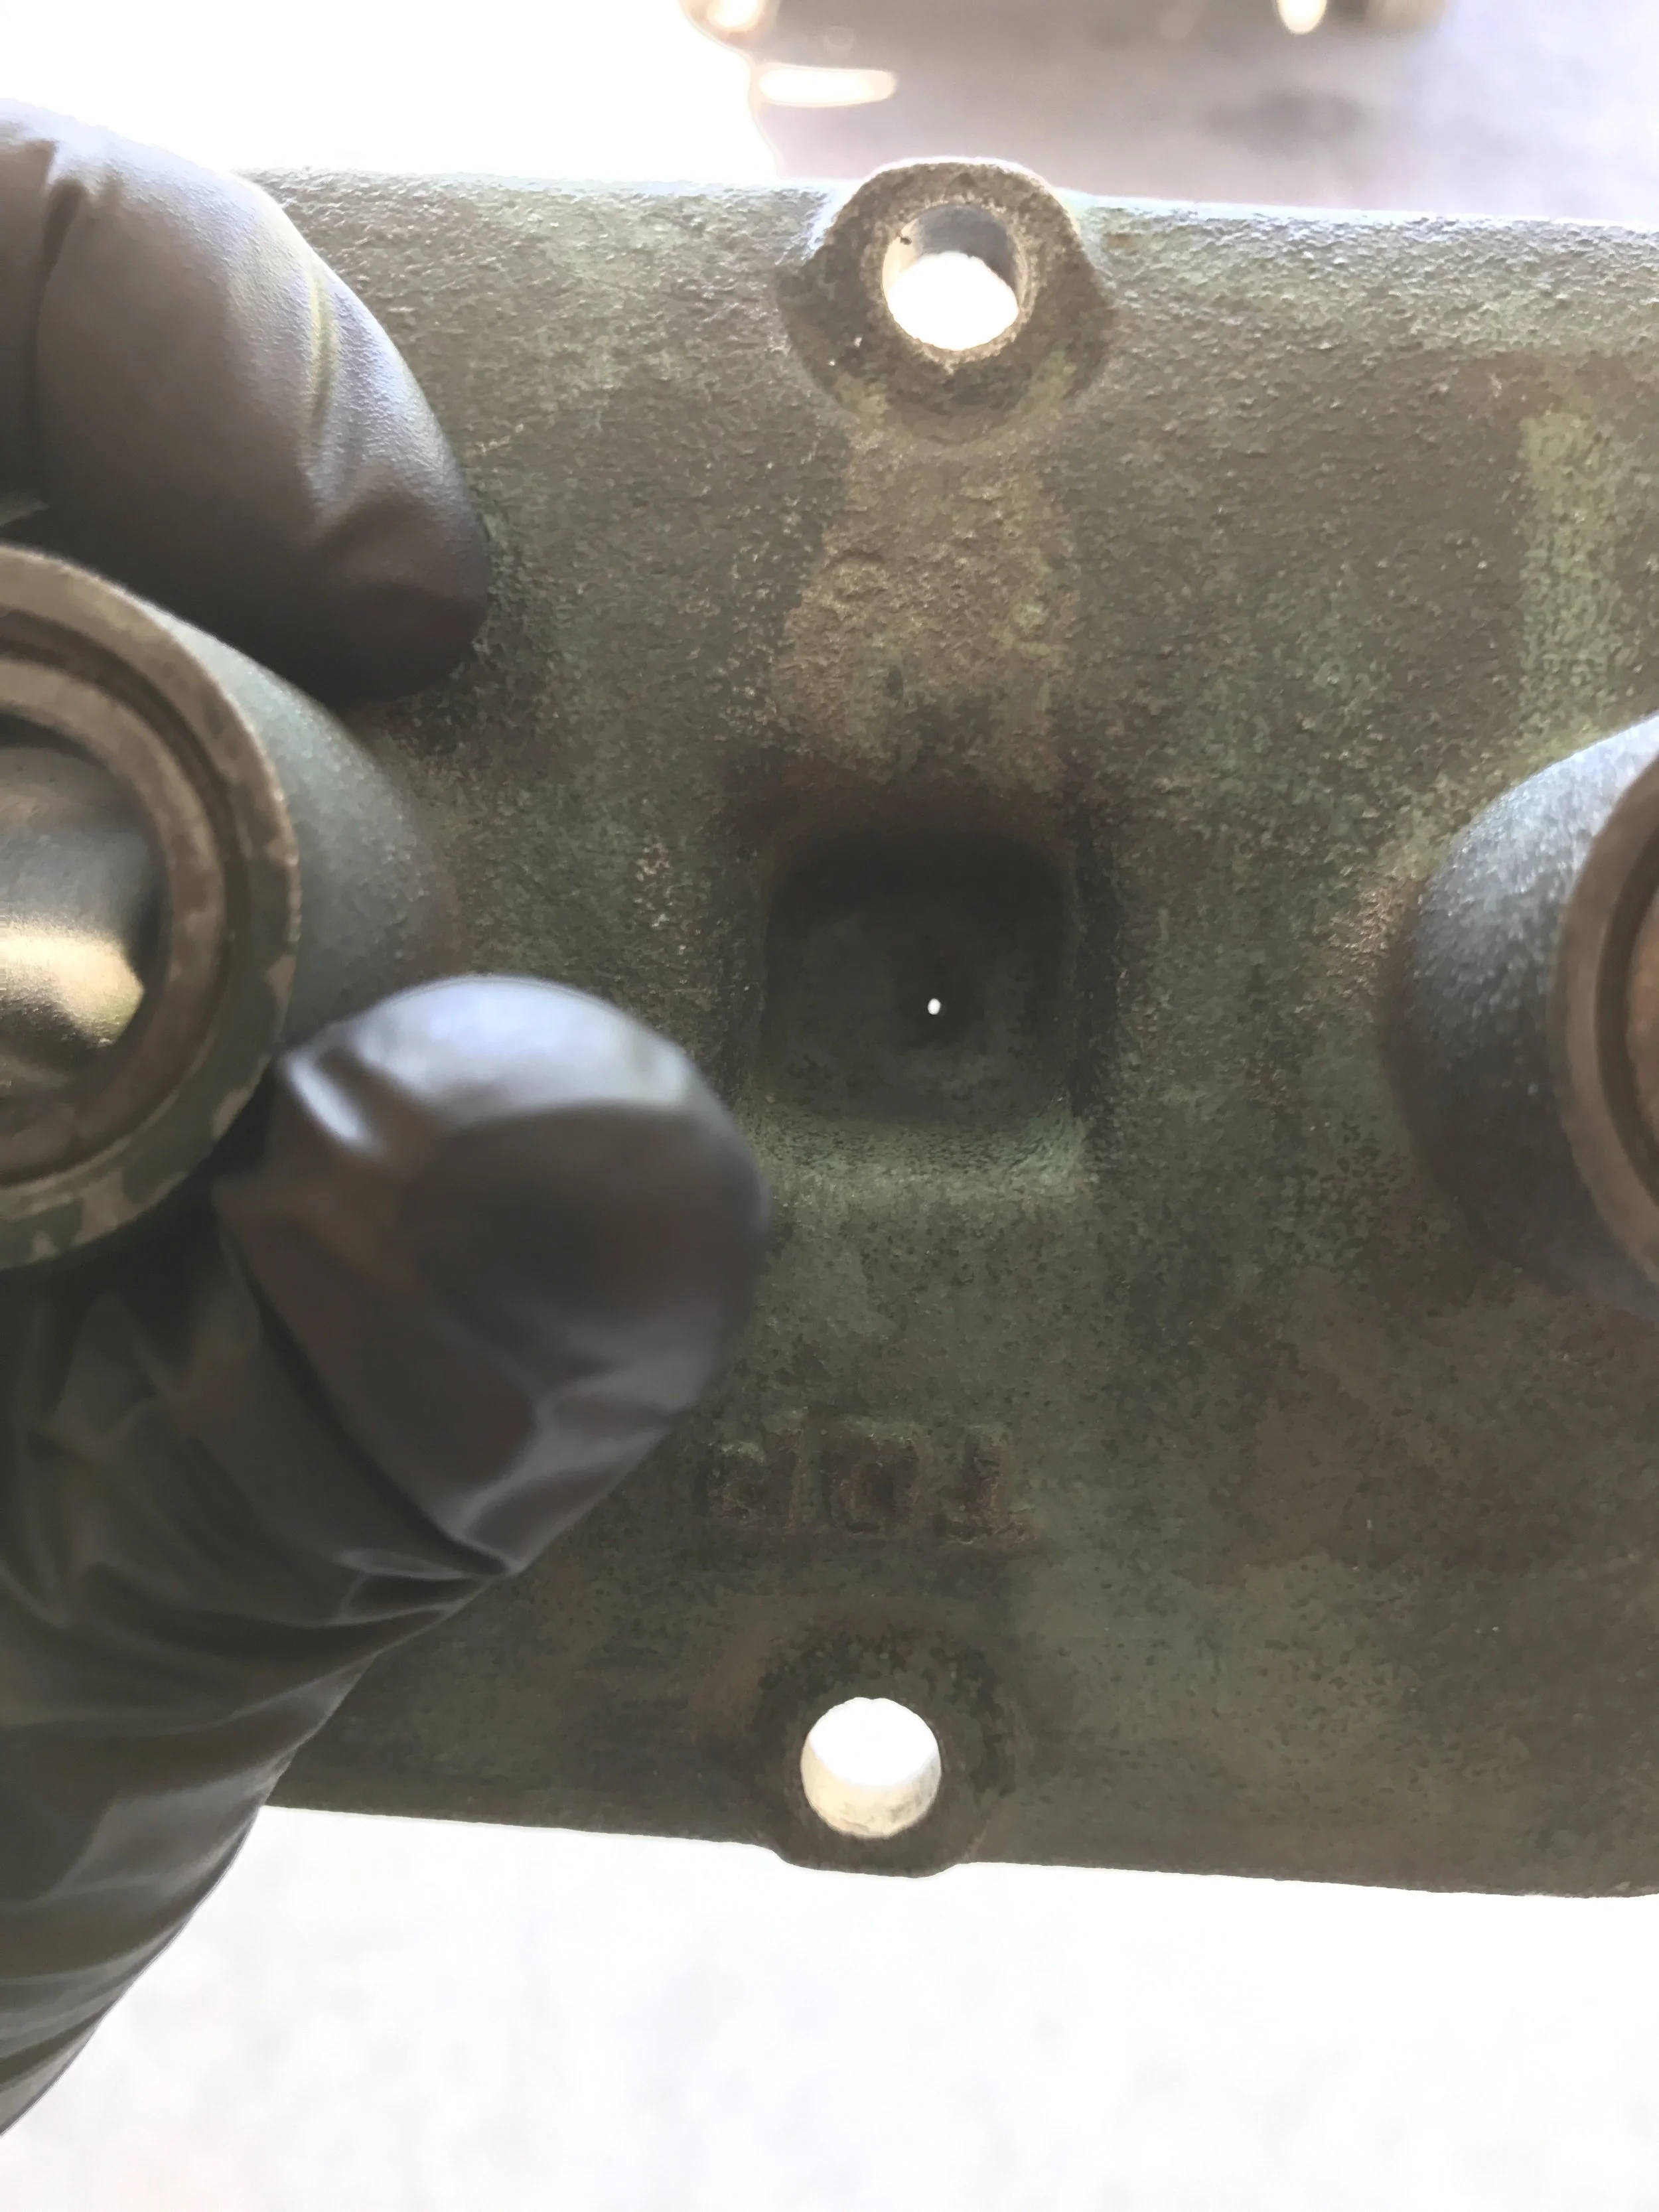
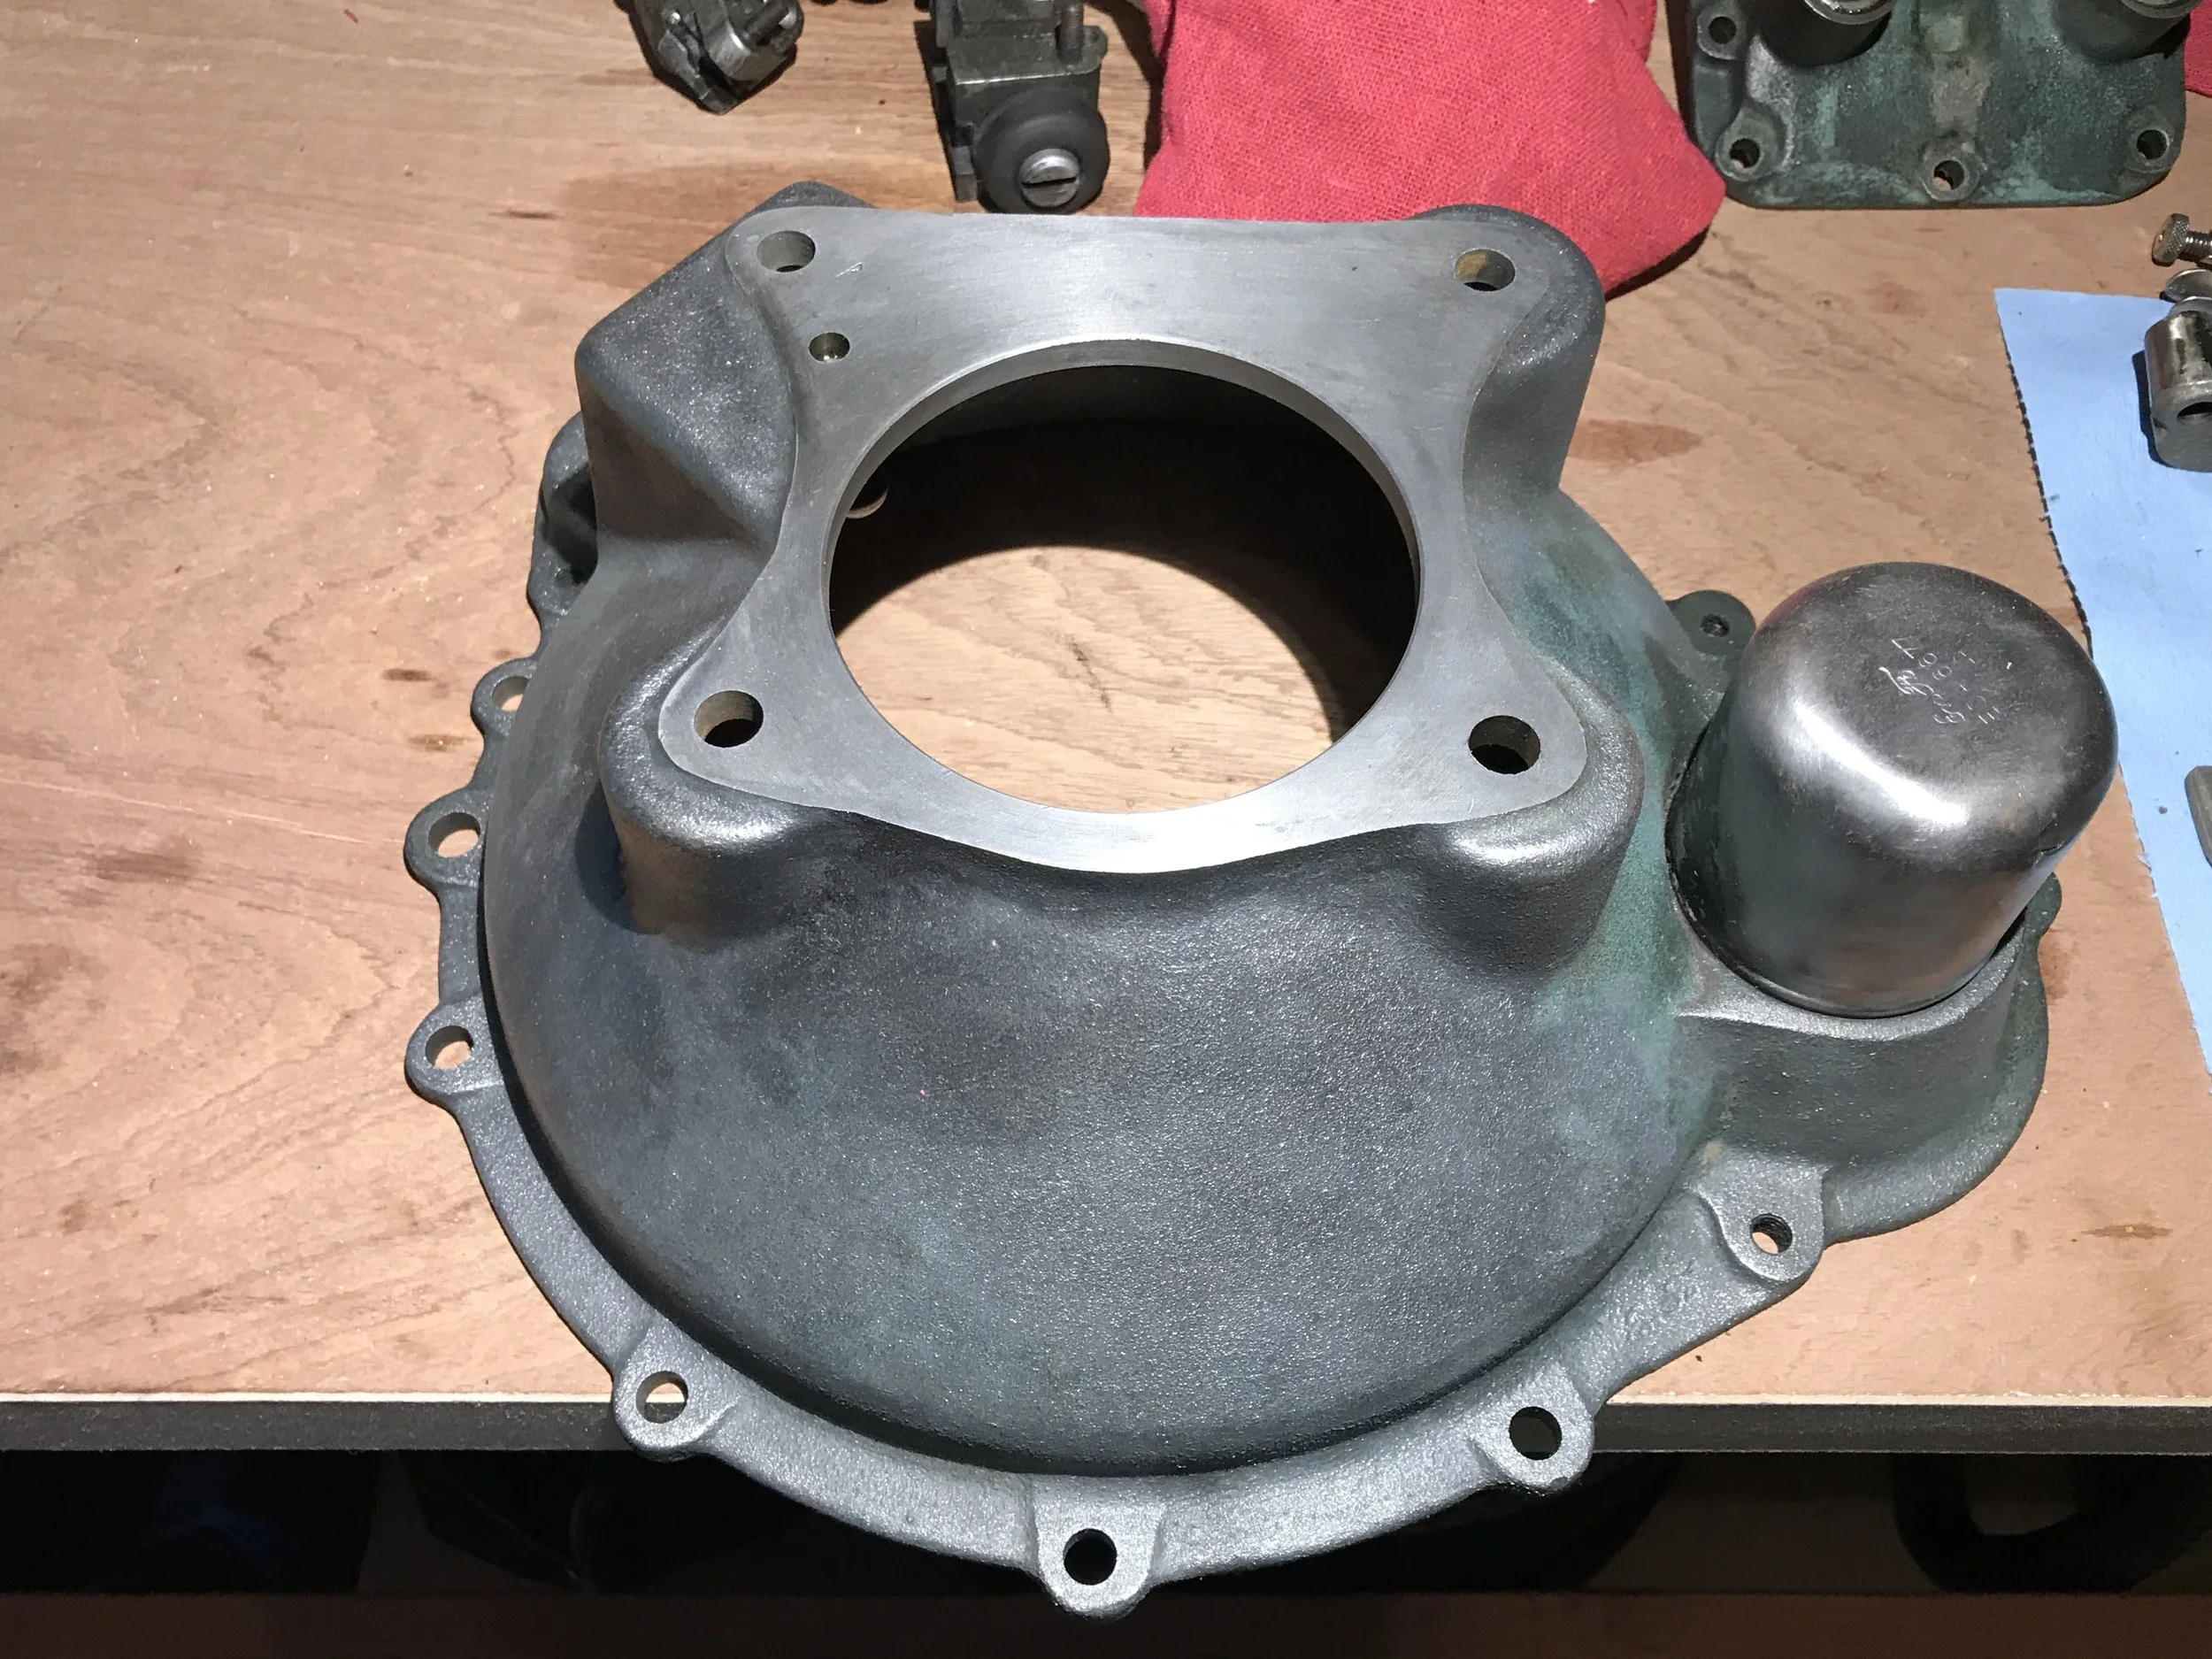
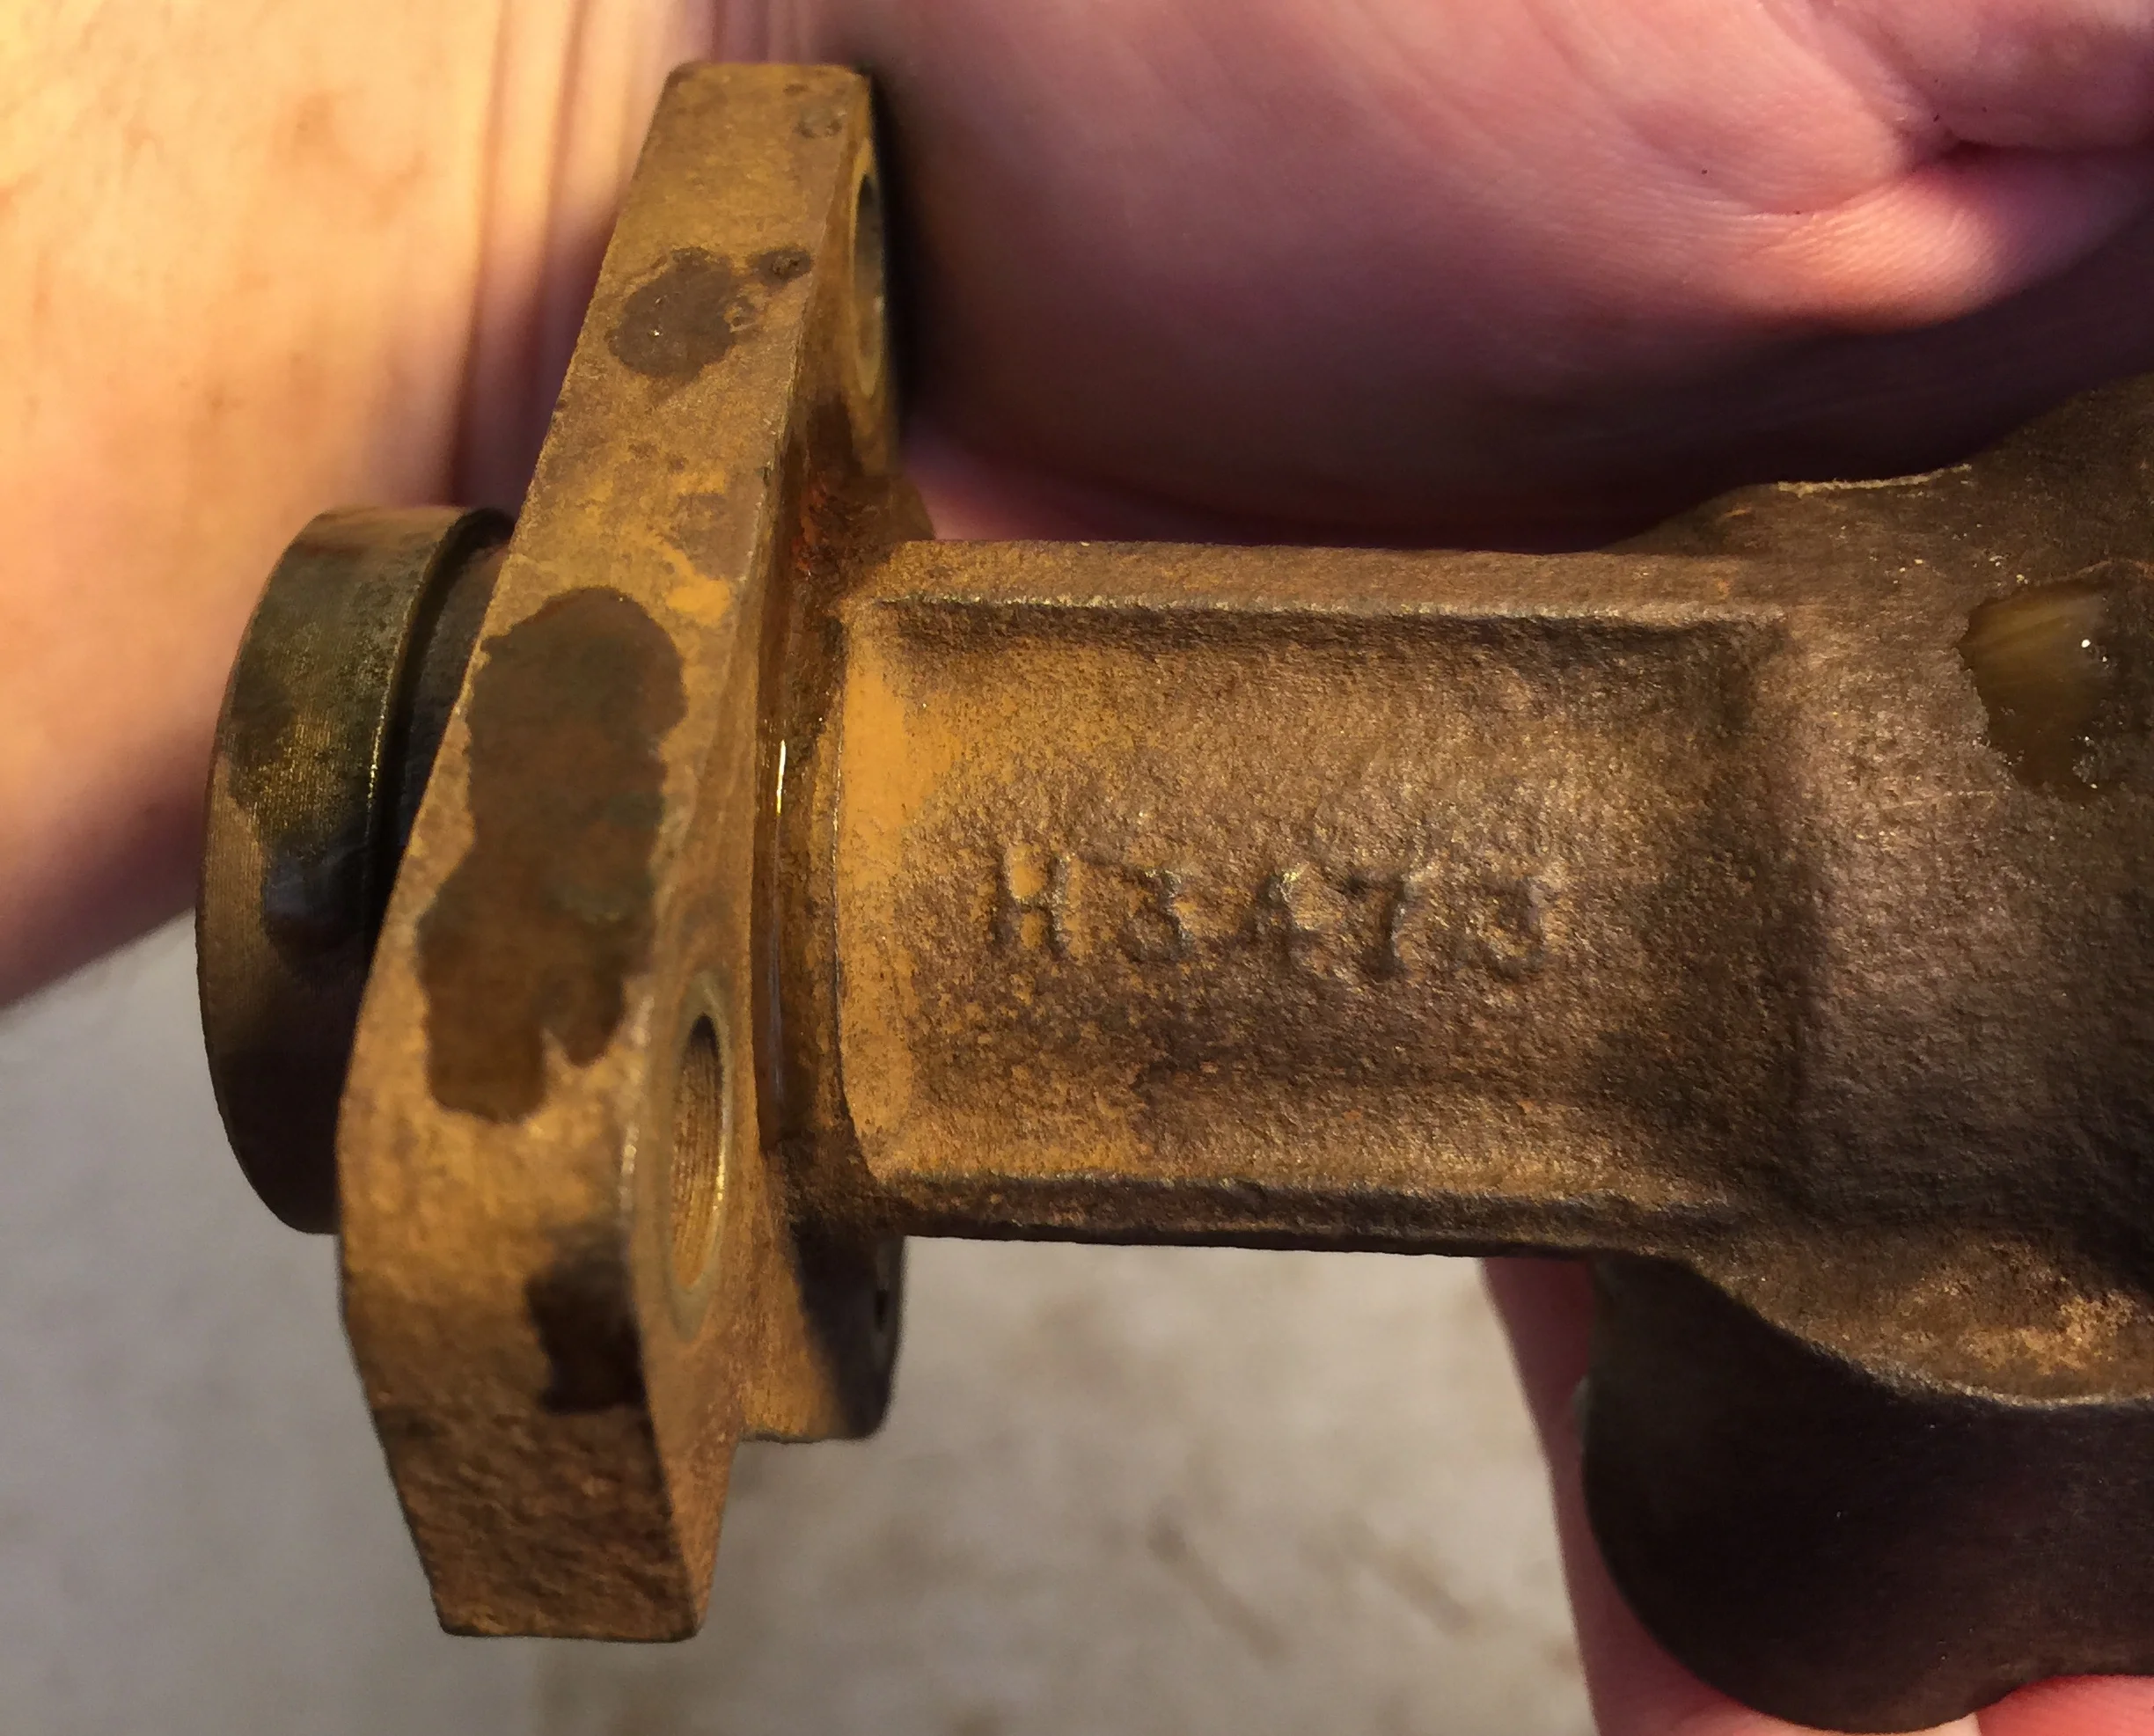
Brake MC Casting Number
This number wasn't particularly useful during my search, but it can be used to identify the part for ordering a replacement.
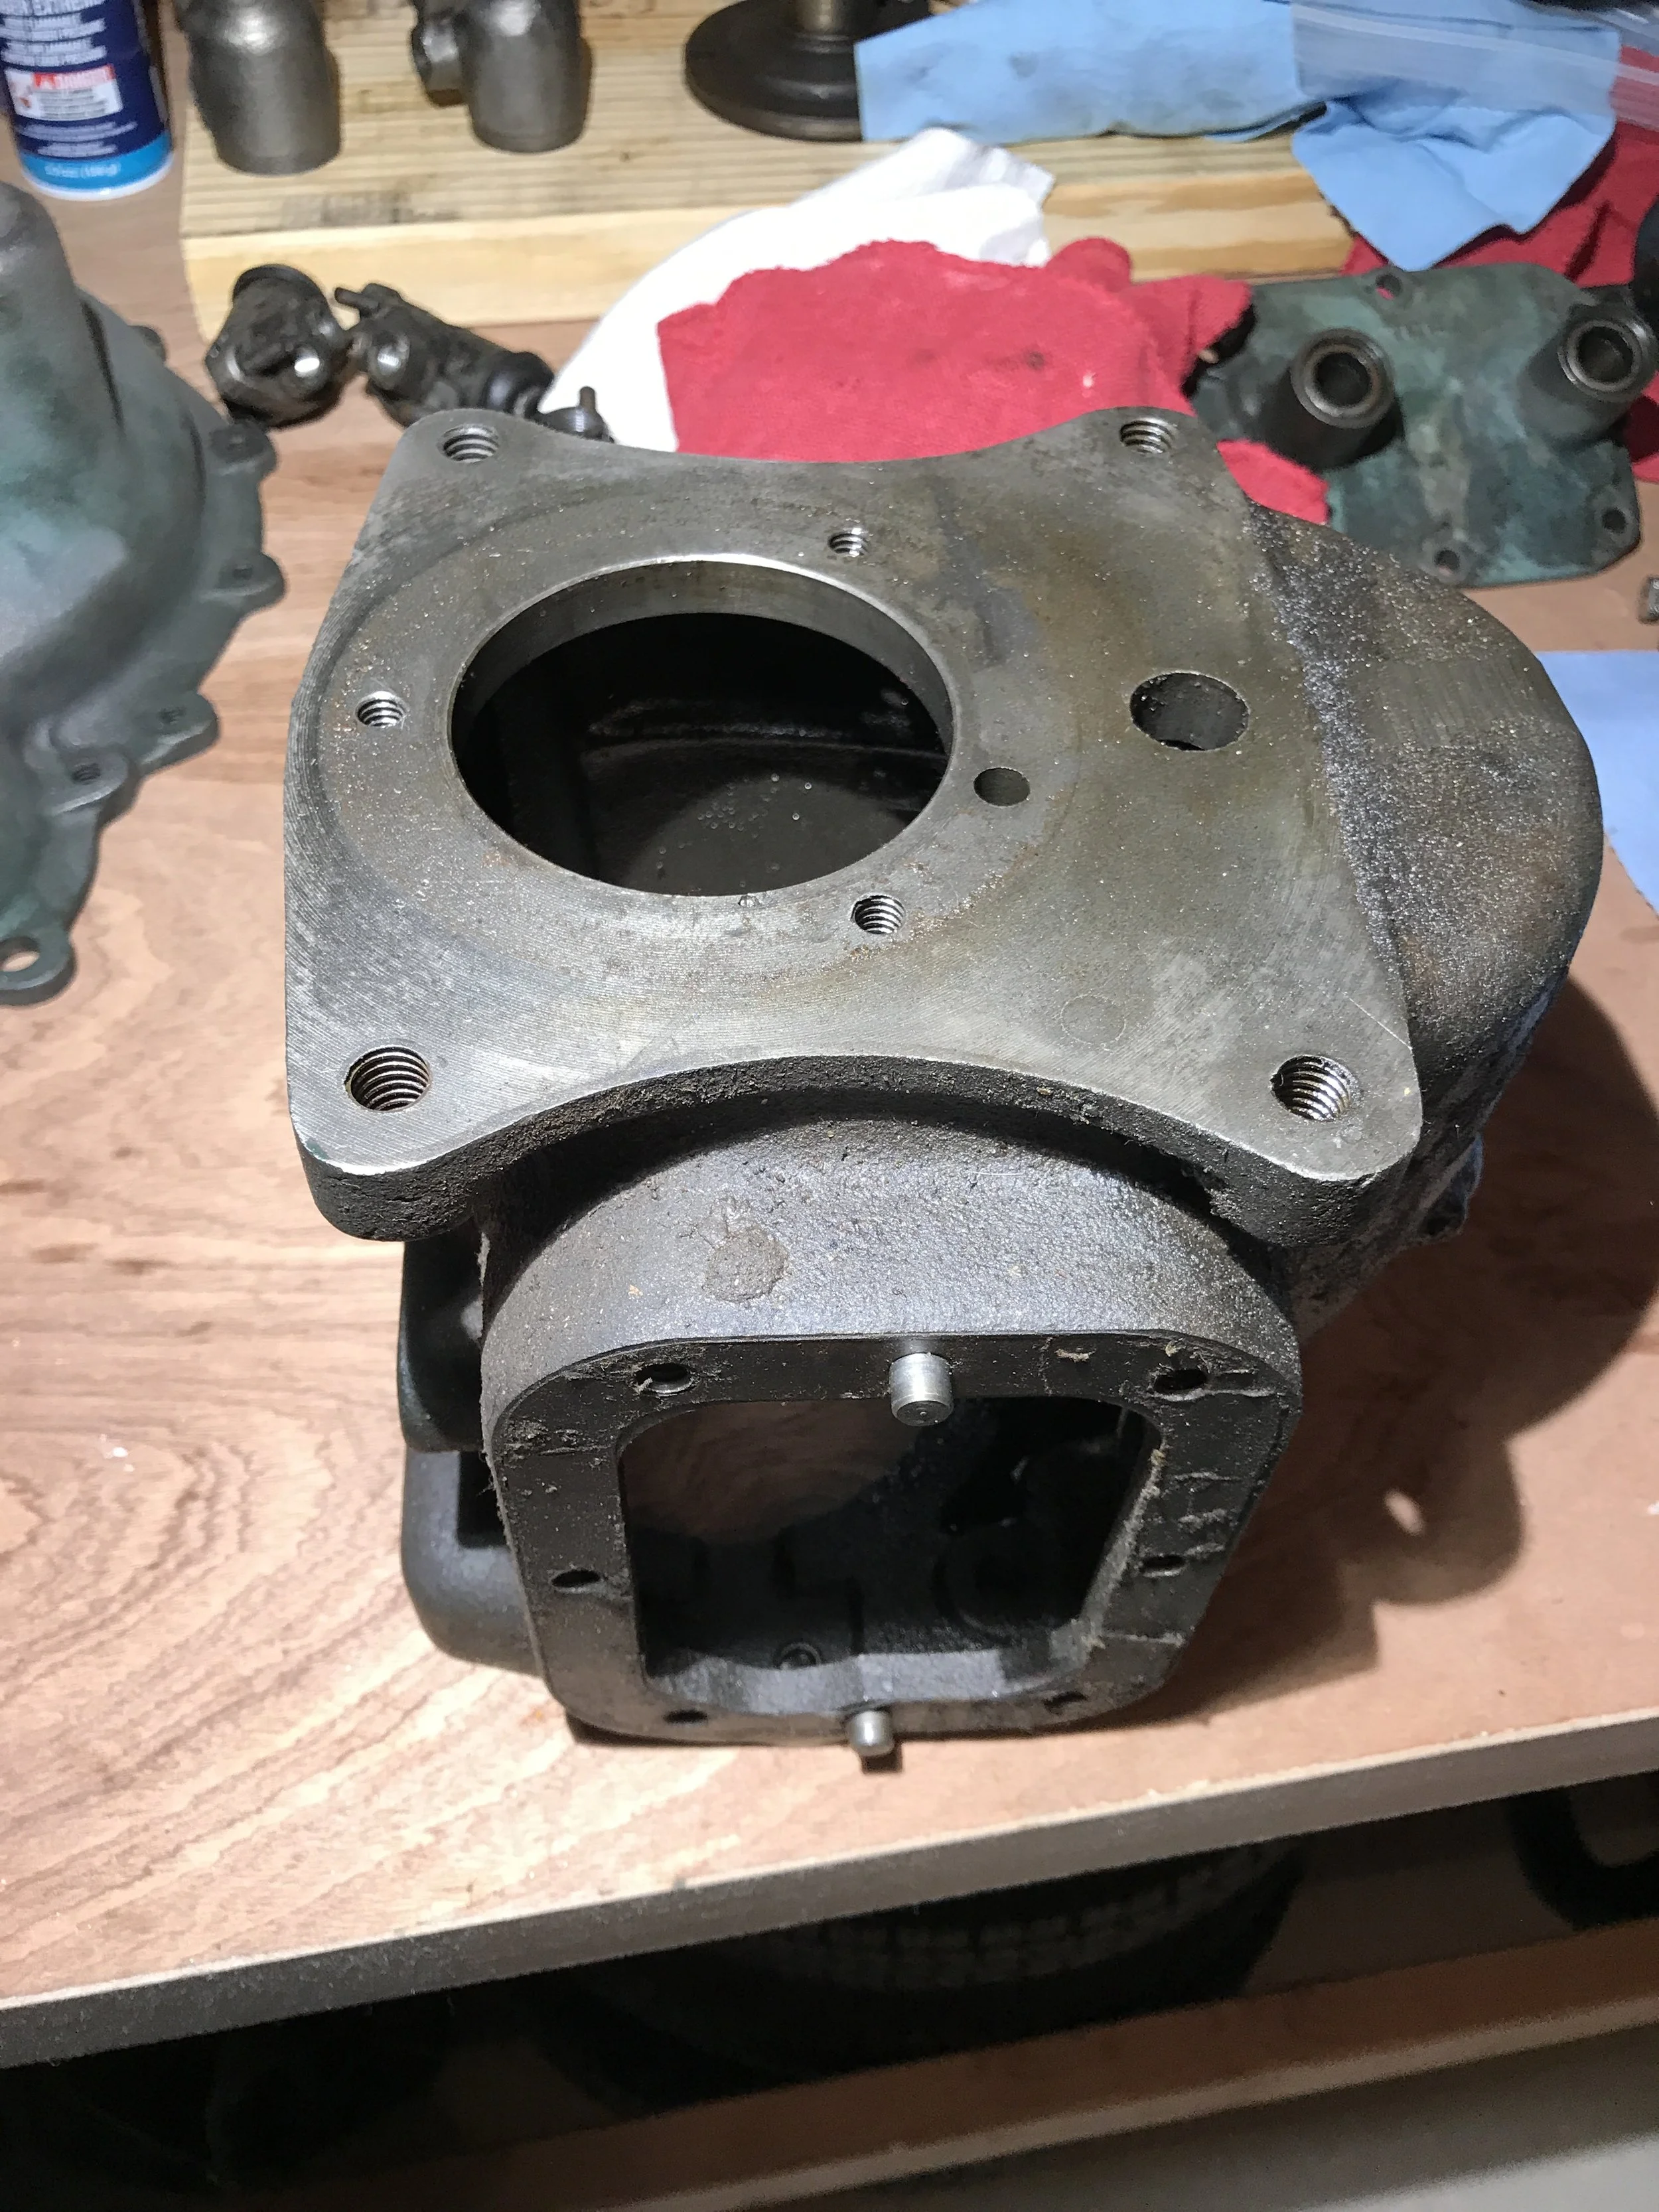
Brake MC Casting Number
I'm not 100% sure what this number is, but it could potentially be an identifying factor when ordering replacement parts.
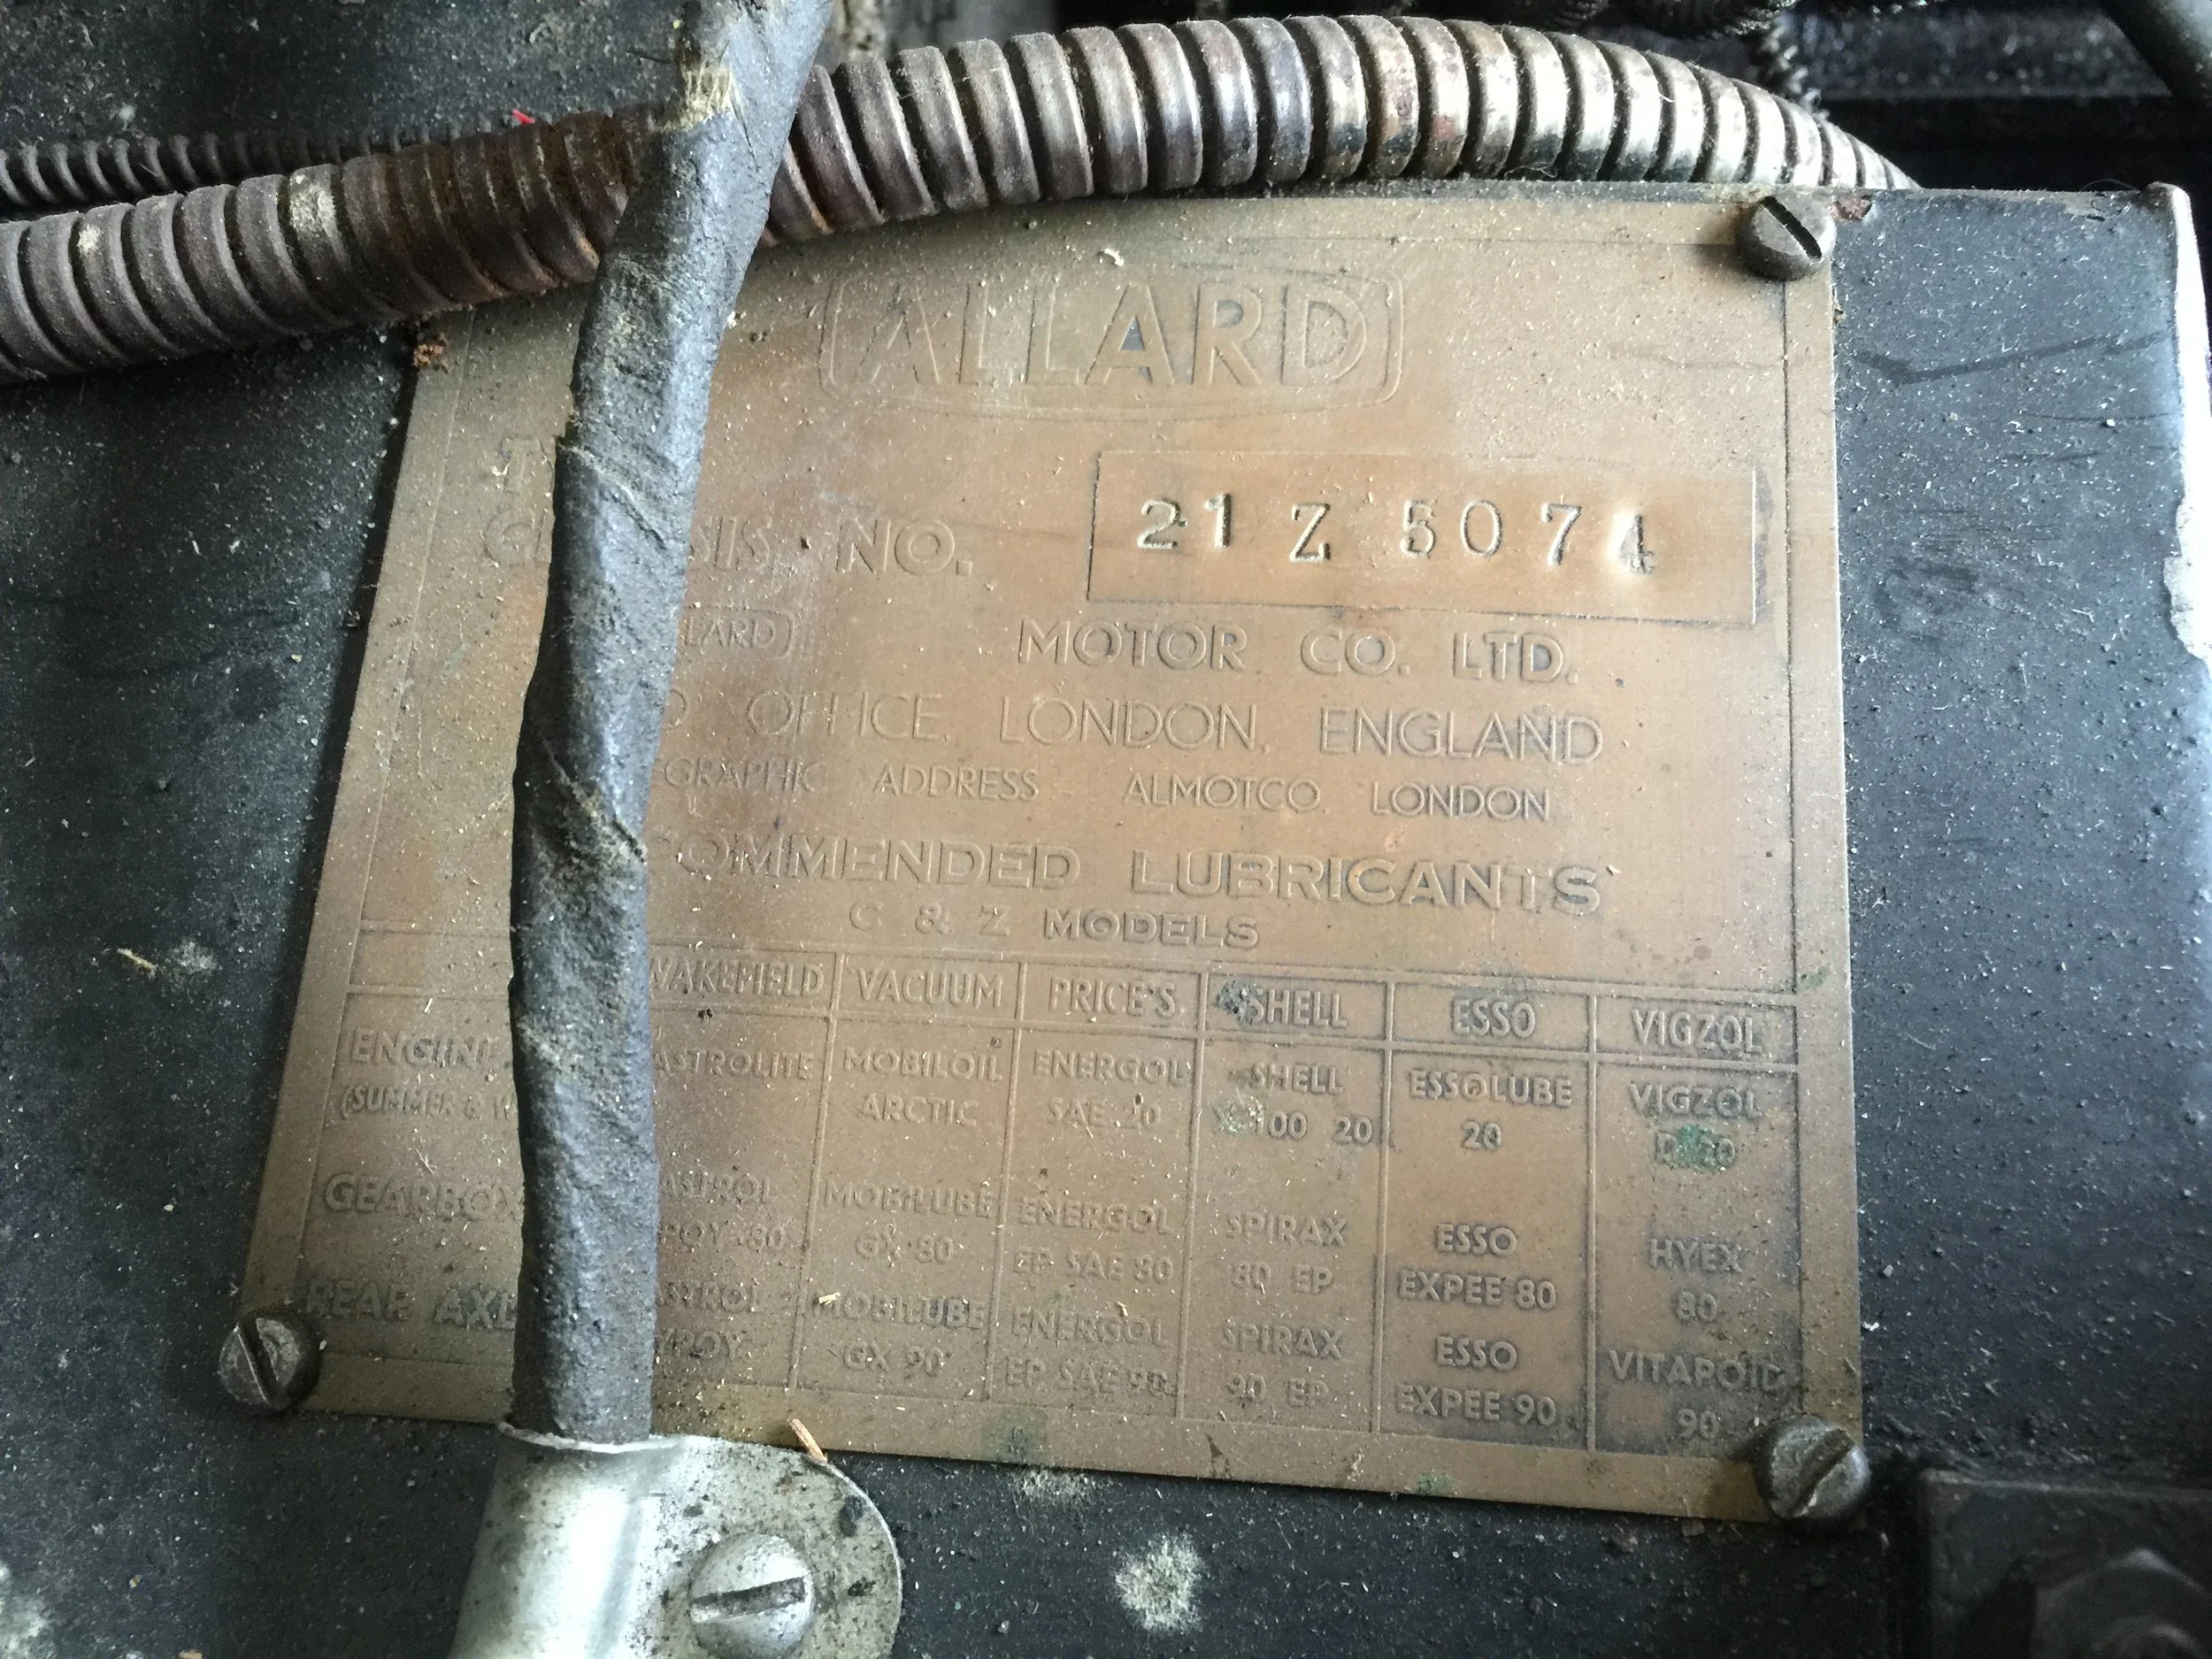
The VIN Plate
This is the "VIN" plate of the car. It's VIN is "21Z 5074." The 21Z refers to the model and engine combination - the Palm Beach Mk1 with the Ford Zephyr I6 engine. This plate also has handy information like the lubrication schedule for engine oil and other fluids.

The Engine VIN
The engine VIN reads "E0TTA 36424." The "E0TTA" indicates that the engine is from a Ford Zephyr Mk1. This is the original engine shipped with this car. The records from the factory show the VIN and engine number are an original pail.

The Engine Bay
This hopefully shows just how much room is in this engine bay. The I6 (or straight 6) engine is very narrow, and it's only fed by 1 carburetor.

Seats Removed
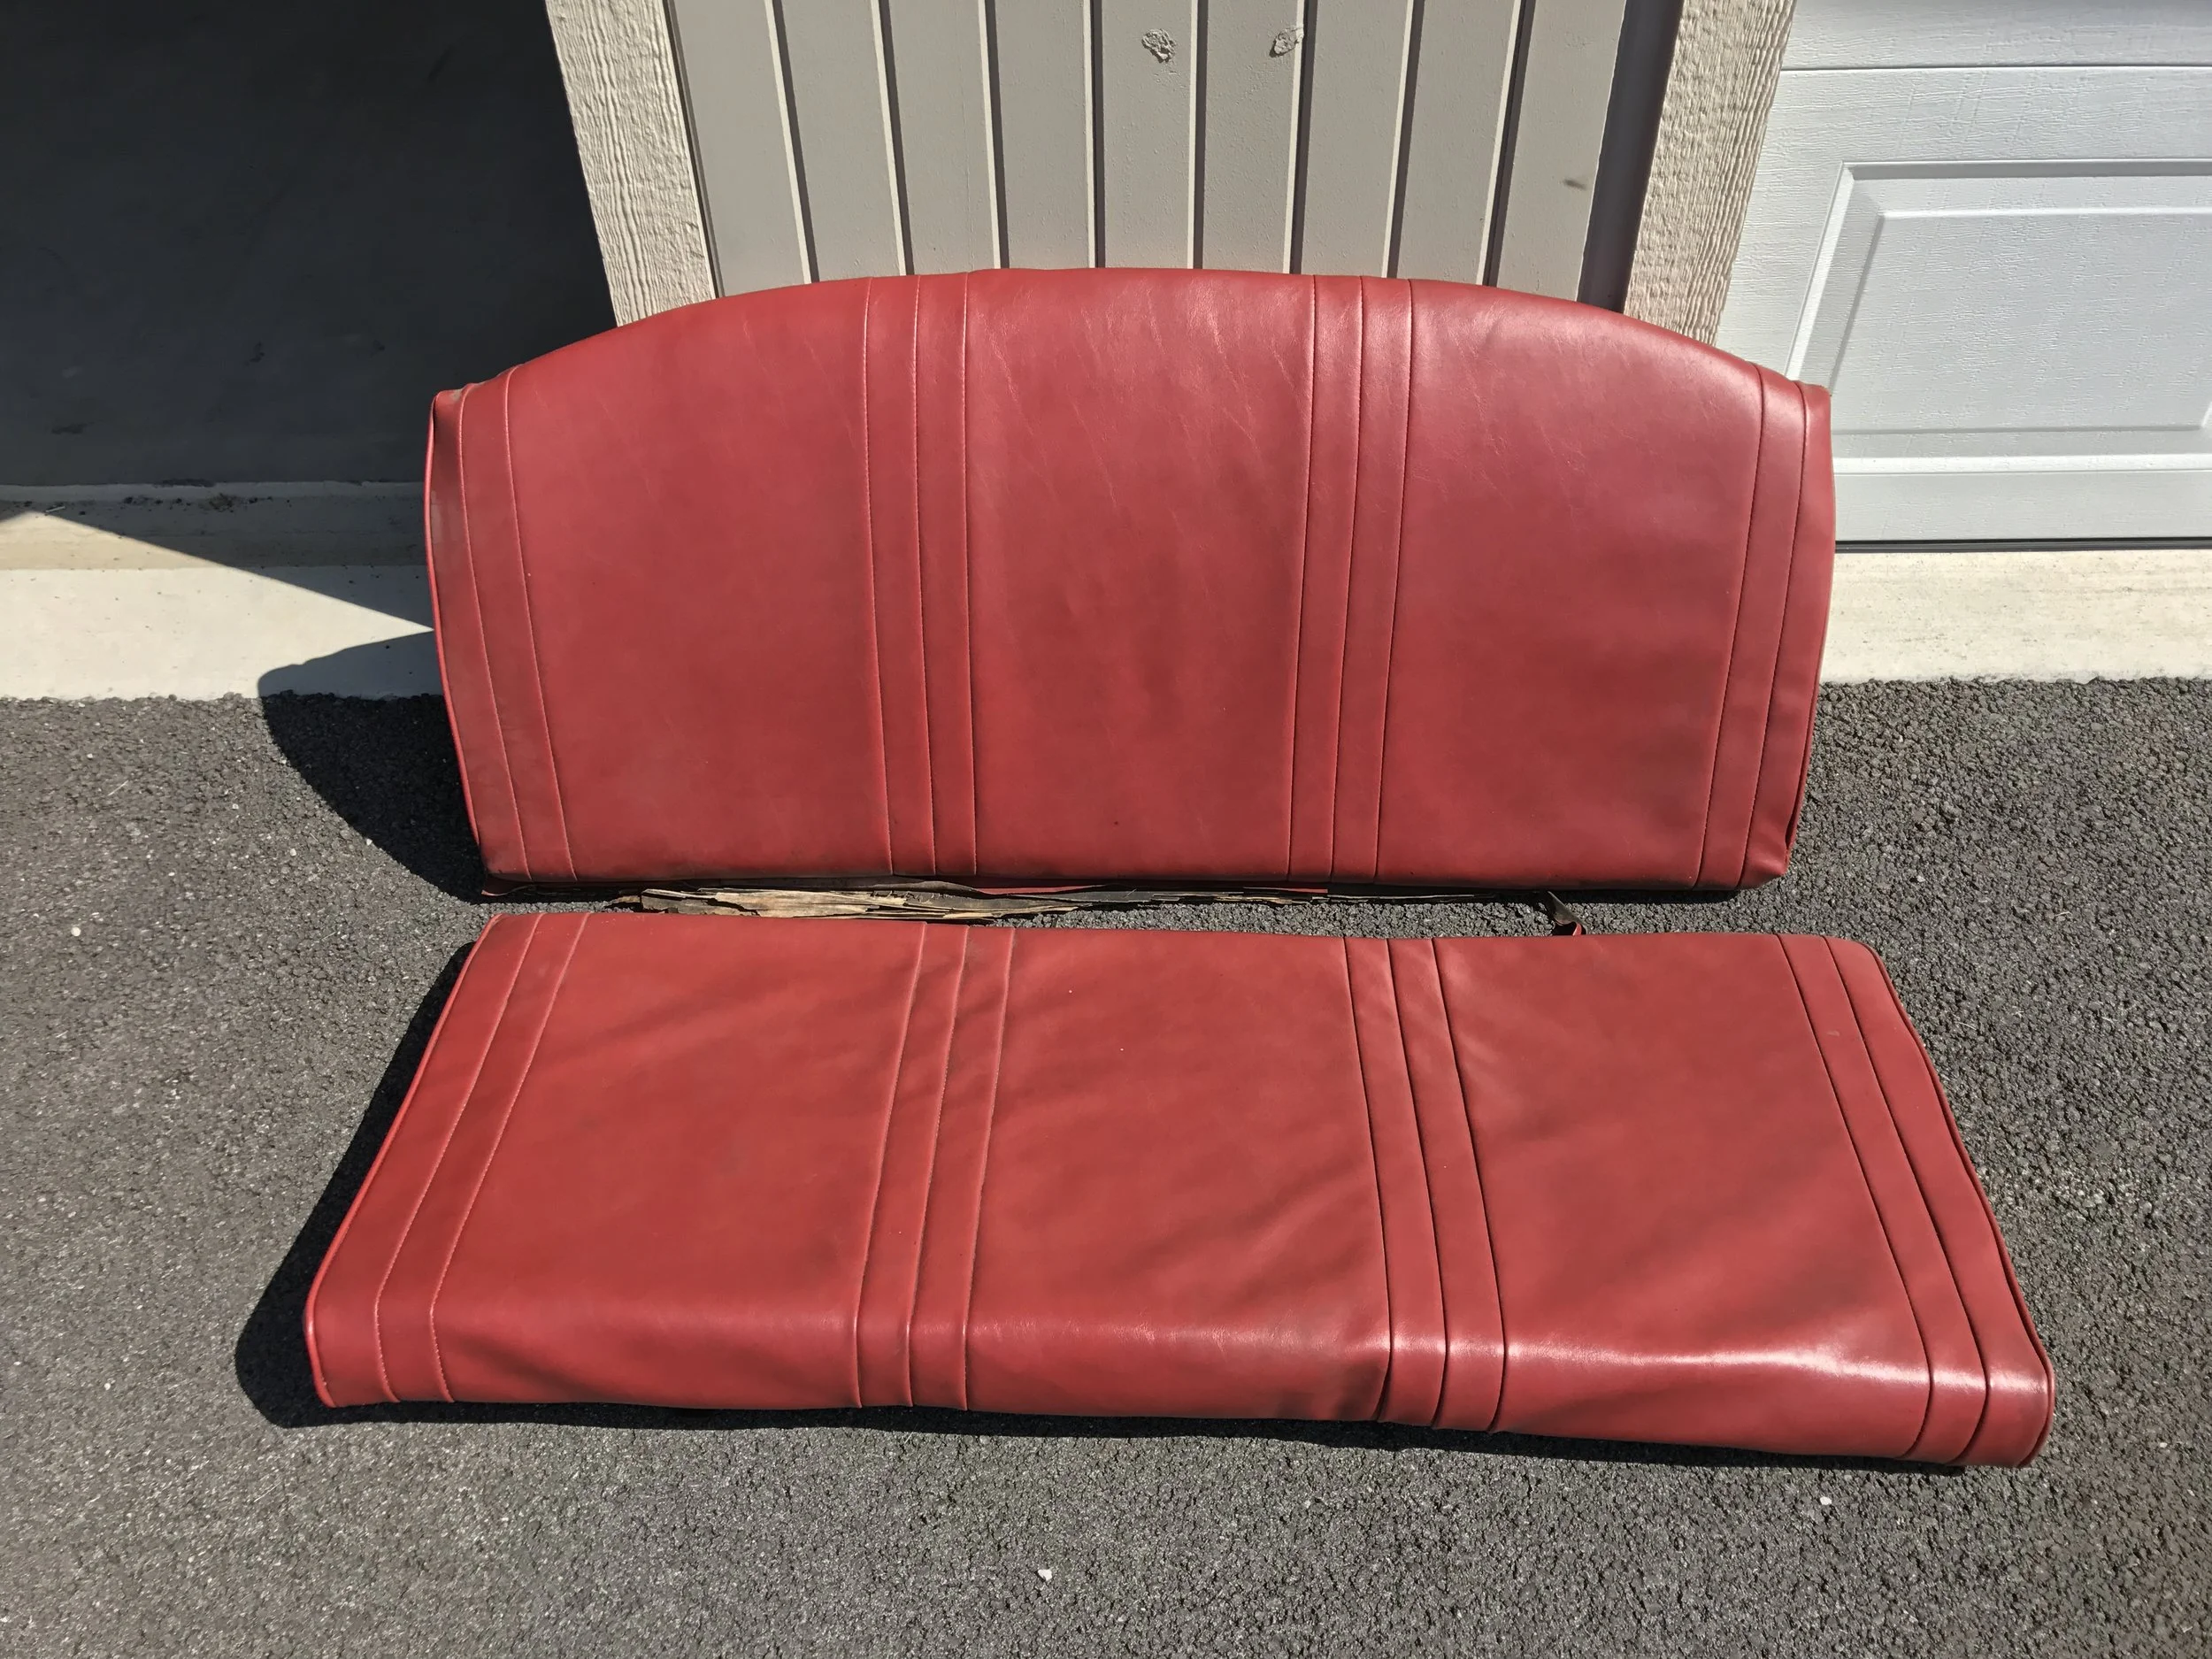
I removed the bench seat, to find a lot of it still in the car. The wooden seat frame got so deteriorated, it crumbles every time you touch it. You can also see the remains of the convertible top that is stored behind the seat - it's also totally disintegrated.
The Convertible Carcas
Here's the shape of the convertible top. The frame is still in pretty decent condition, but the canvas top is completely disintegrated.
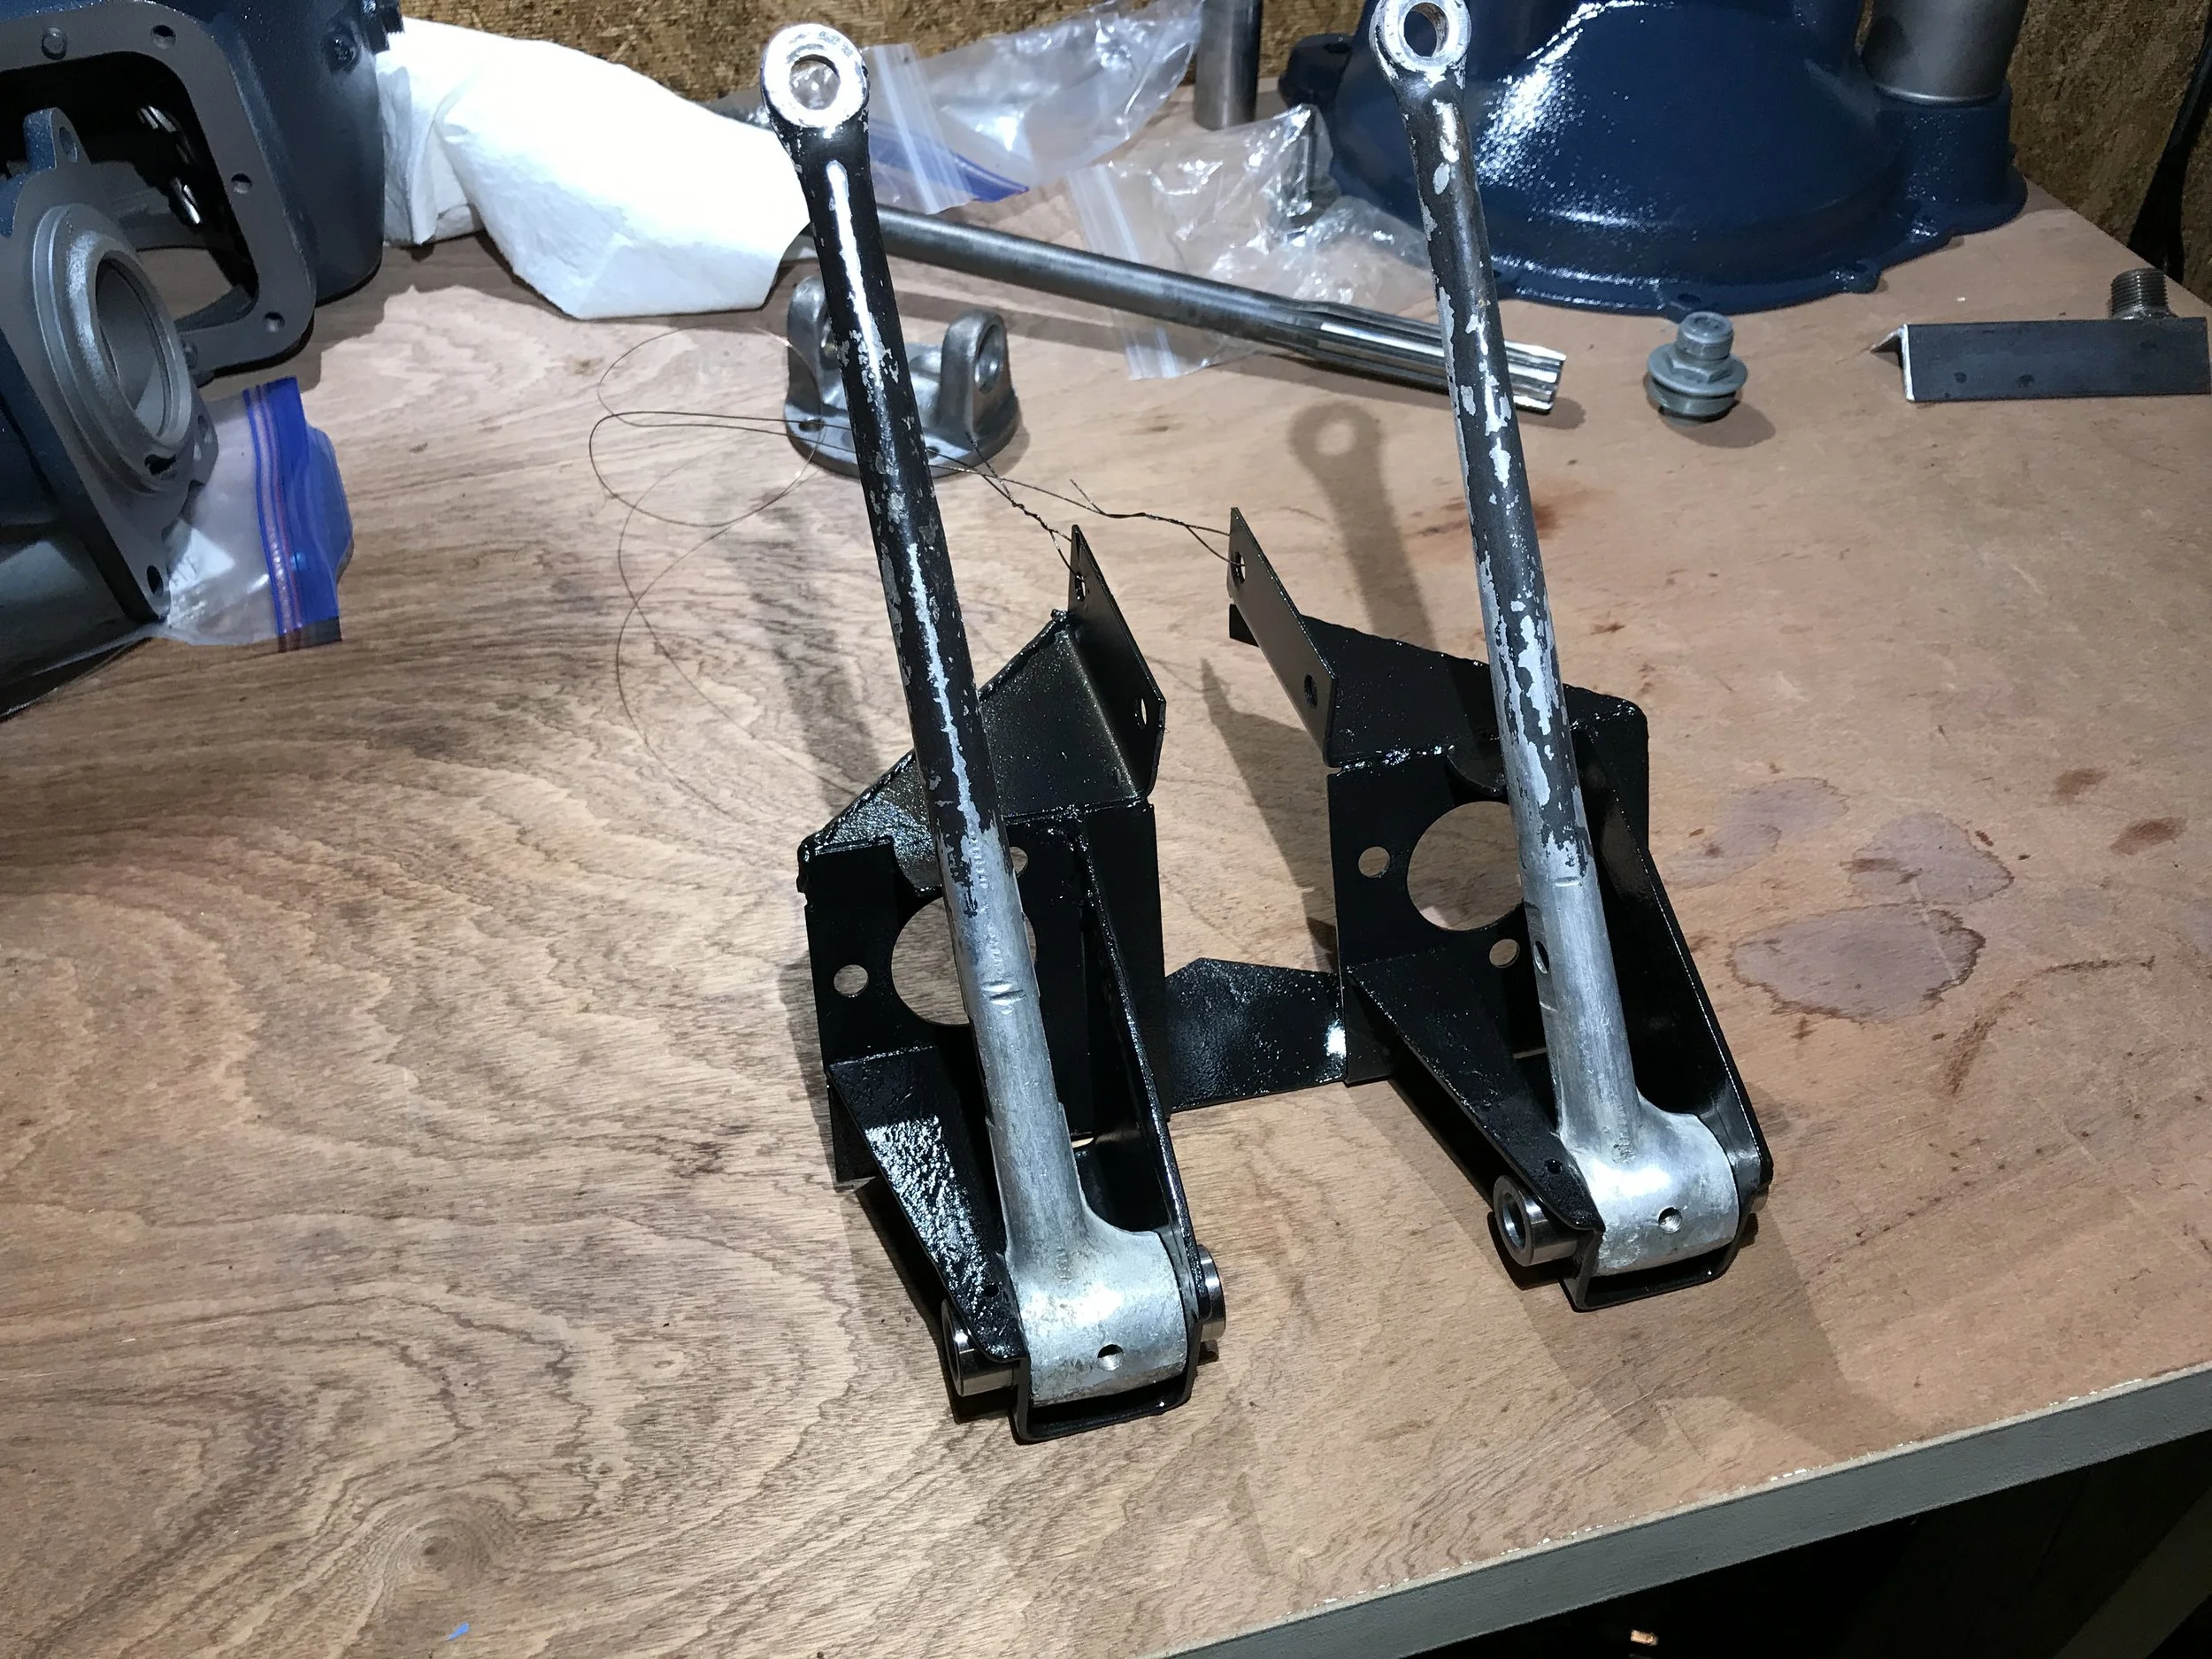
Clutch and Brake Pedal Assembly
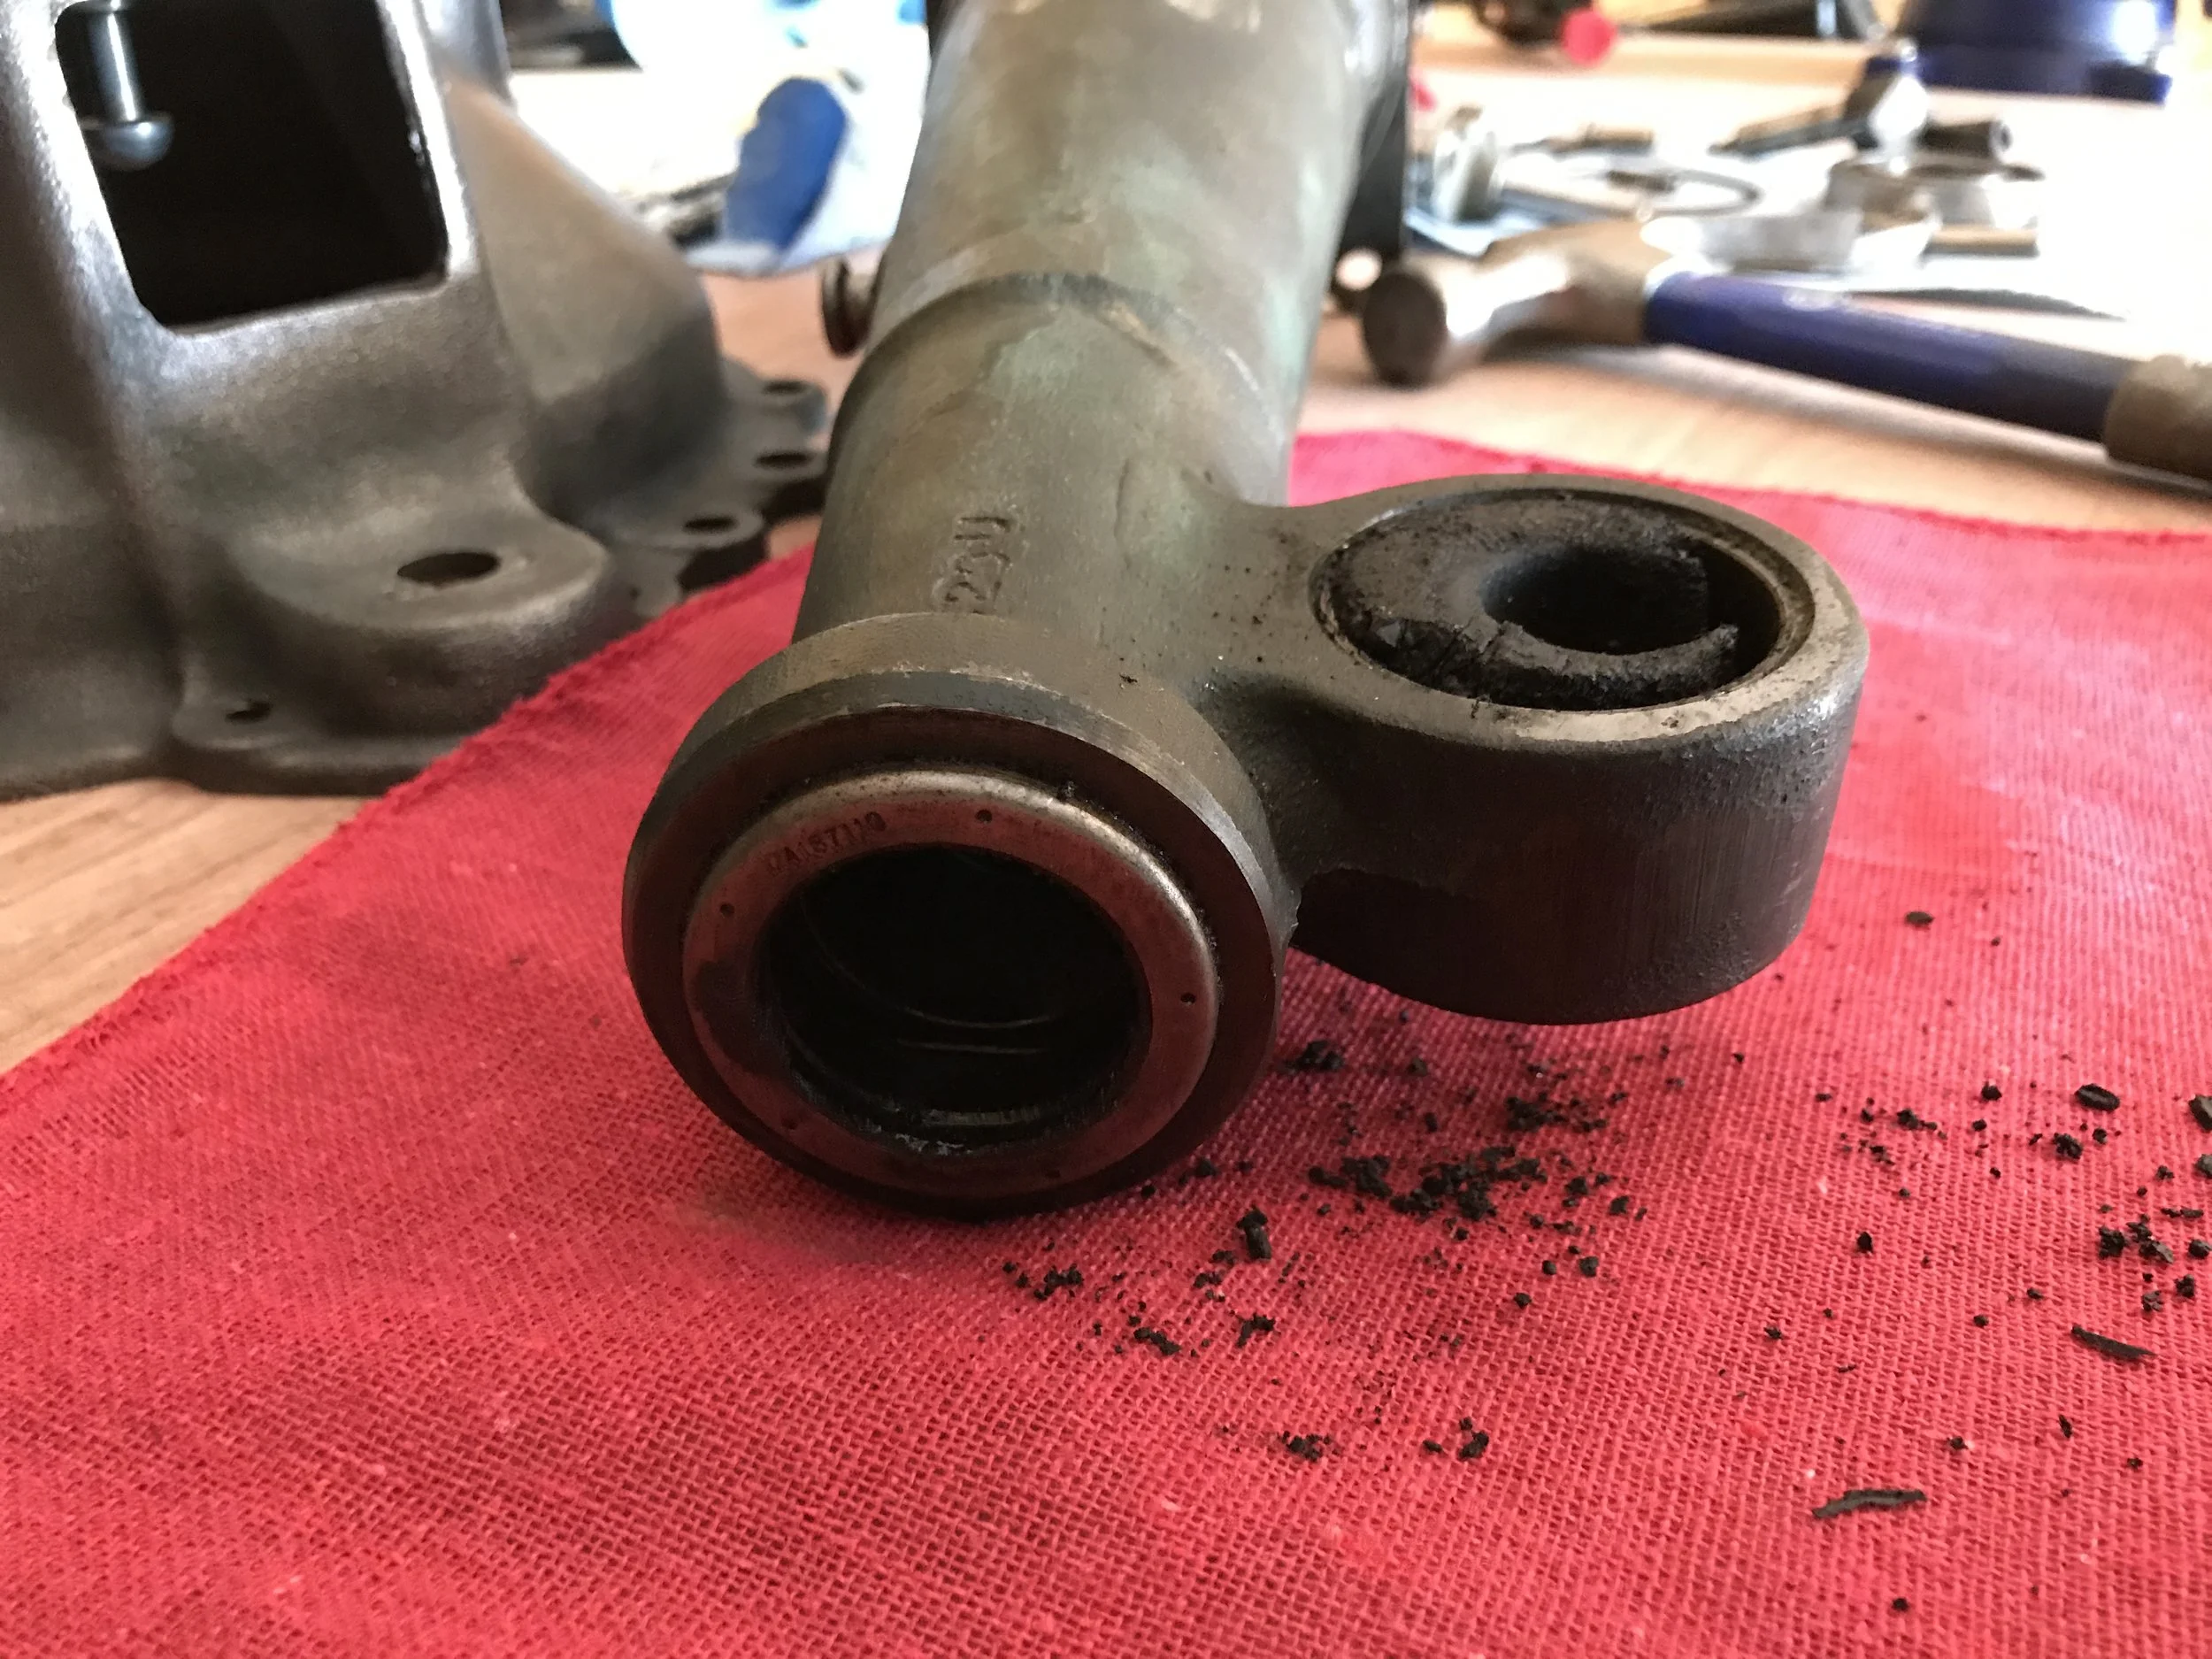
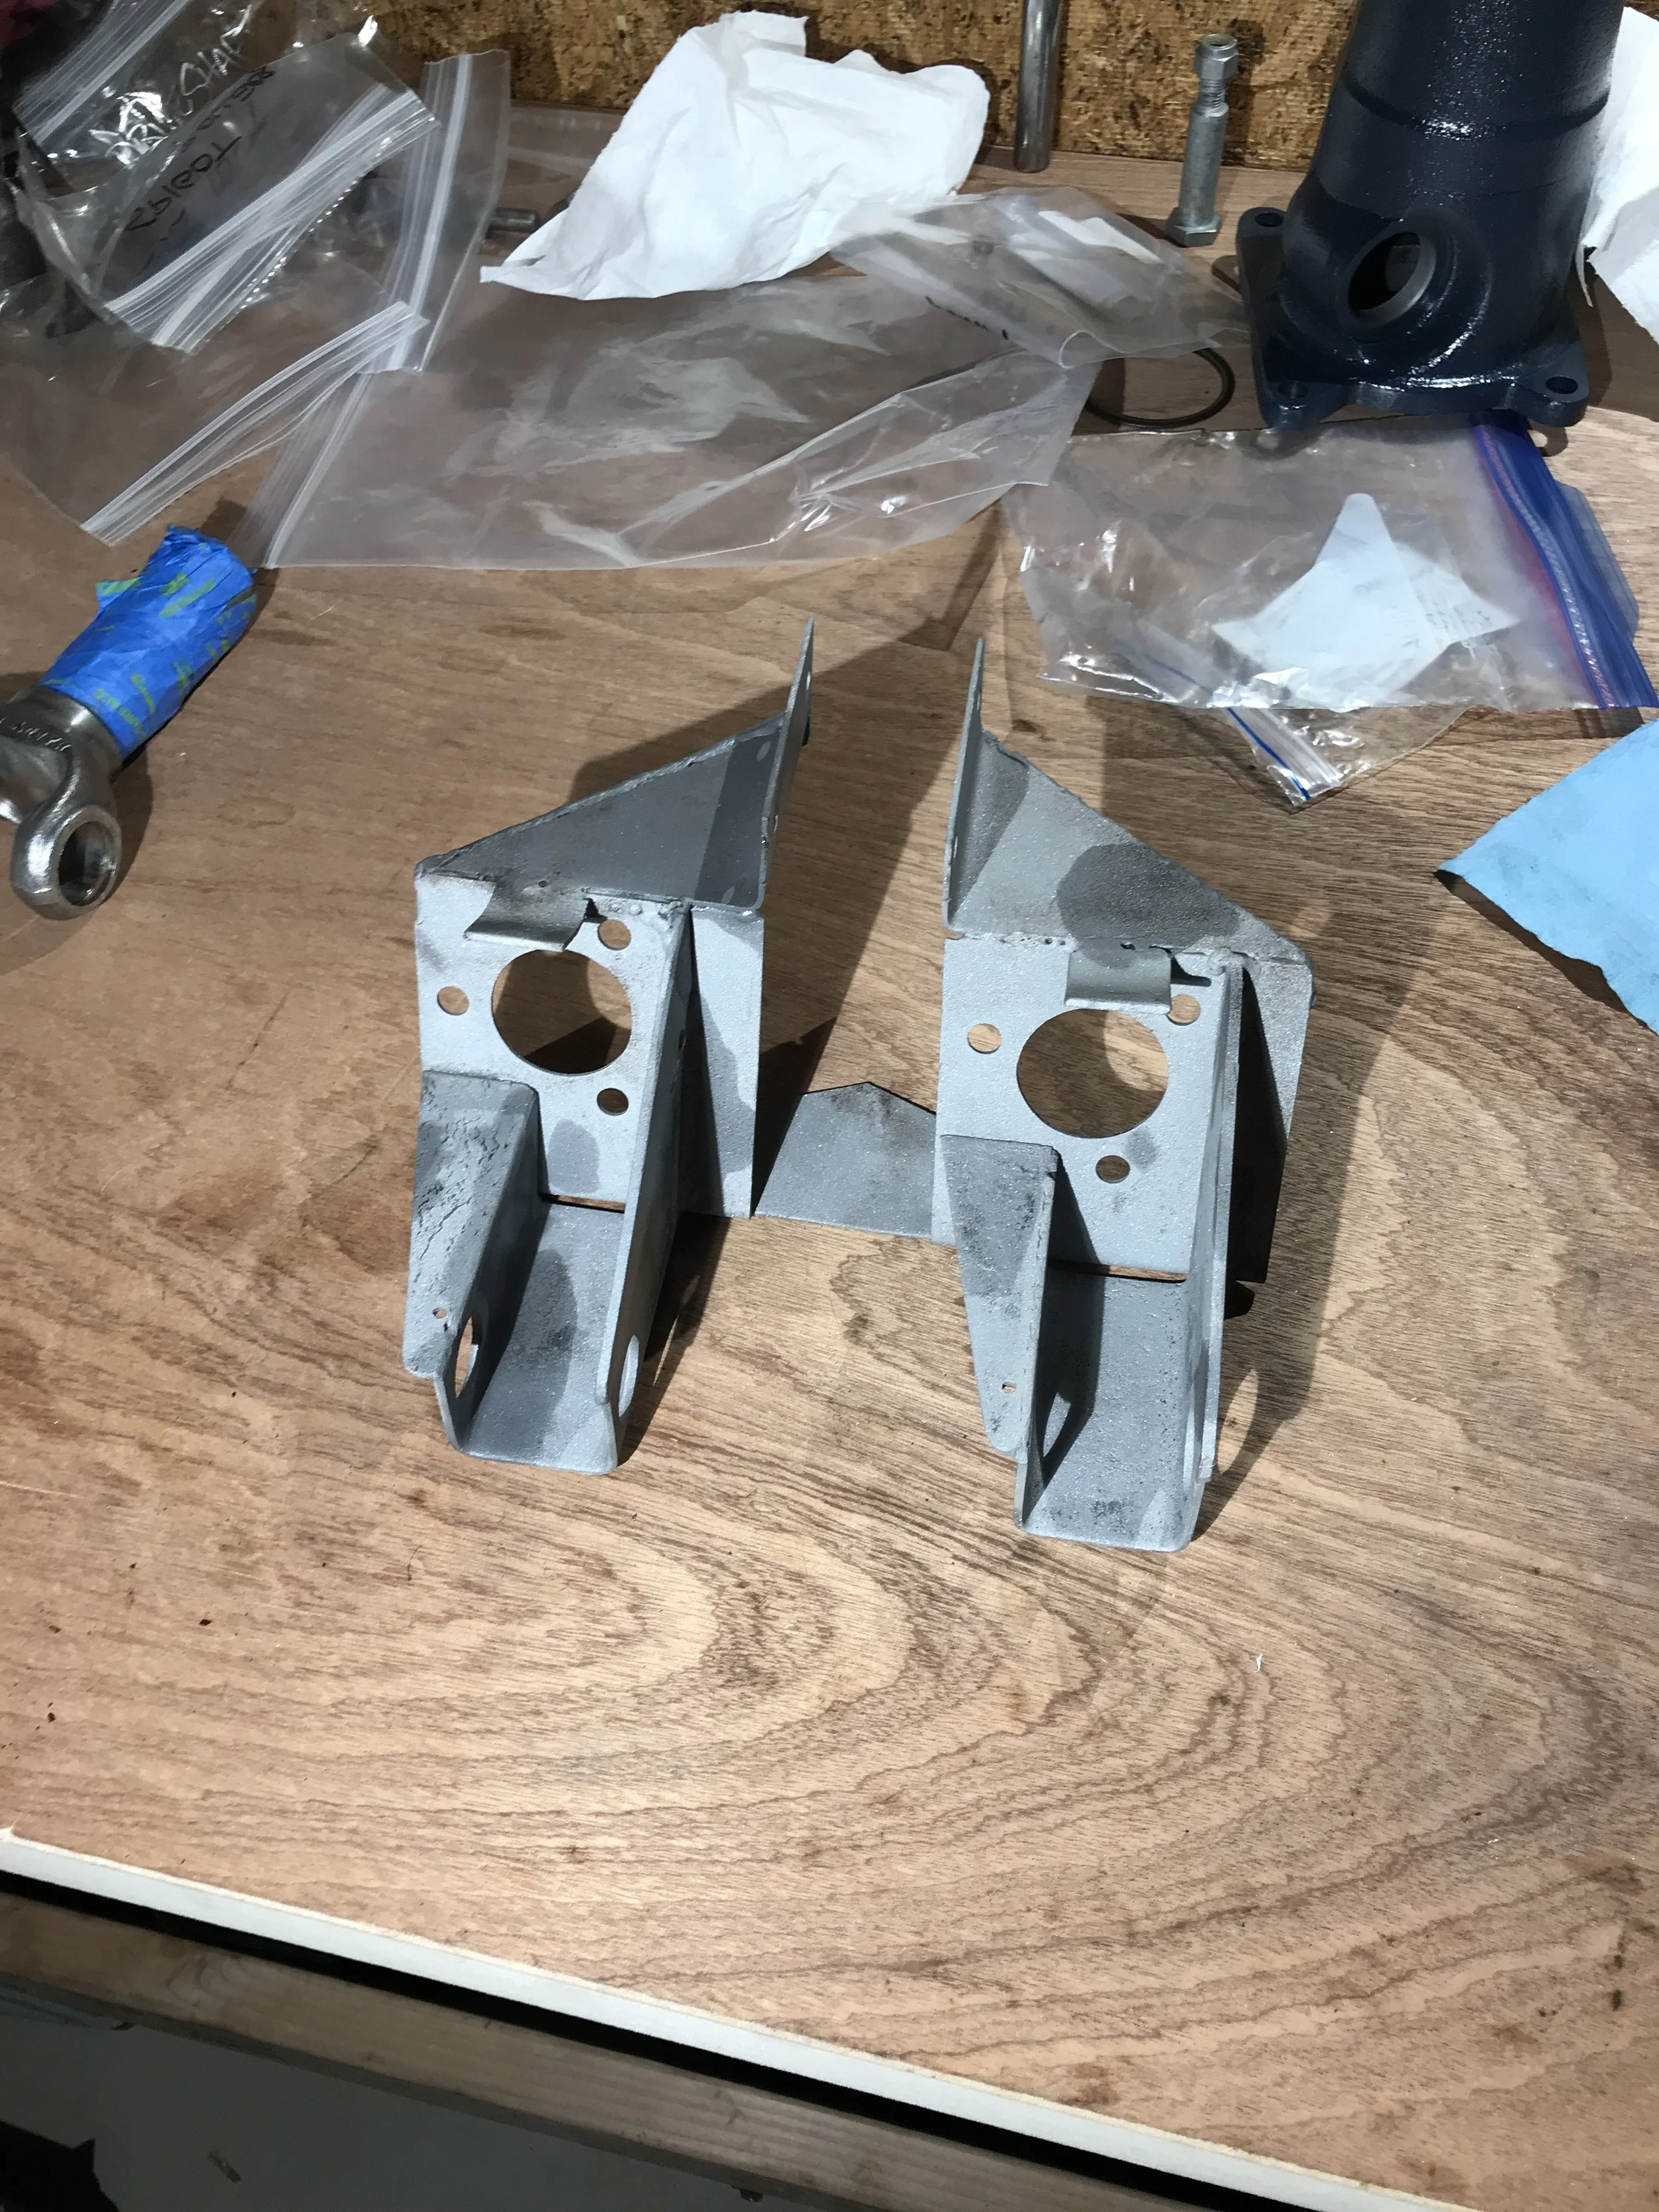
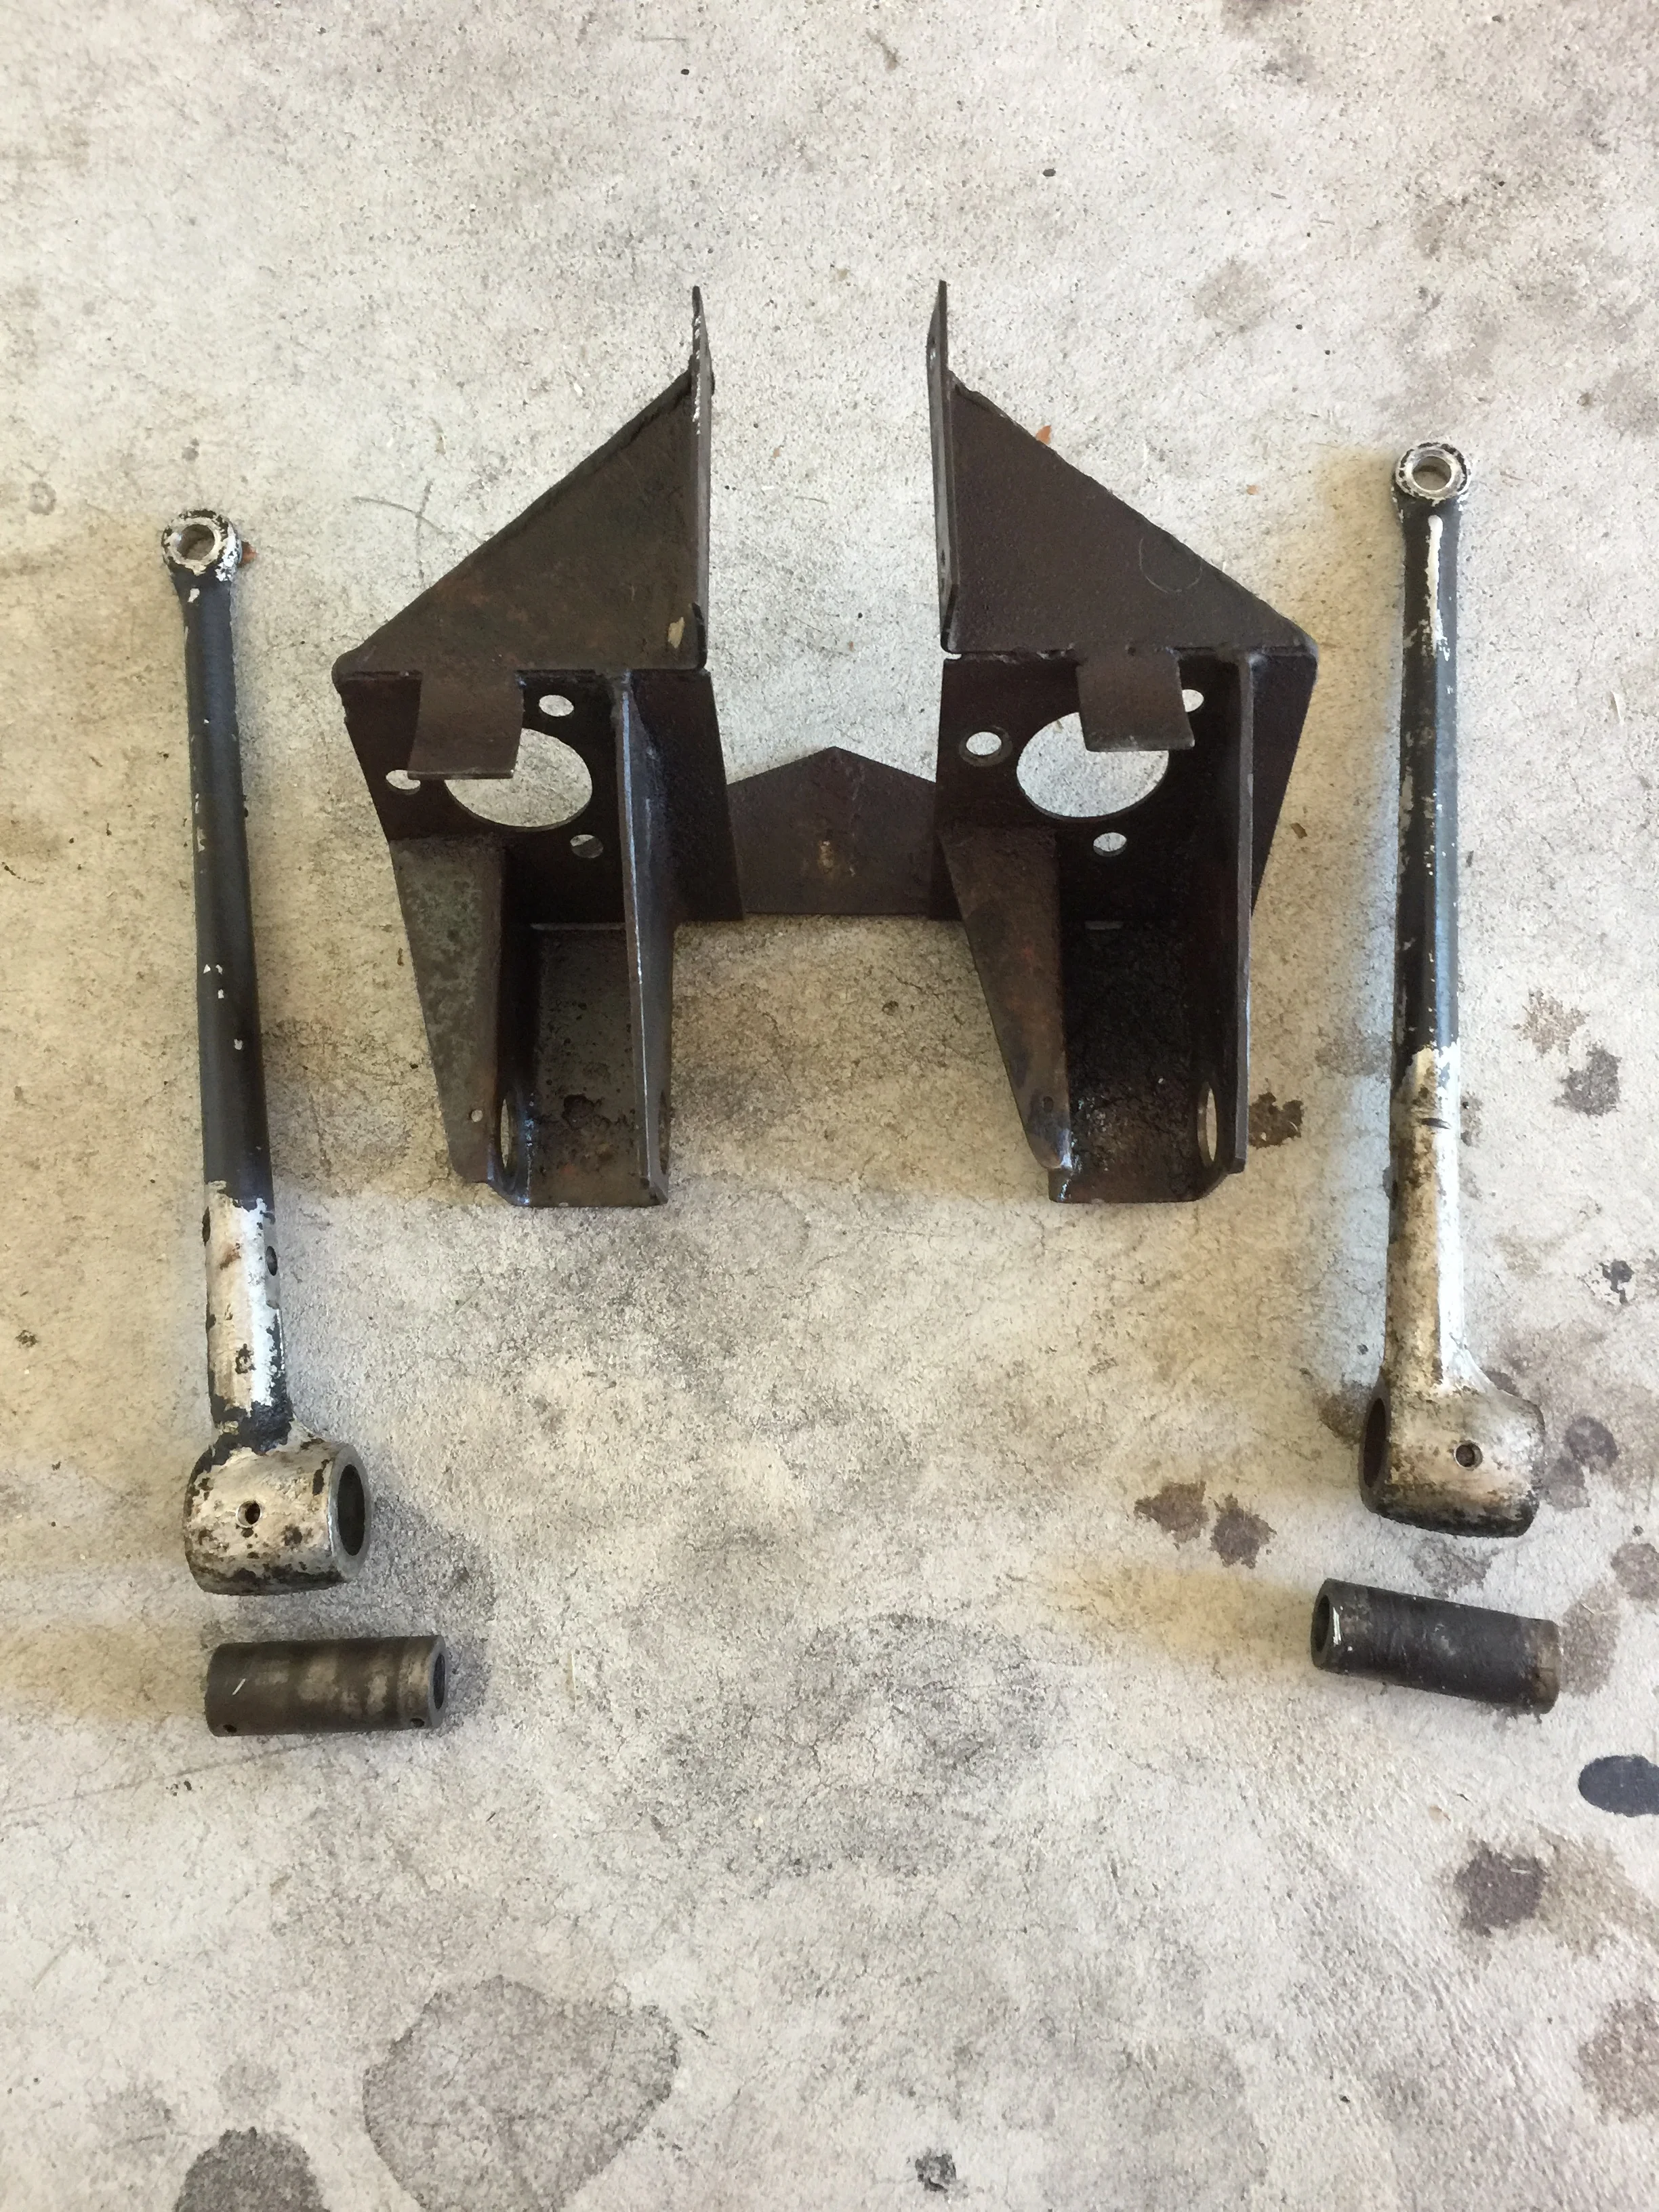
After removing the master cylinders, I was able to remove the pedal assembly. The pedal box looks to be custom made, and the two pedals are identical. They are intended to rotate around the shafts seen below the pedals, but they seized up from age. Removing the shafts (which was required to remove the pedals) proved to be a real challenge.
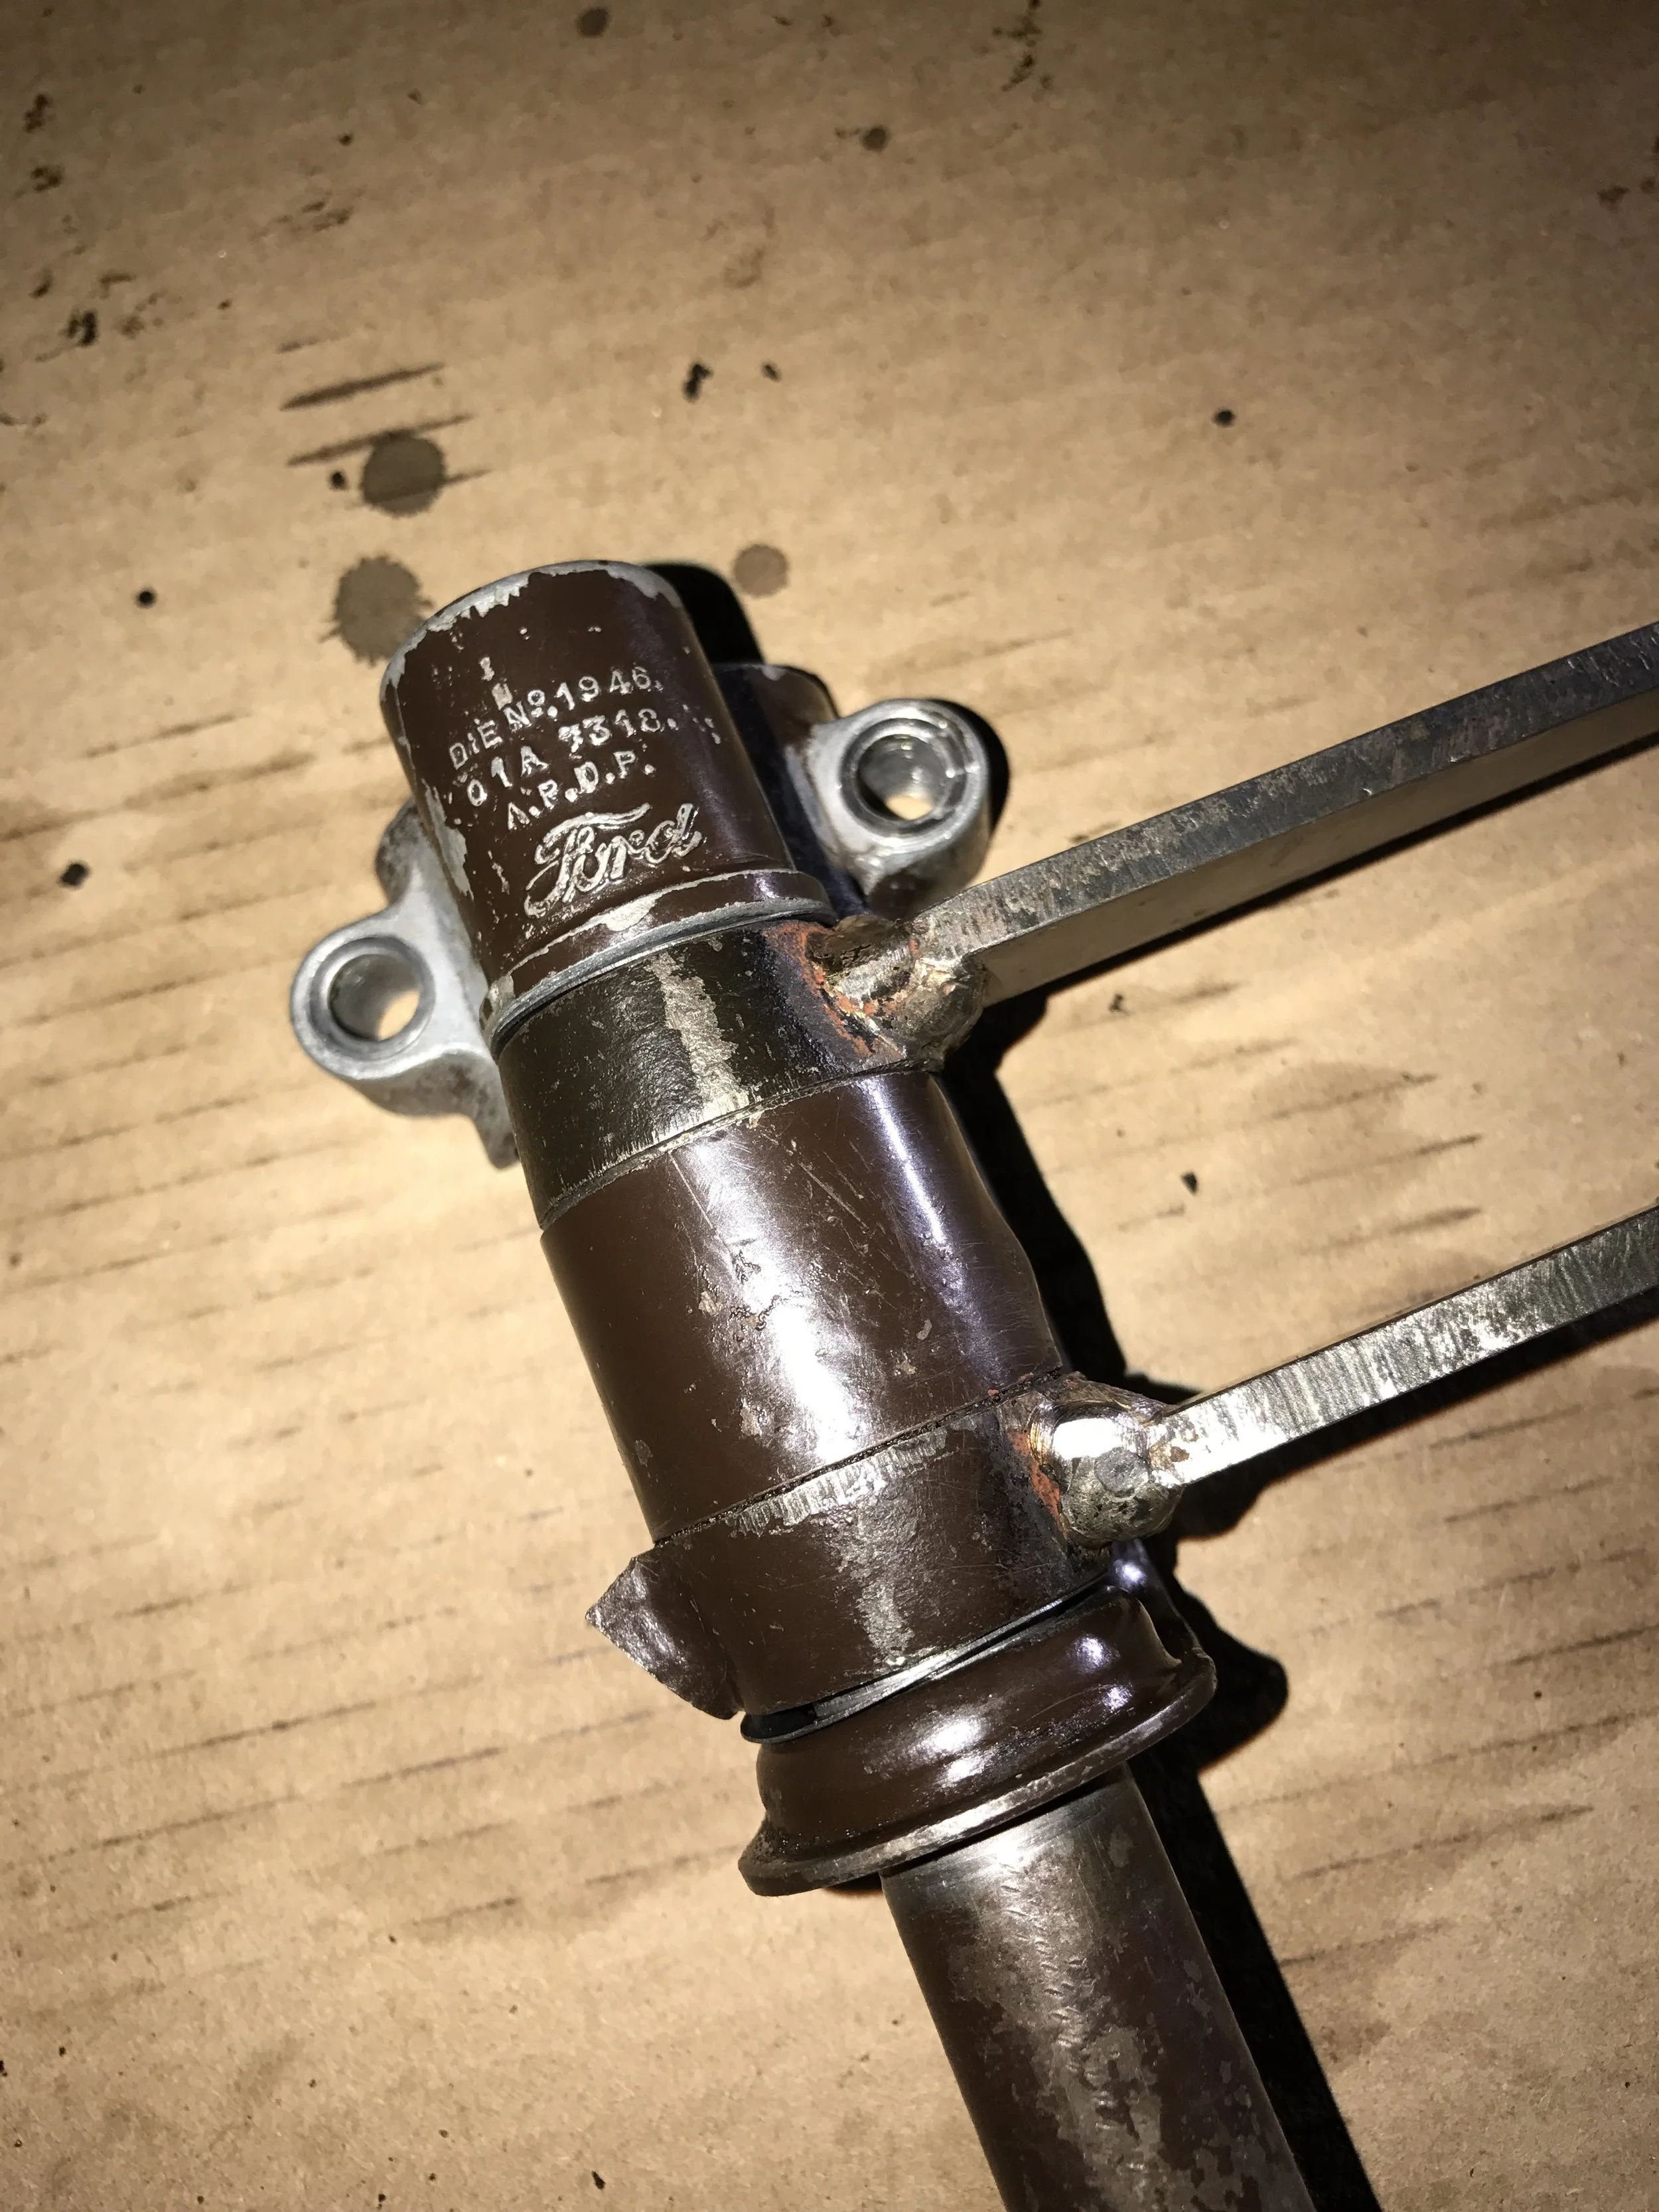
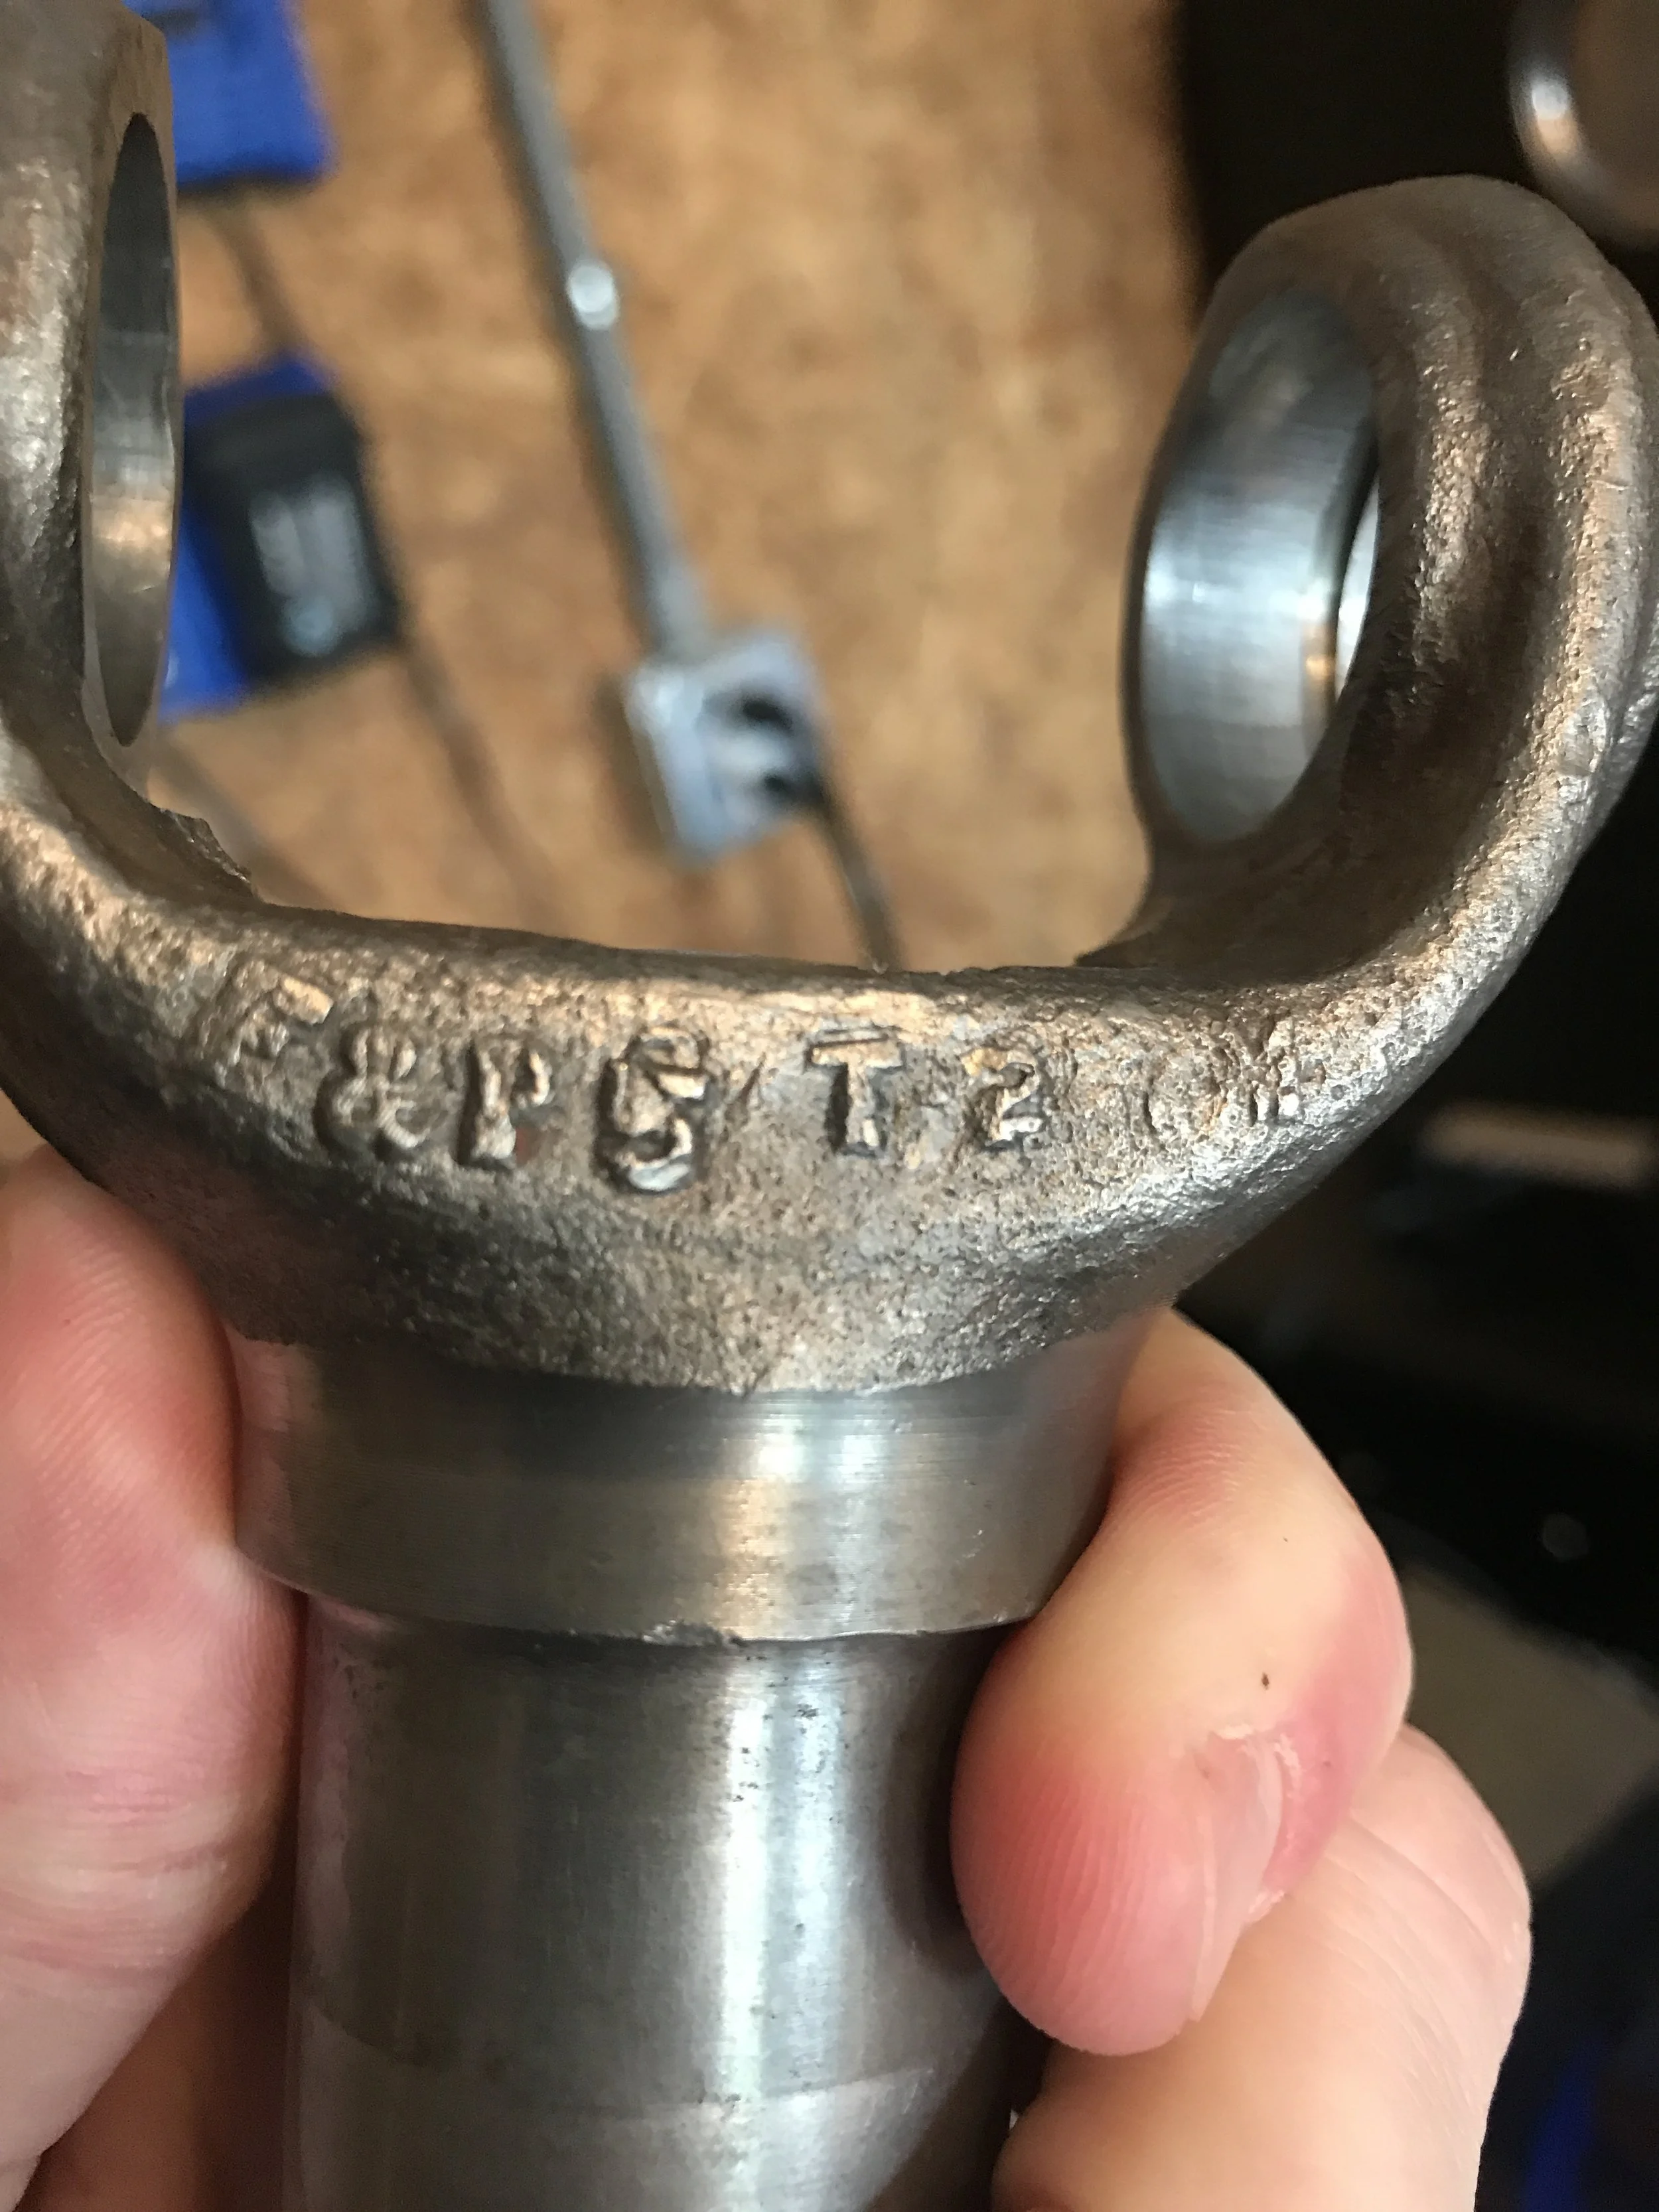
Pedal Part Number
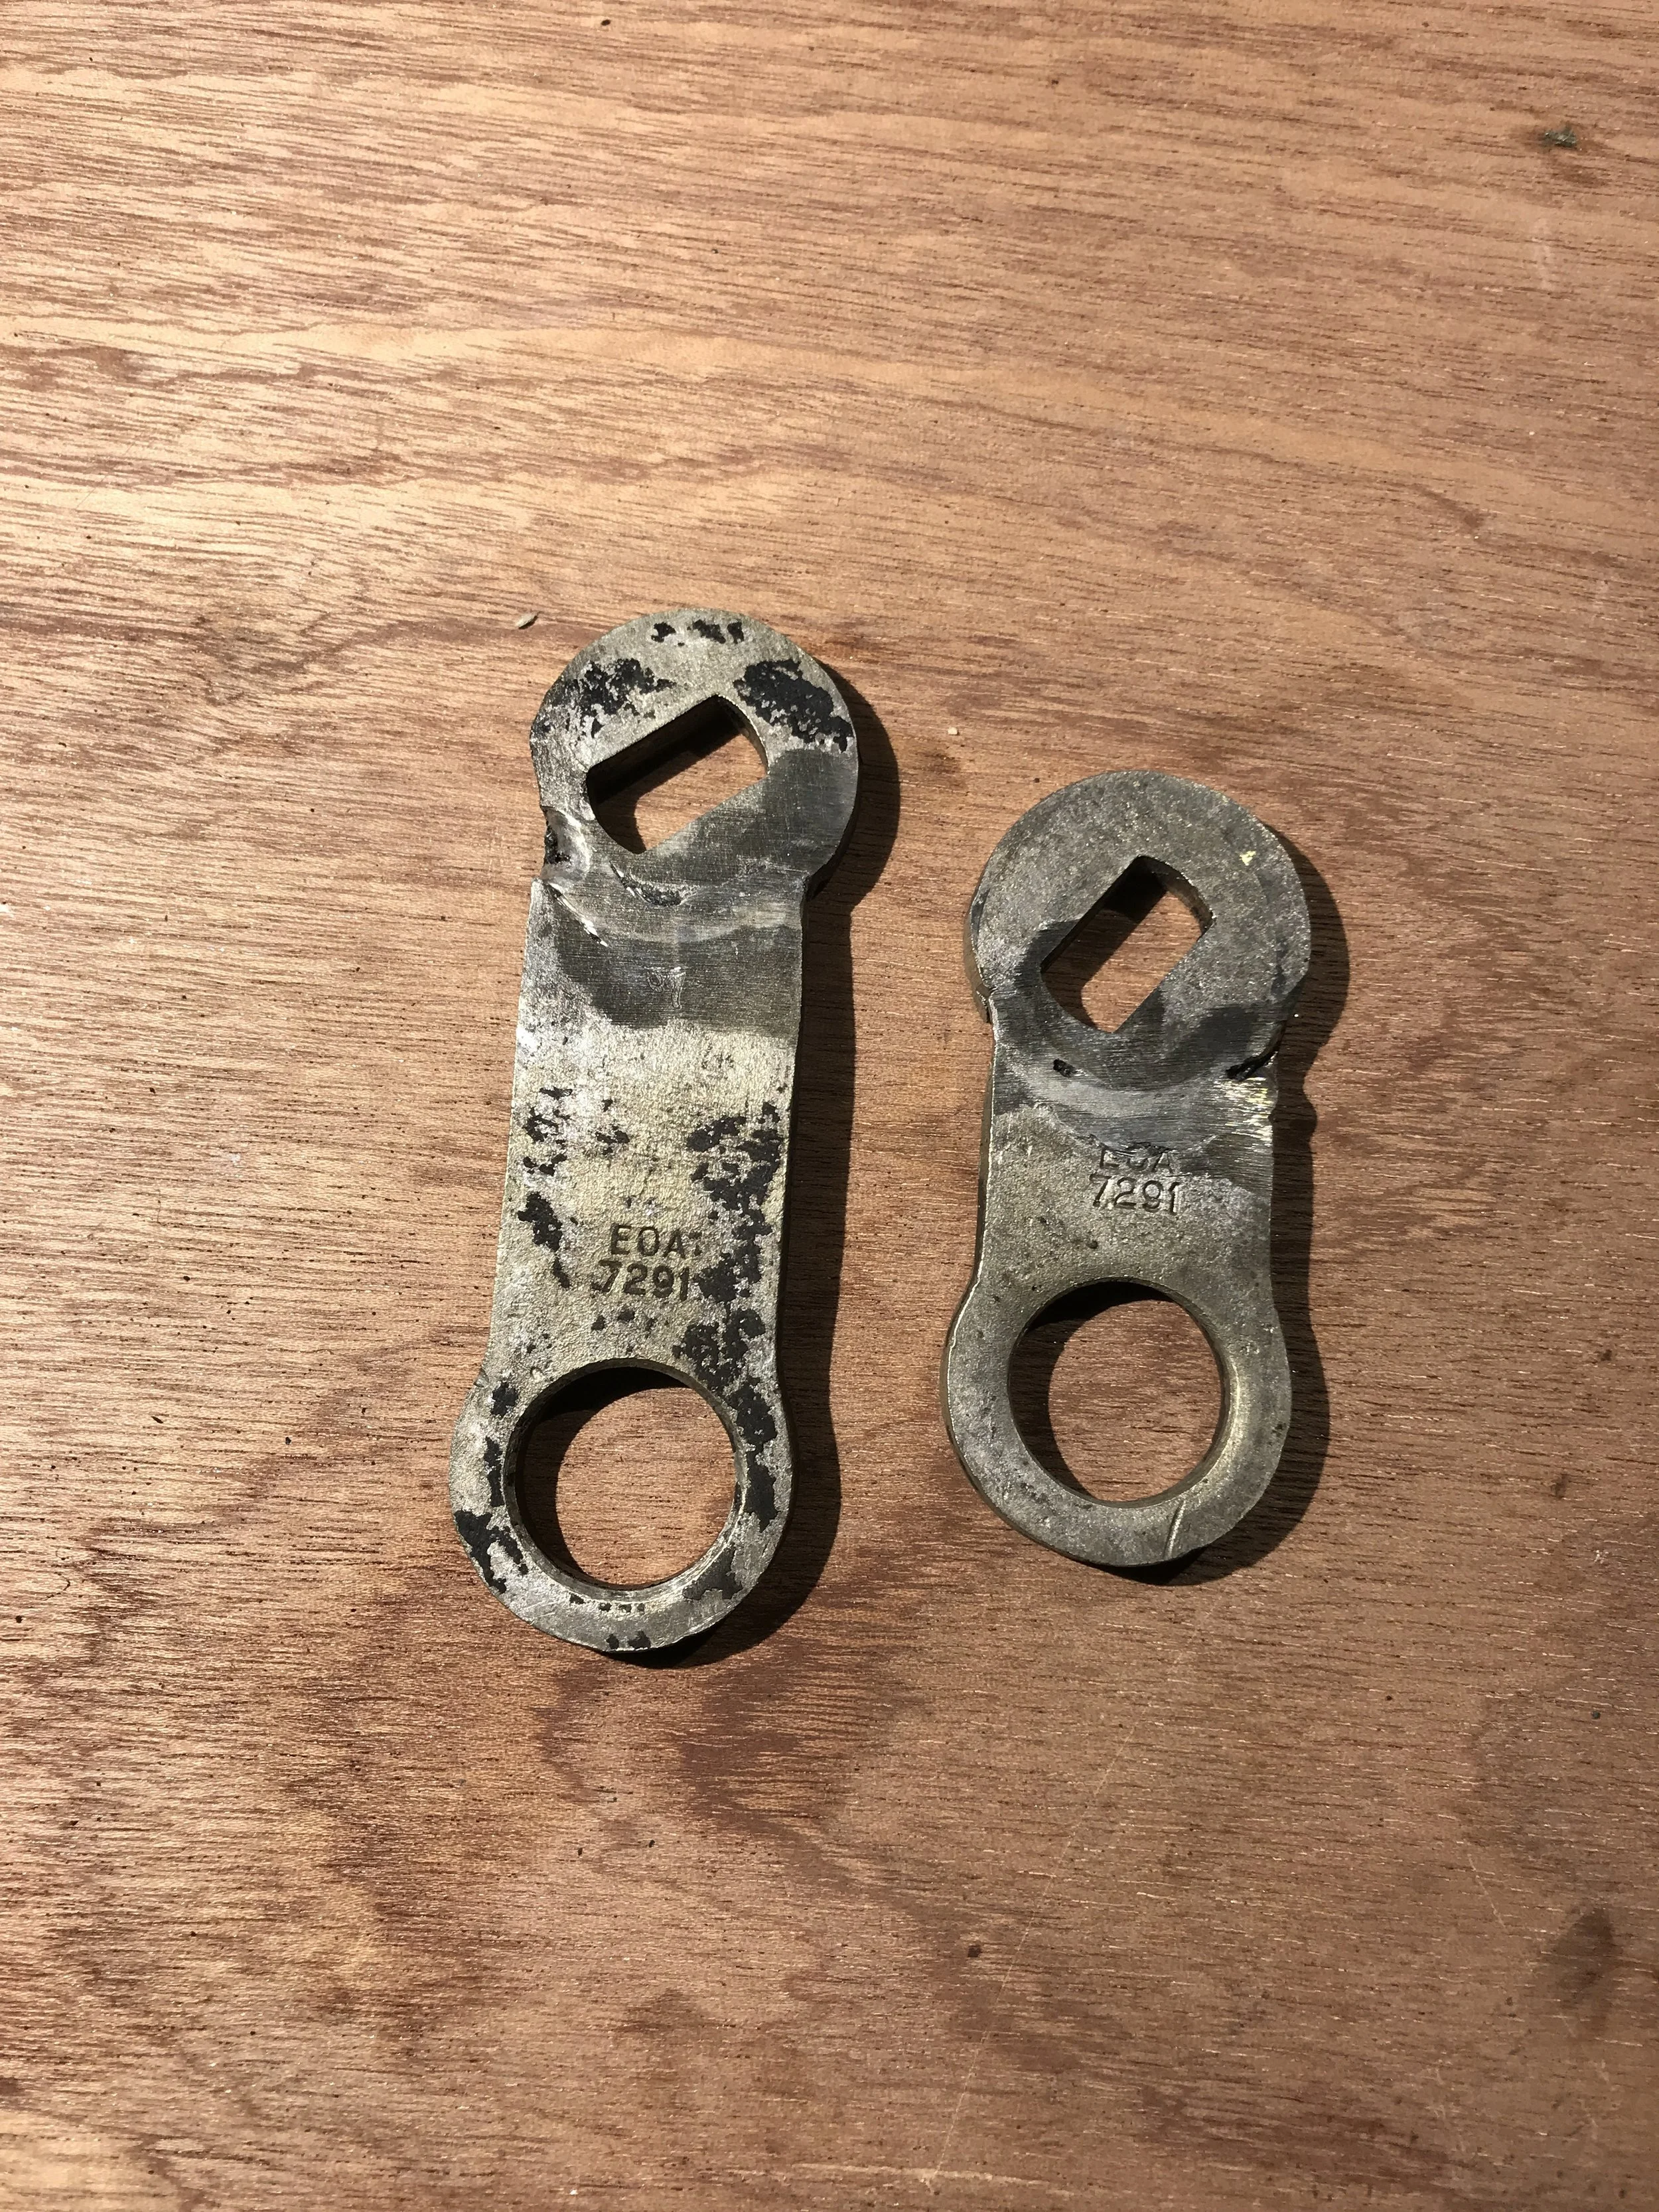
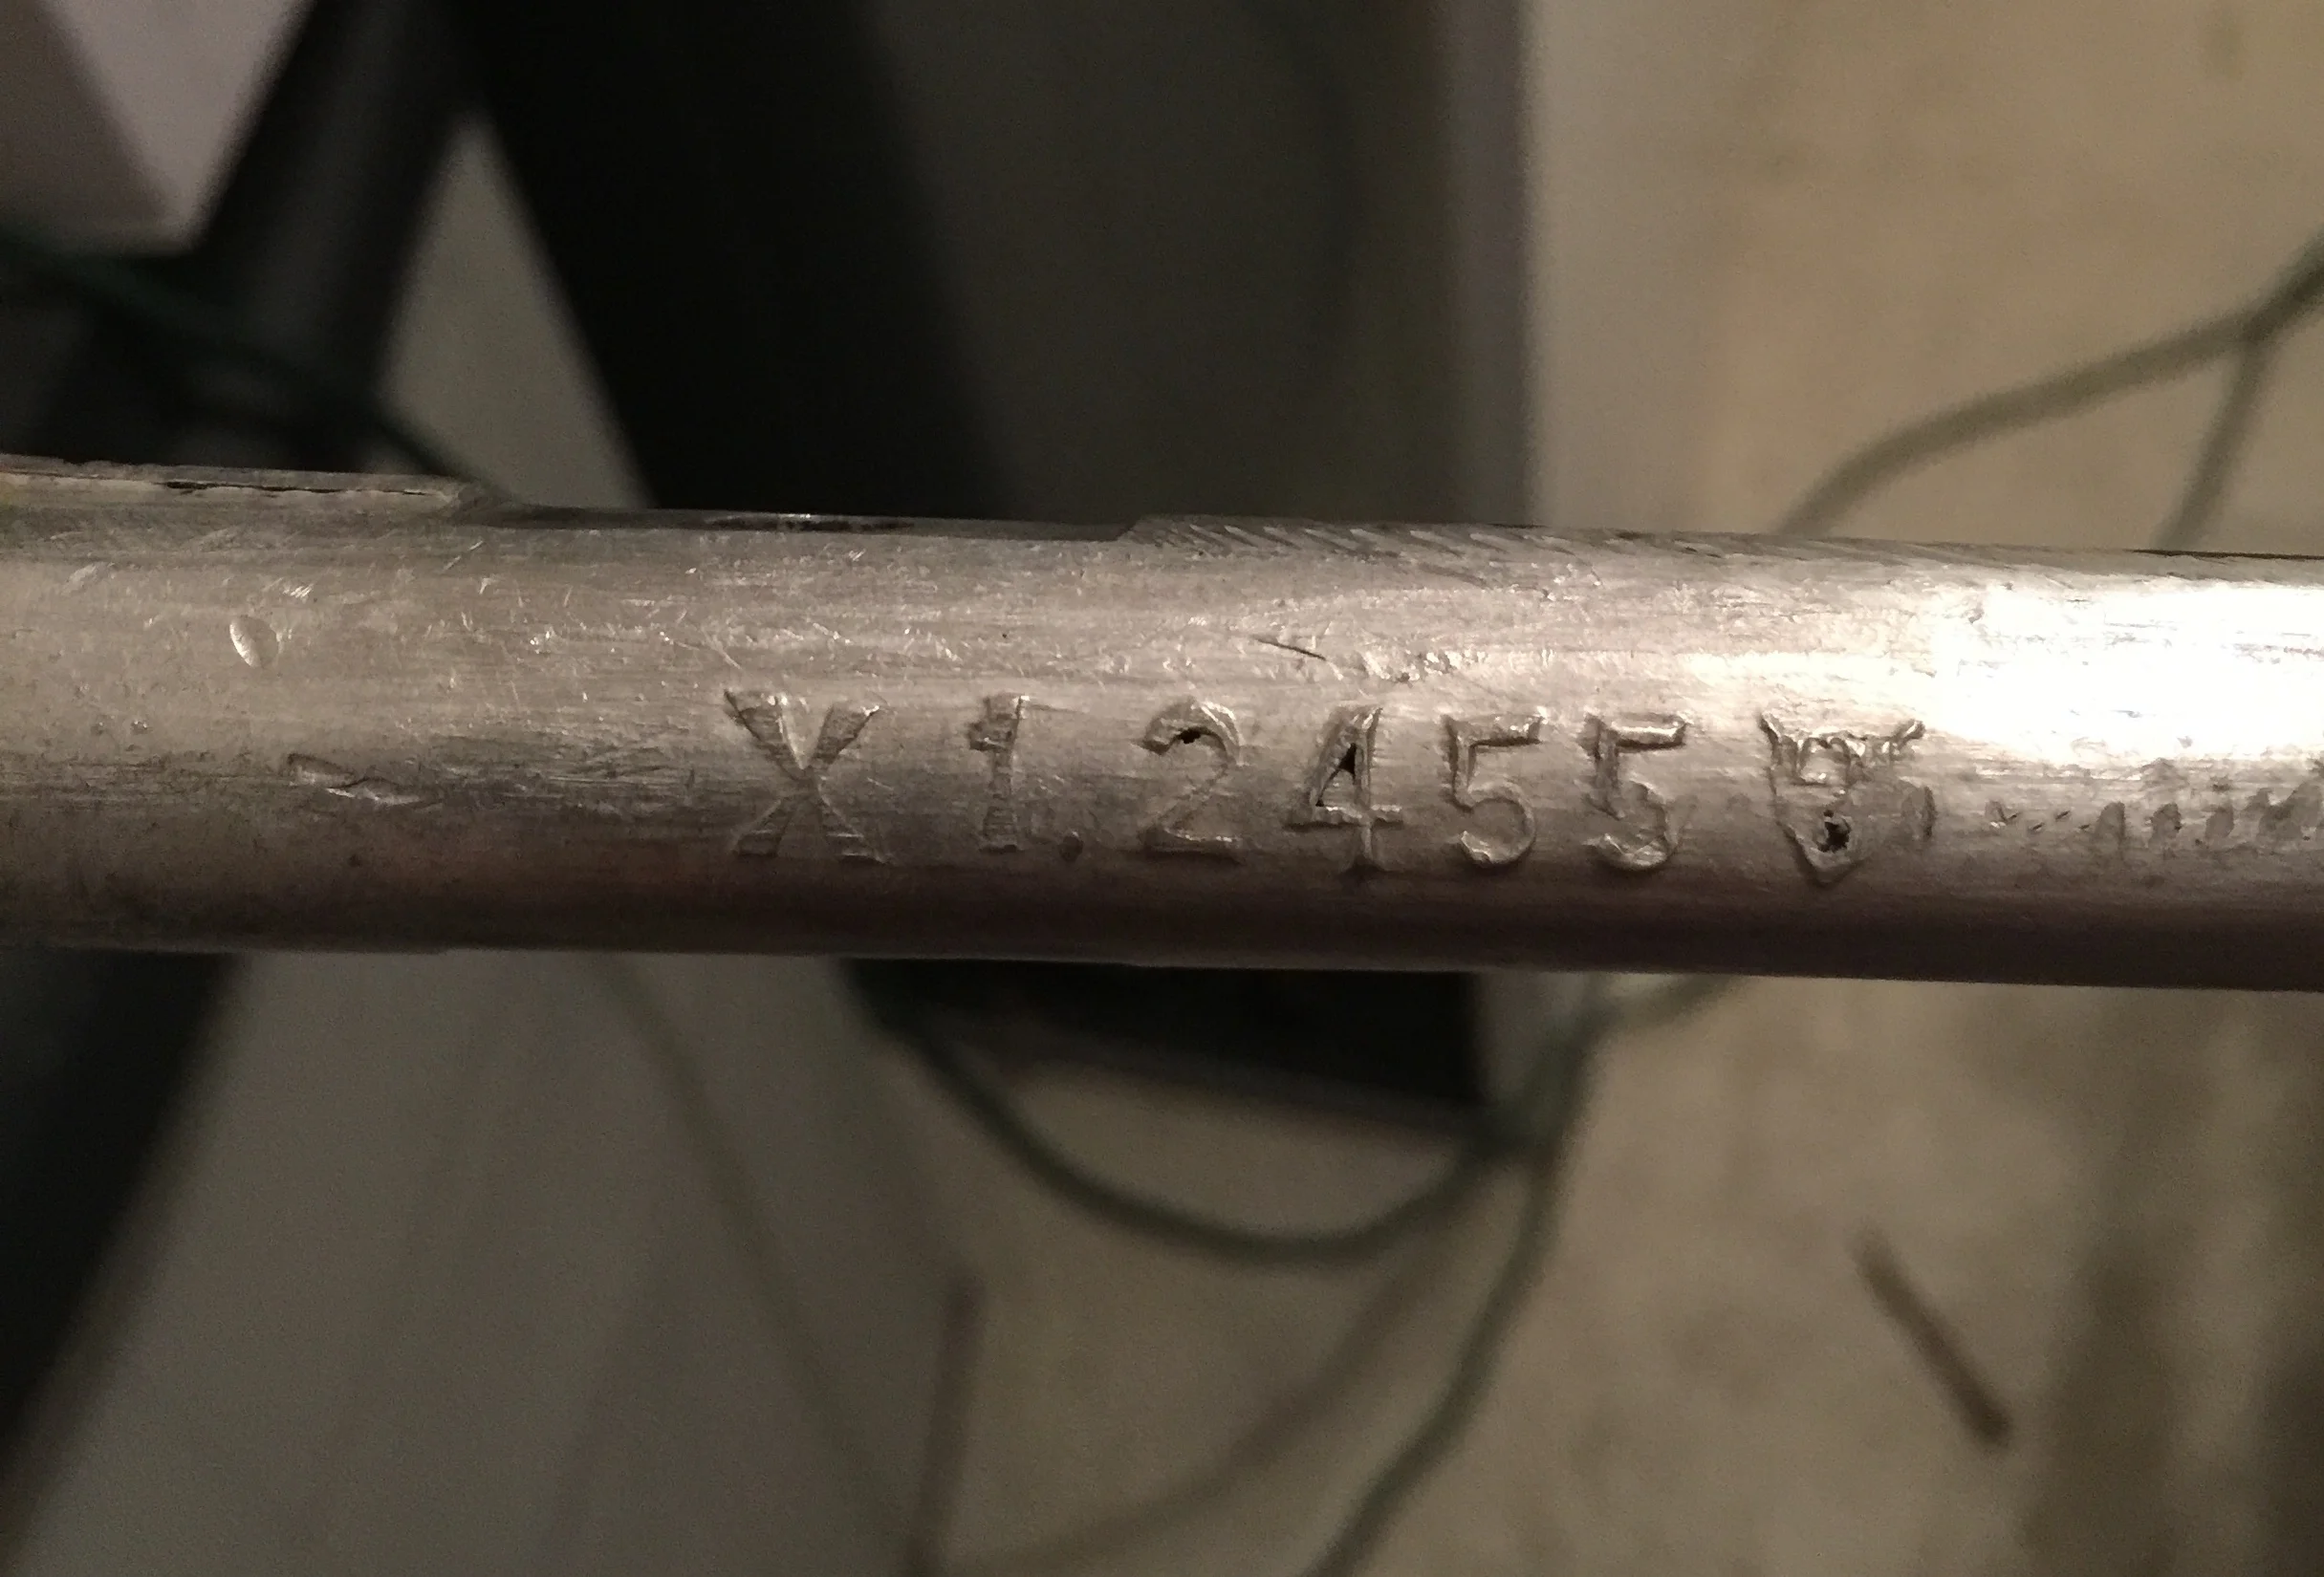
This number, as well as a brand symbol, is on both of the aluminum pedals. I unfortunately cannot find any information on the origin of these pedals from this number.
Pedal Part Number
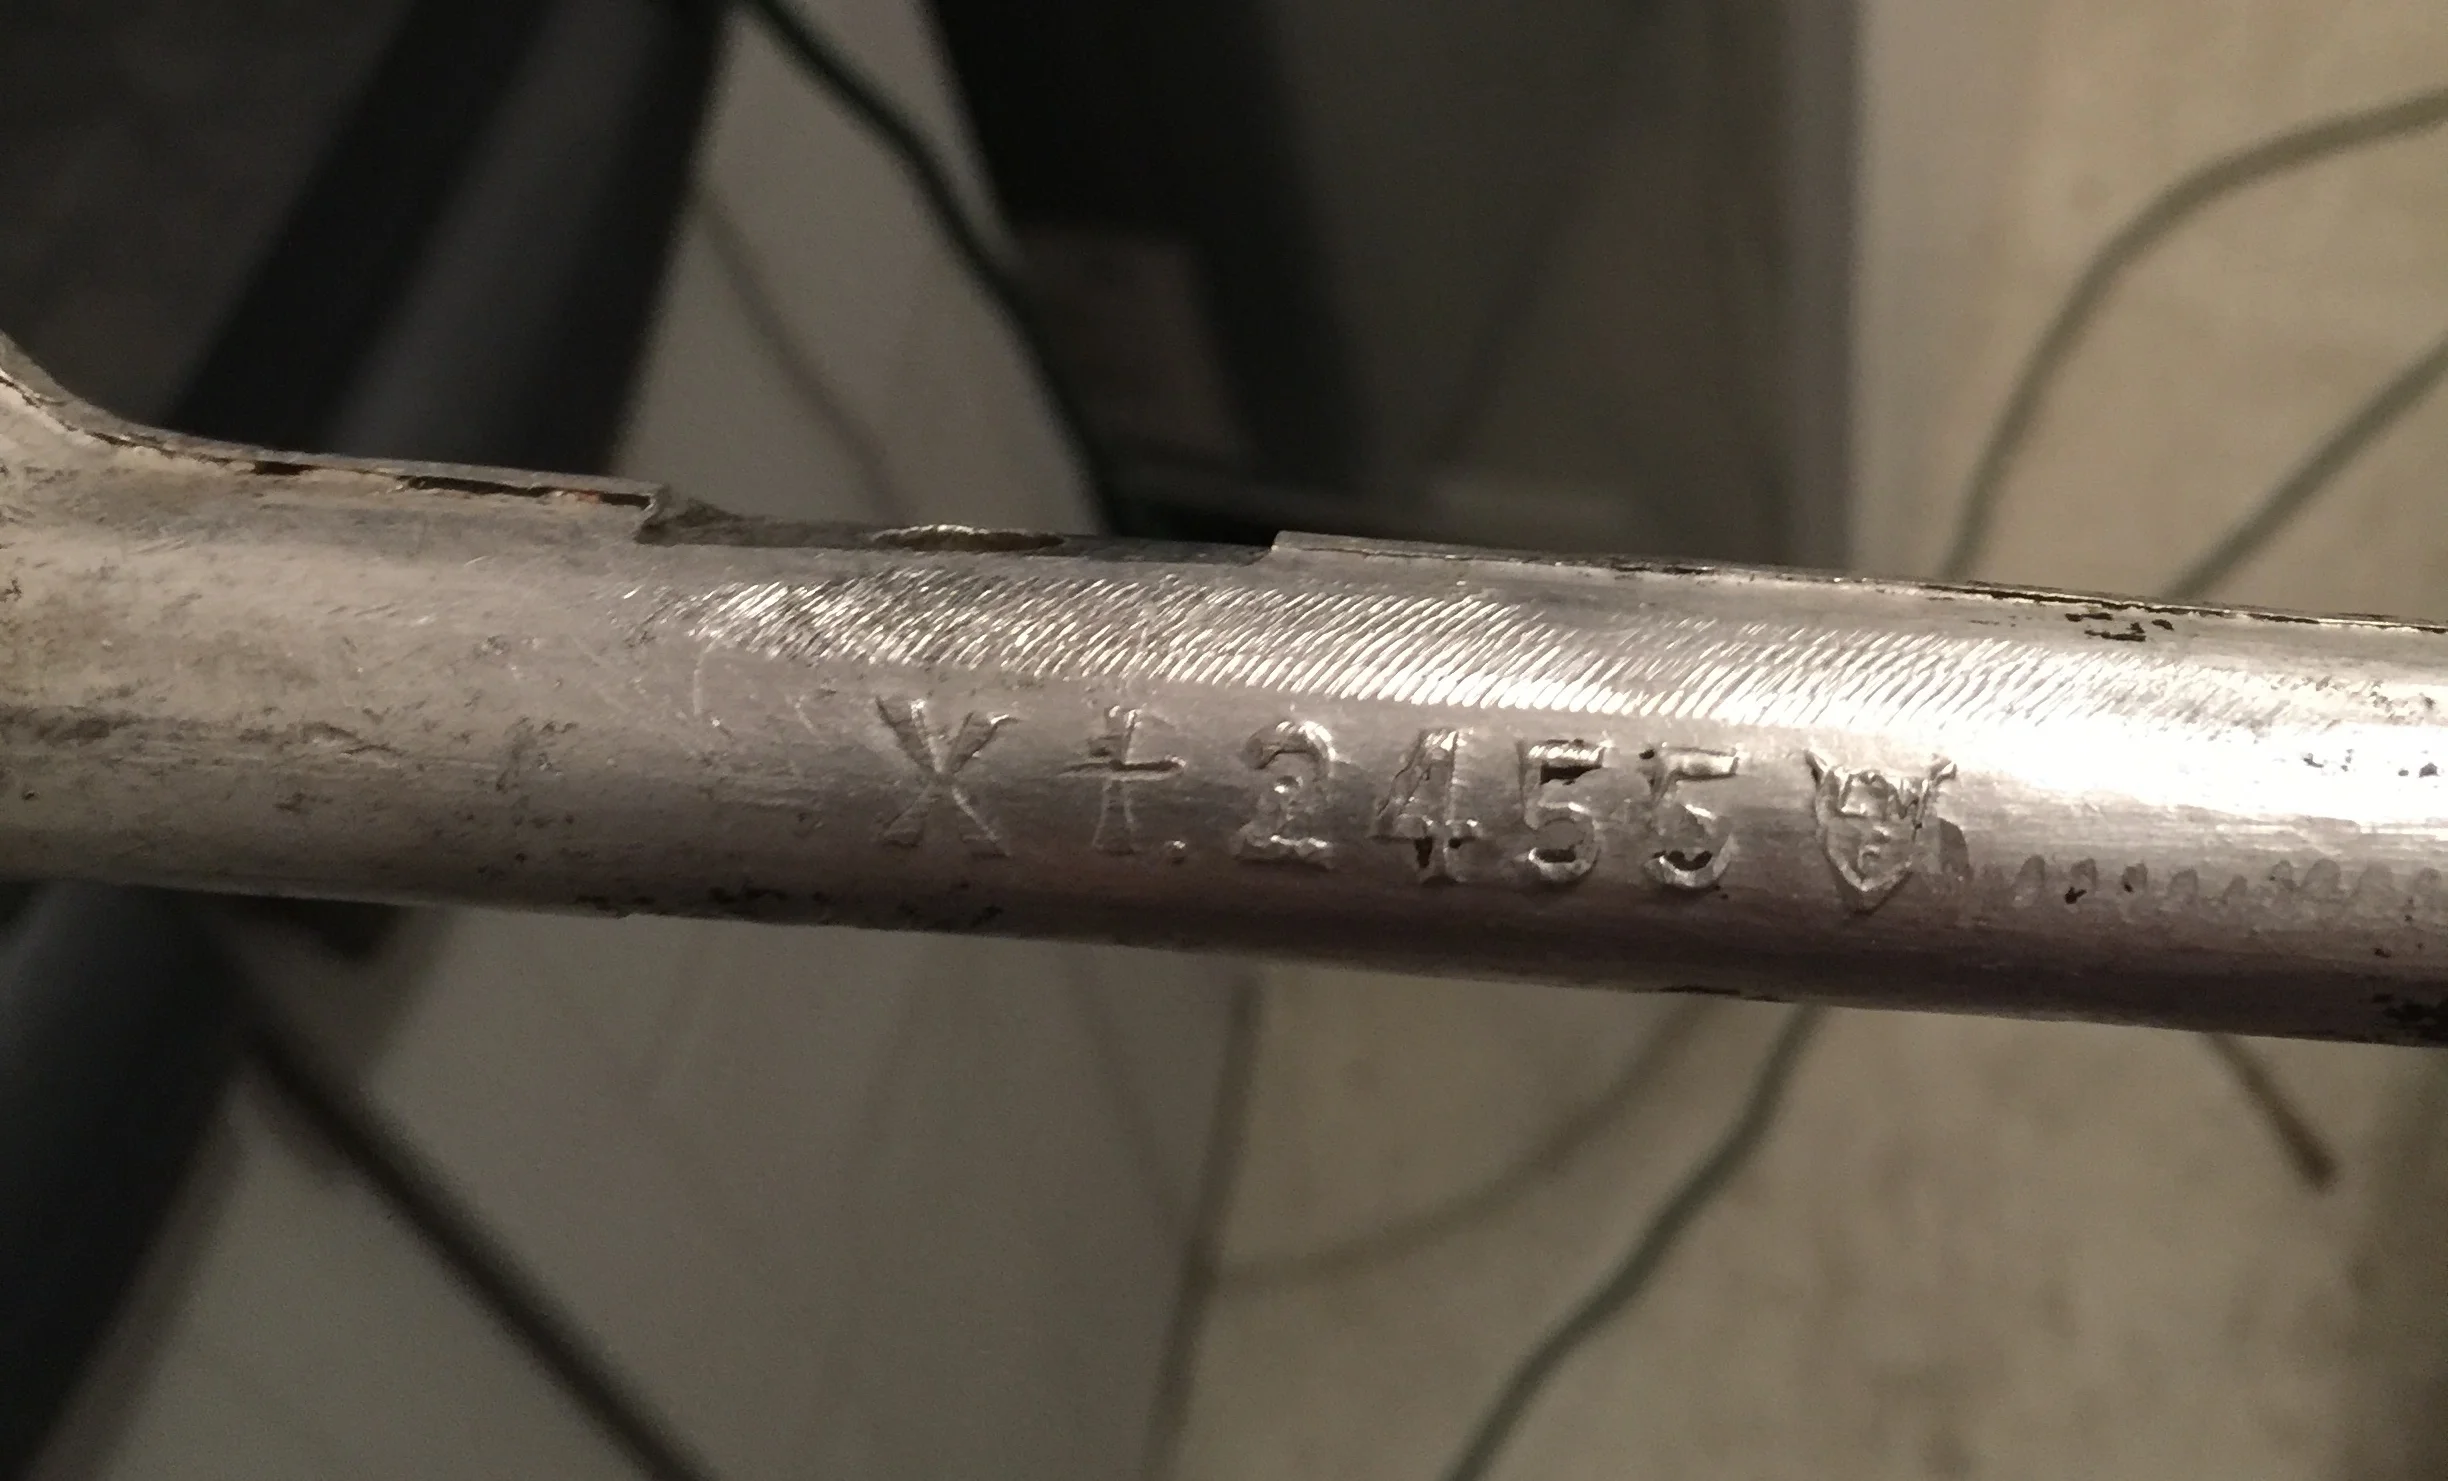
This number, as well as a brand symbol, is on both of the aluminum pedals. I unfortunately cannot find any information on the origin of these pedals from this number.
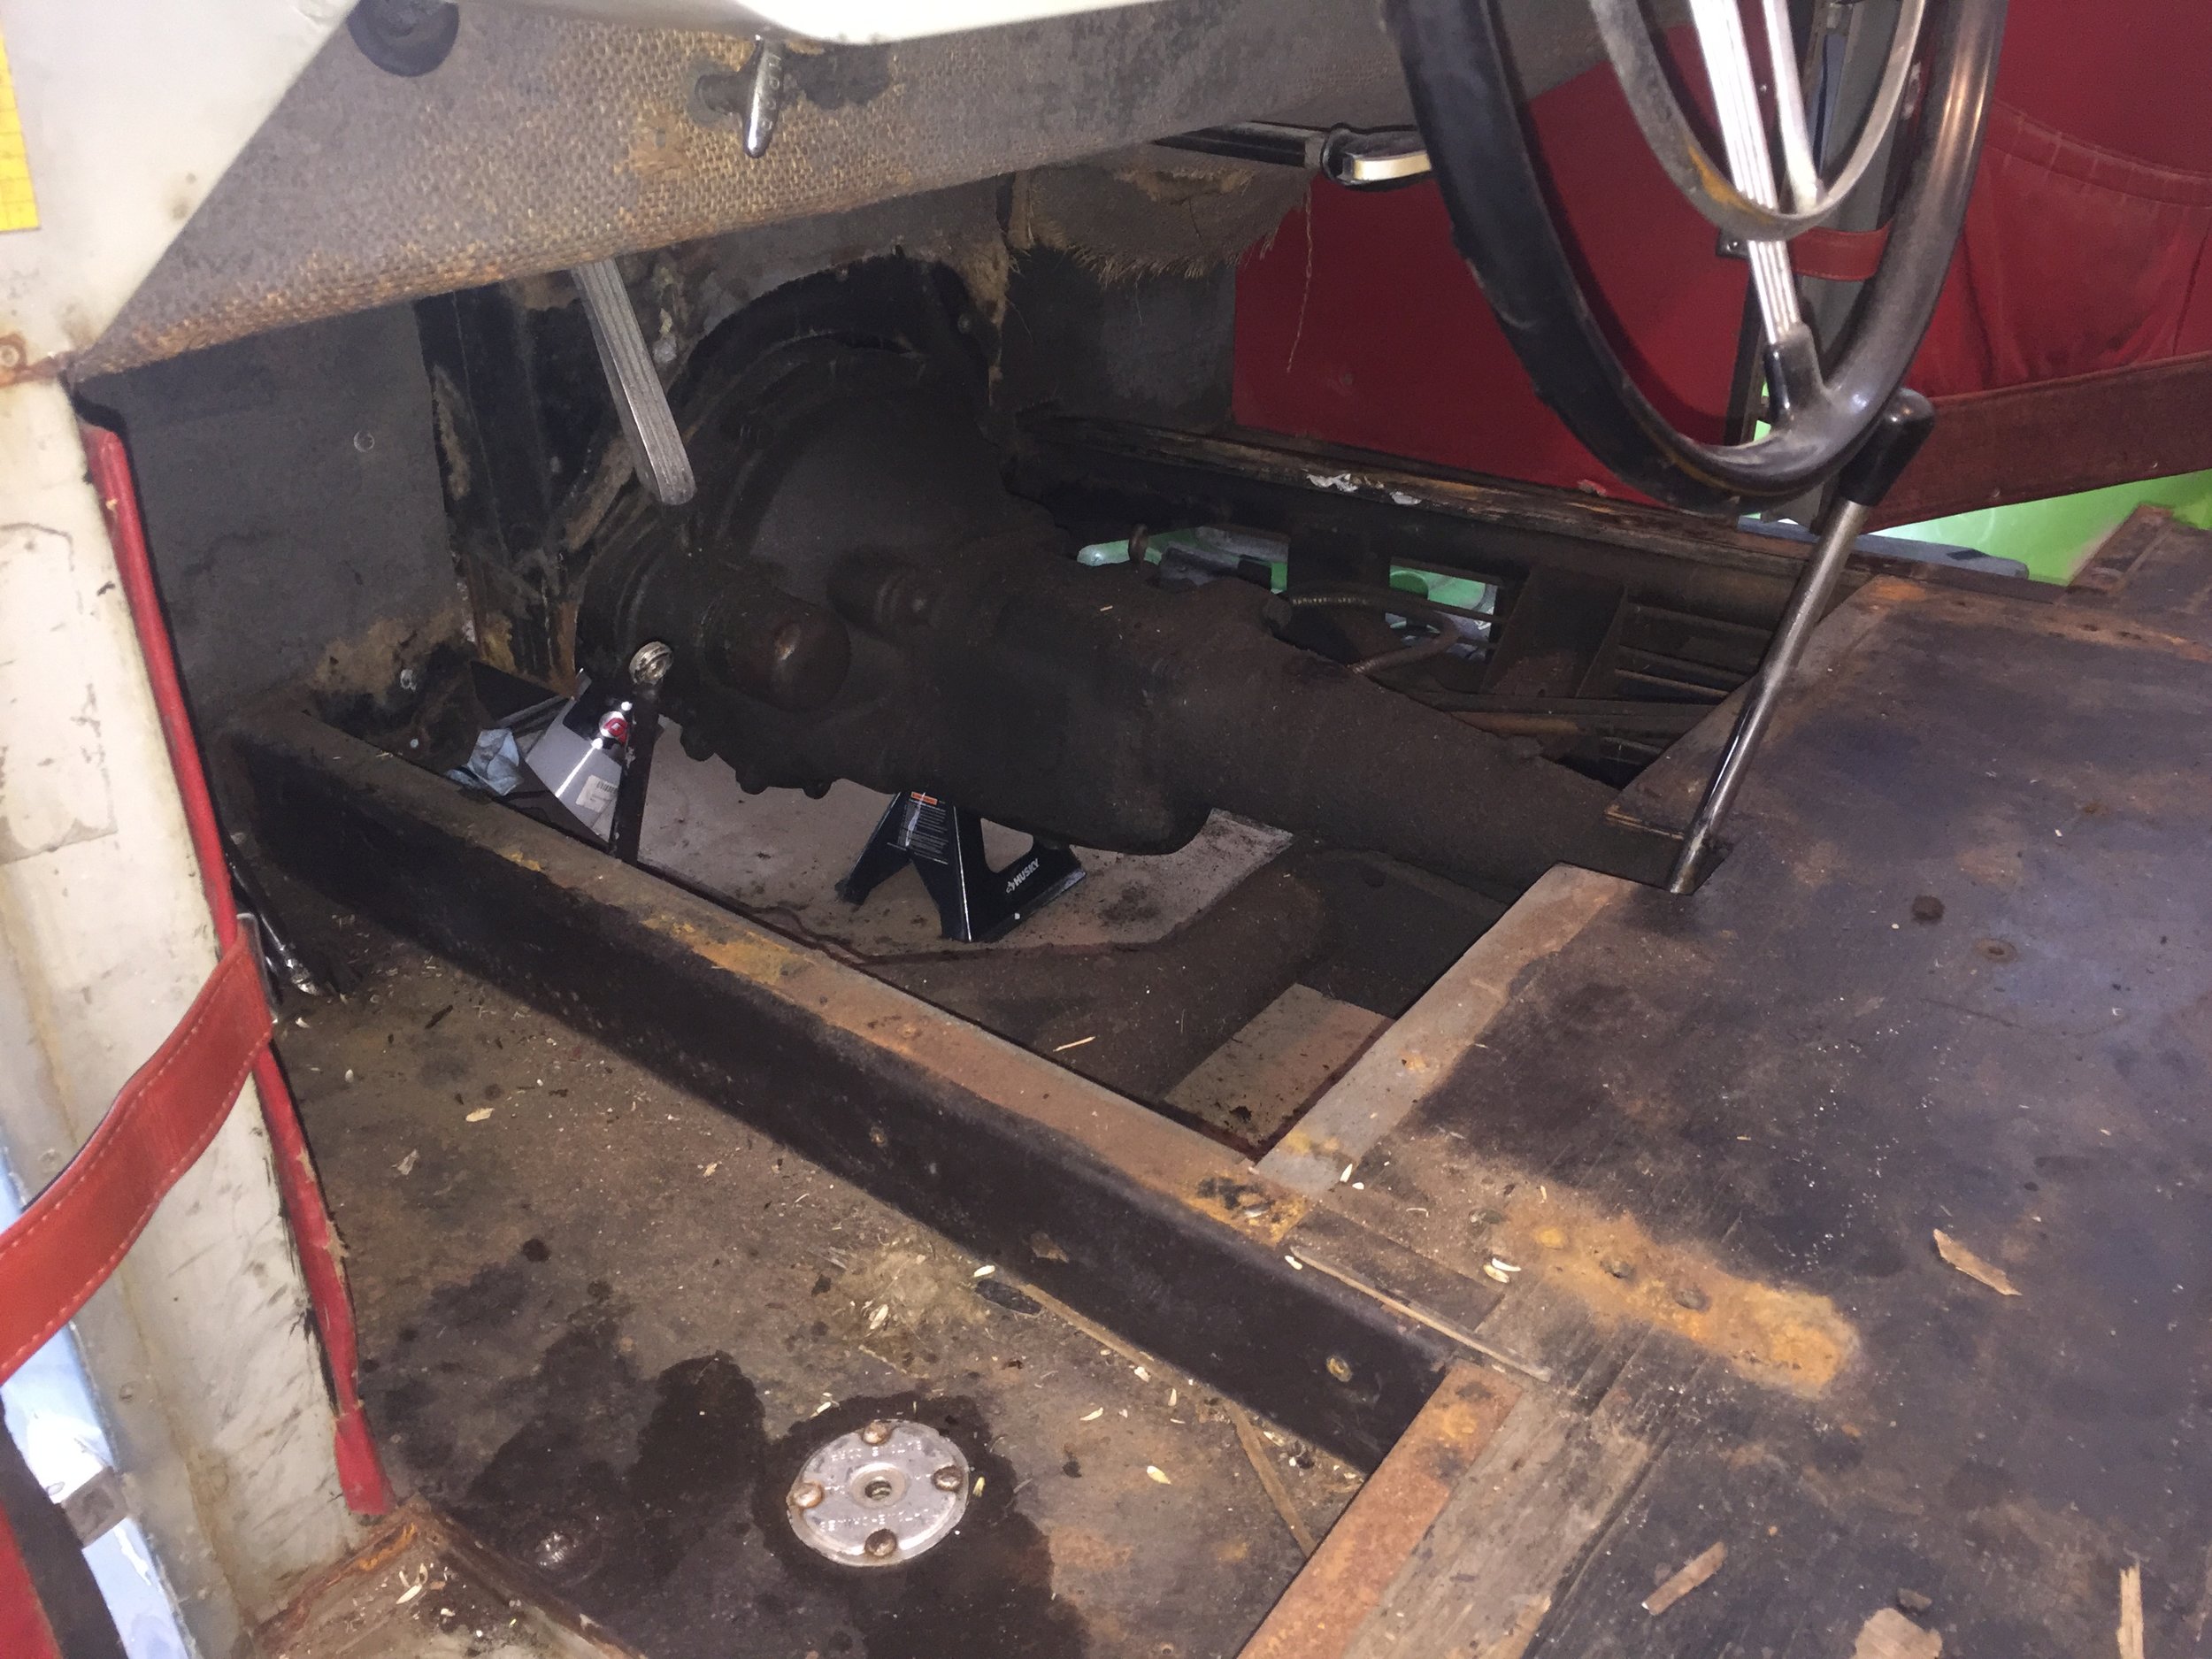
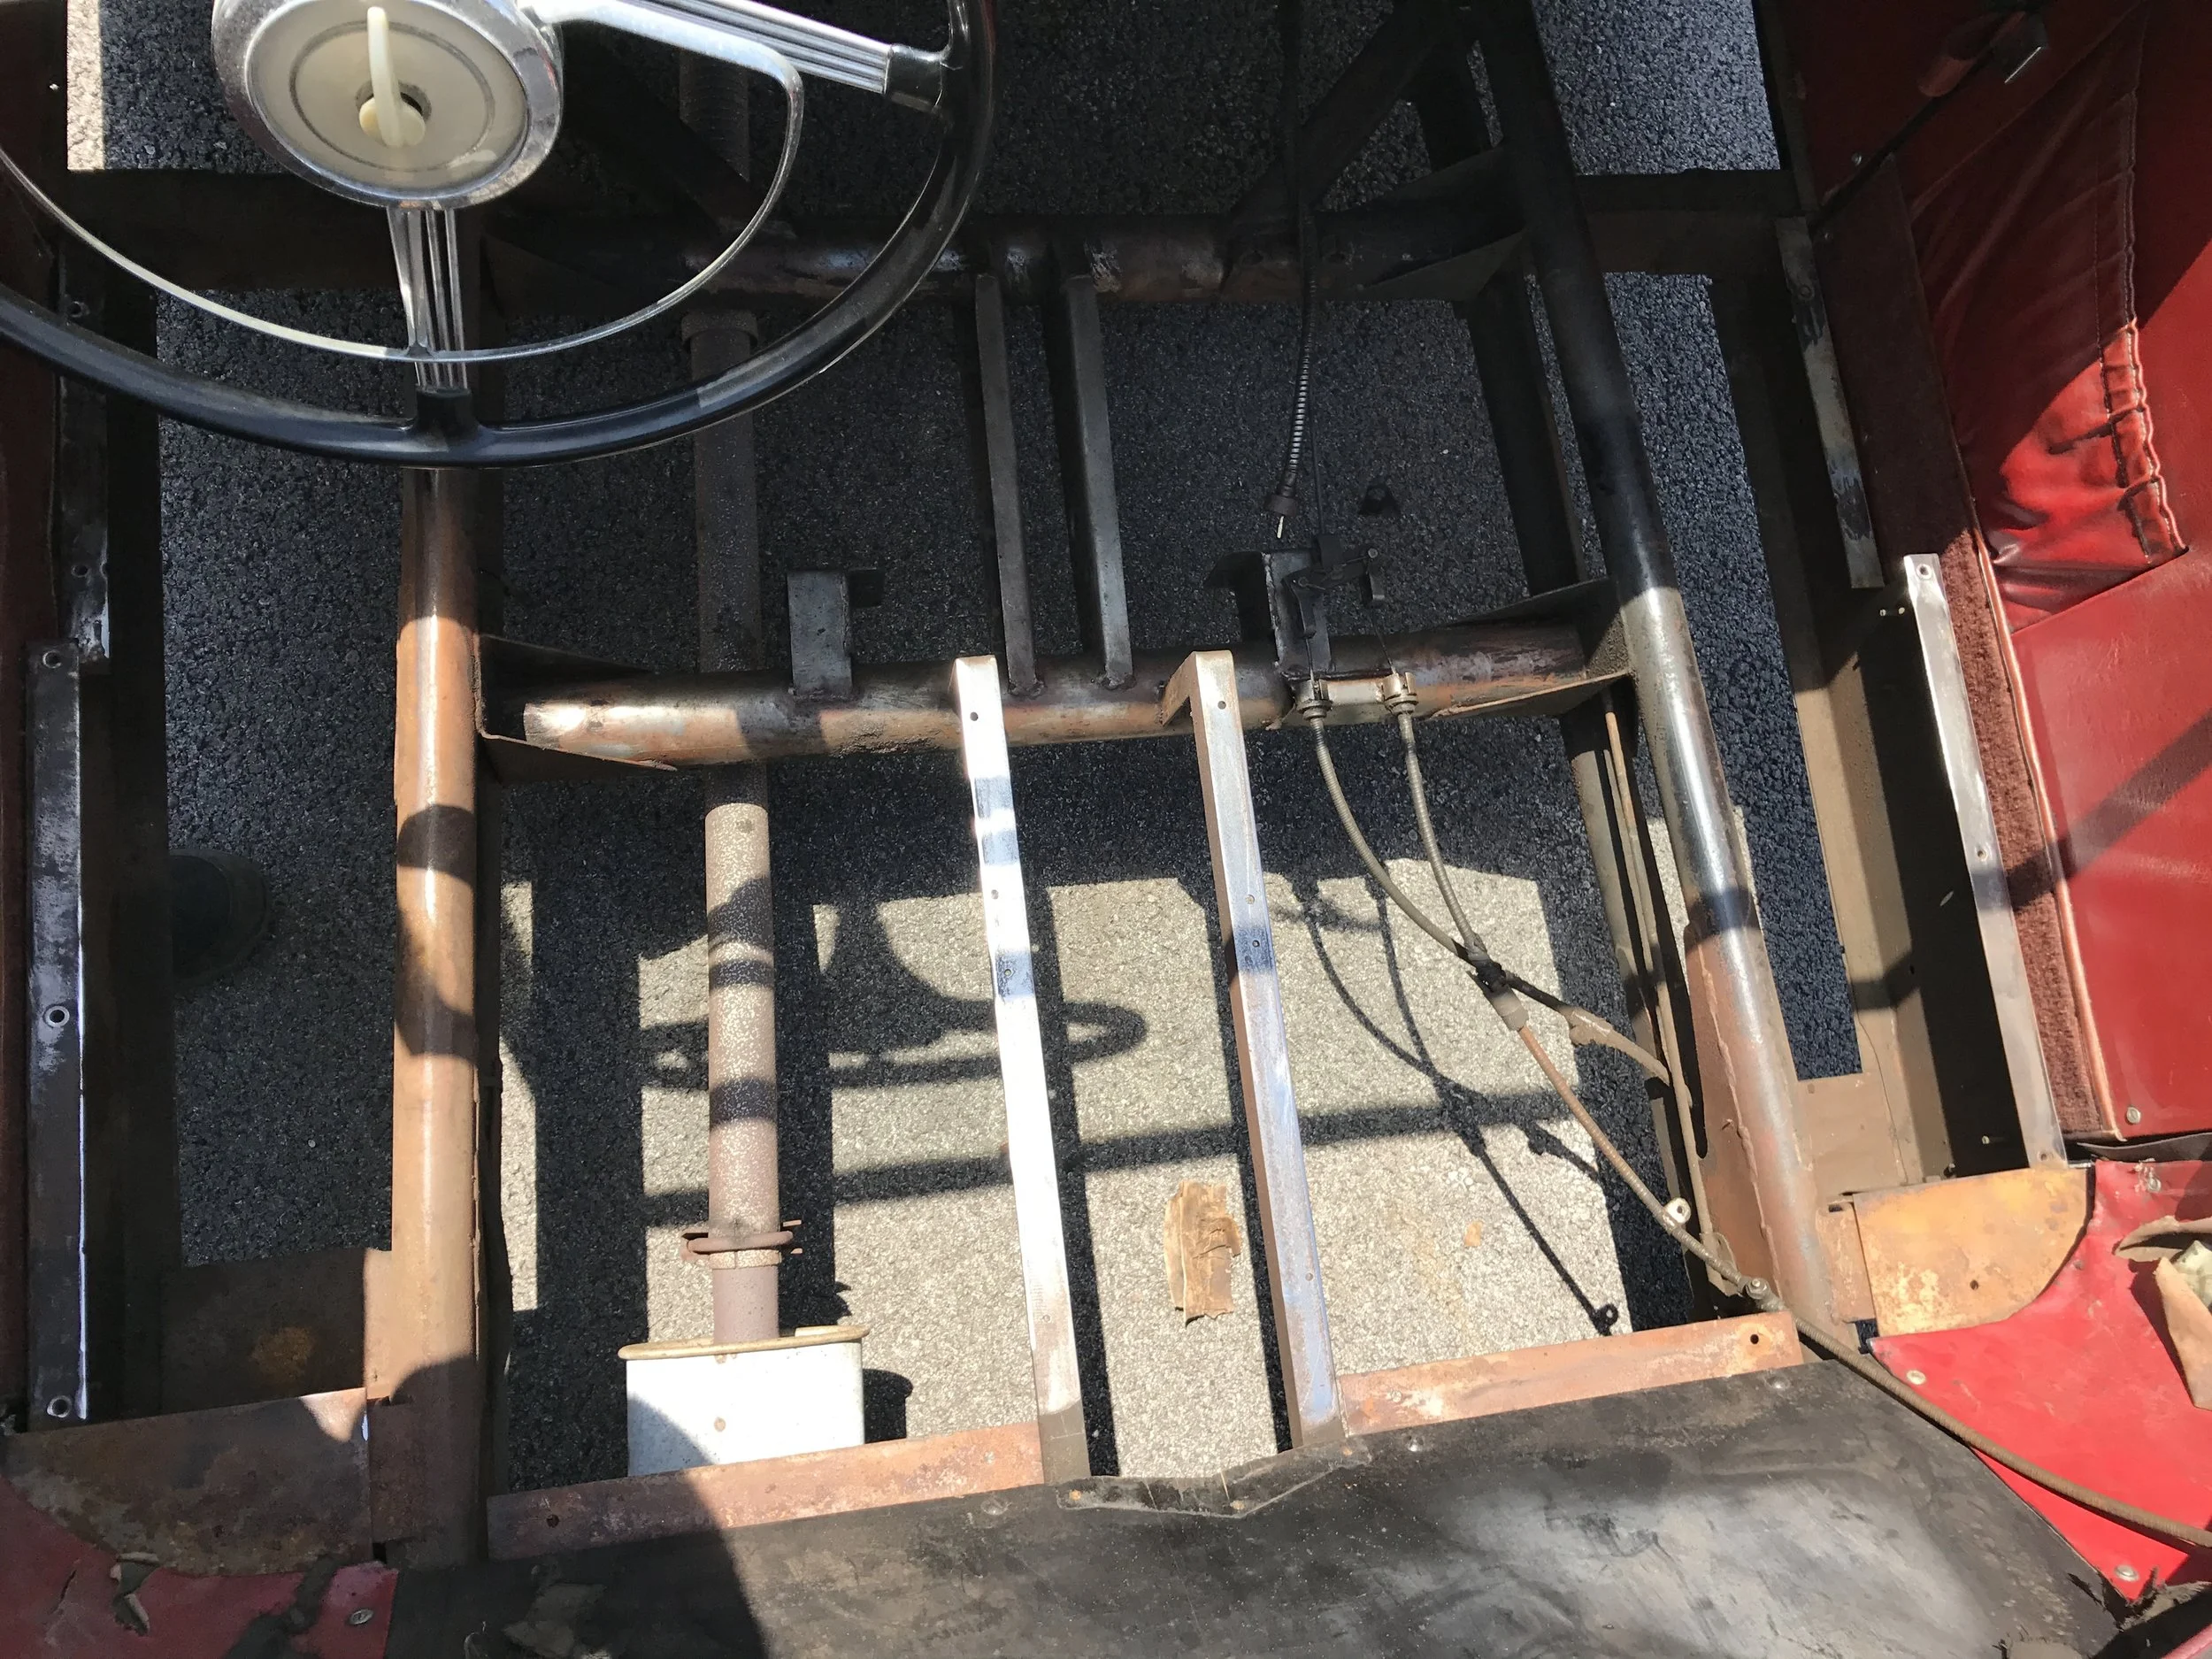
Front Center Floor Removed
I have begun removing the sheet metal floor. Most of the screws keeping it down are seized from rust, so this was a laborious process.

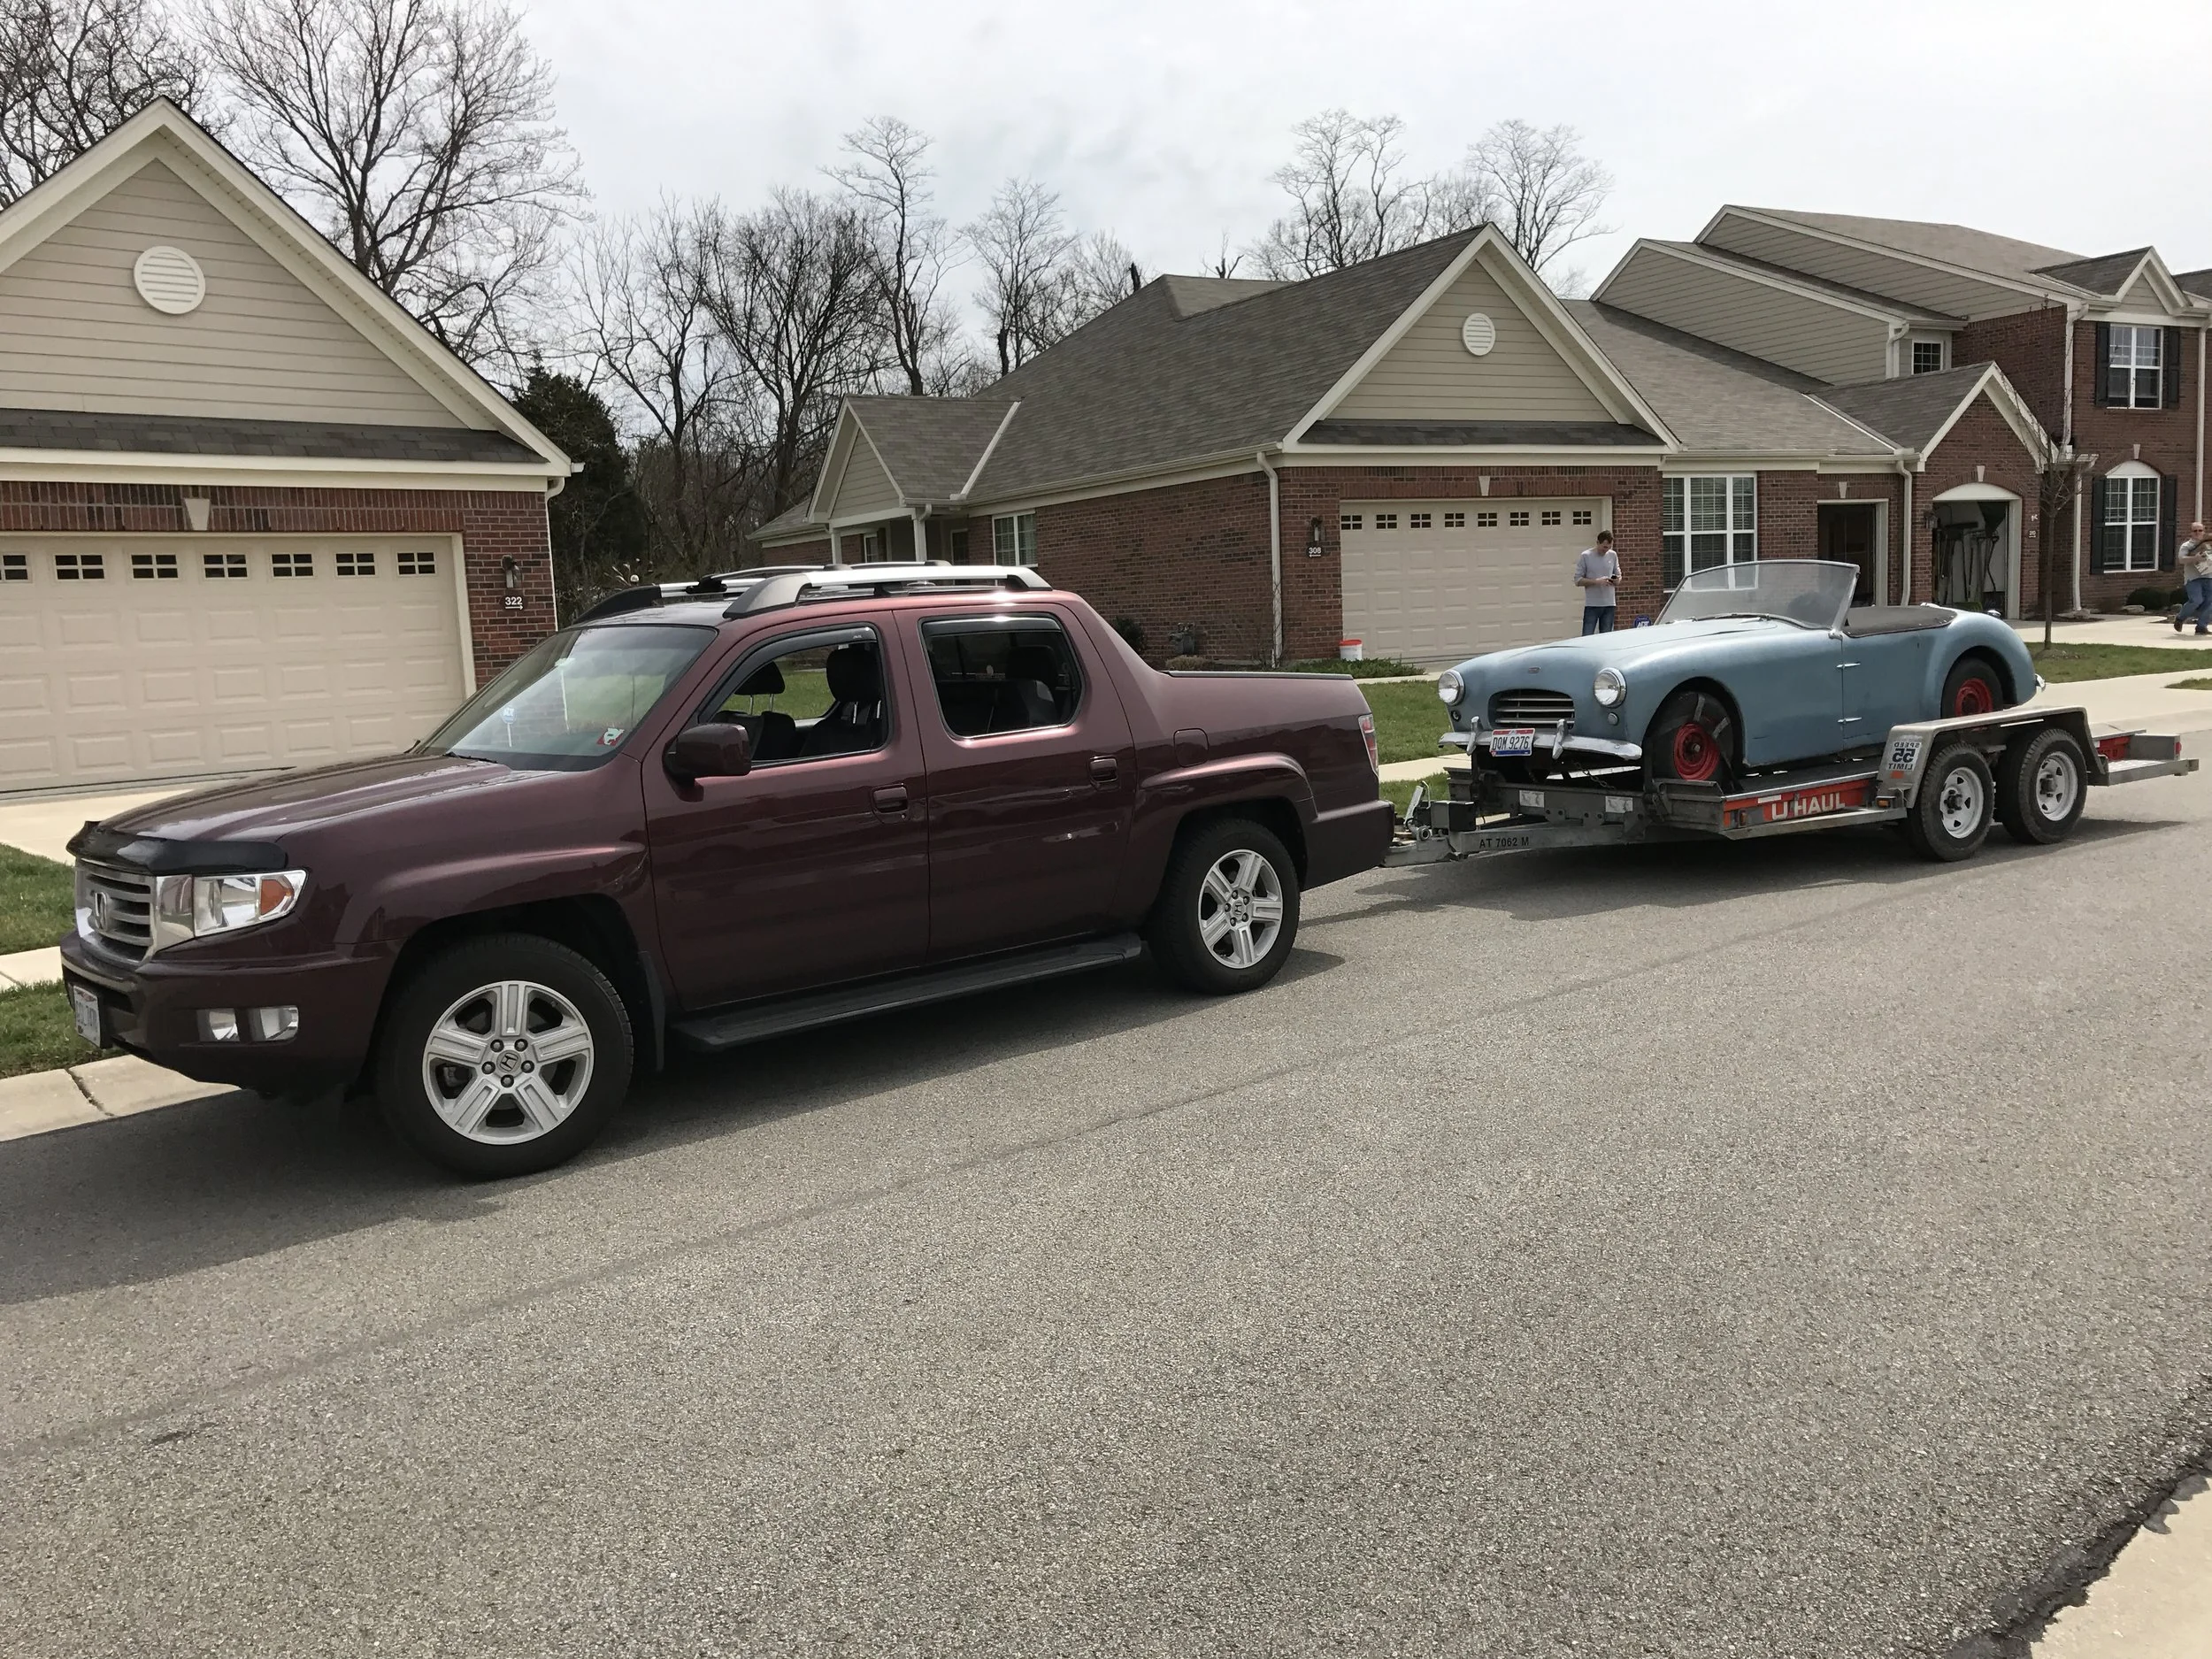
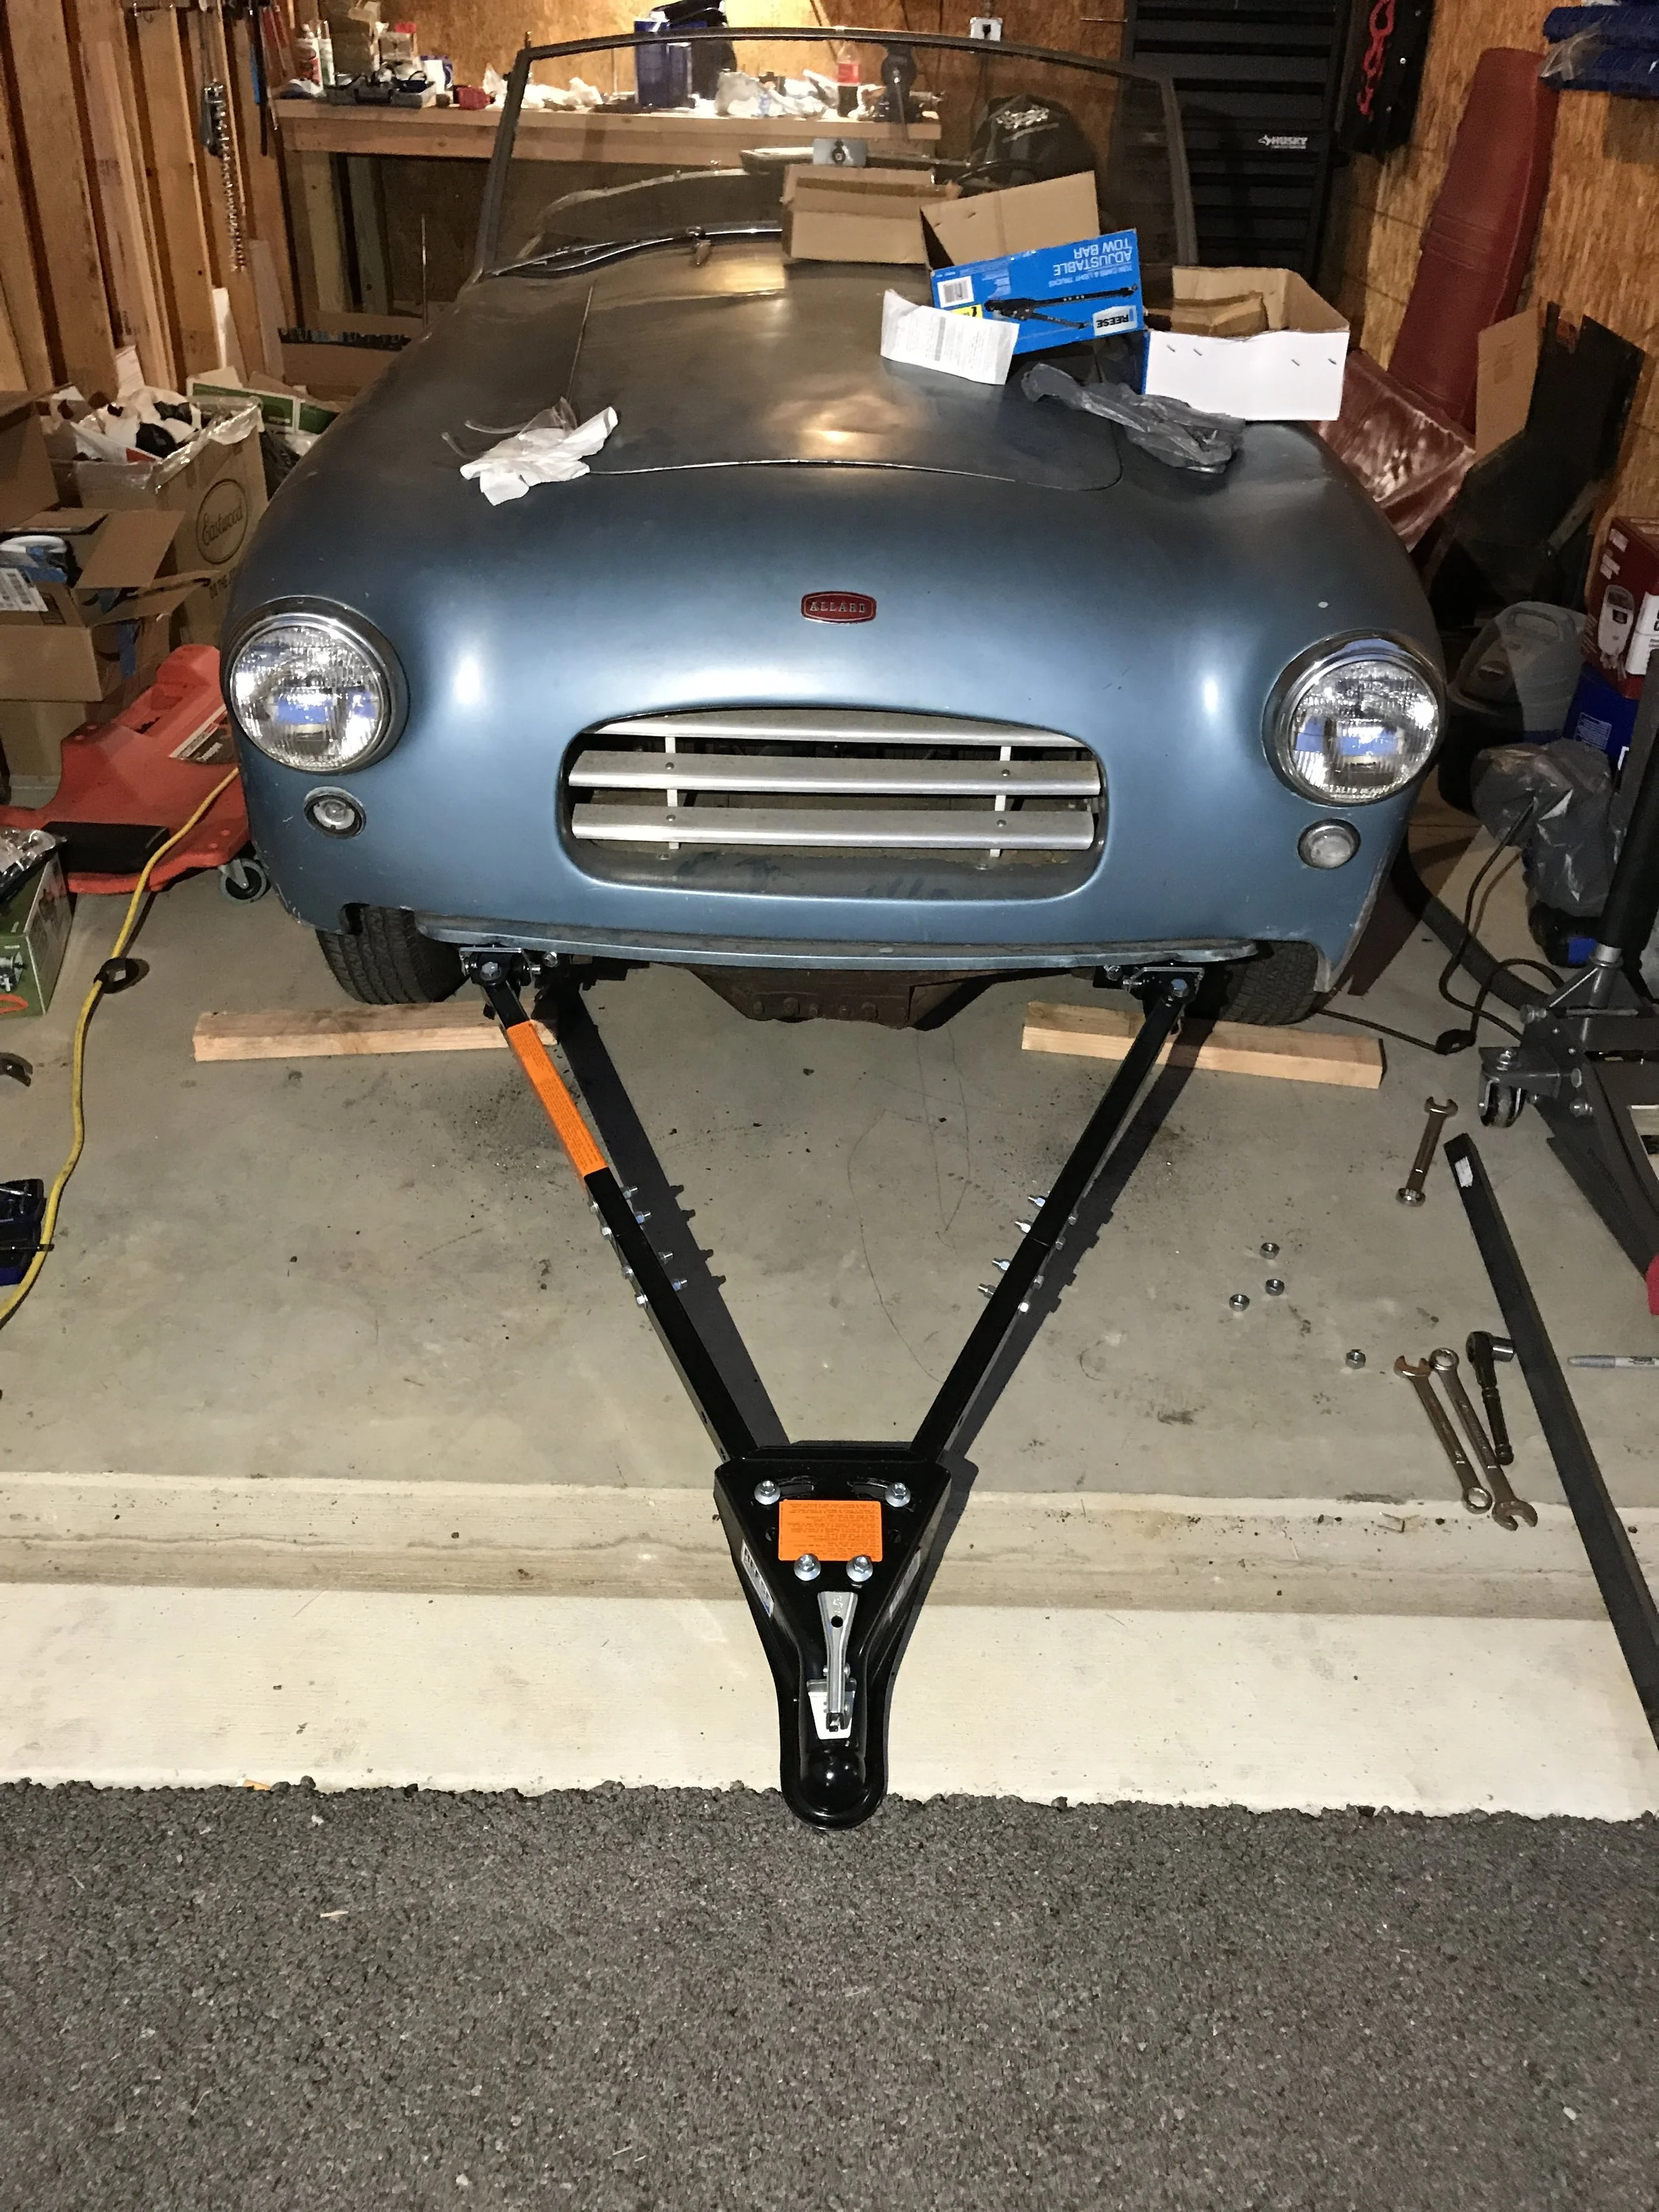
Ready to Head To Columbus
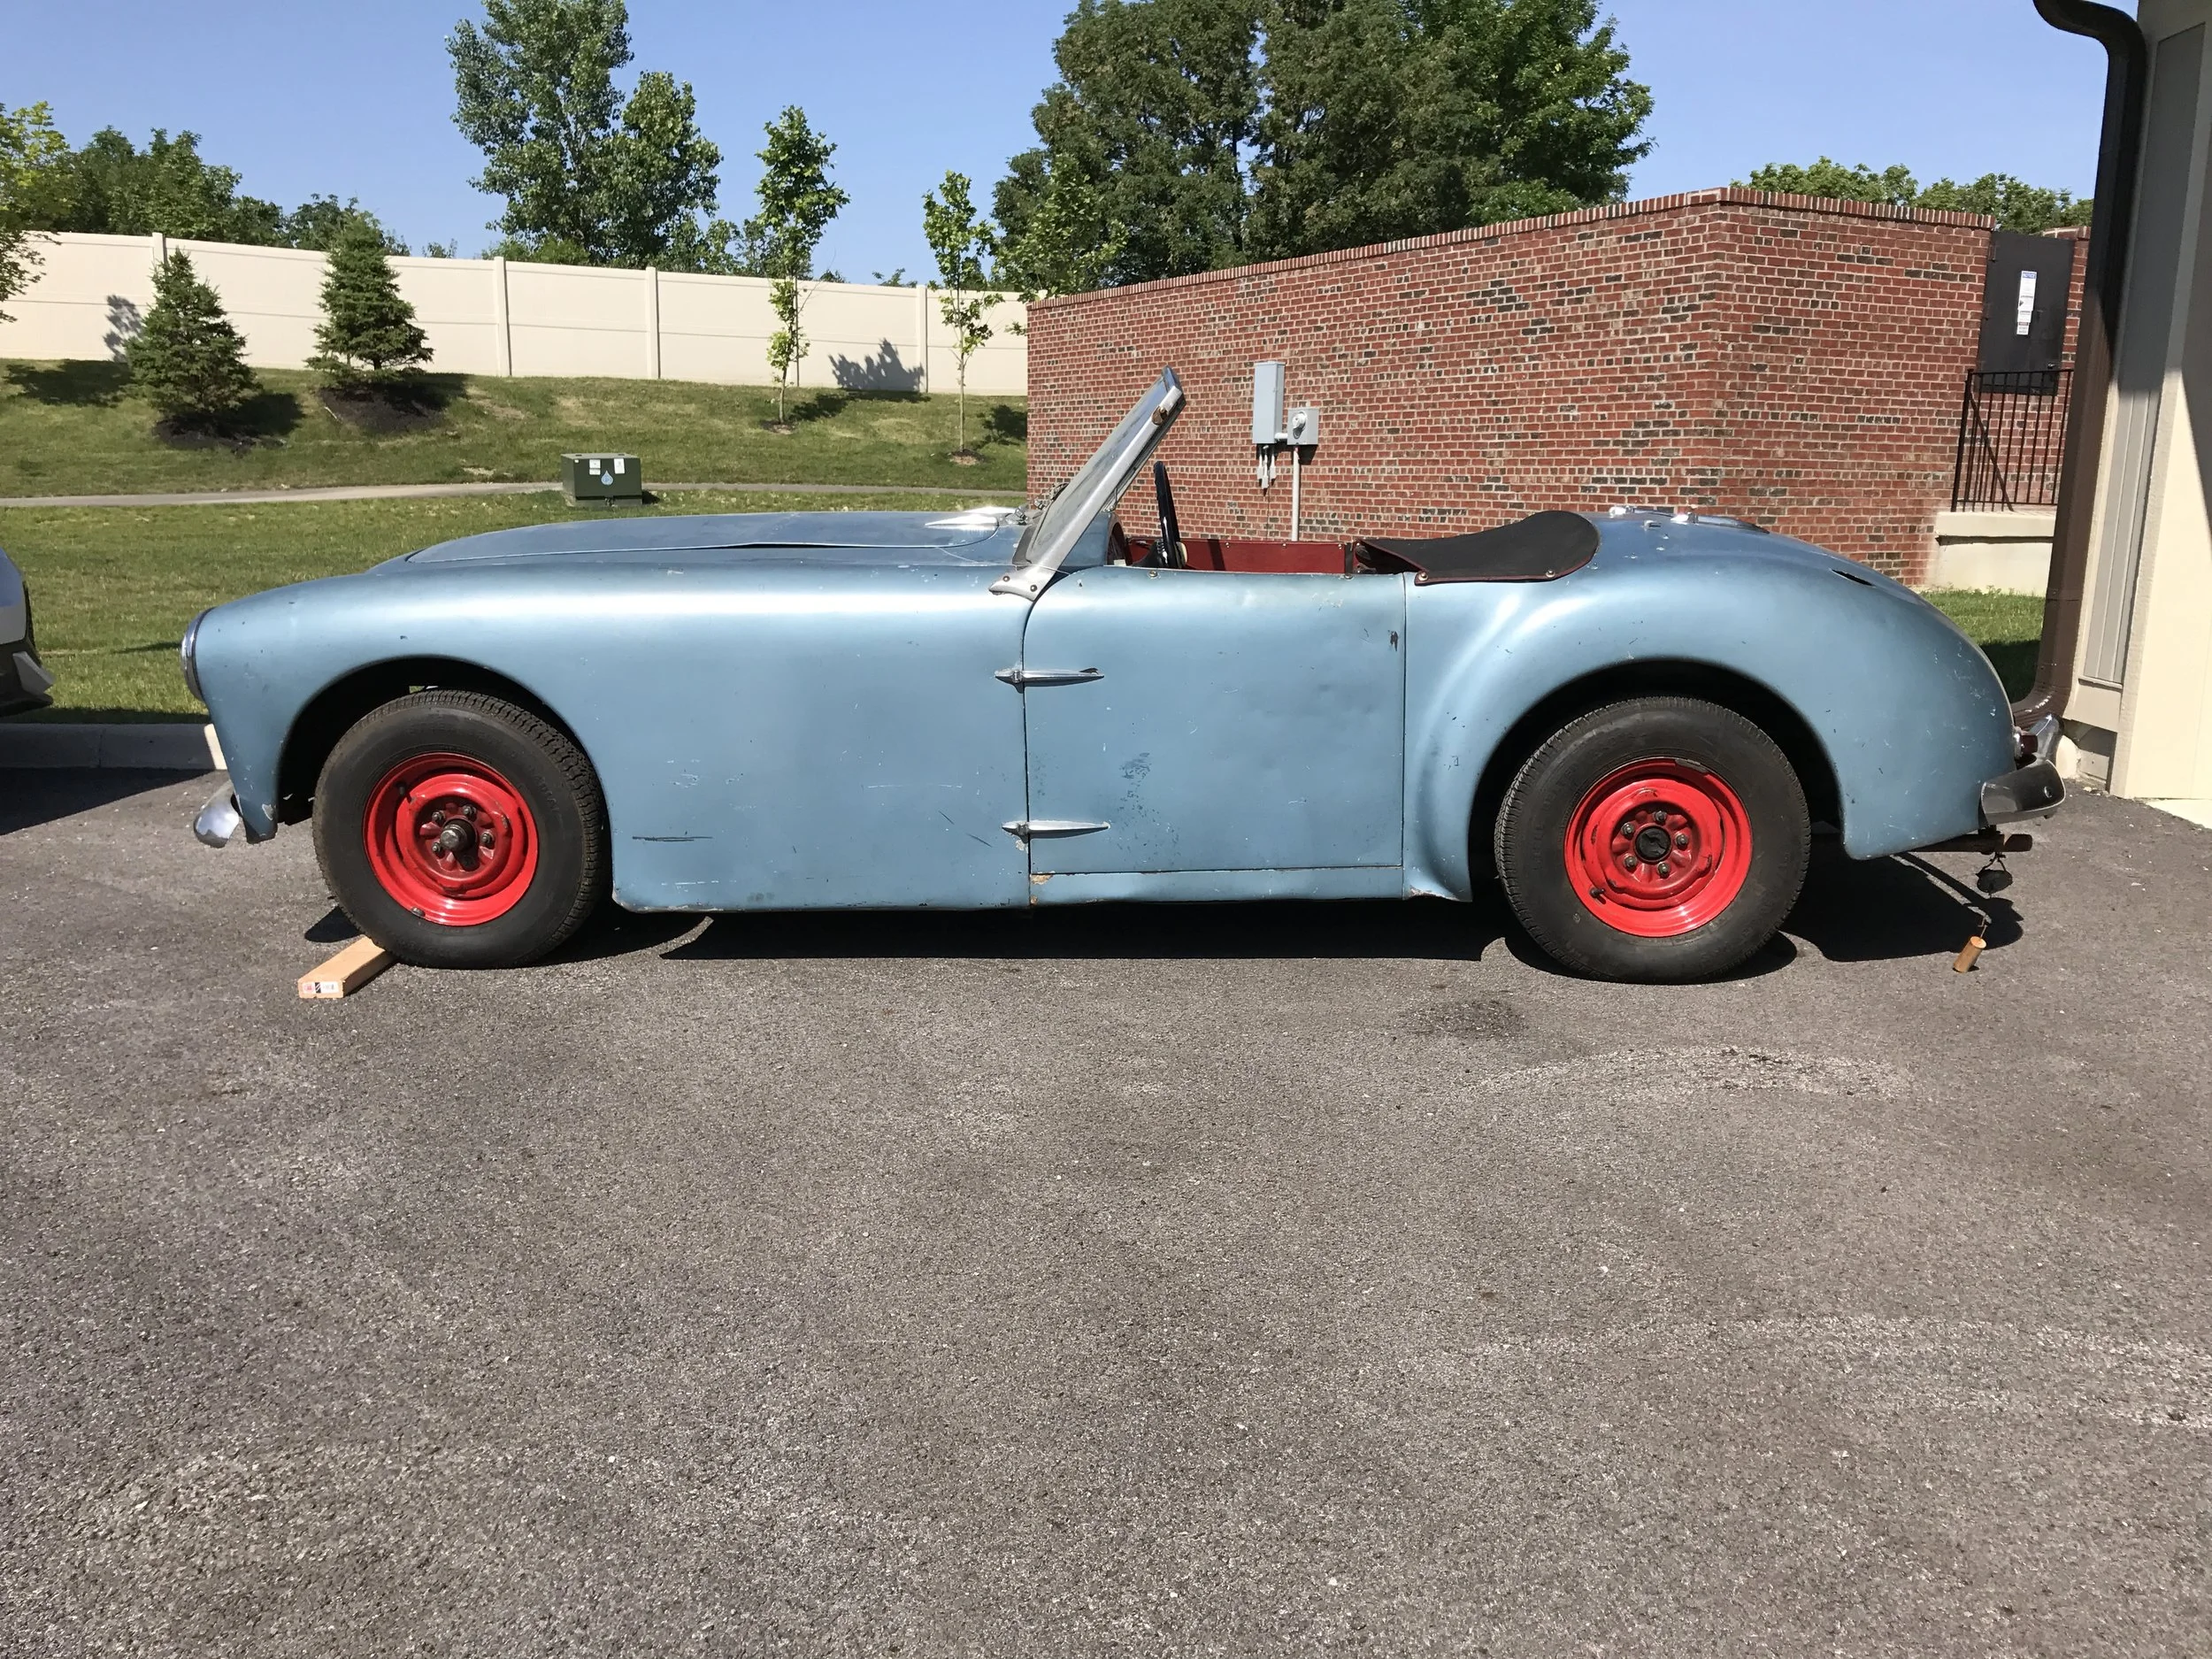
The Allard was loaded onto a U-Haul trailer (towed by my roommate's Honda Ridgeline), to take the car from my parents' house in Cincinnati to my apartment in Columbus, OH.
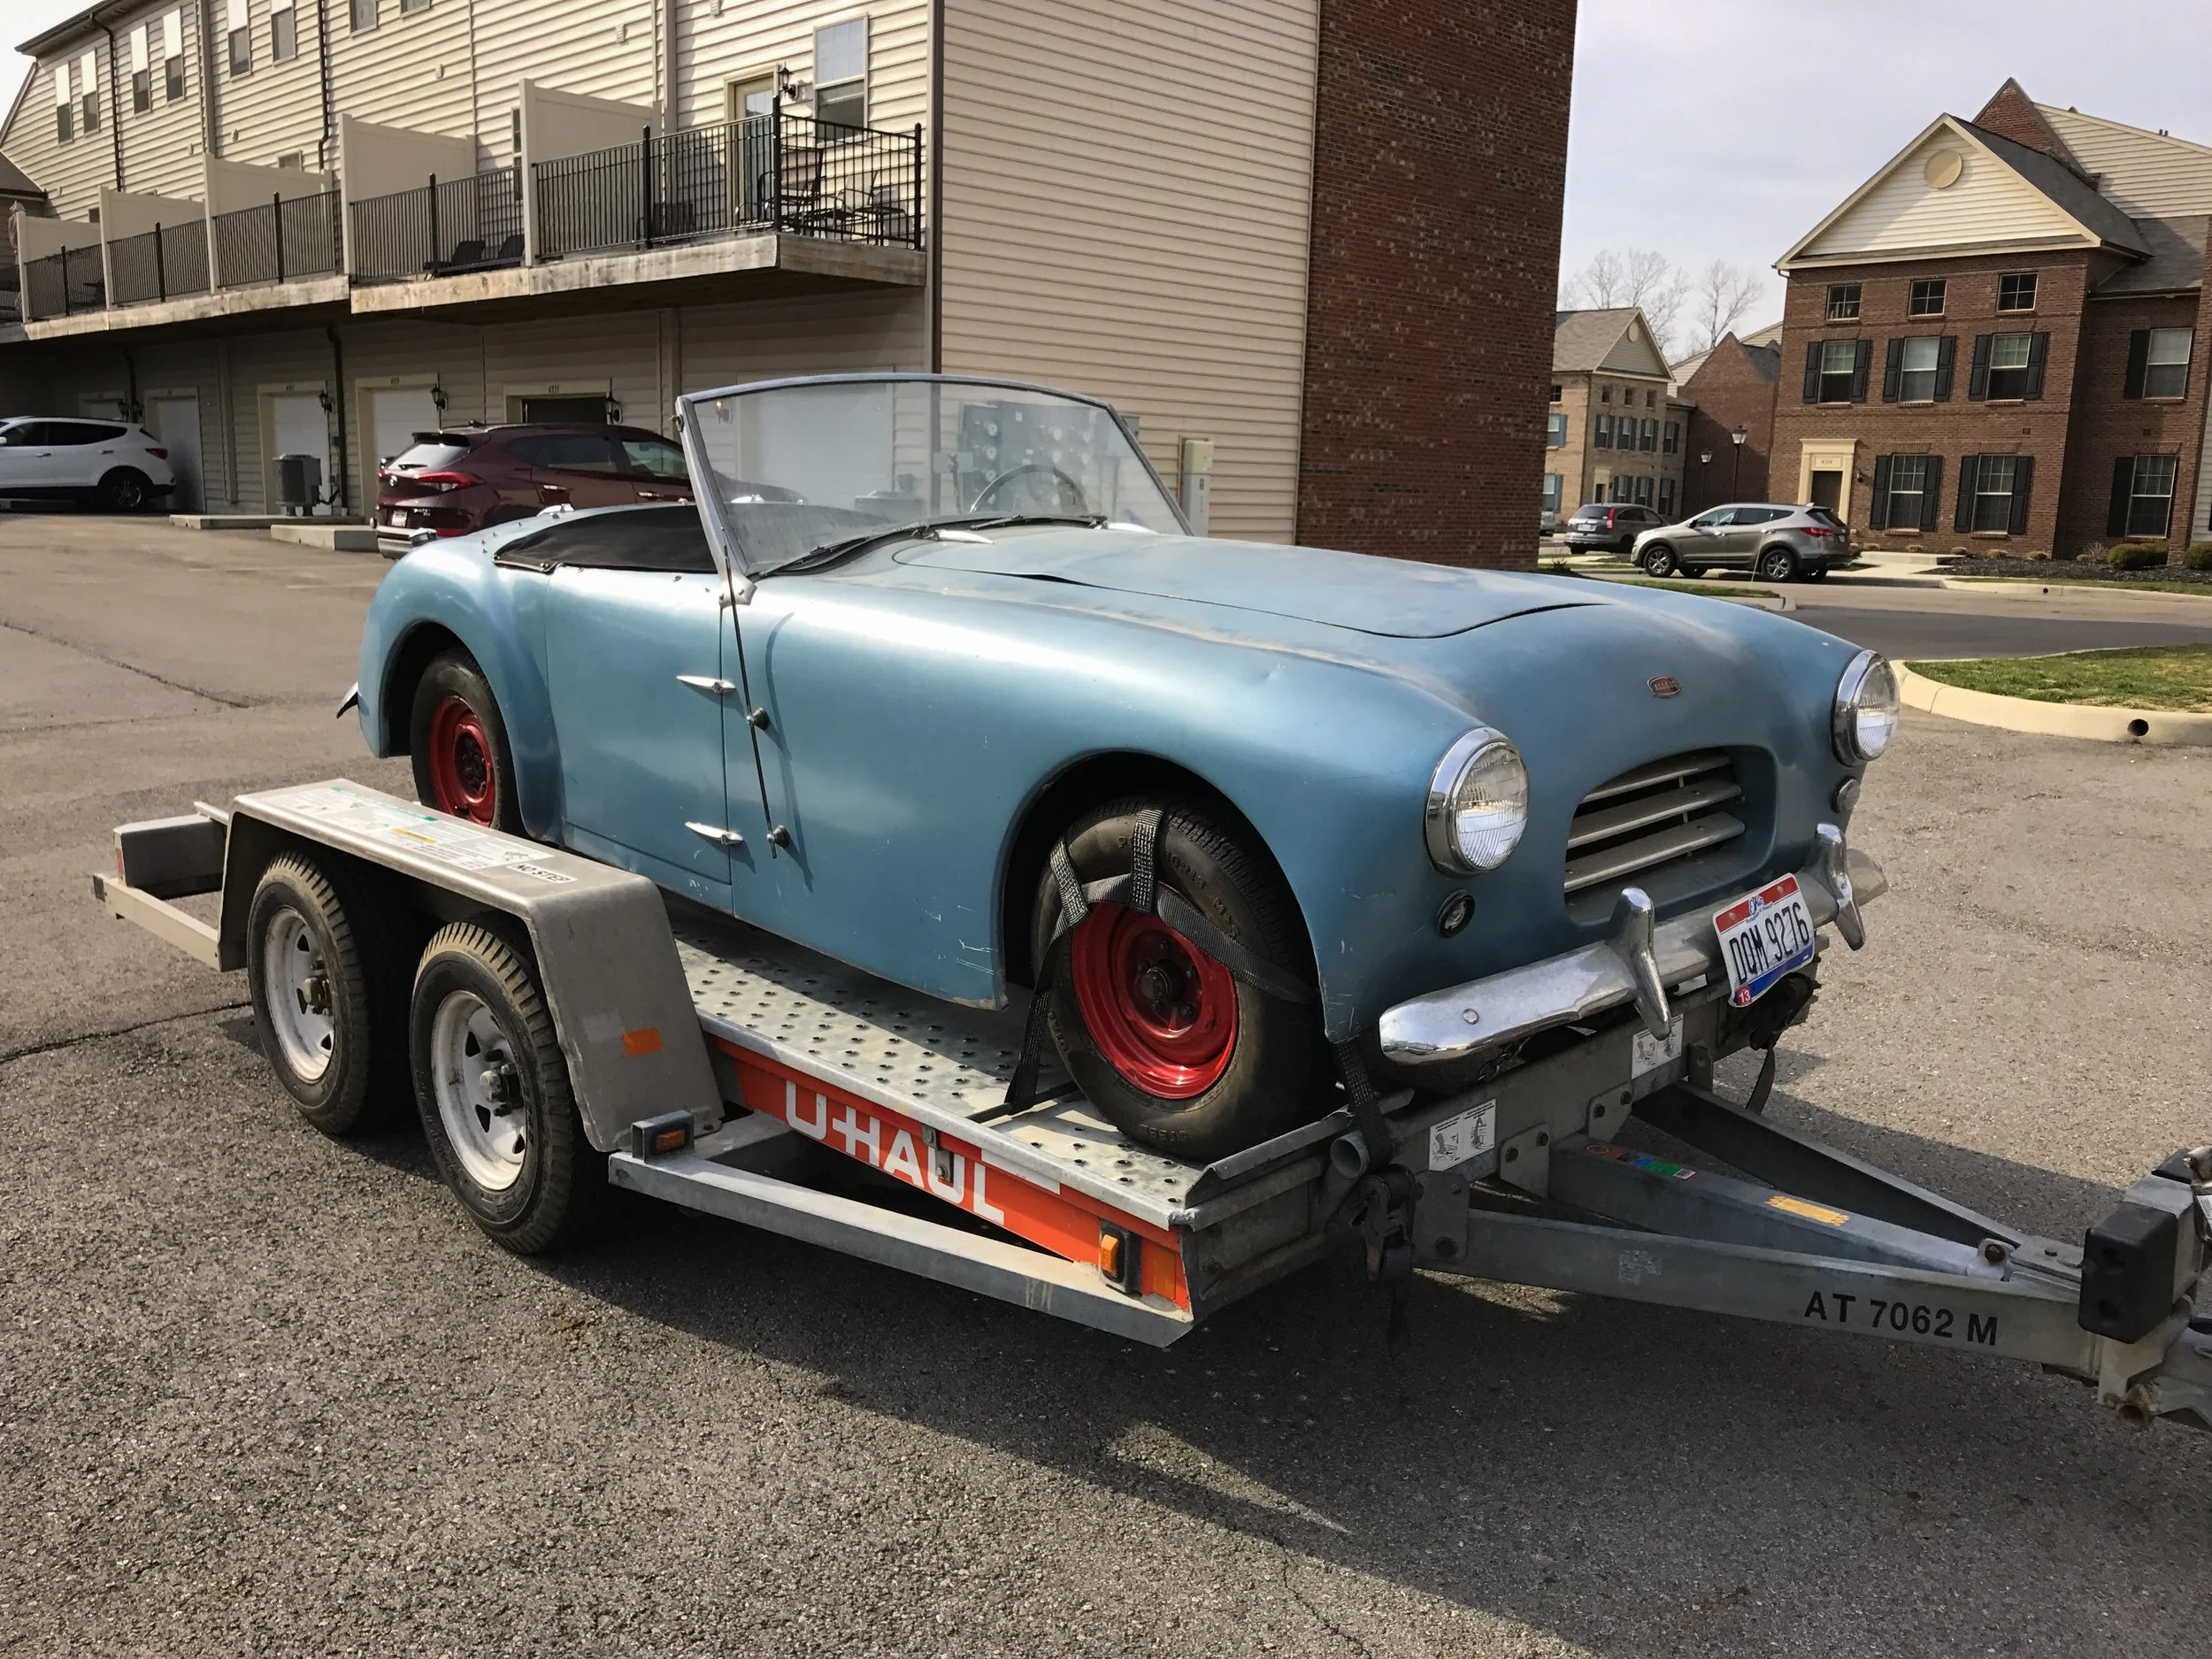
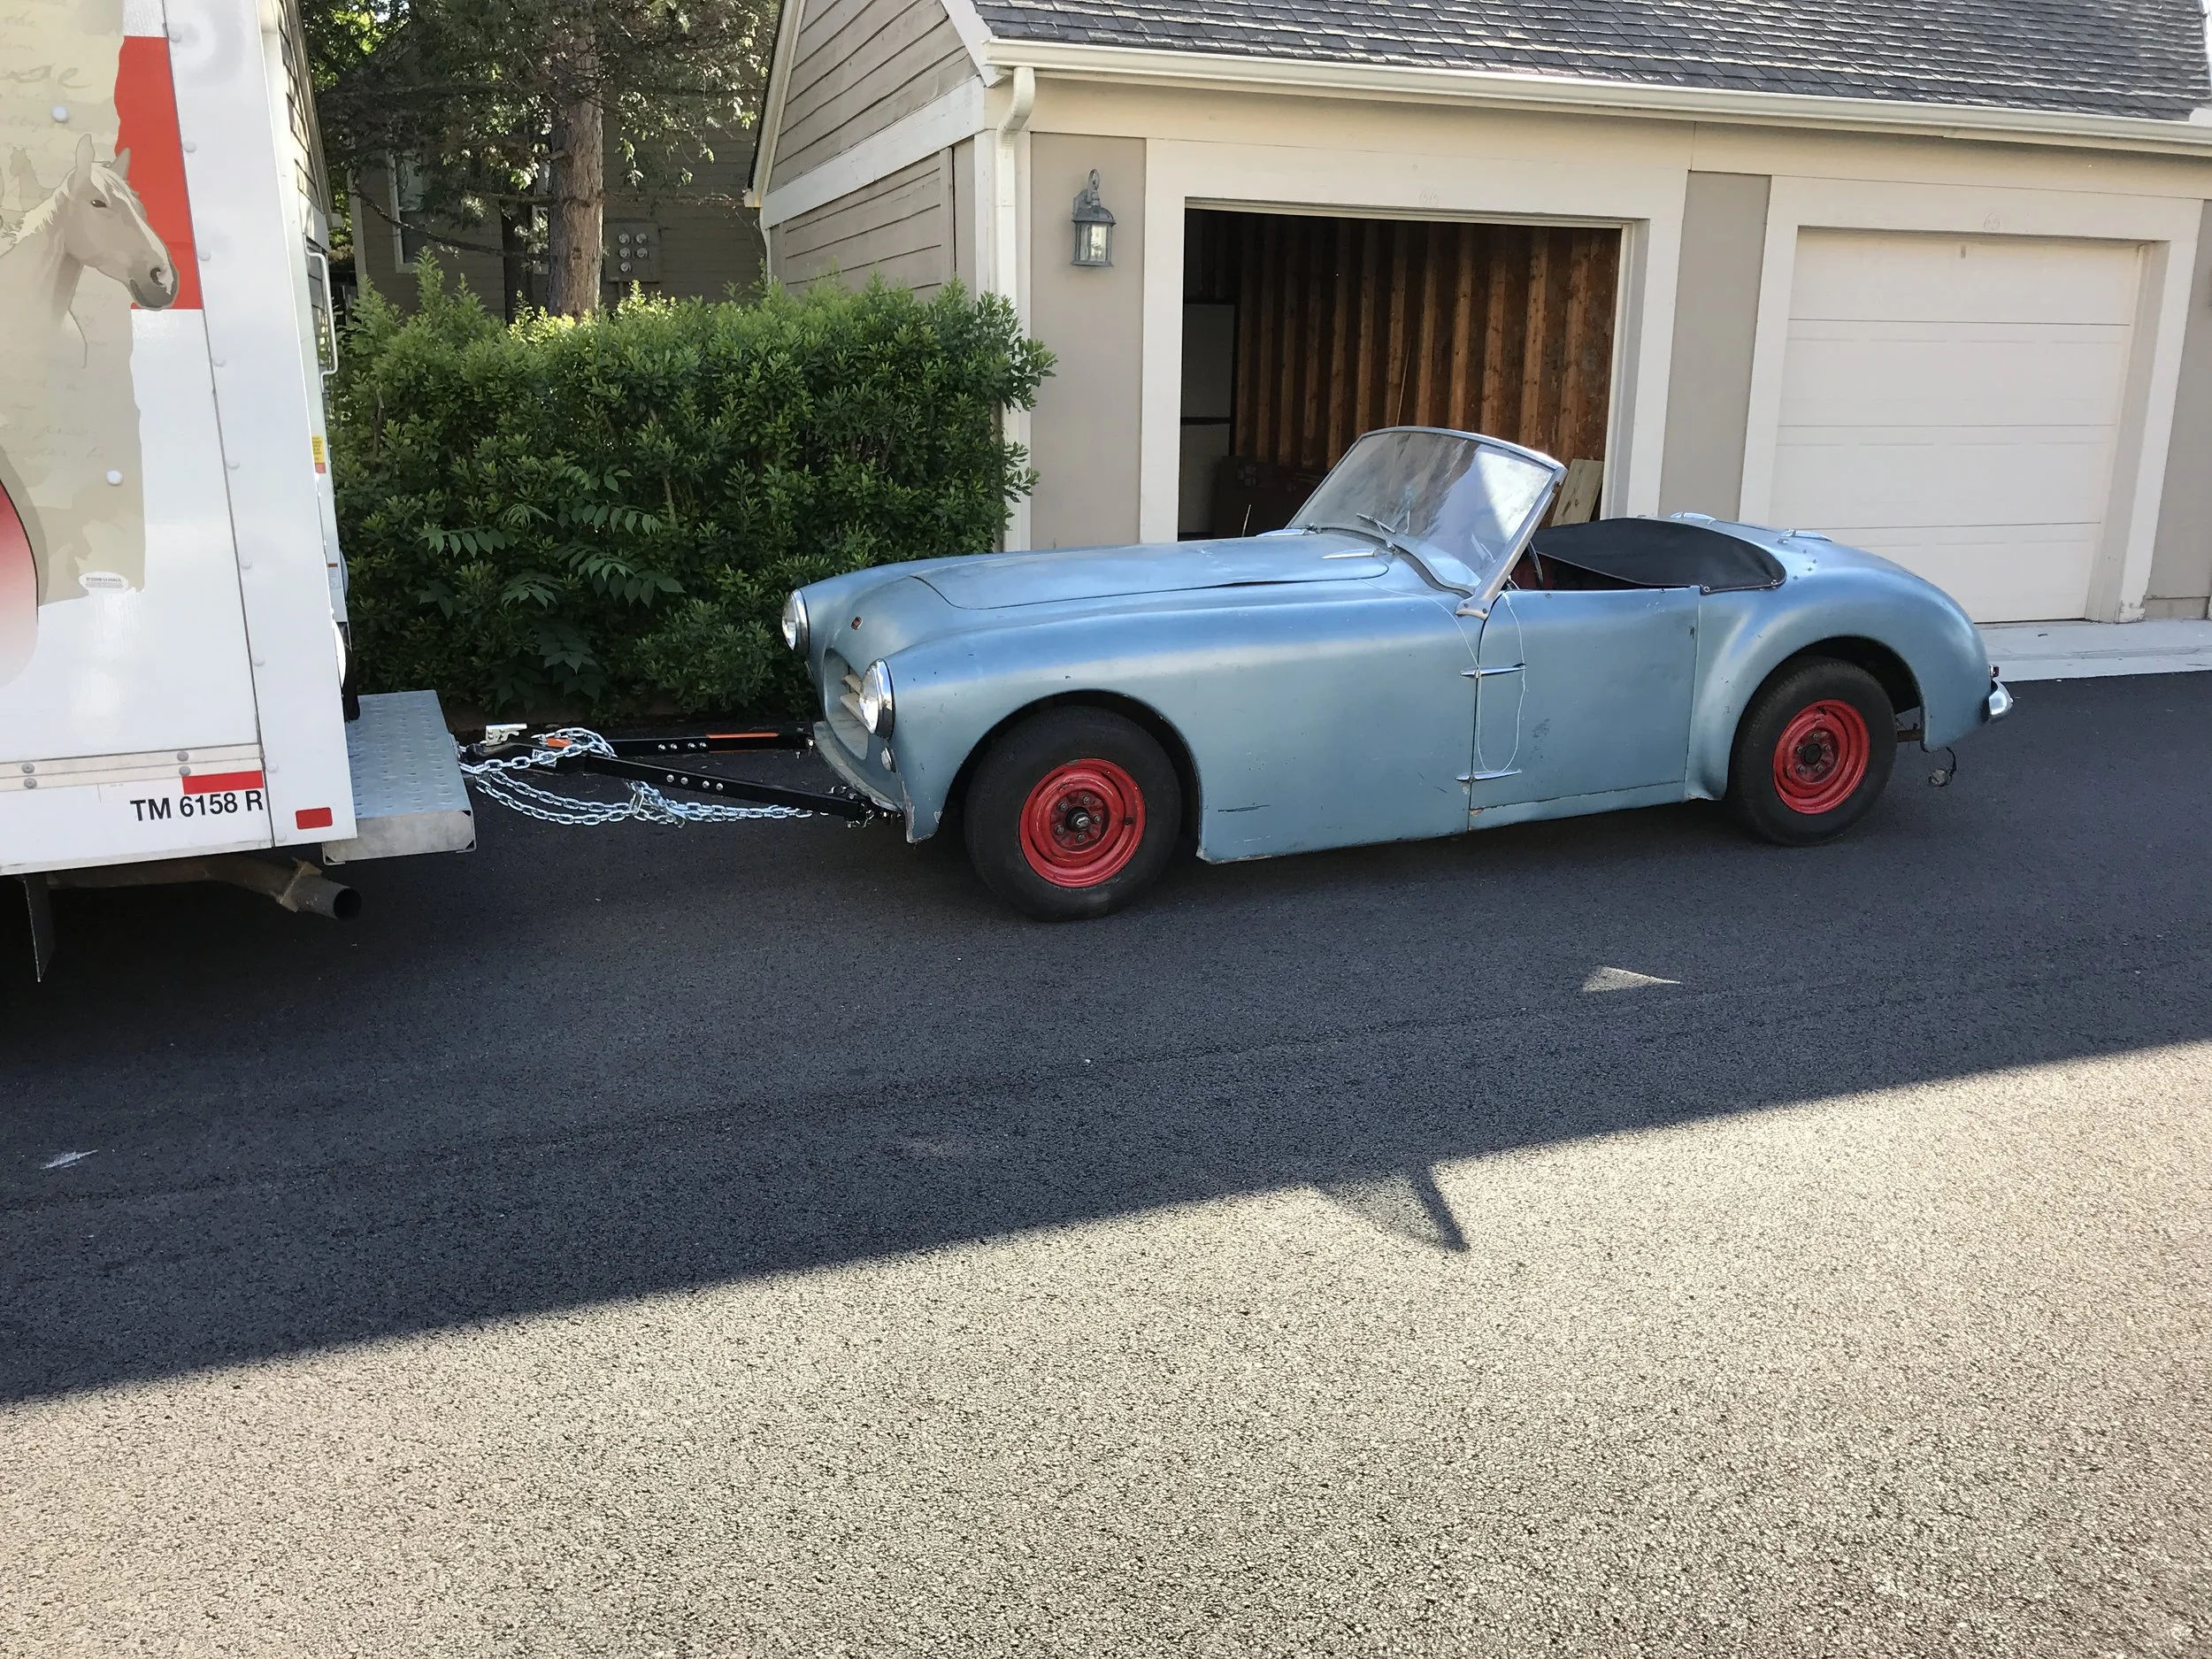
We Made it Safely To Columbus
We drove 55 mph on the 70 mph highway, but we made it in one piece. Getting the Allard off the trailer with no brakes was a challenge, but we unloaded it safely and without damage to us or the car.
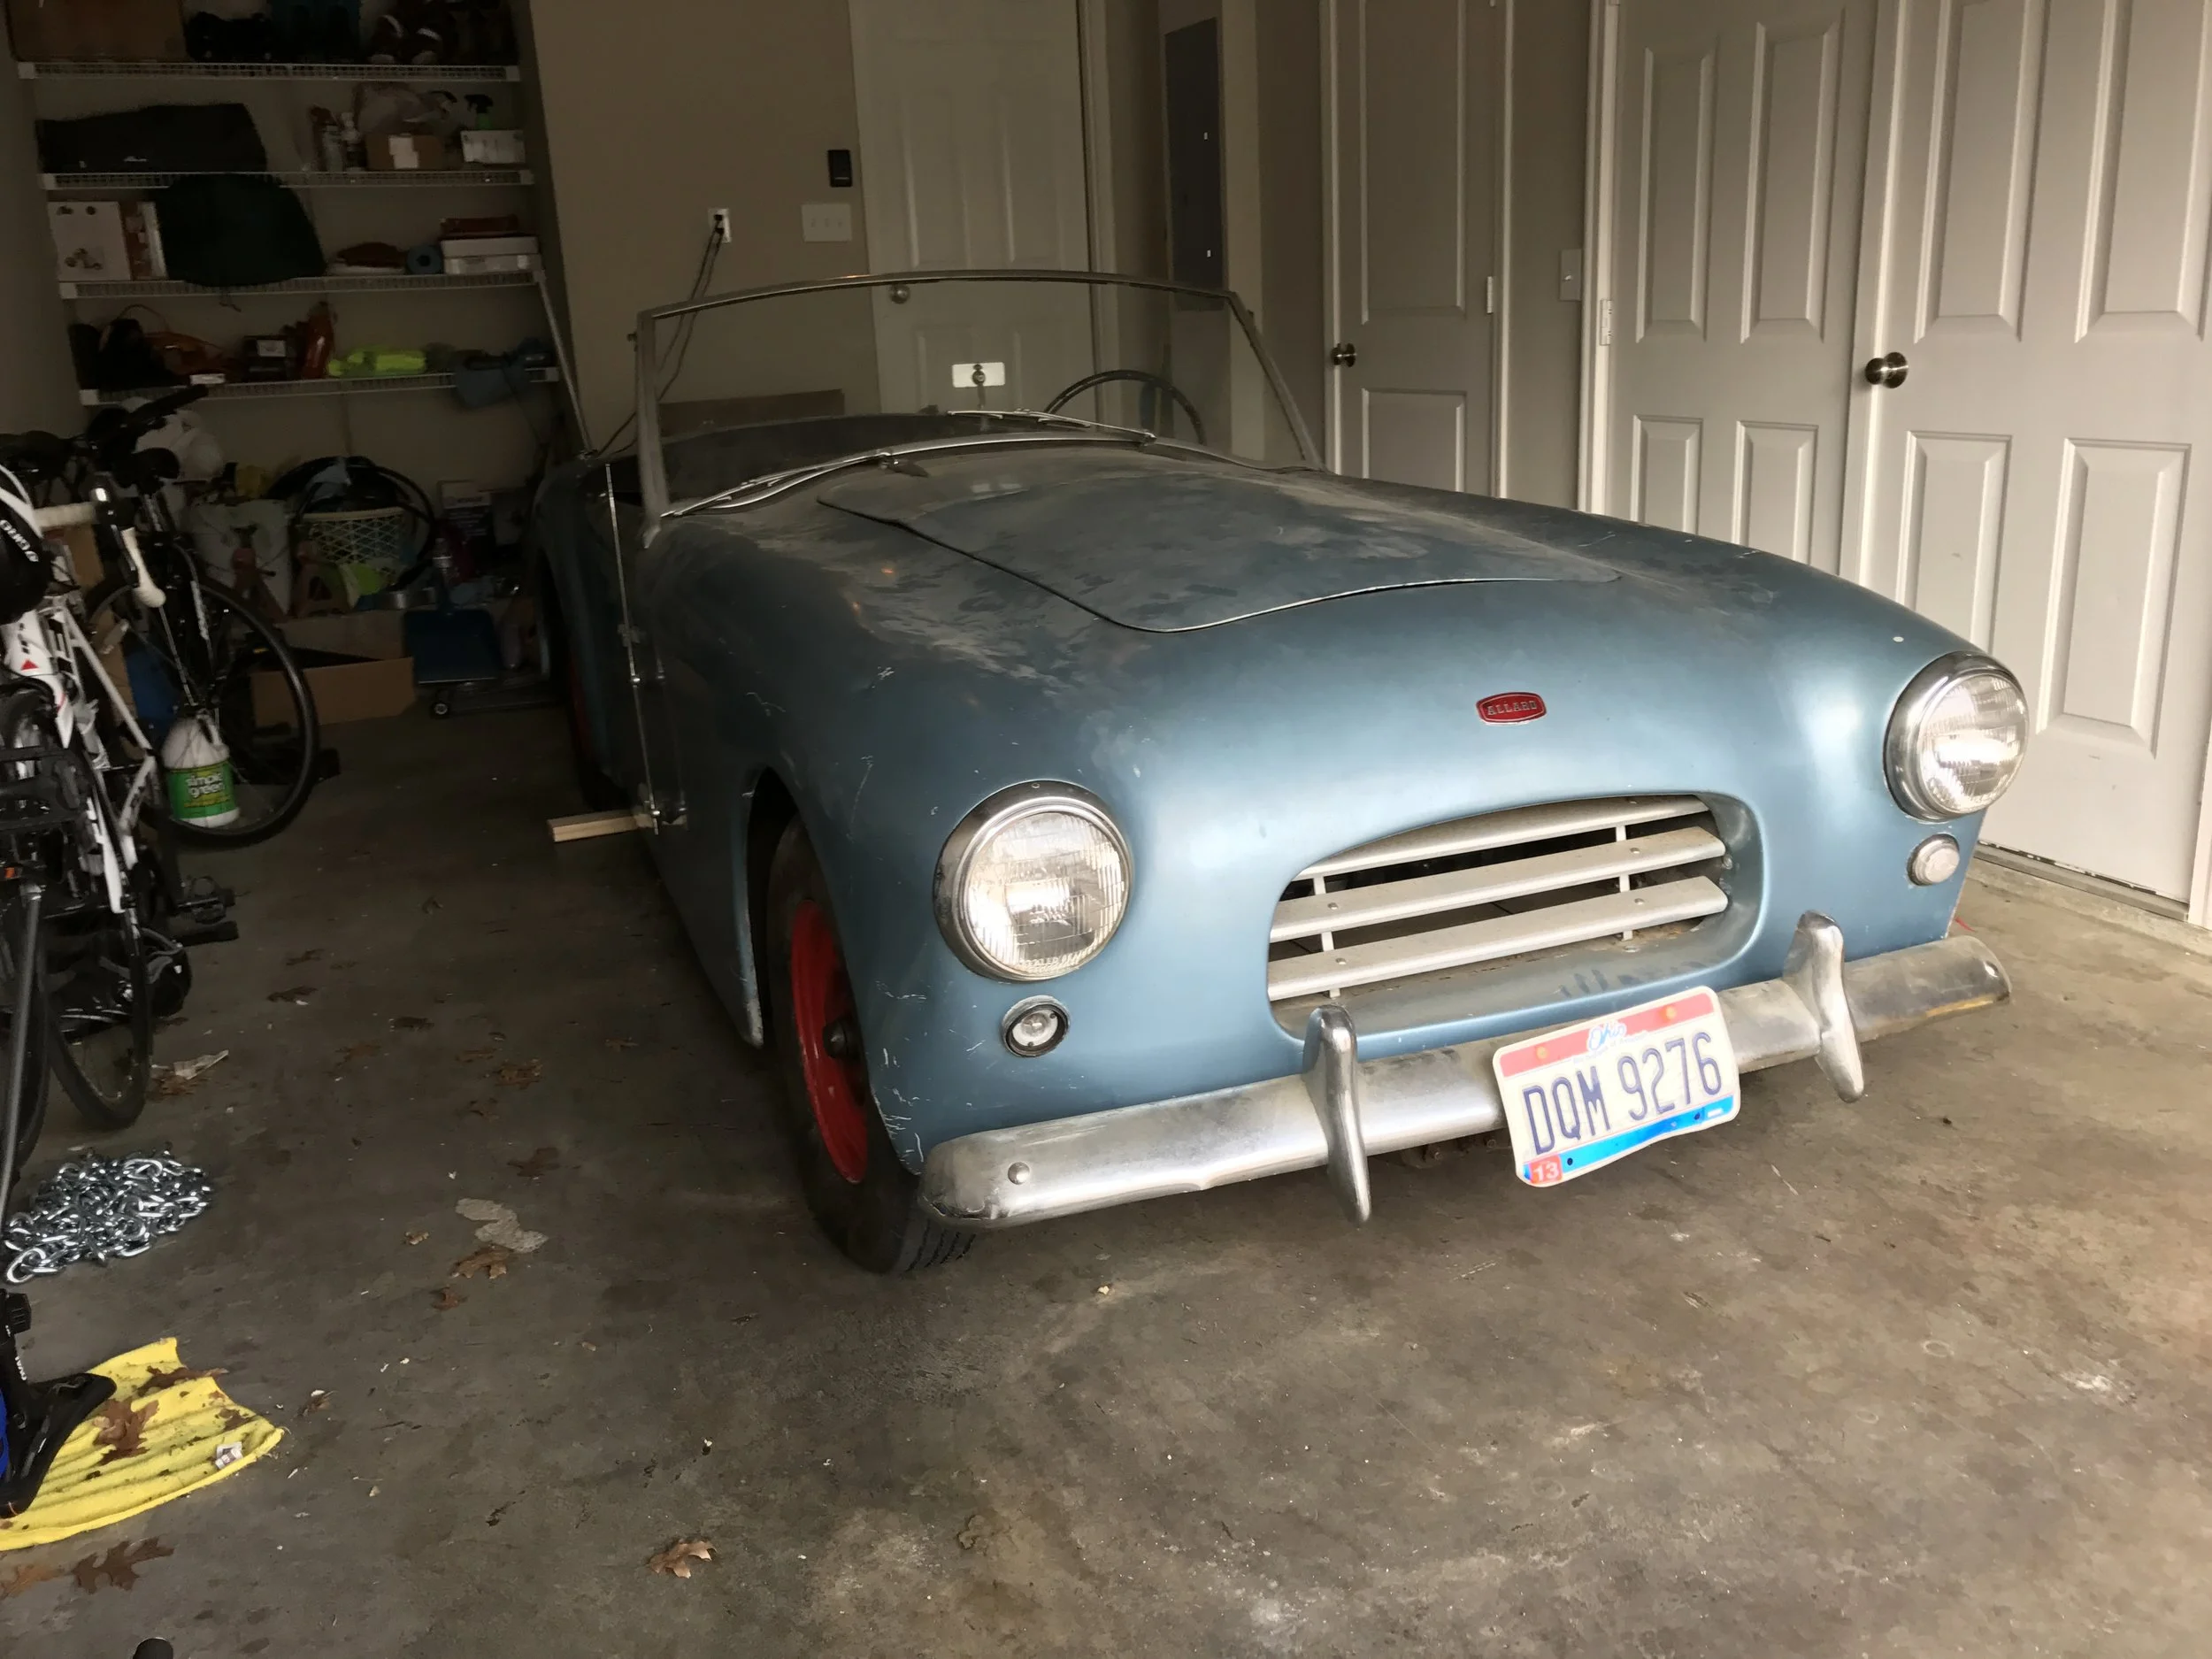
In Its New Home
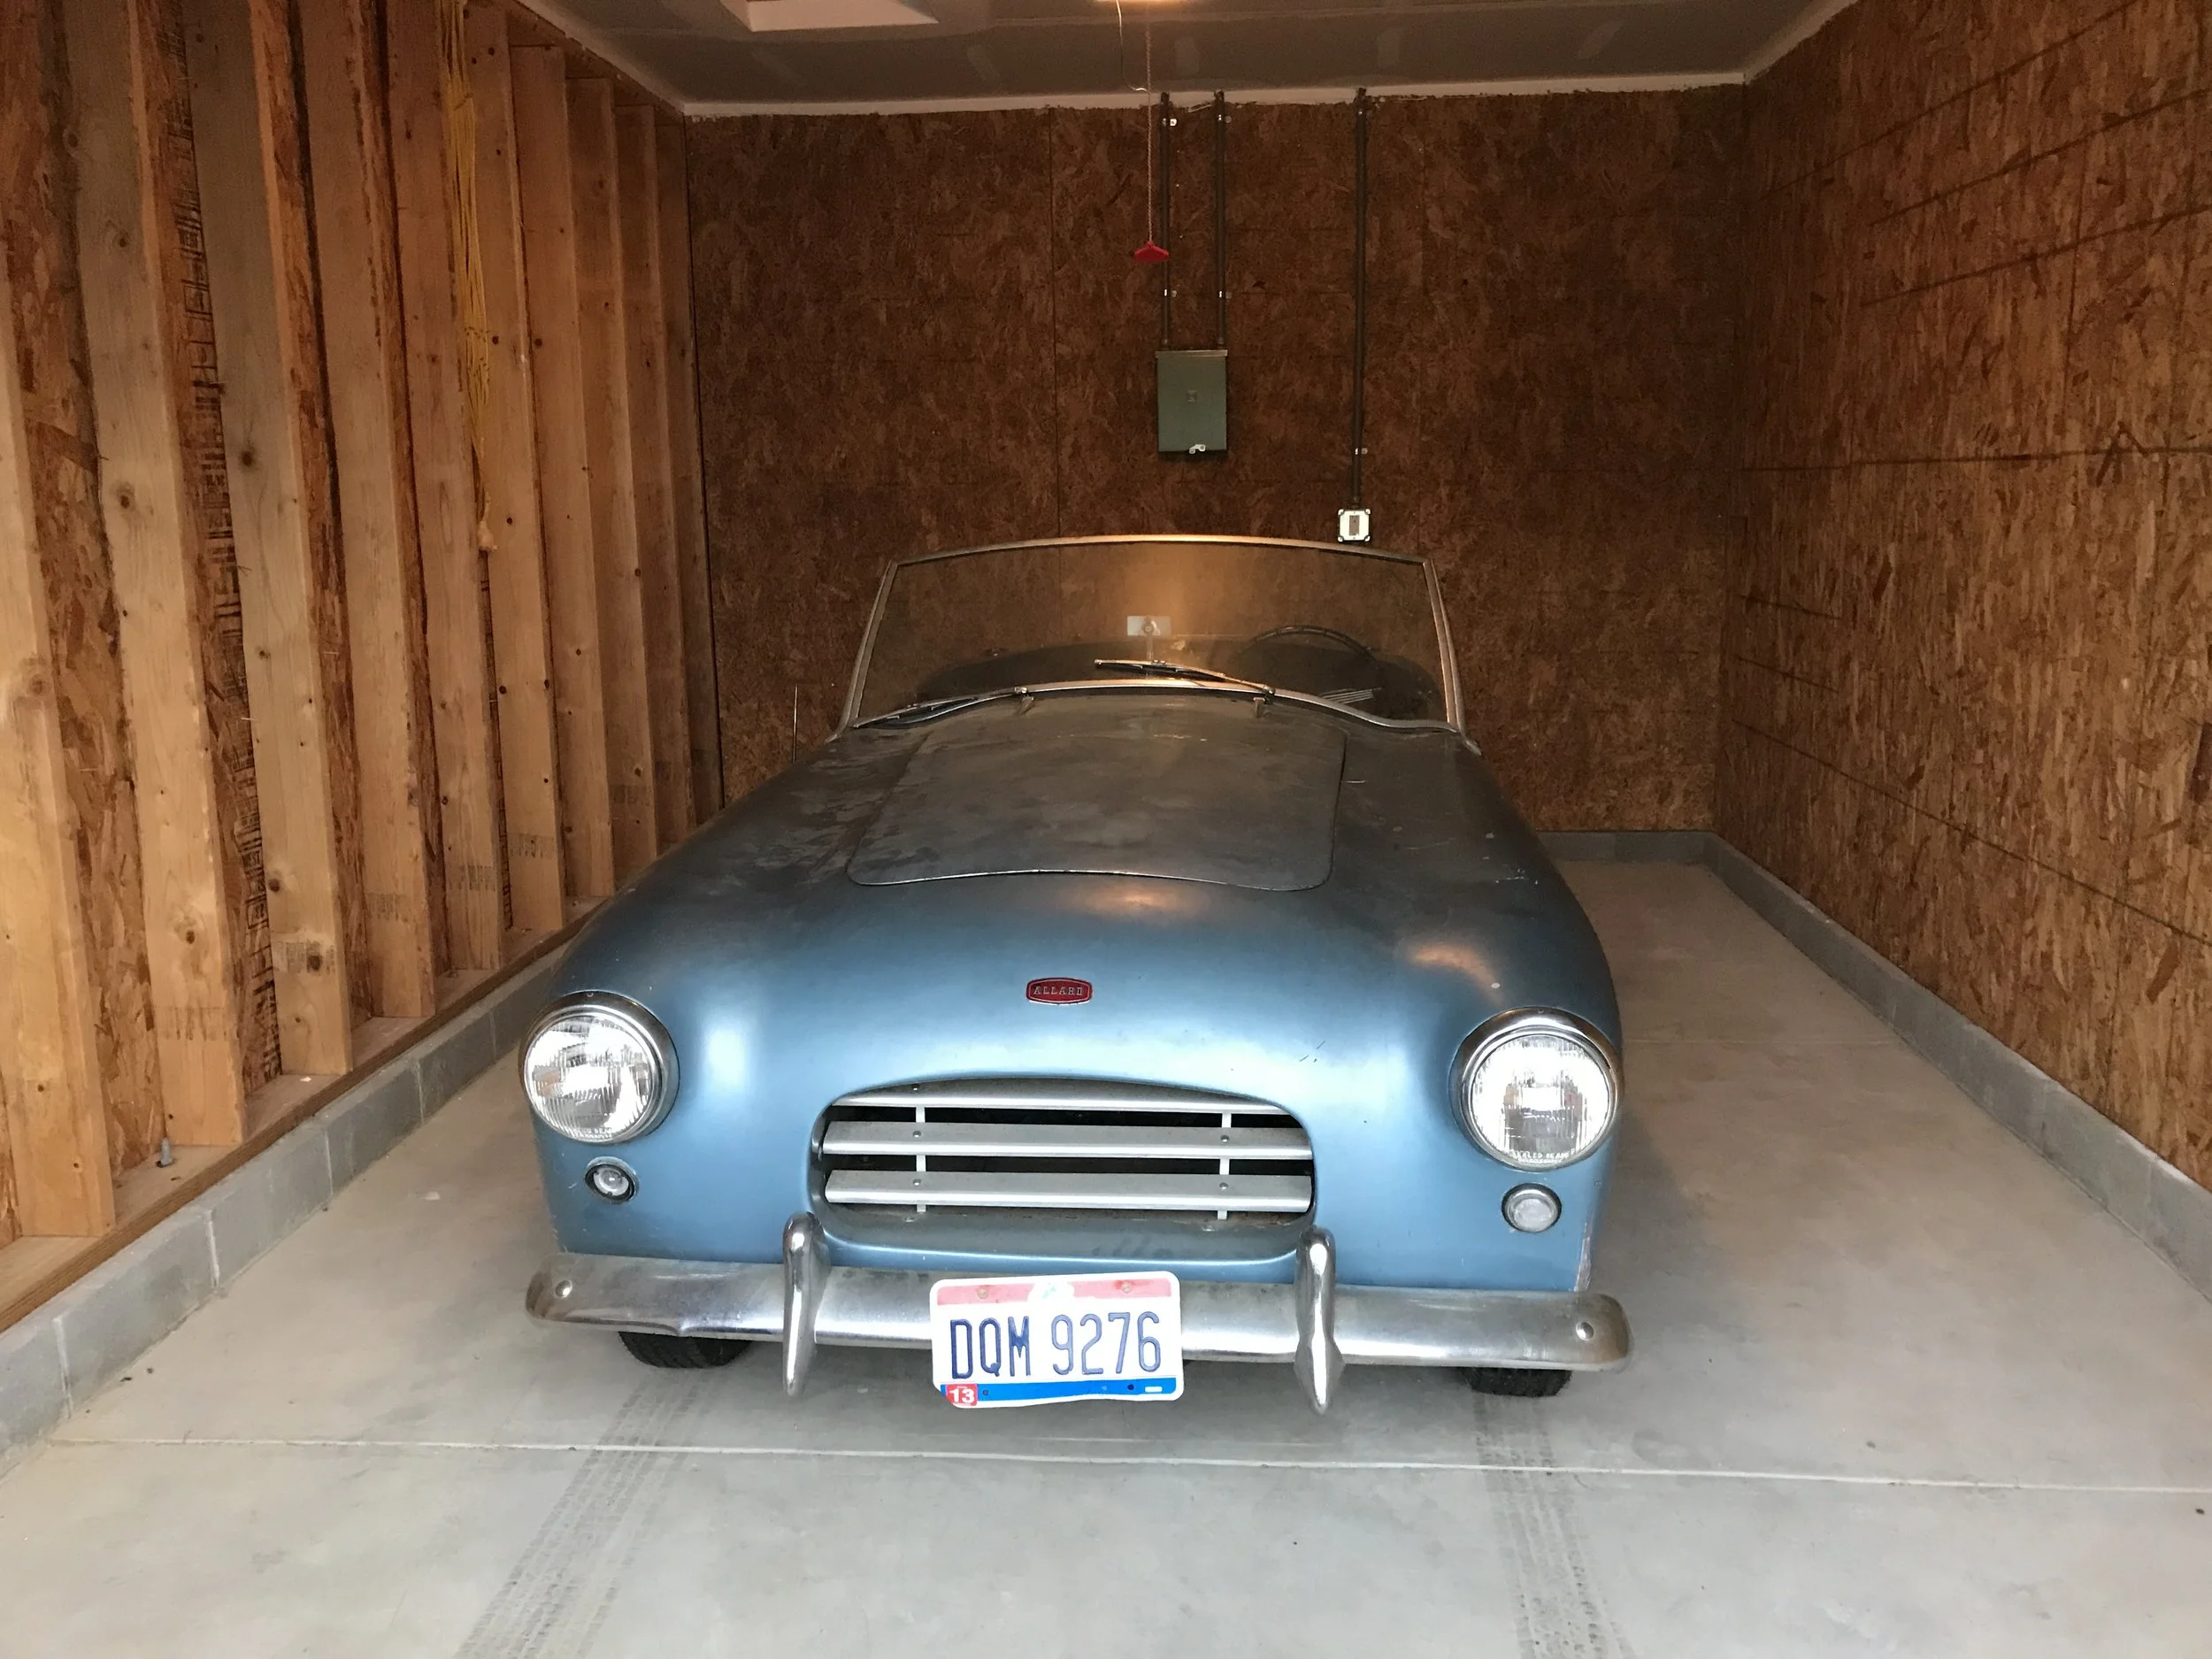
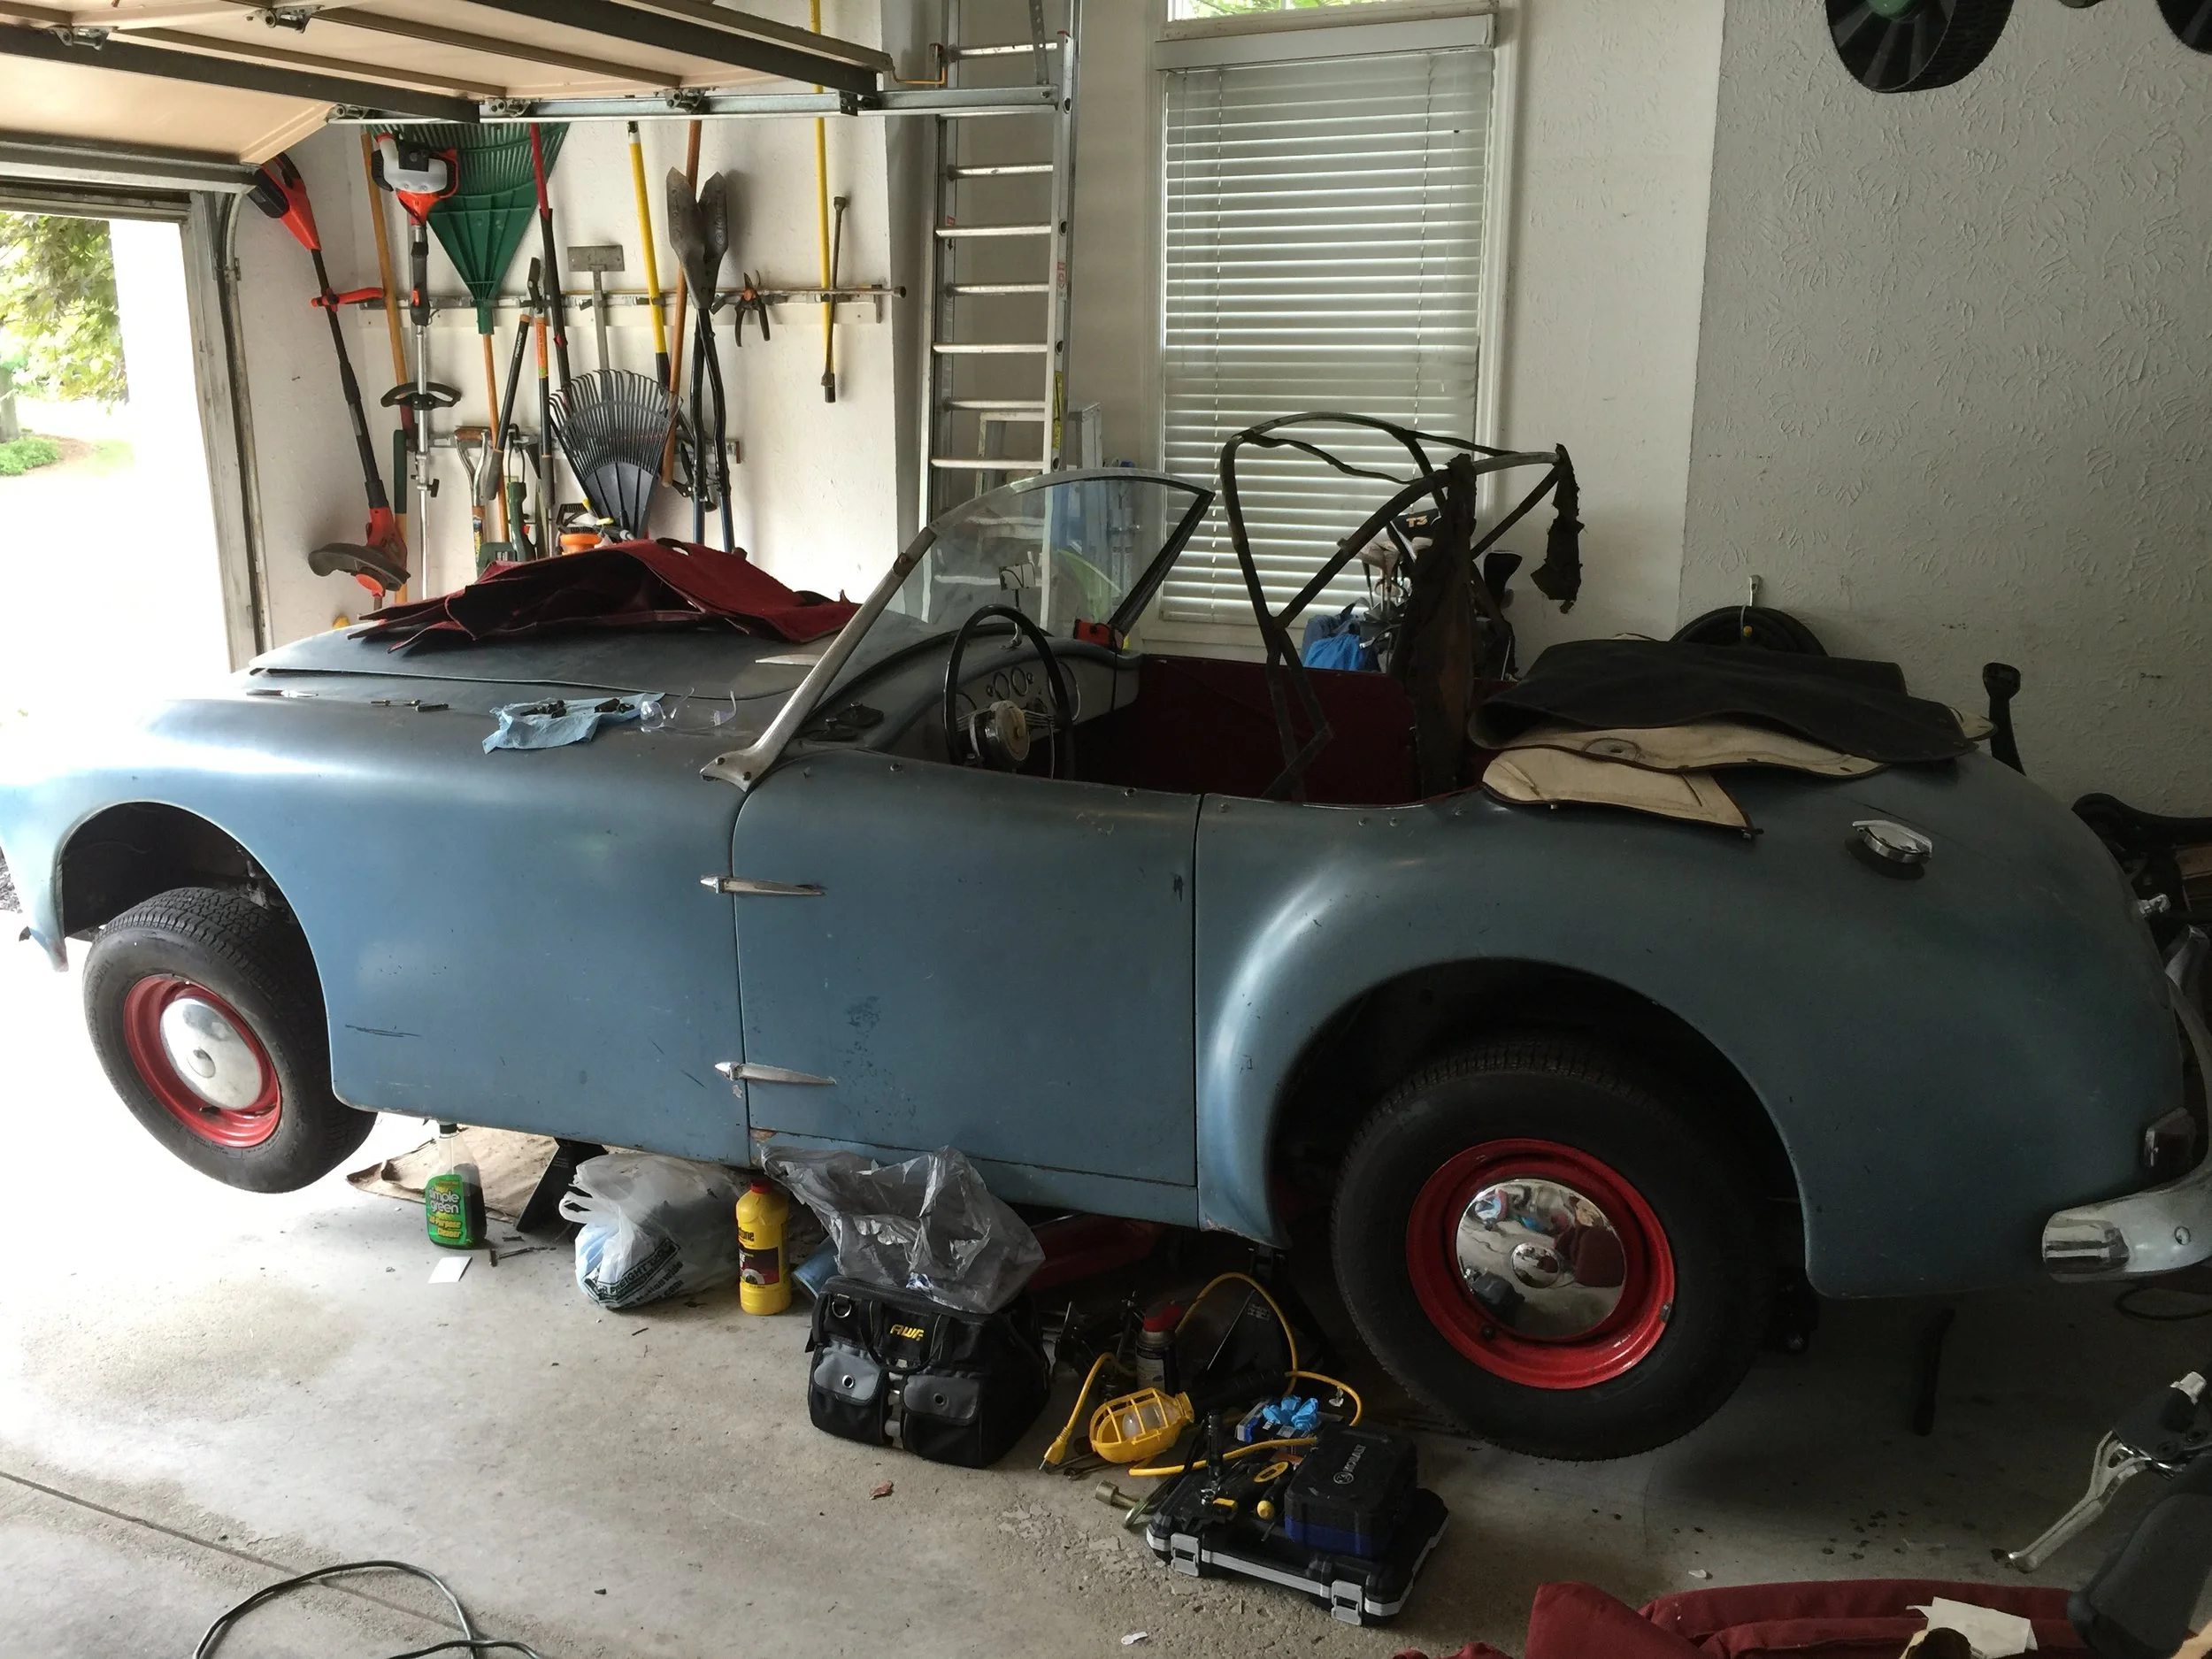
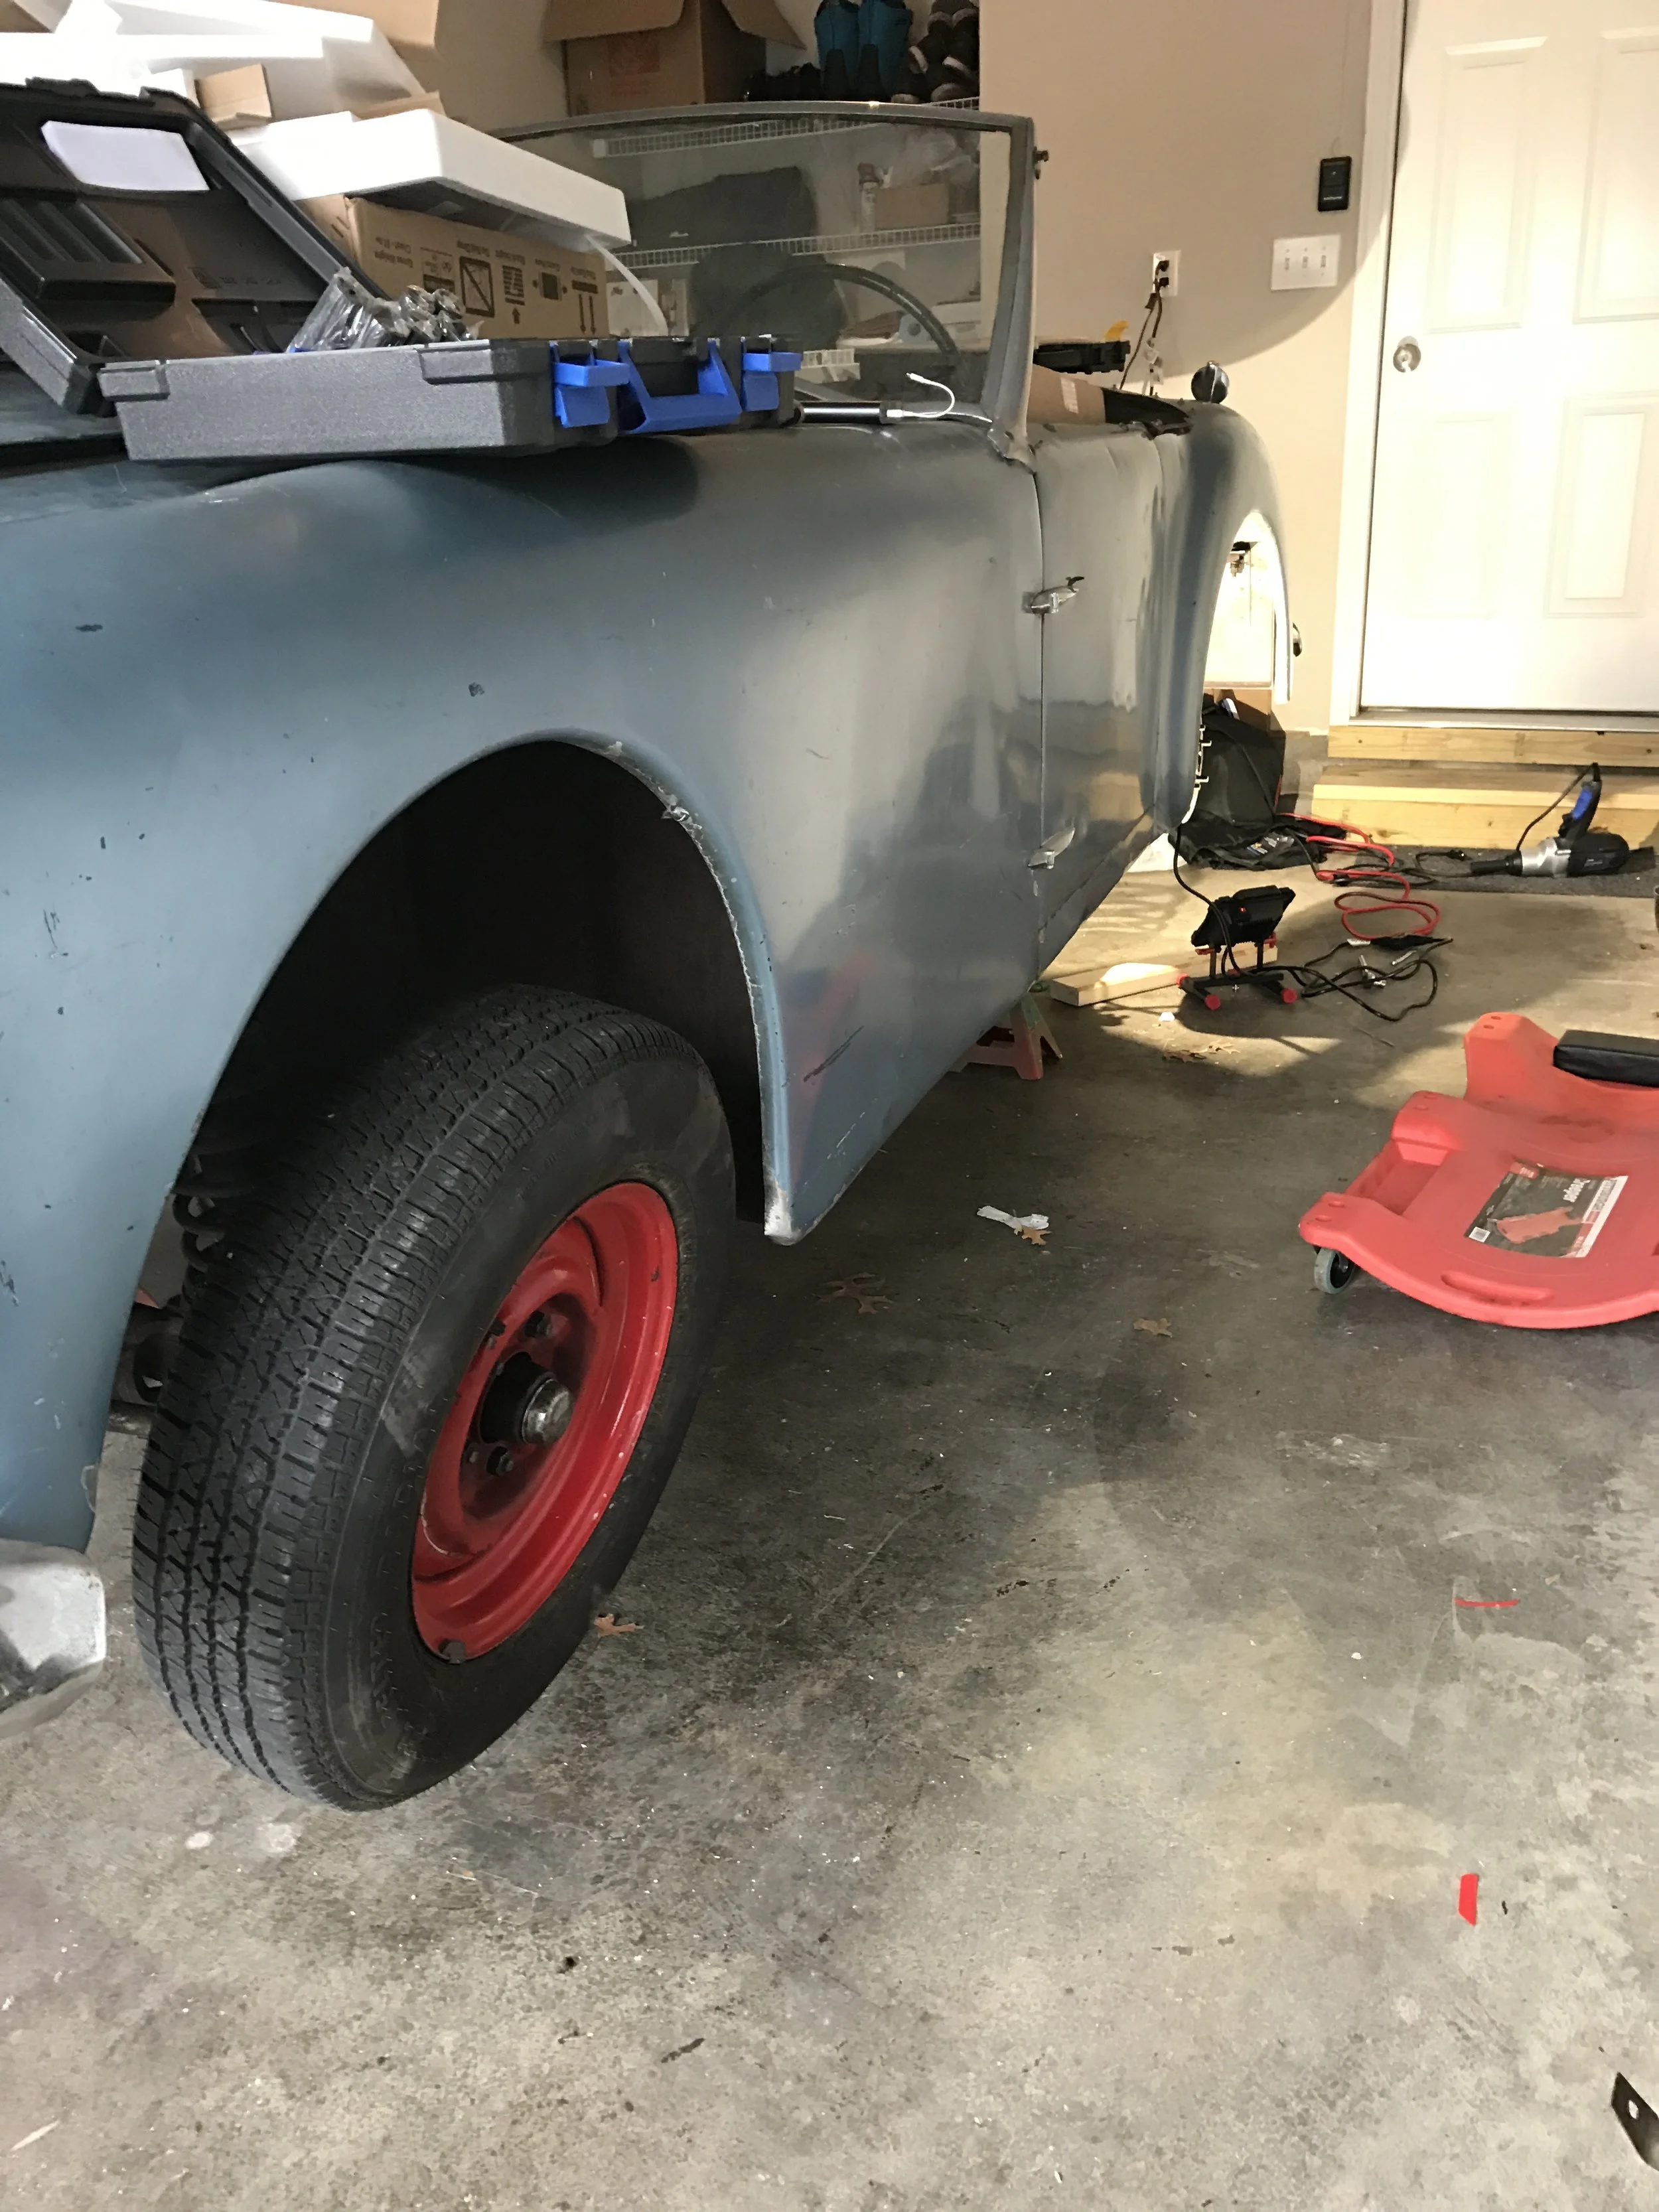
The car is safely in my garage. It's such a small car that it makes the garage look gigantic
Up in the Air
The car is on jack stands, thanks to the Harbor Freight Low-Profile Floor Jack...now it's time to get to work!
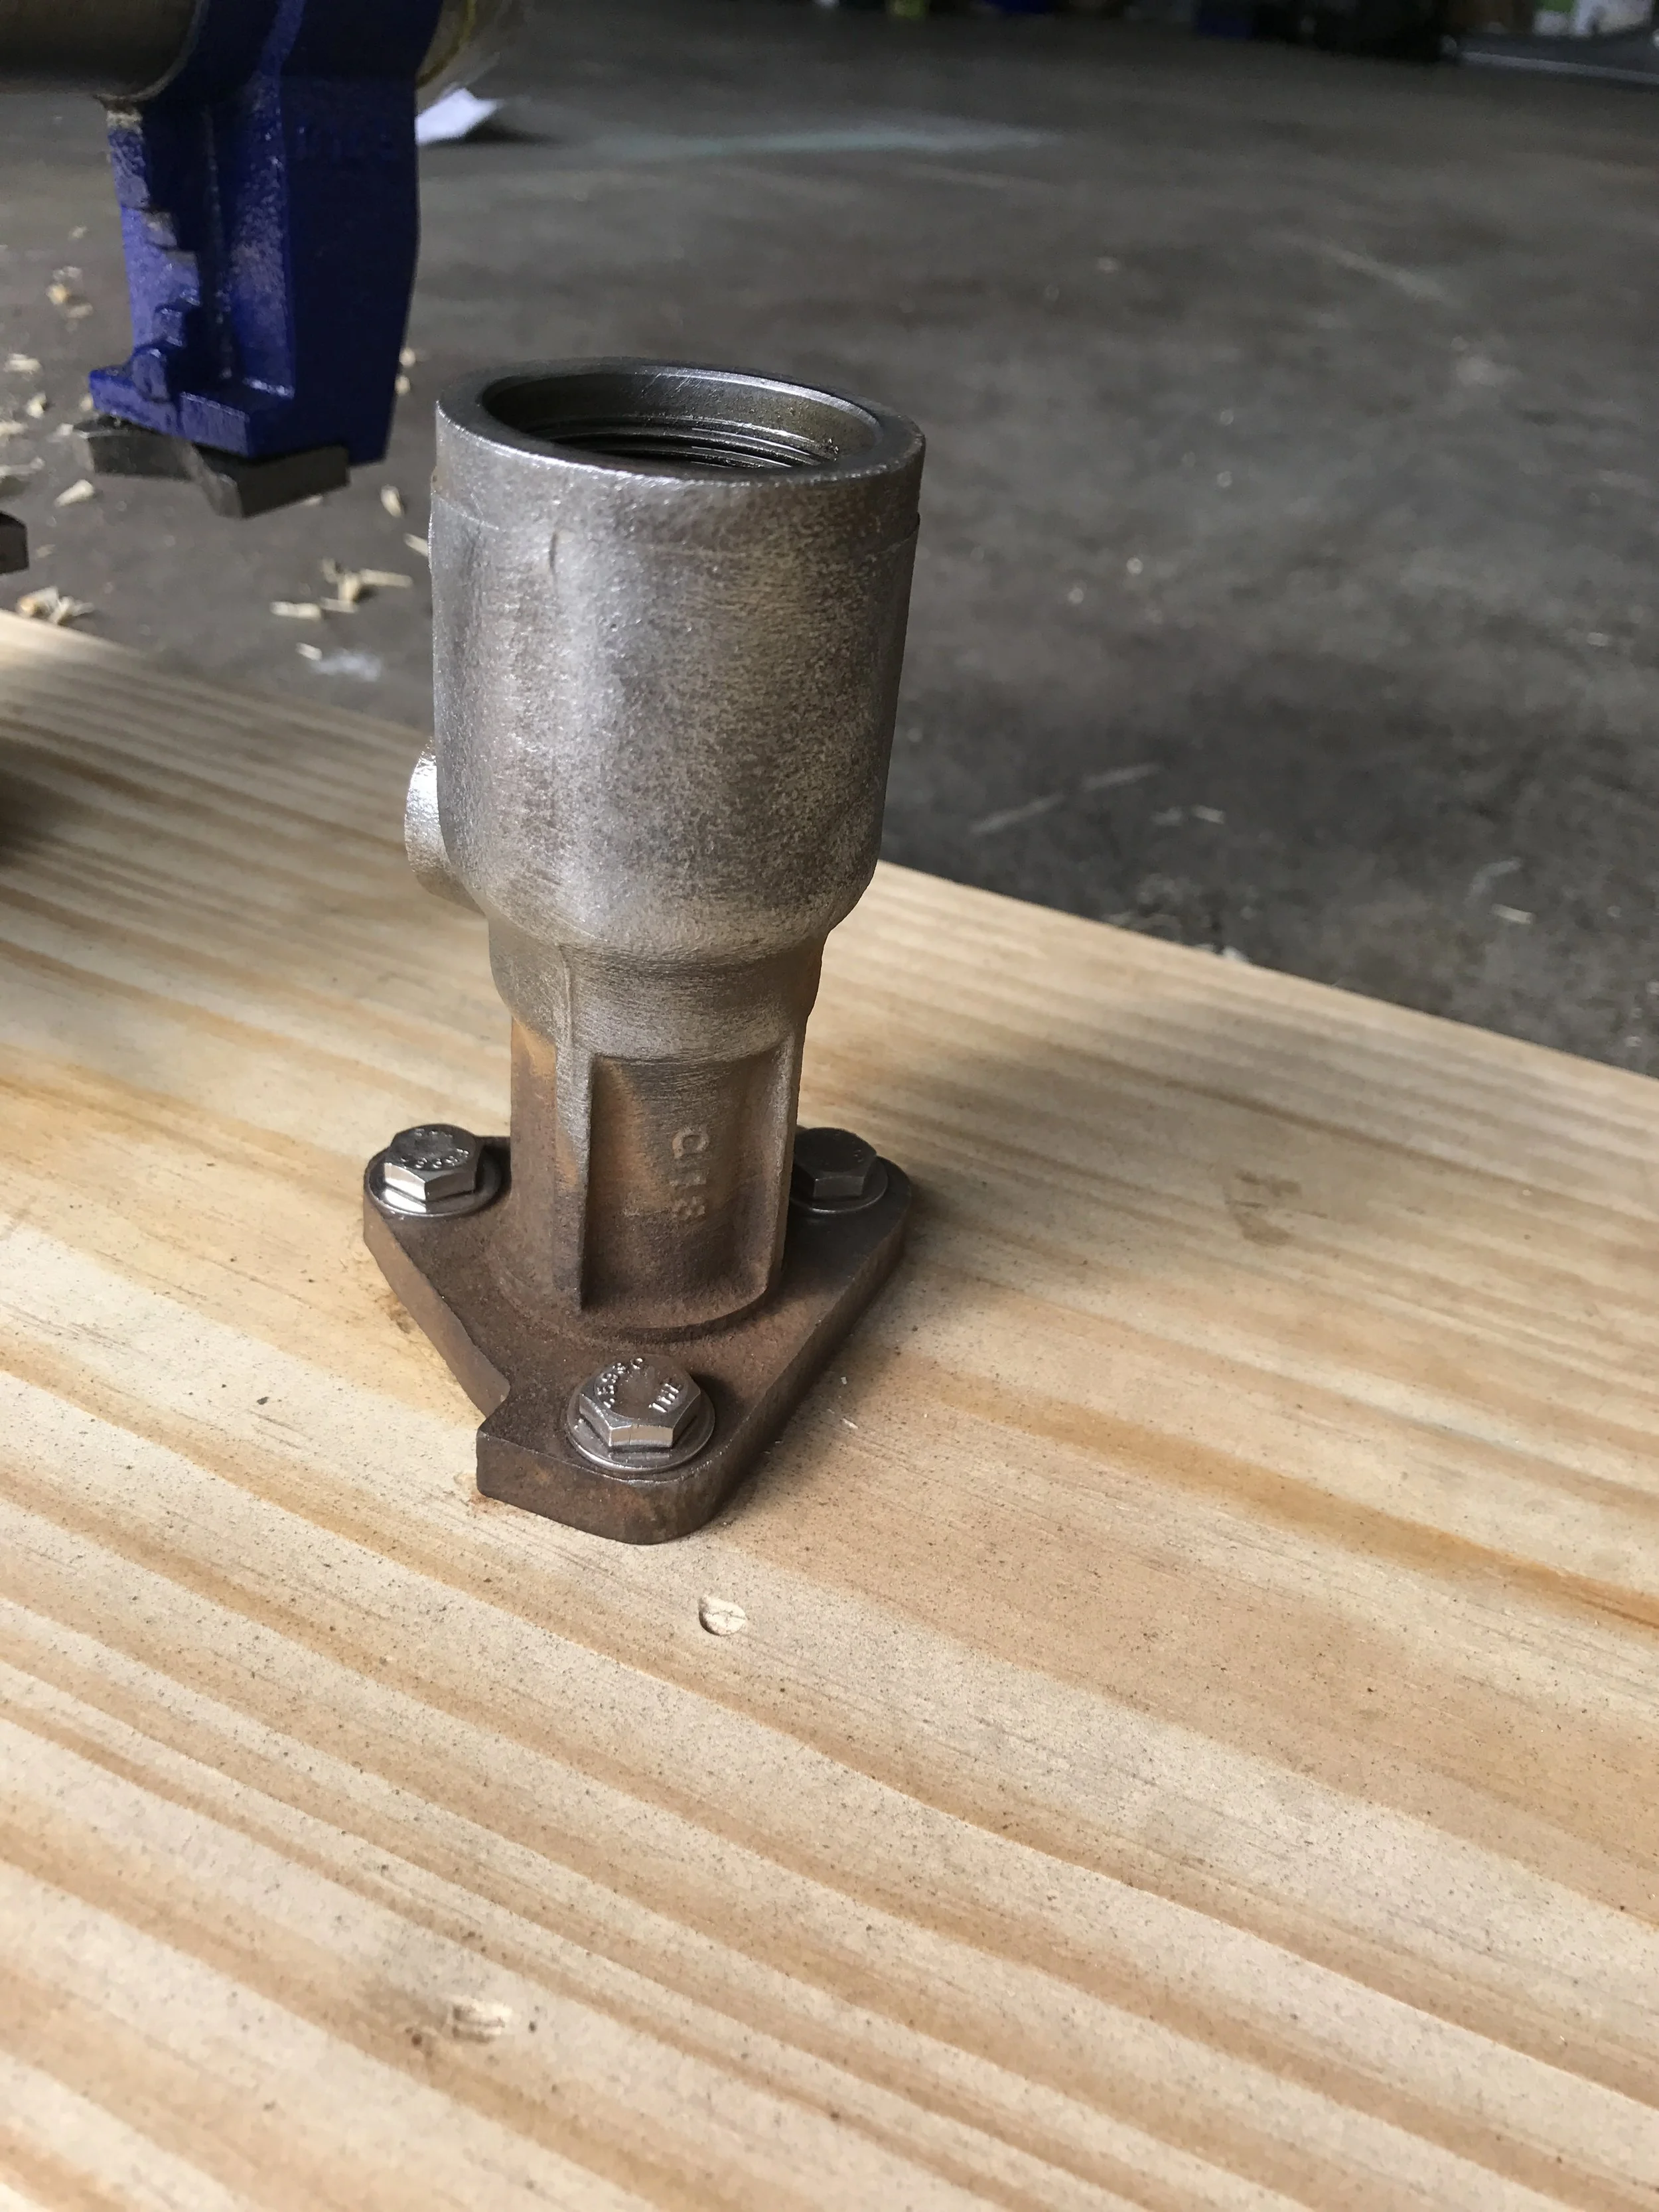
Cleaning the Brake MC
To clean the surface rust off the brake MC, I bolted it to a piece of wood and ran a wire wheel brush (drill-operated) over it for about an hour.
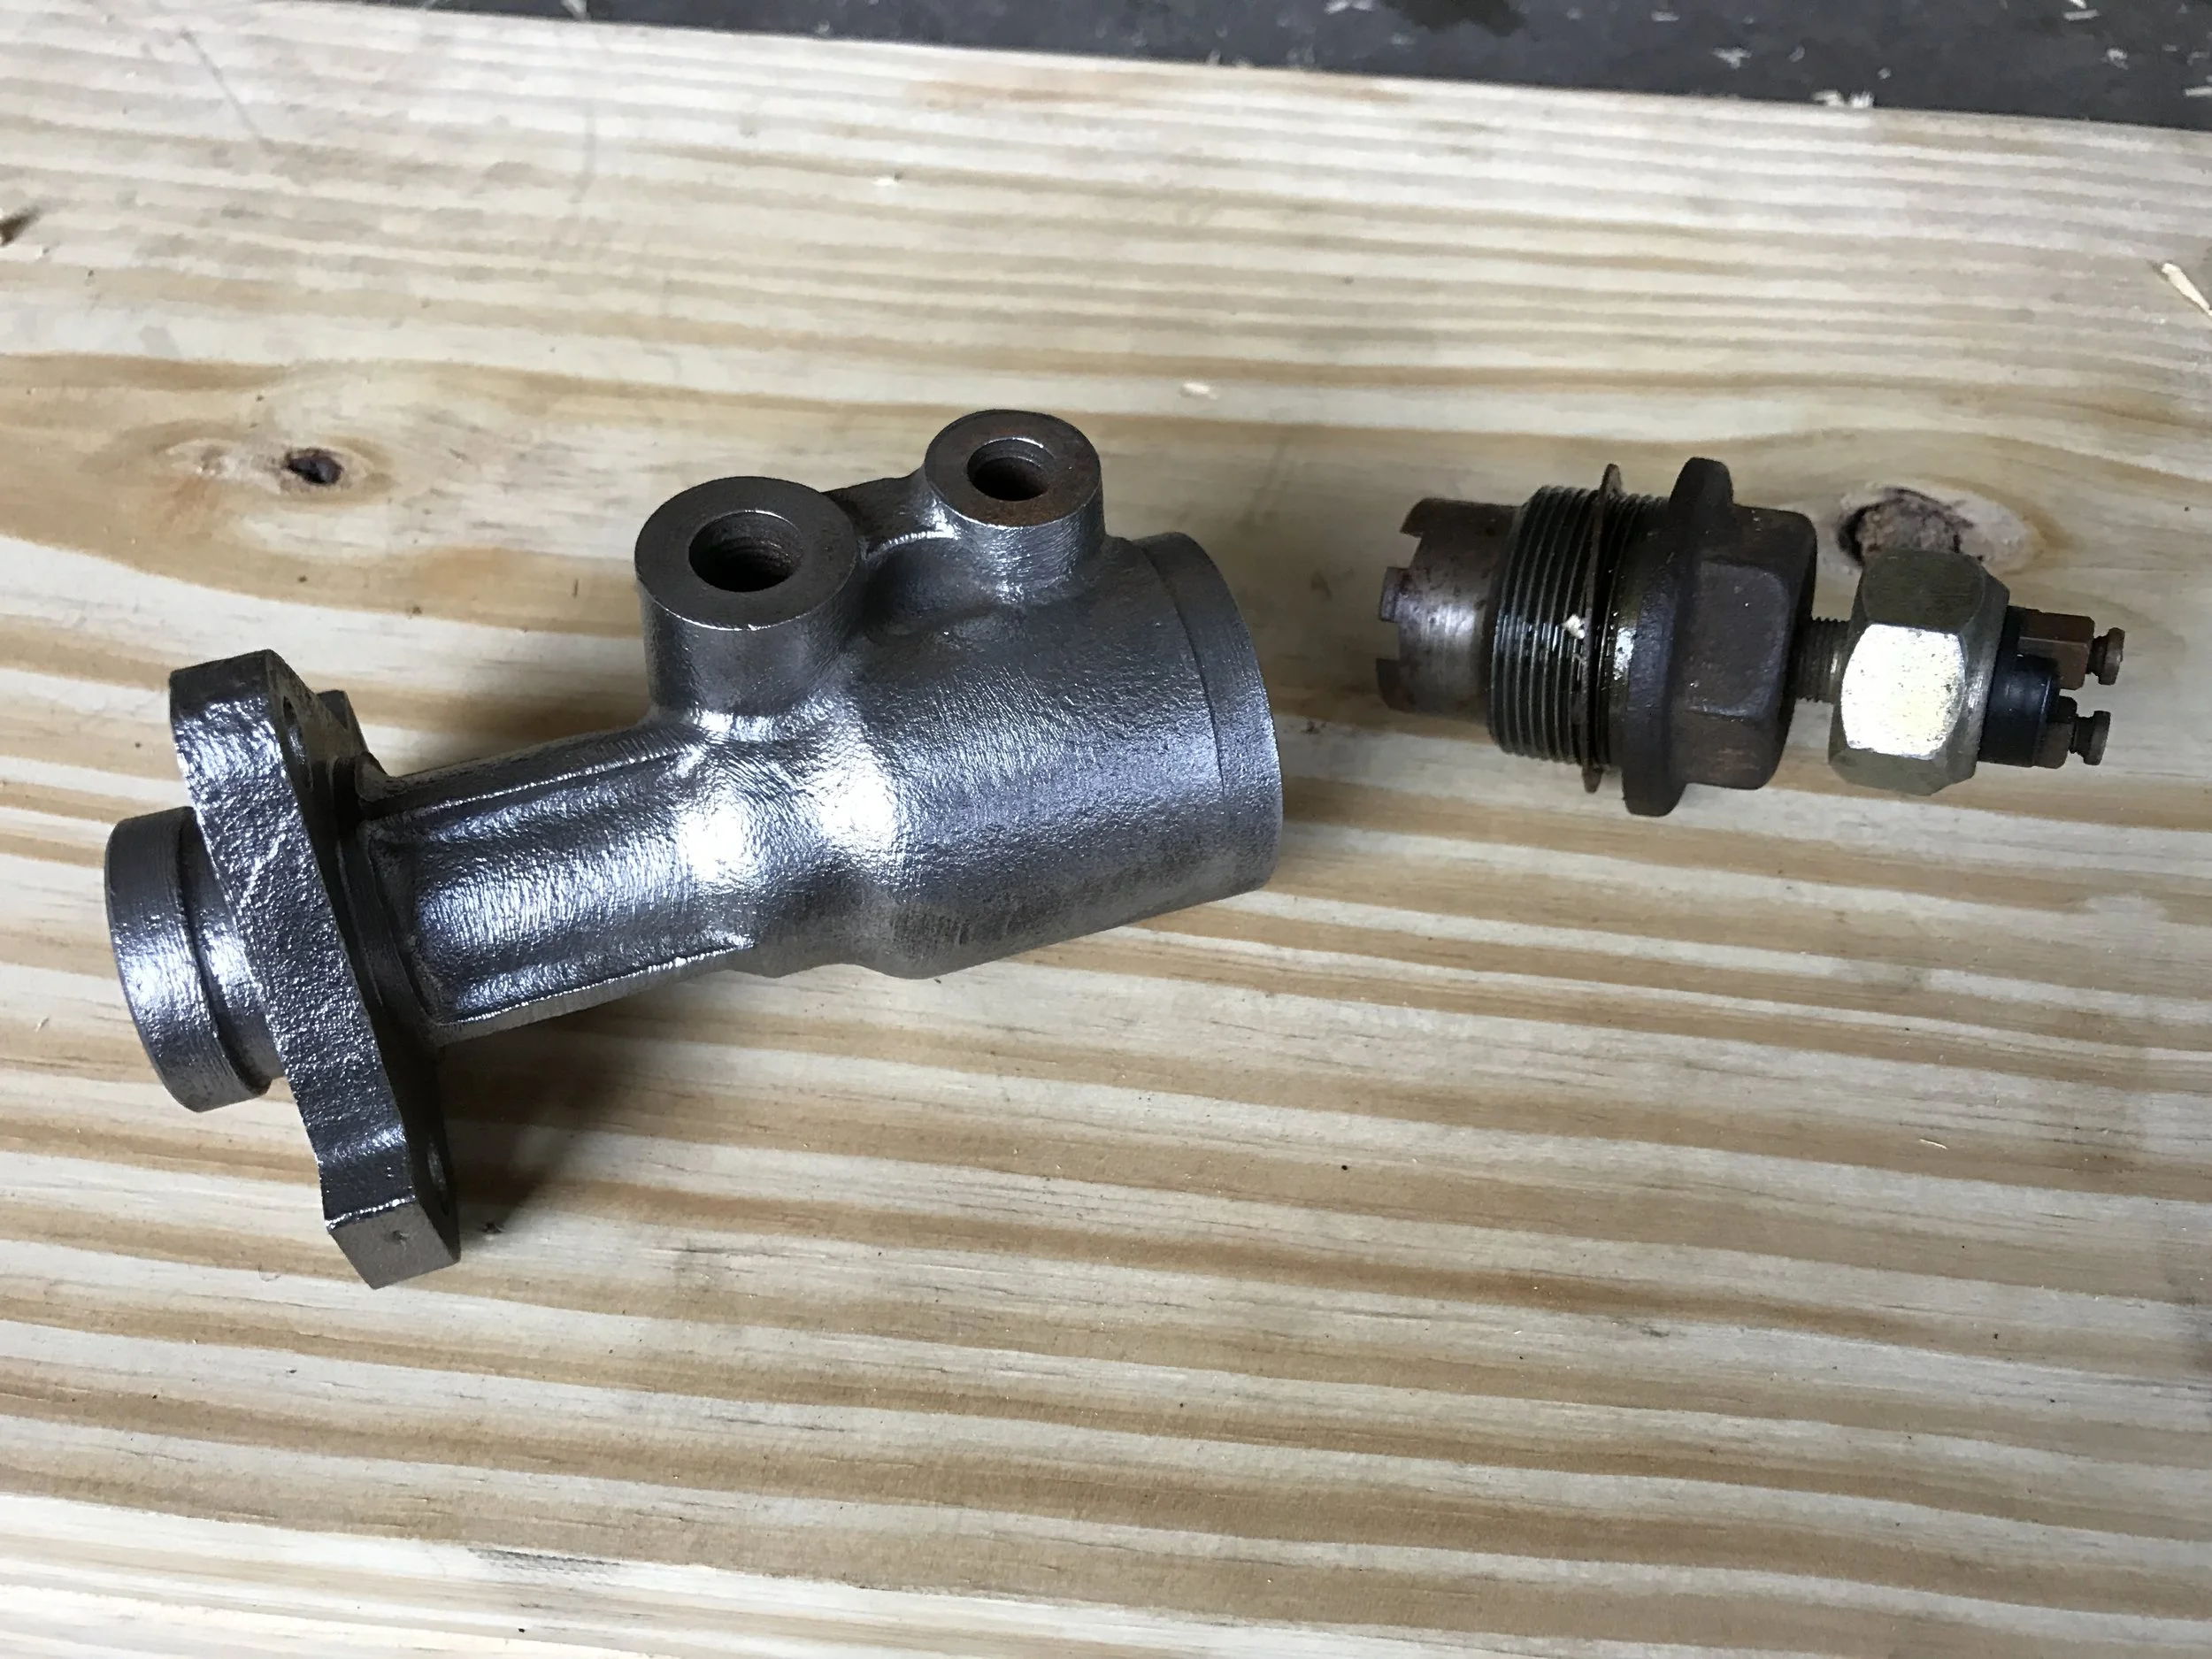
Cleaning the Brake MC
The wire wheel brush did a great job removing the surface rust. See the difference between the MC body and the end cap, which has yet to be cleaned.
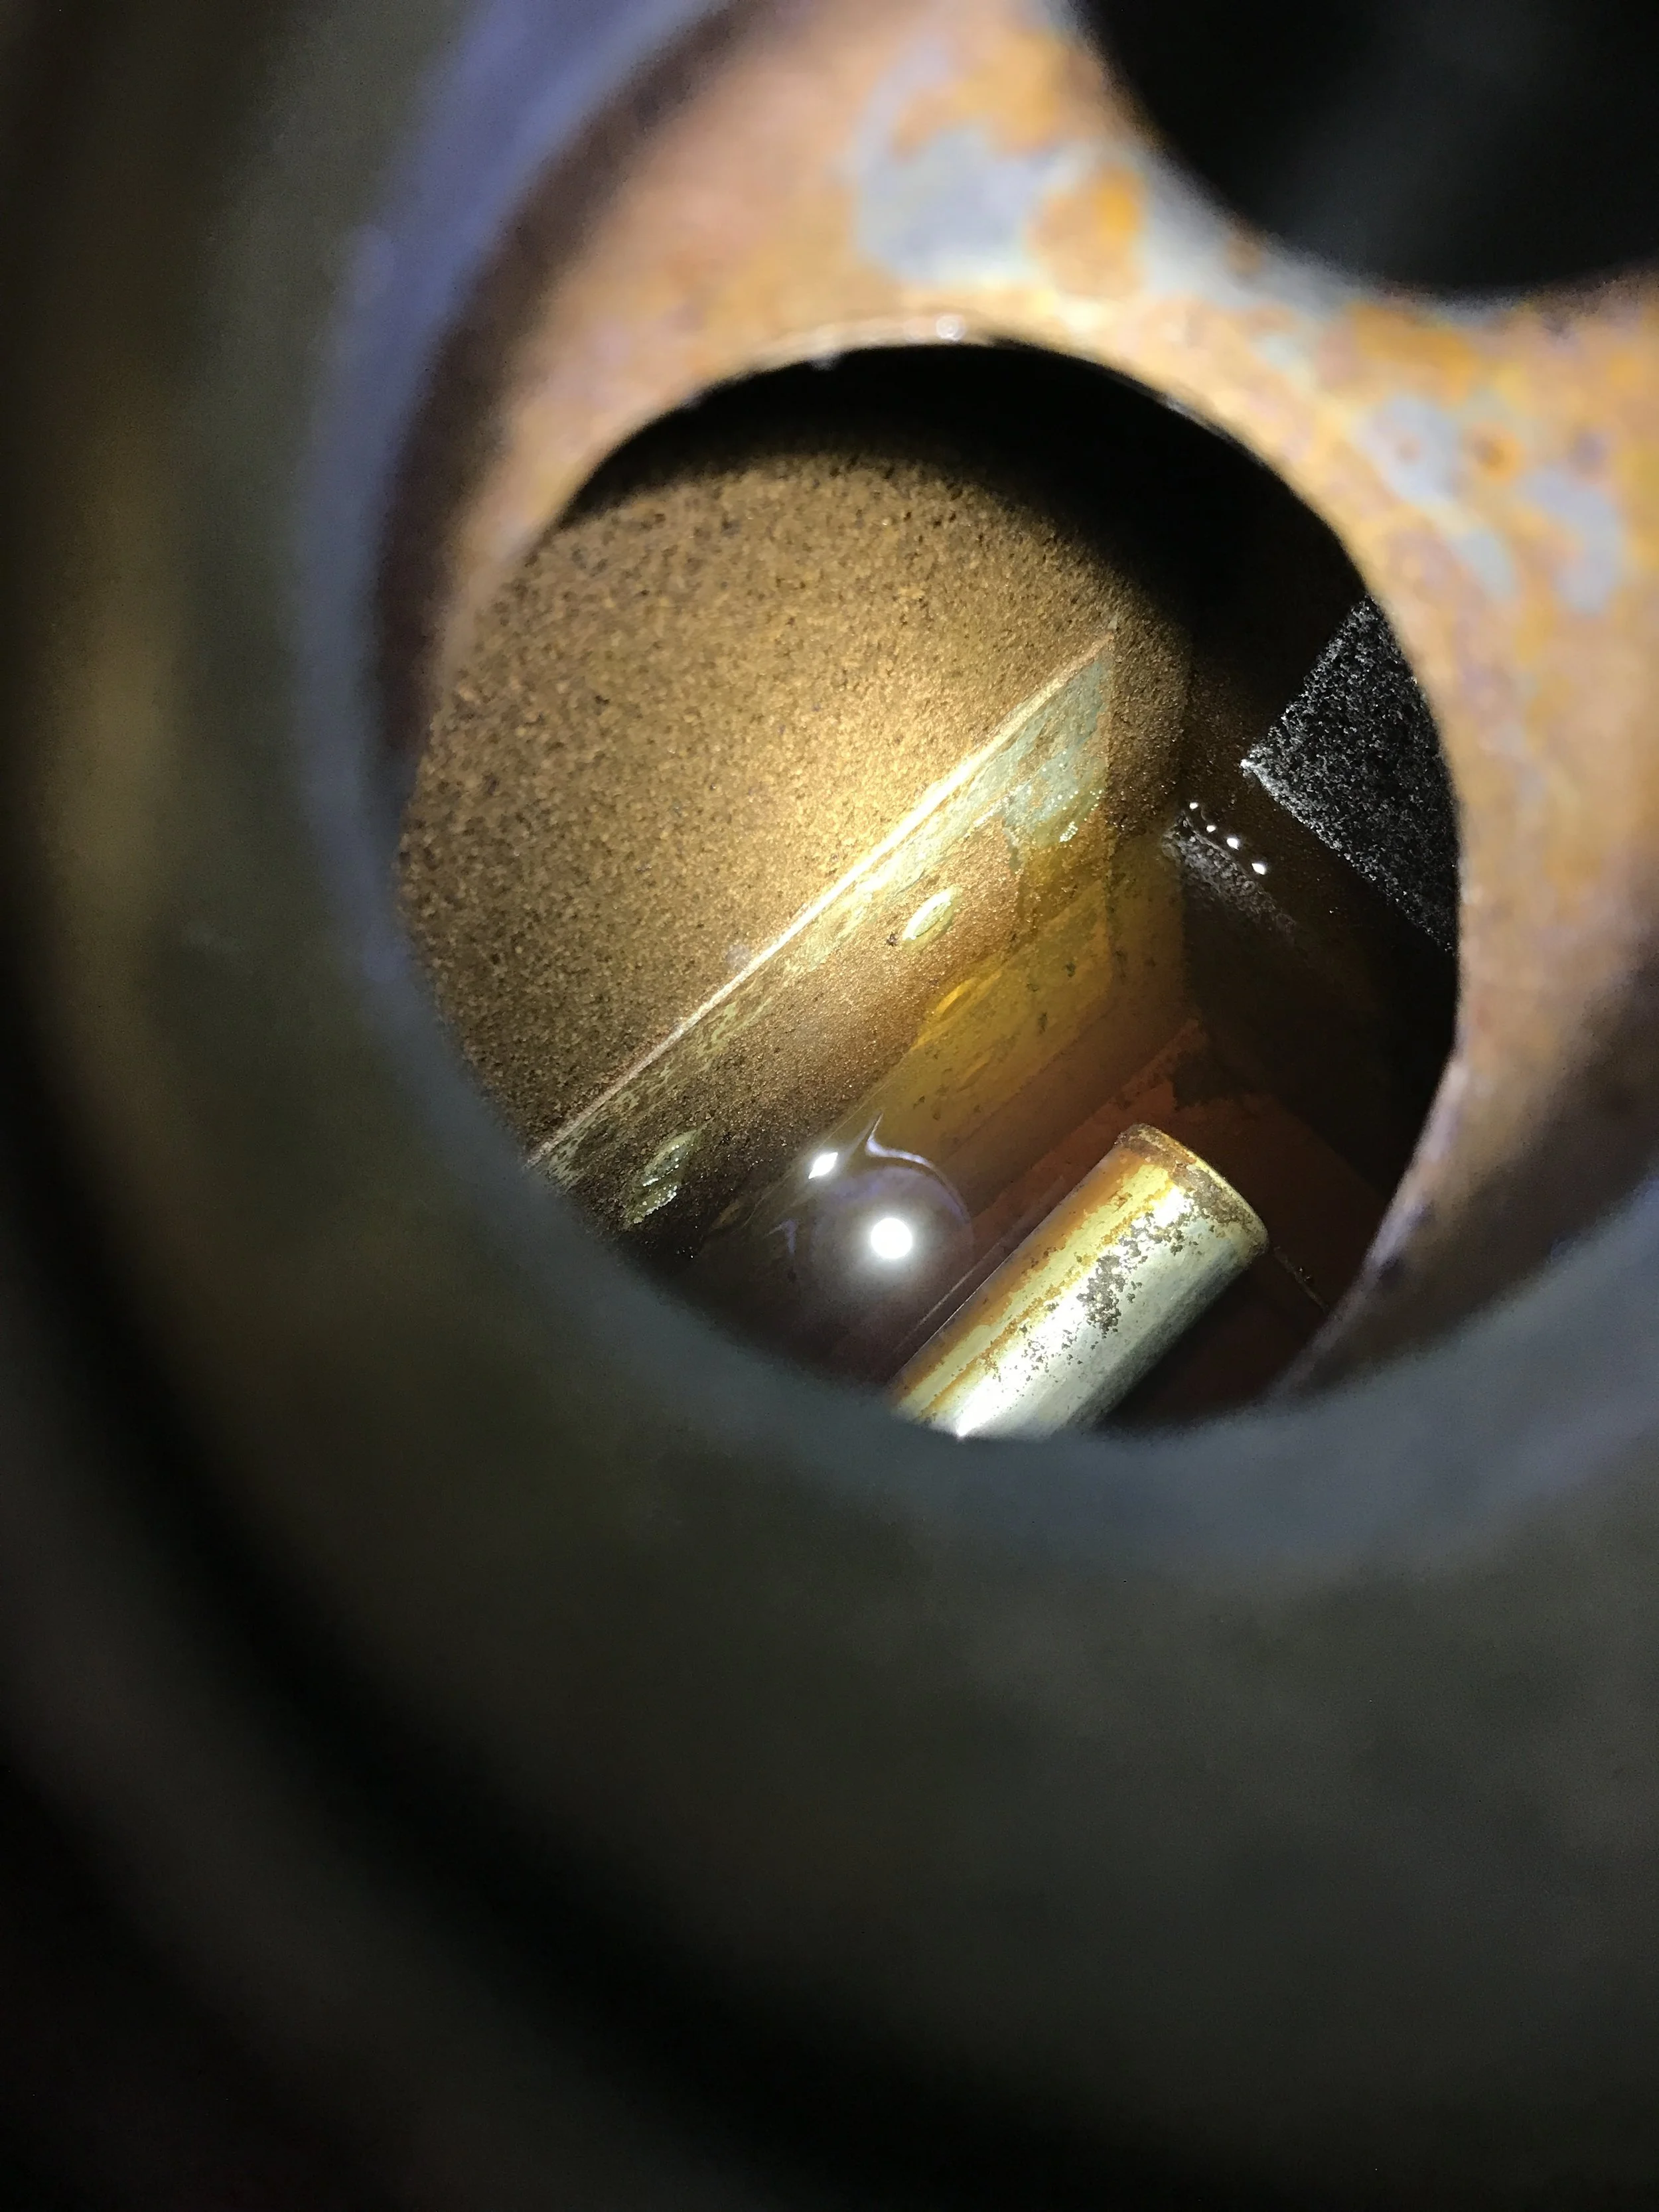
More Projects...
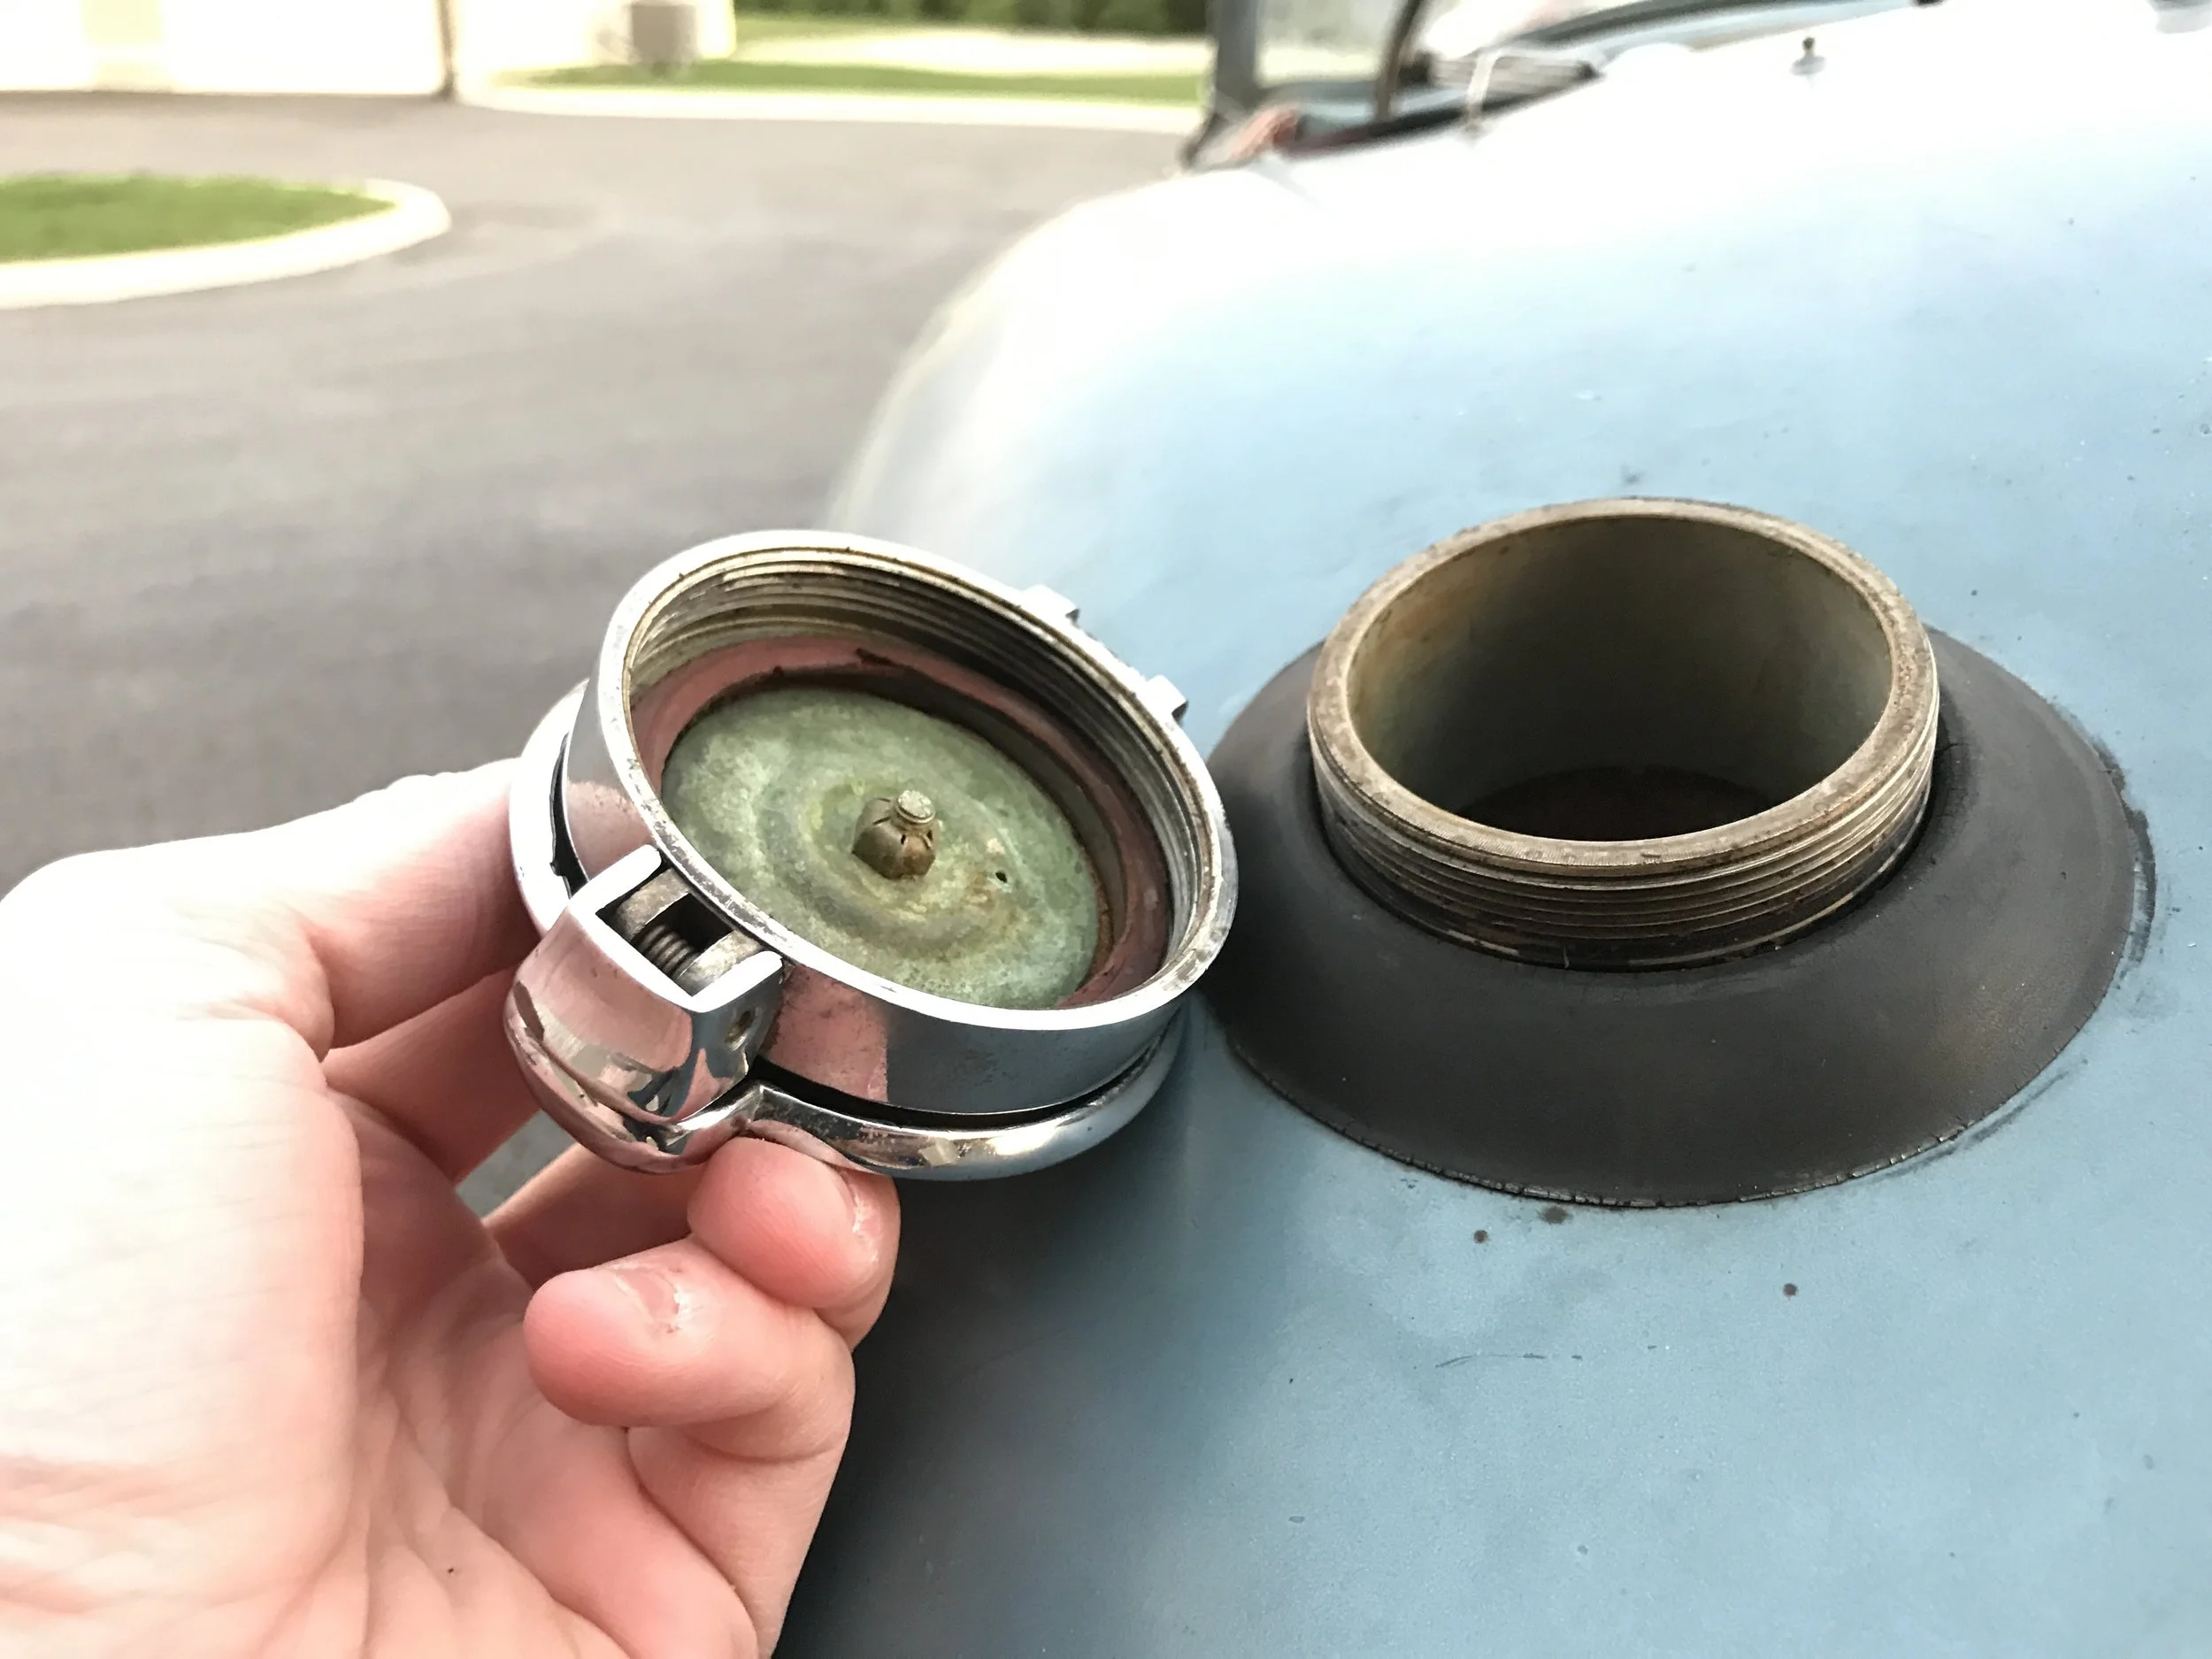
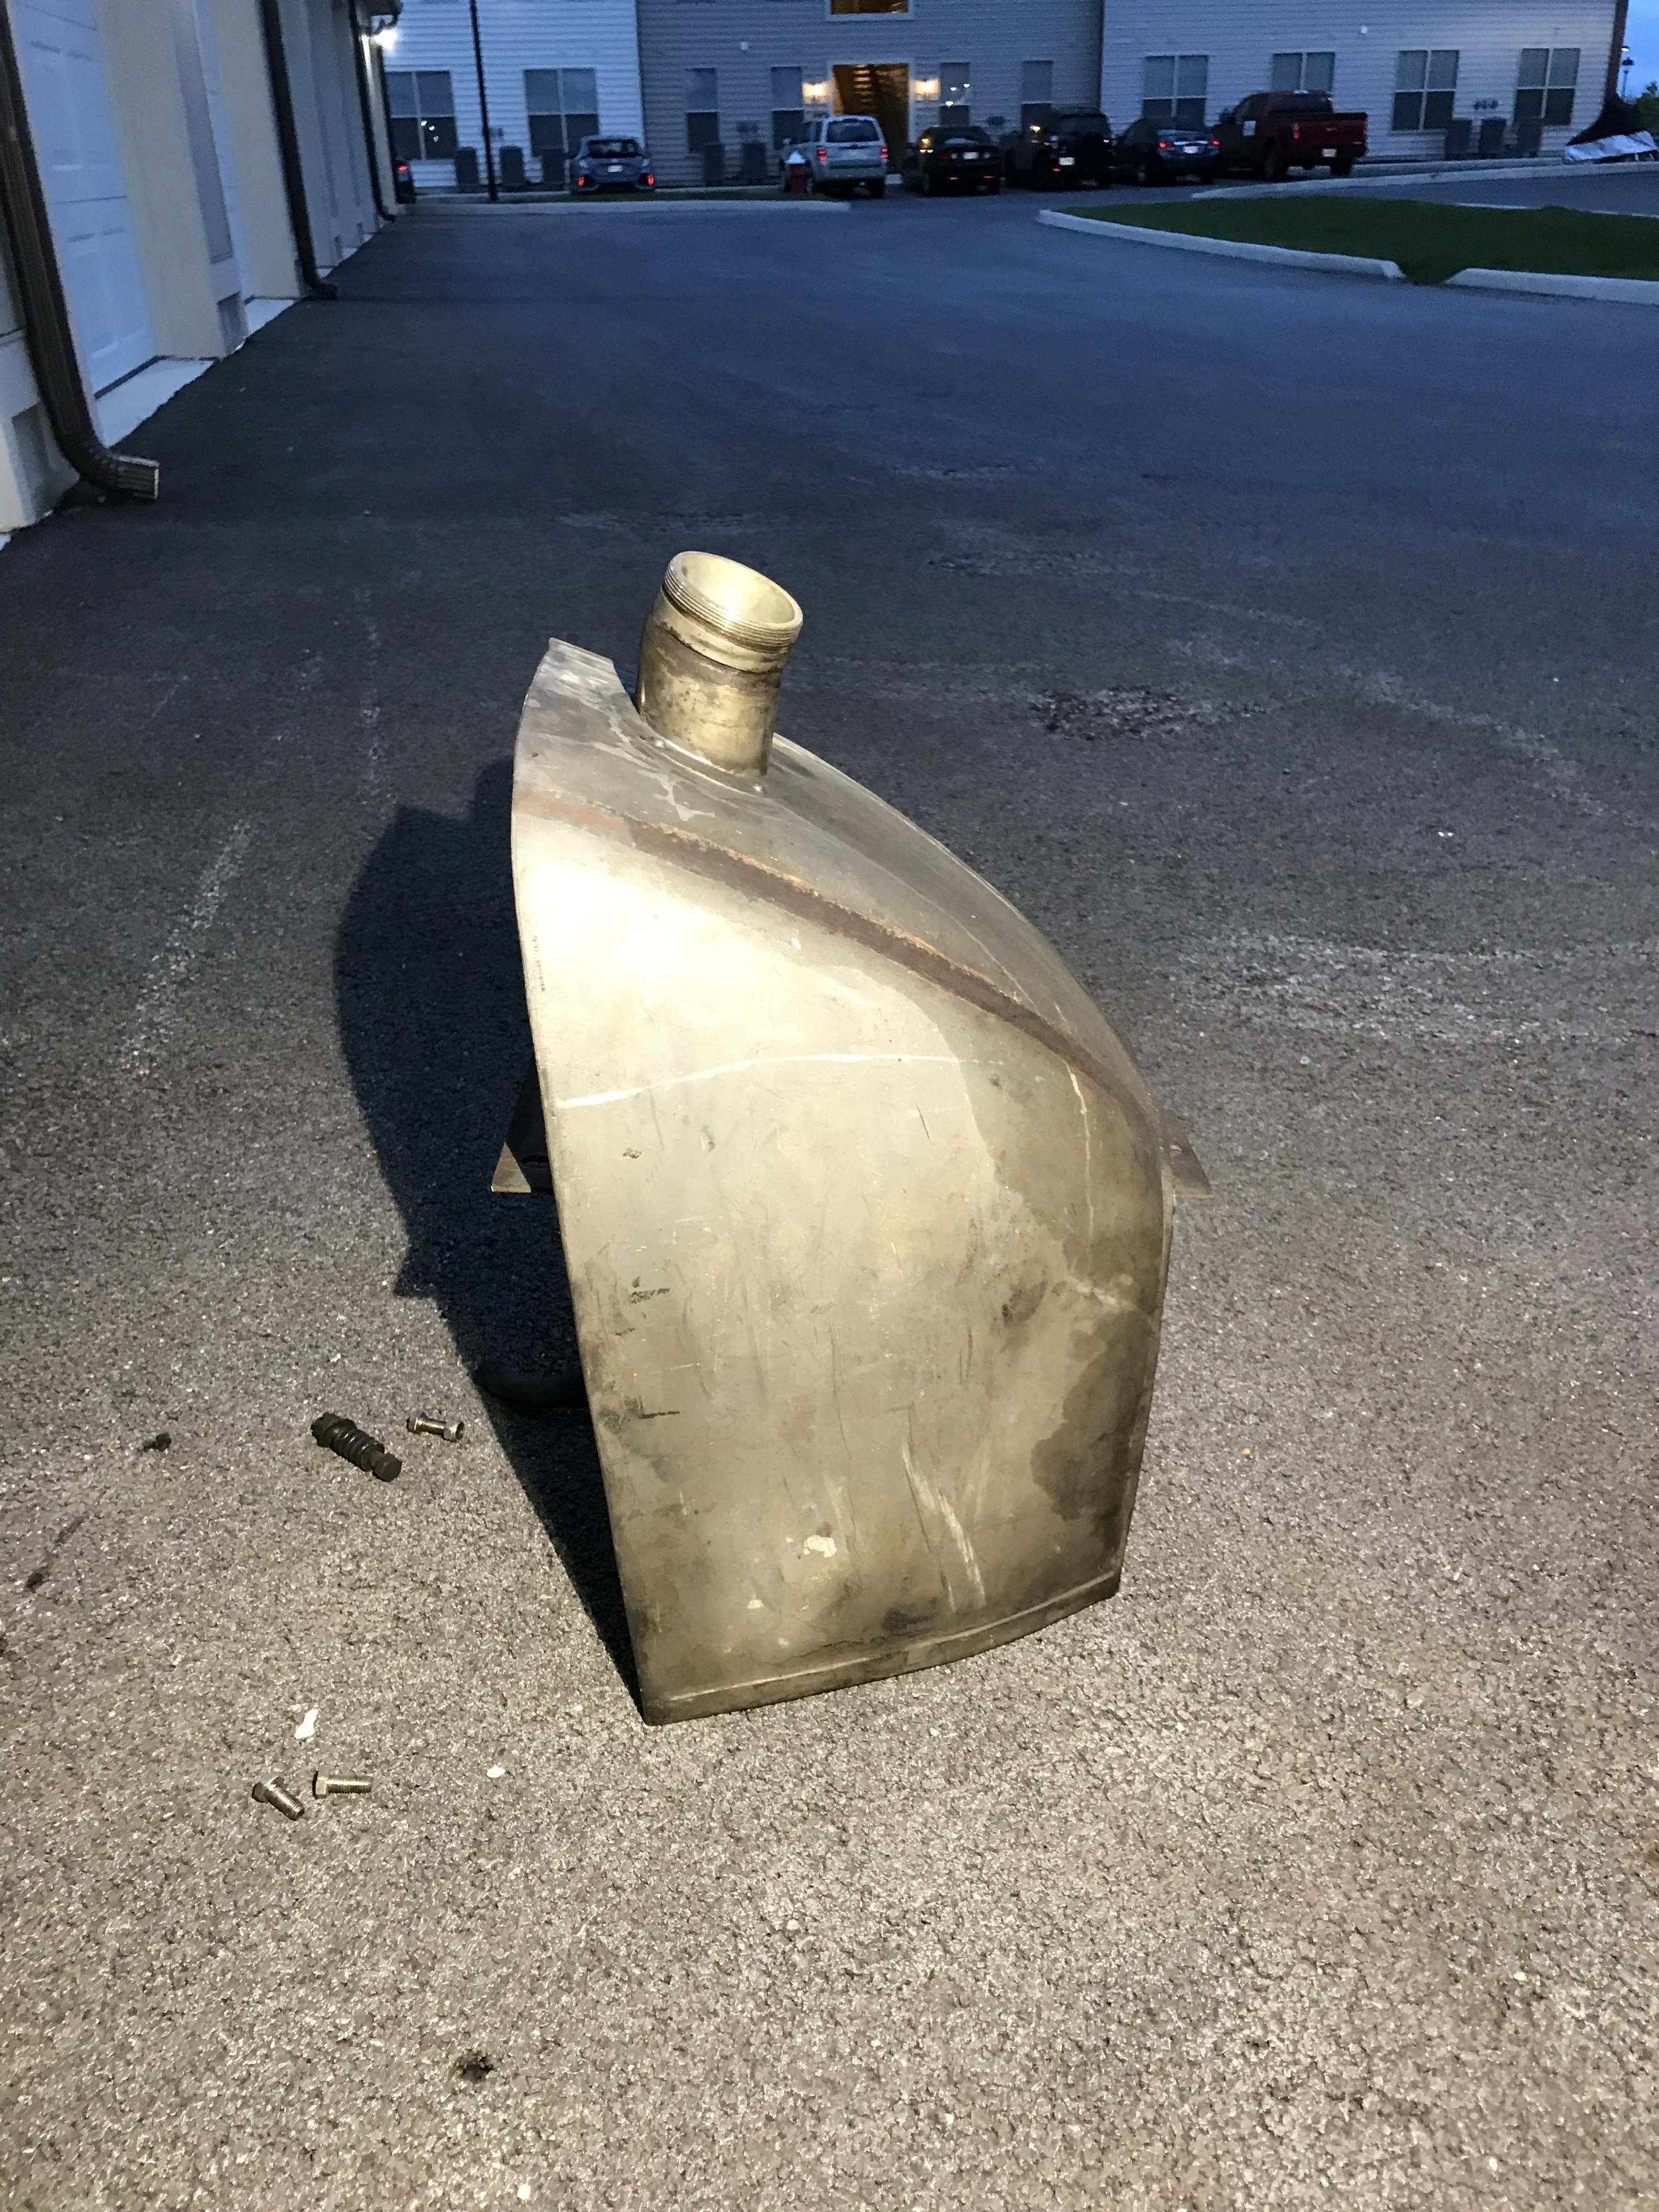
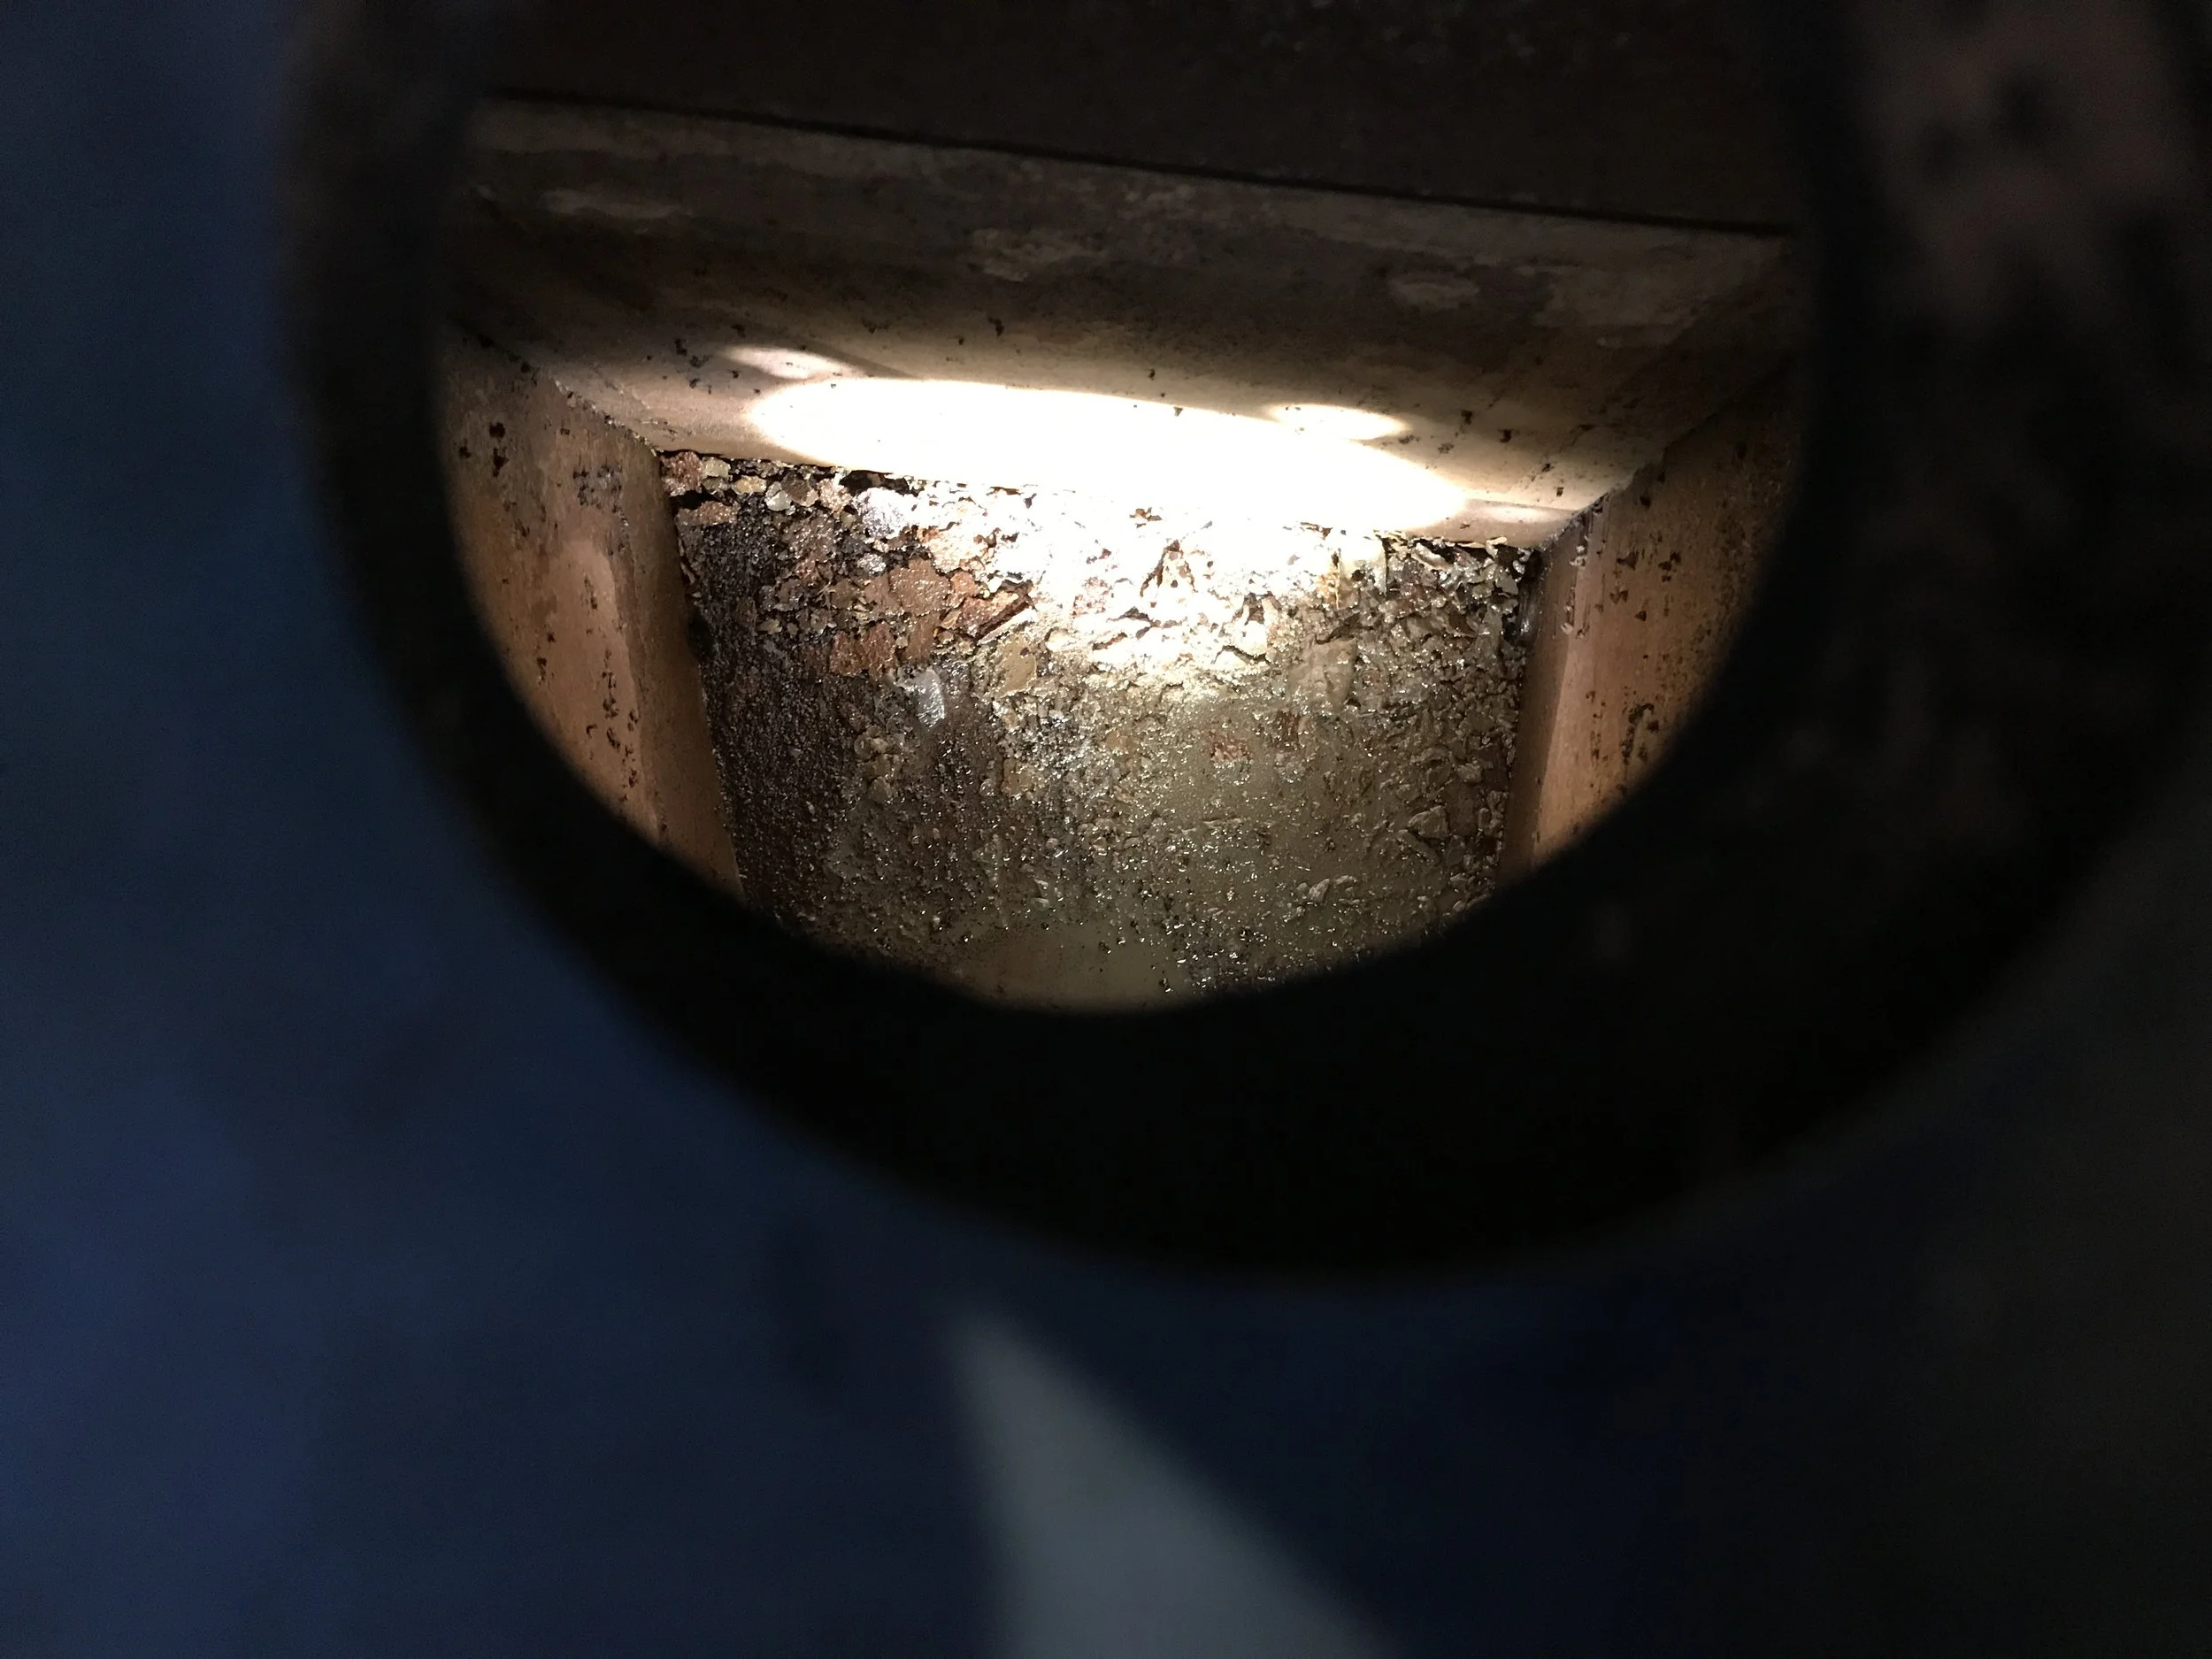
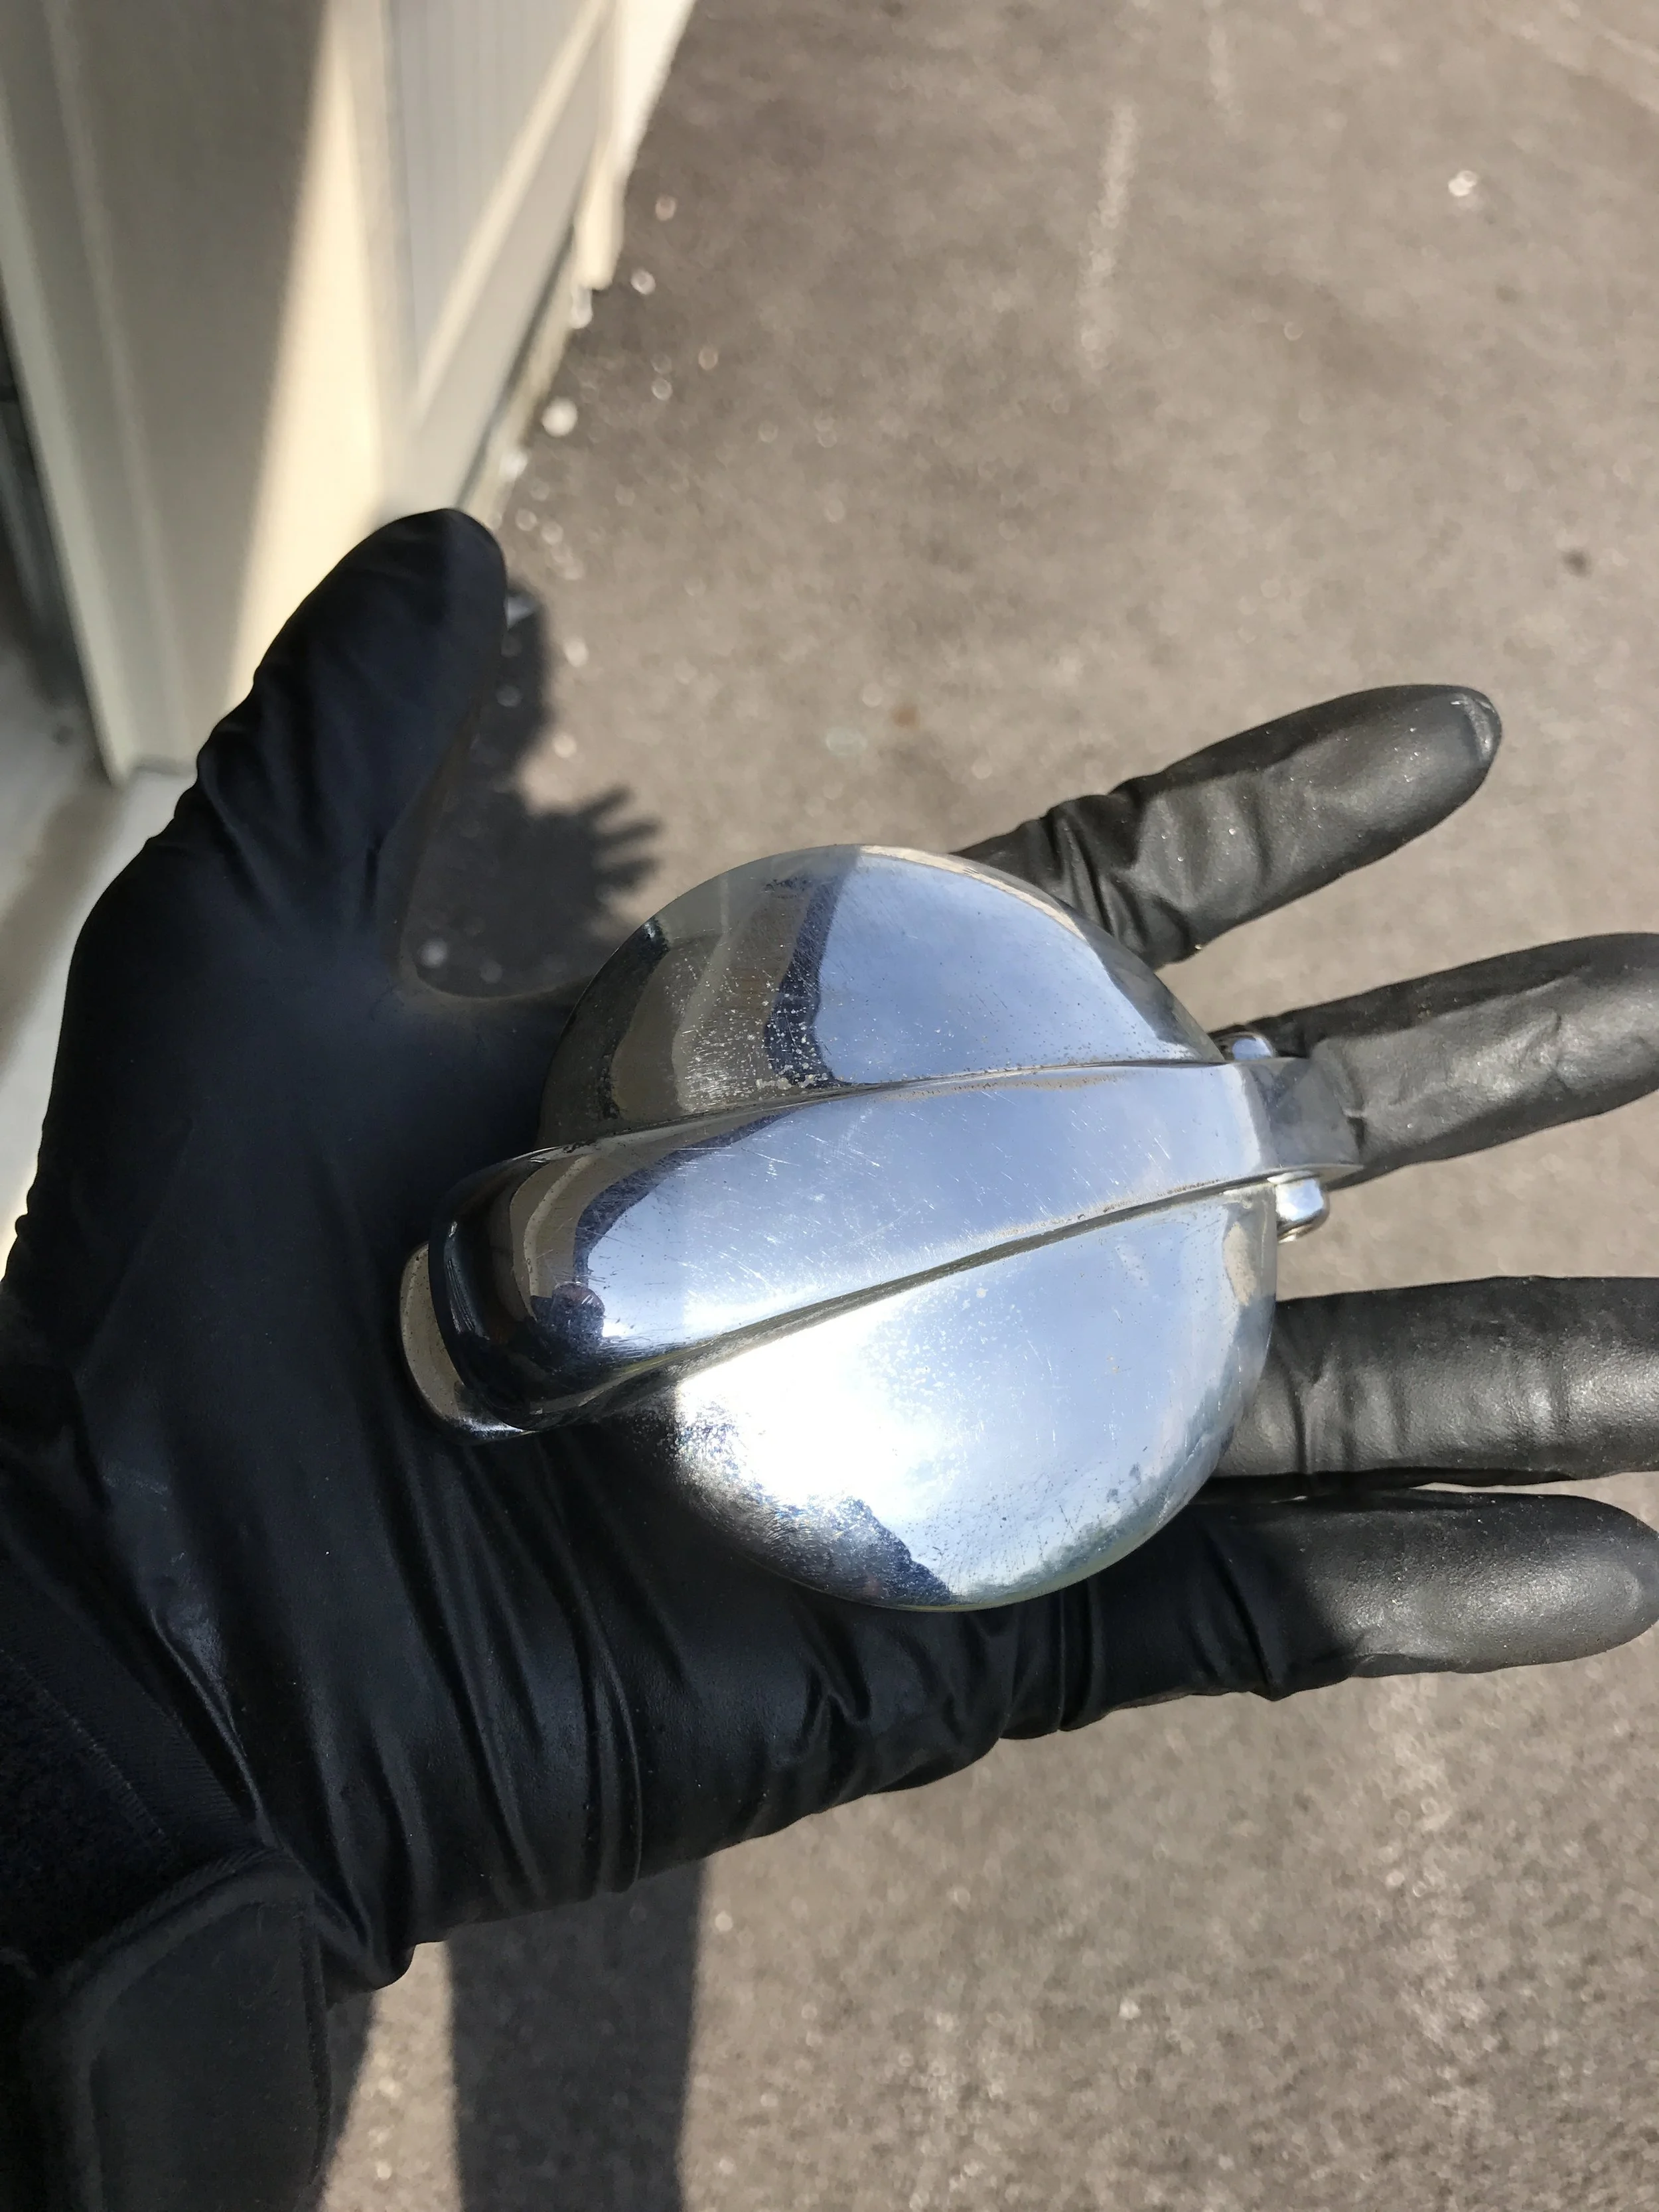
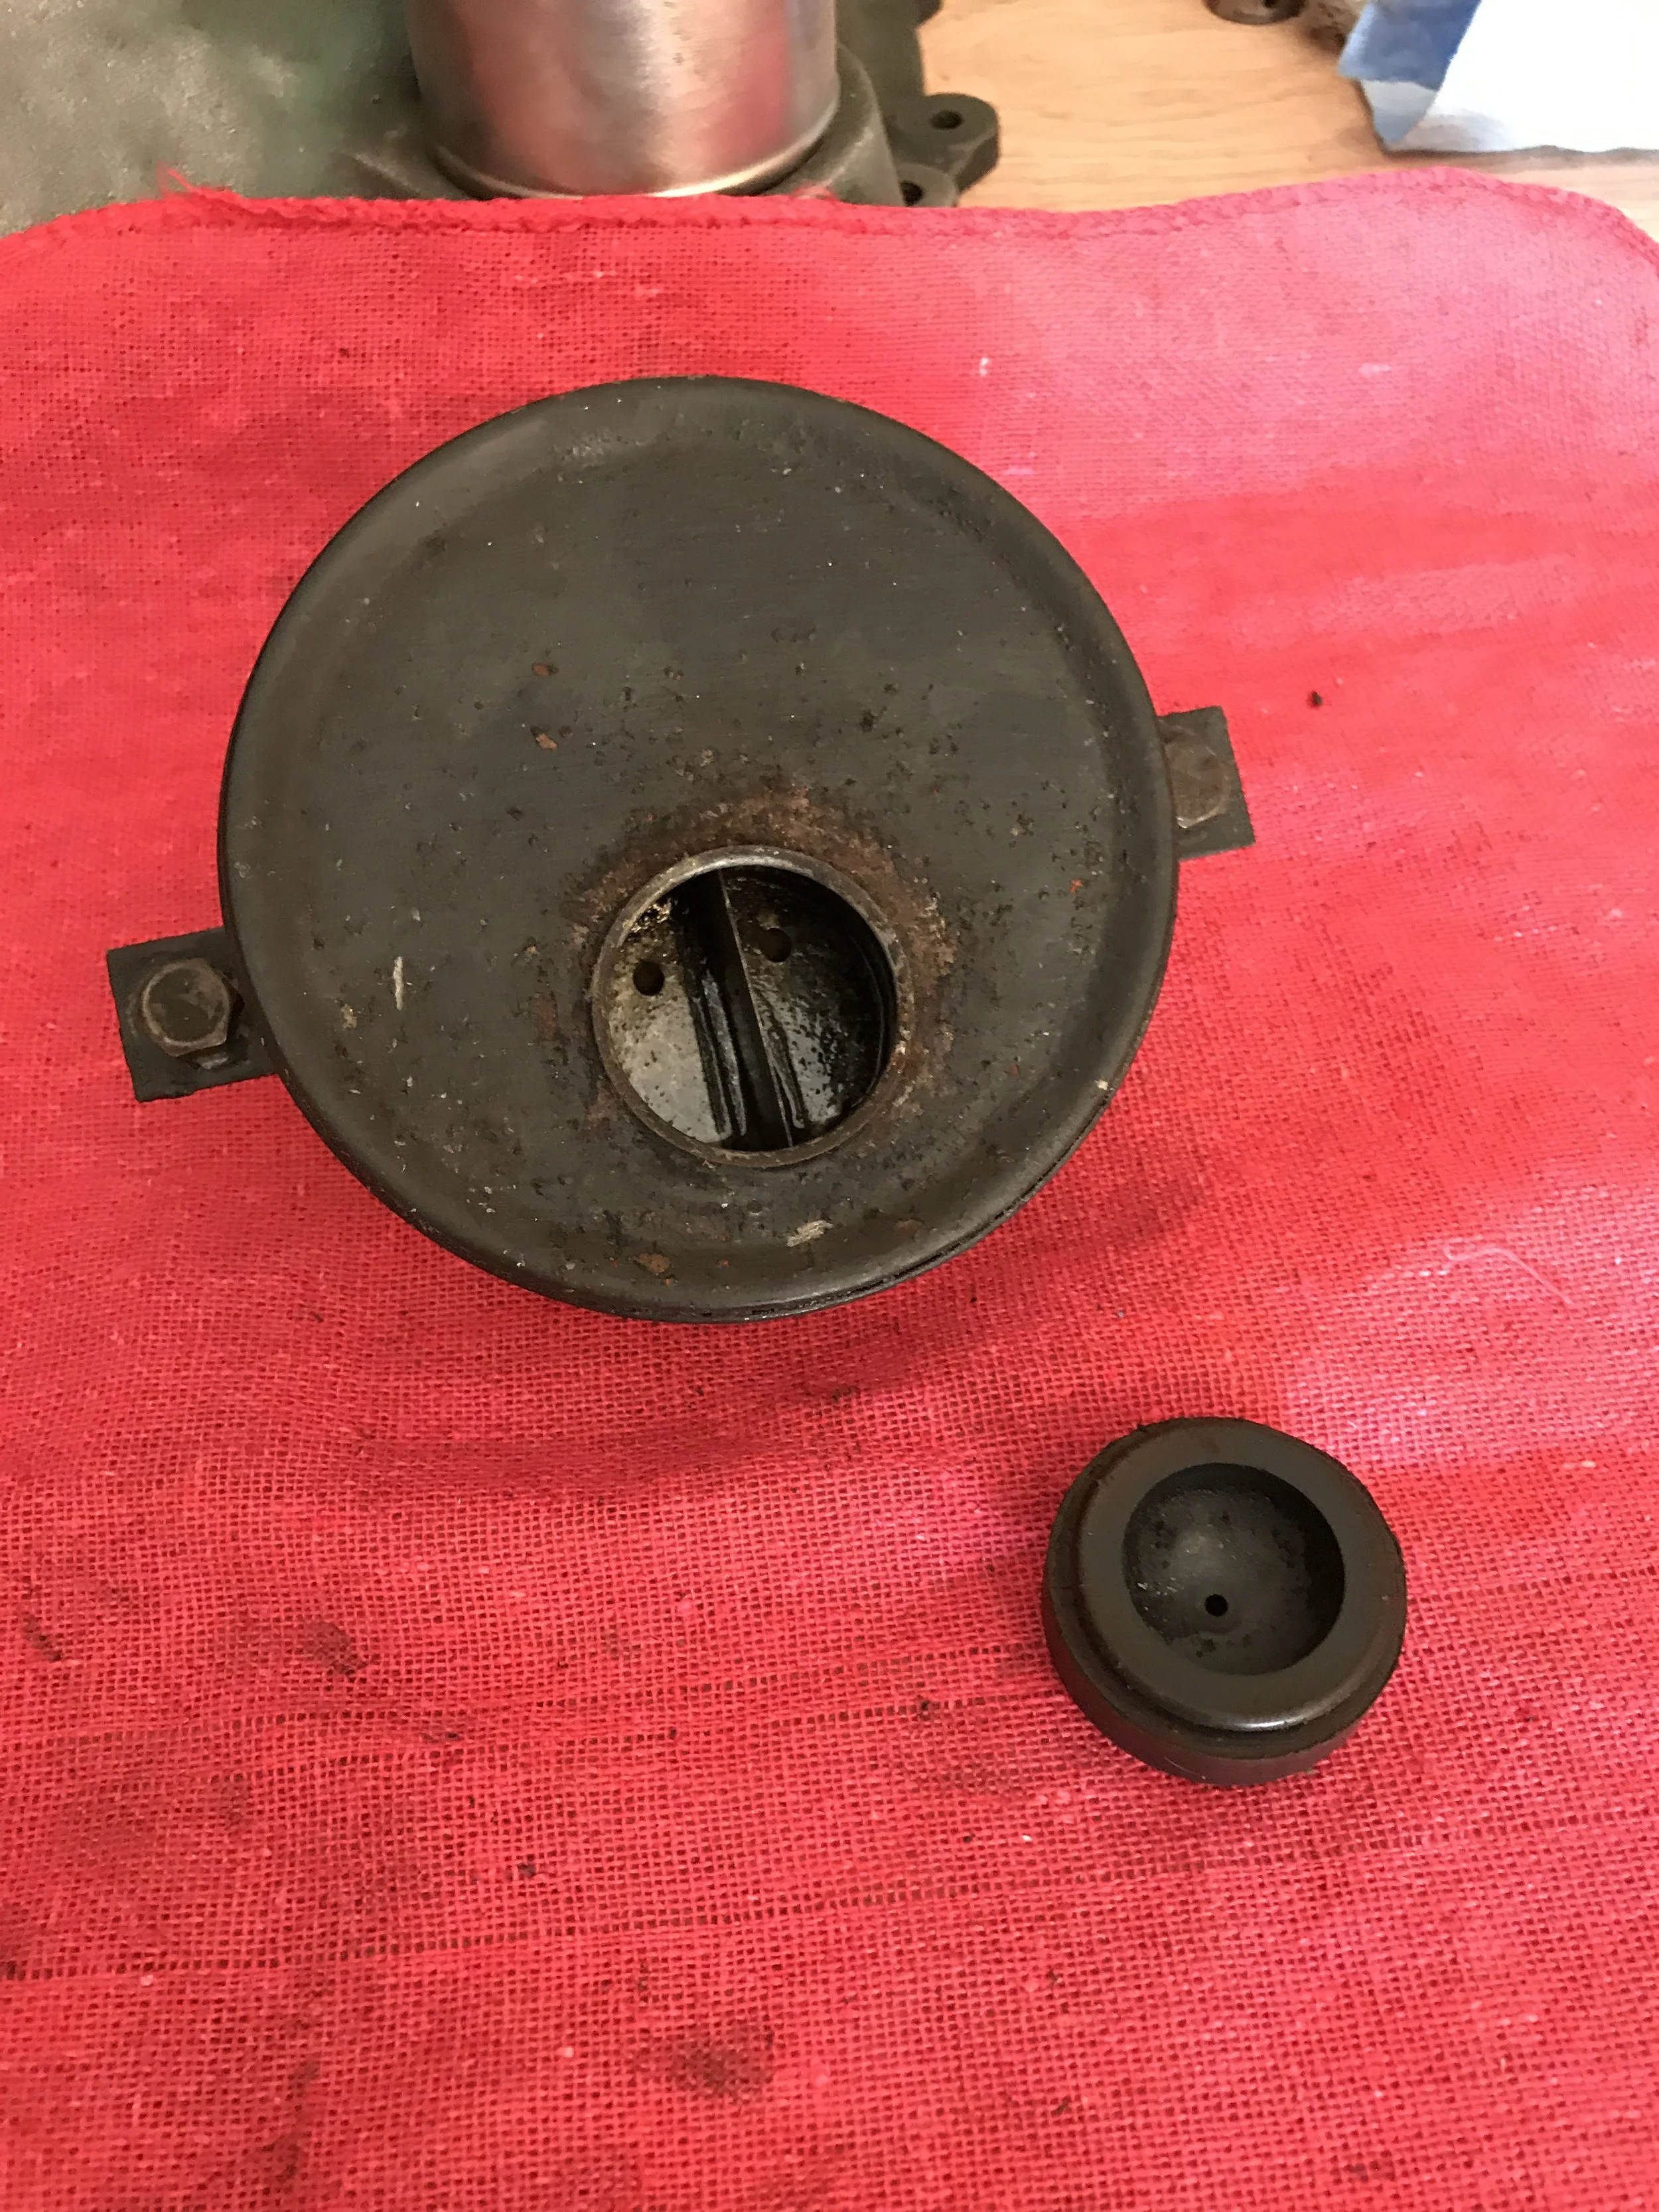
I opened the fuel tank lid, only to find a bucket of super-old gasoline and a bucket of rust. This will definitely have to be taken care of before the car runs again.
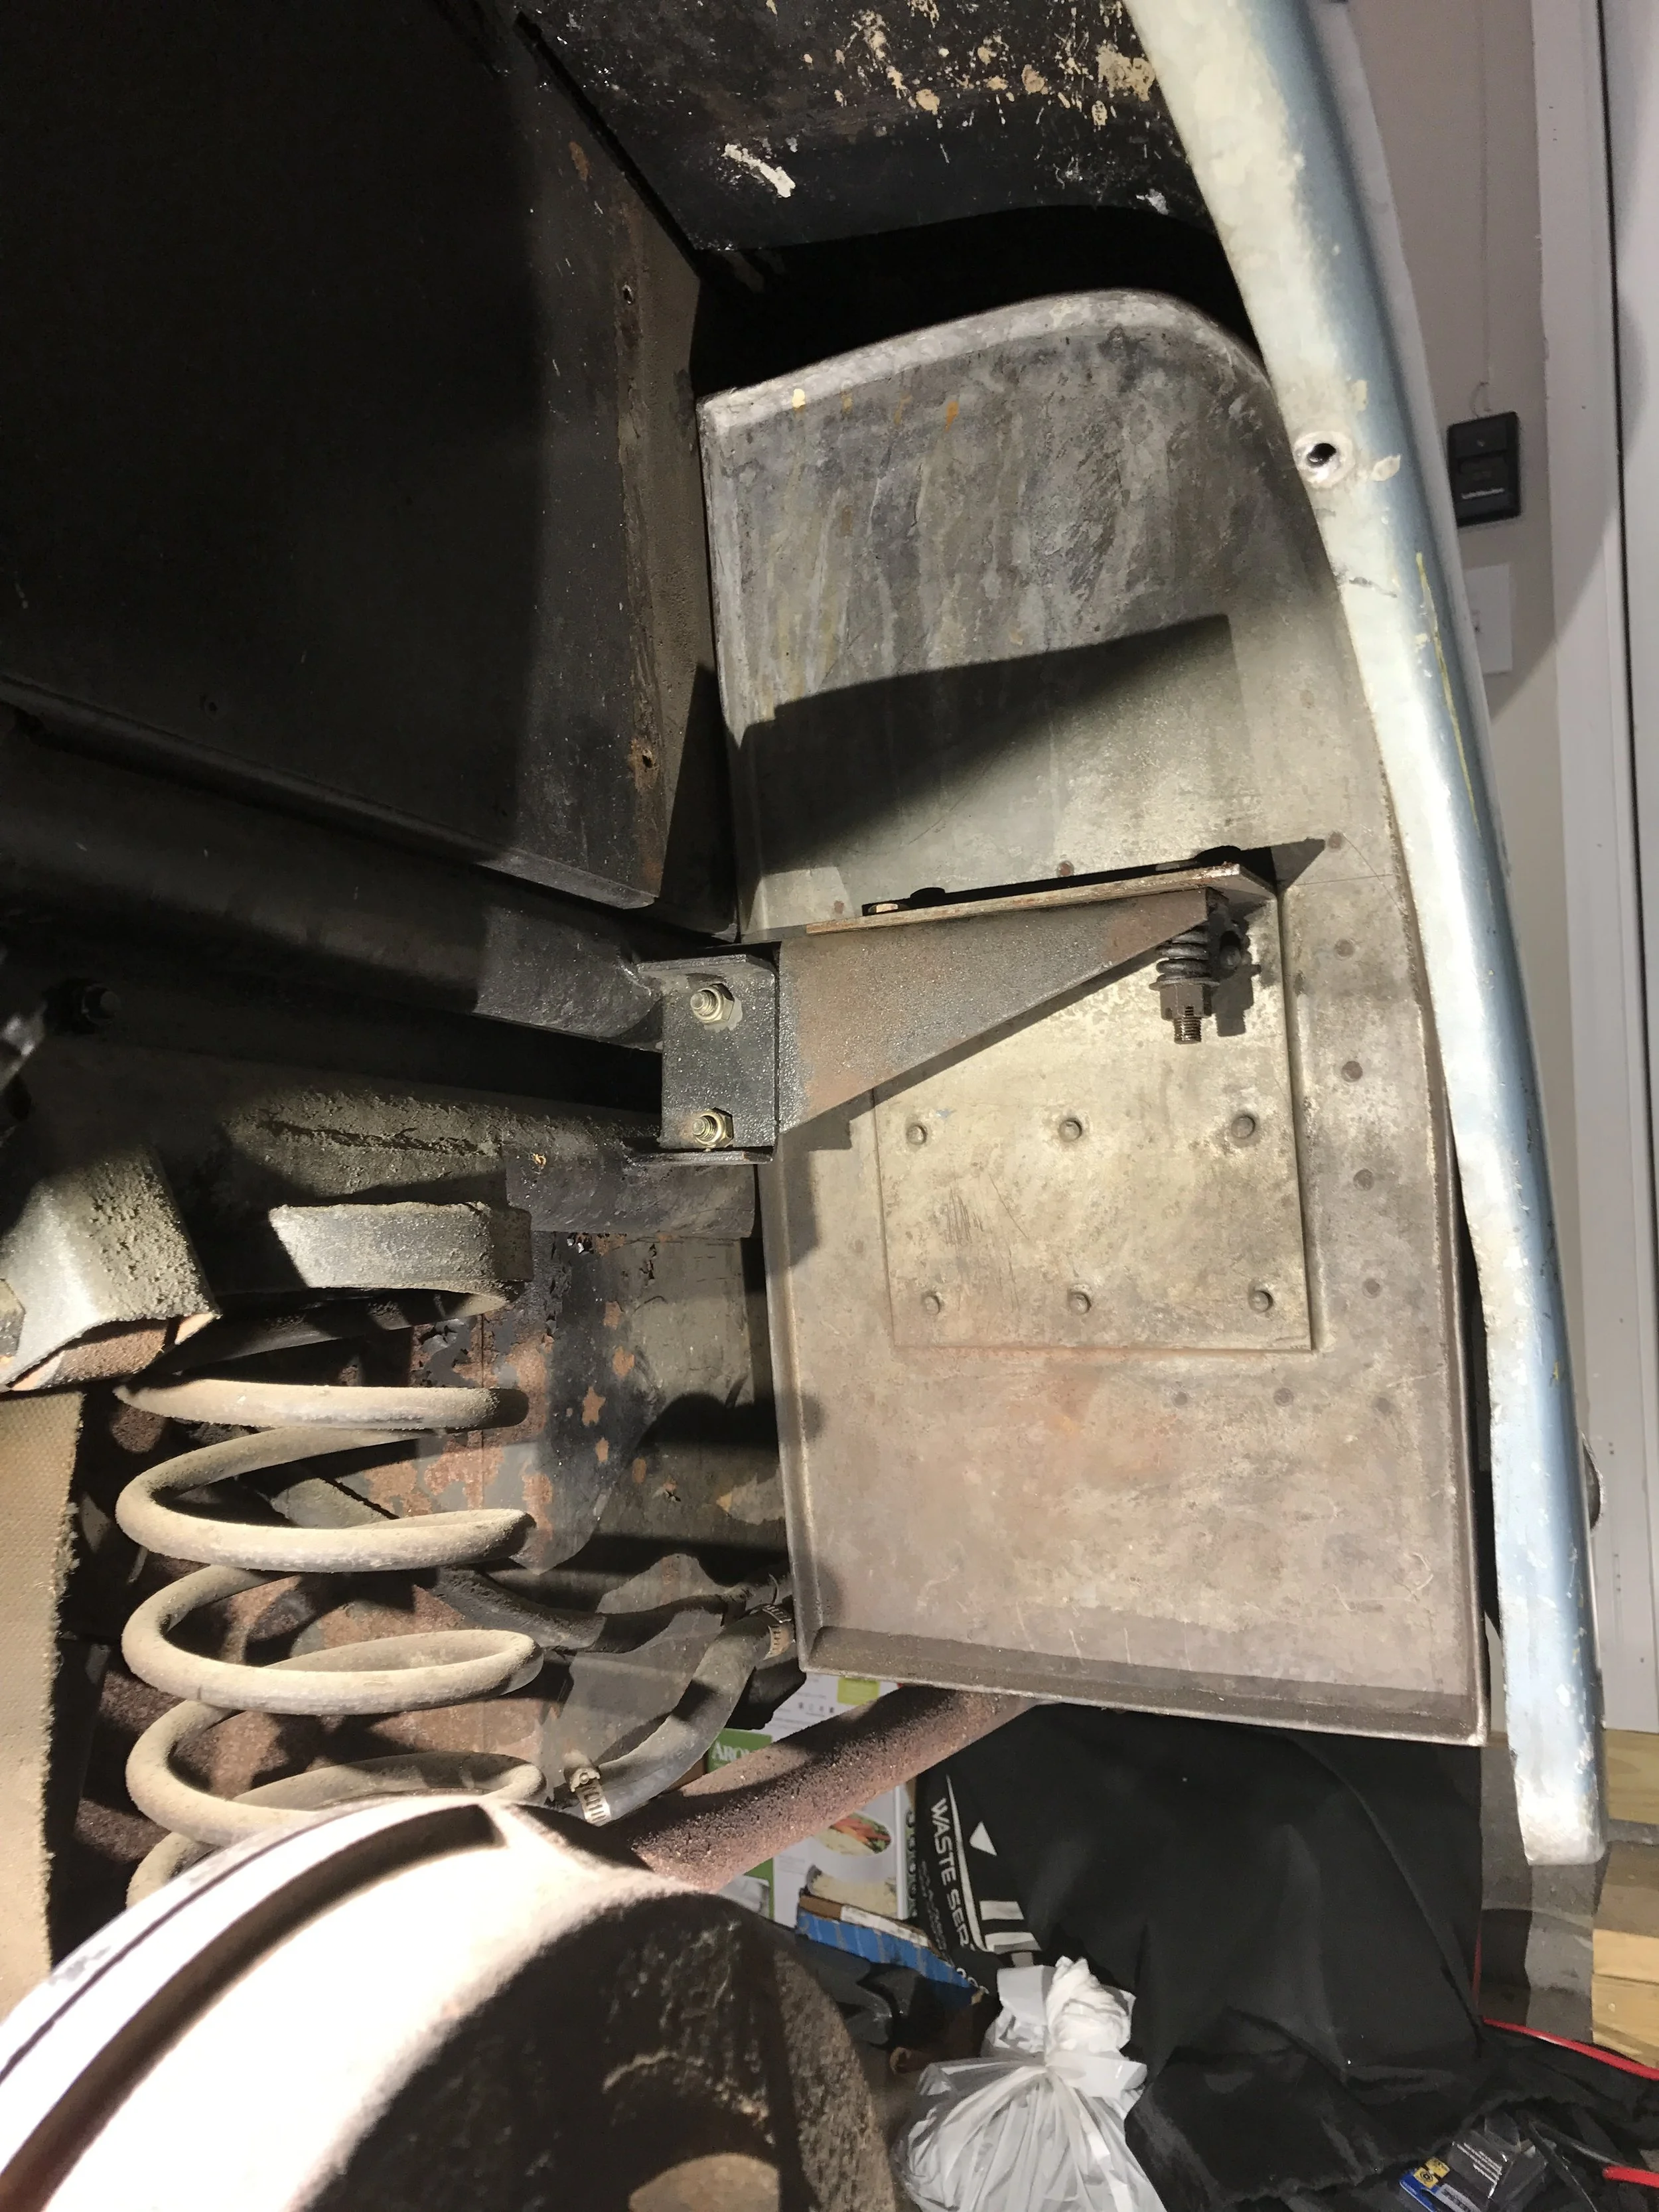
Fuel Tank
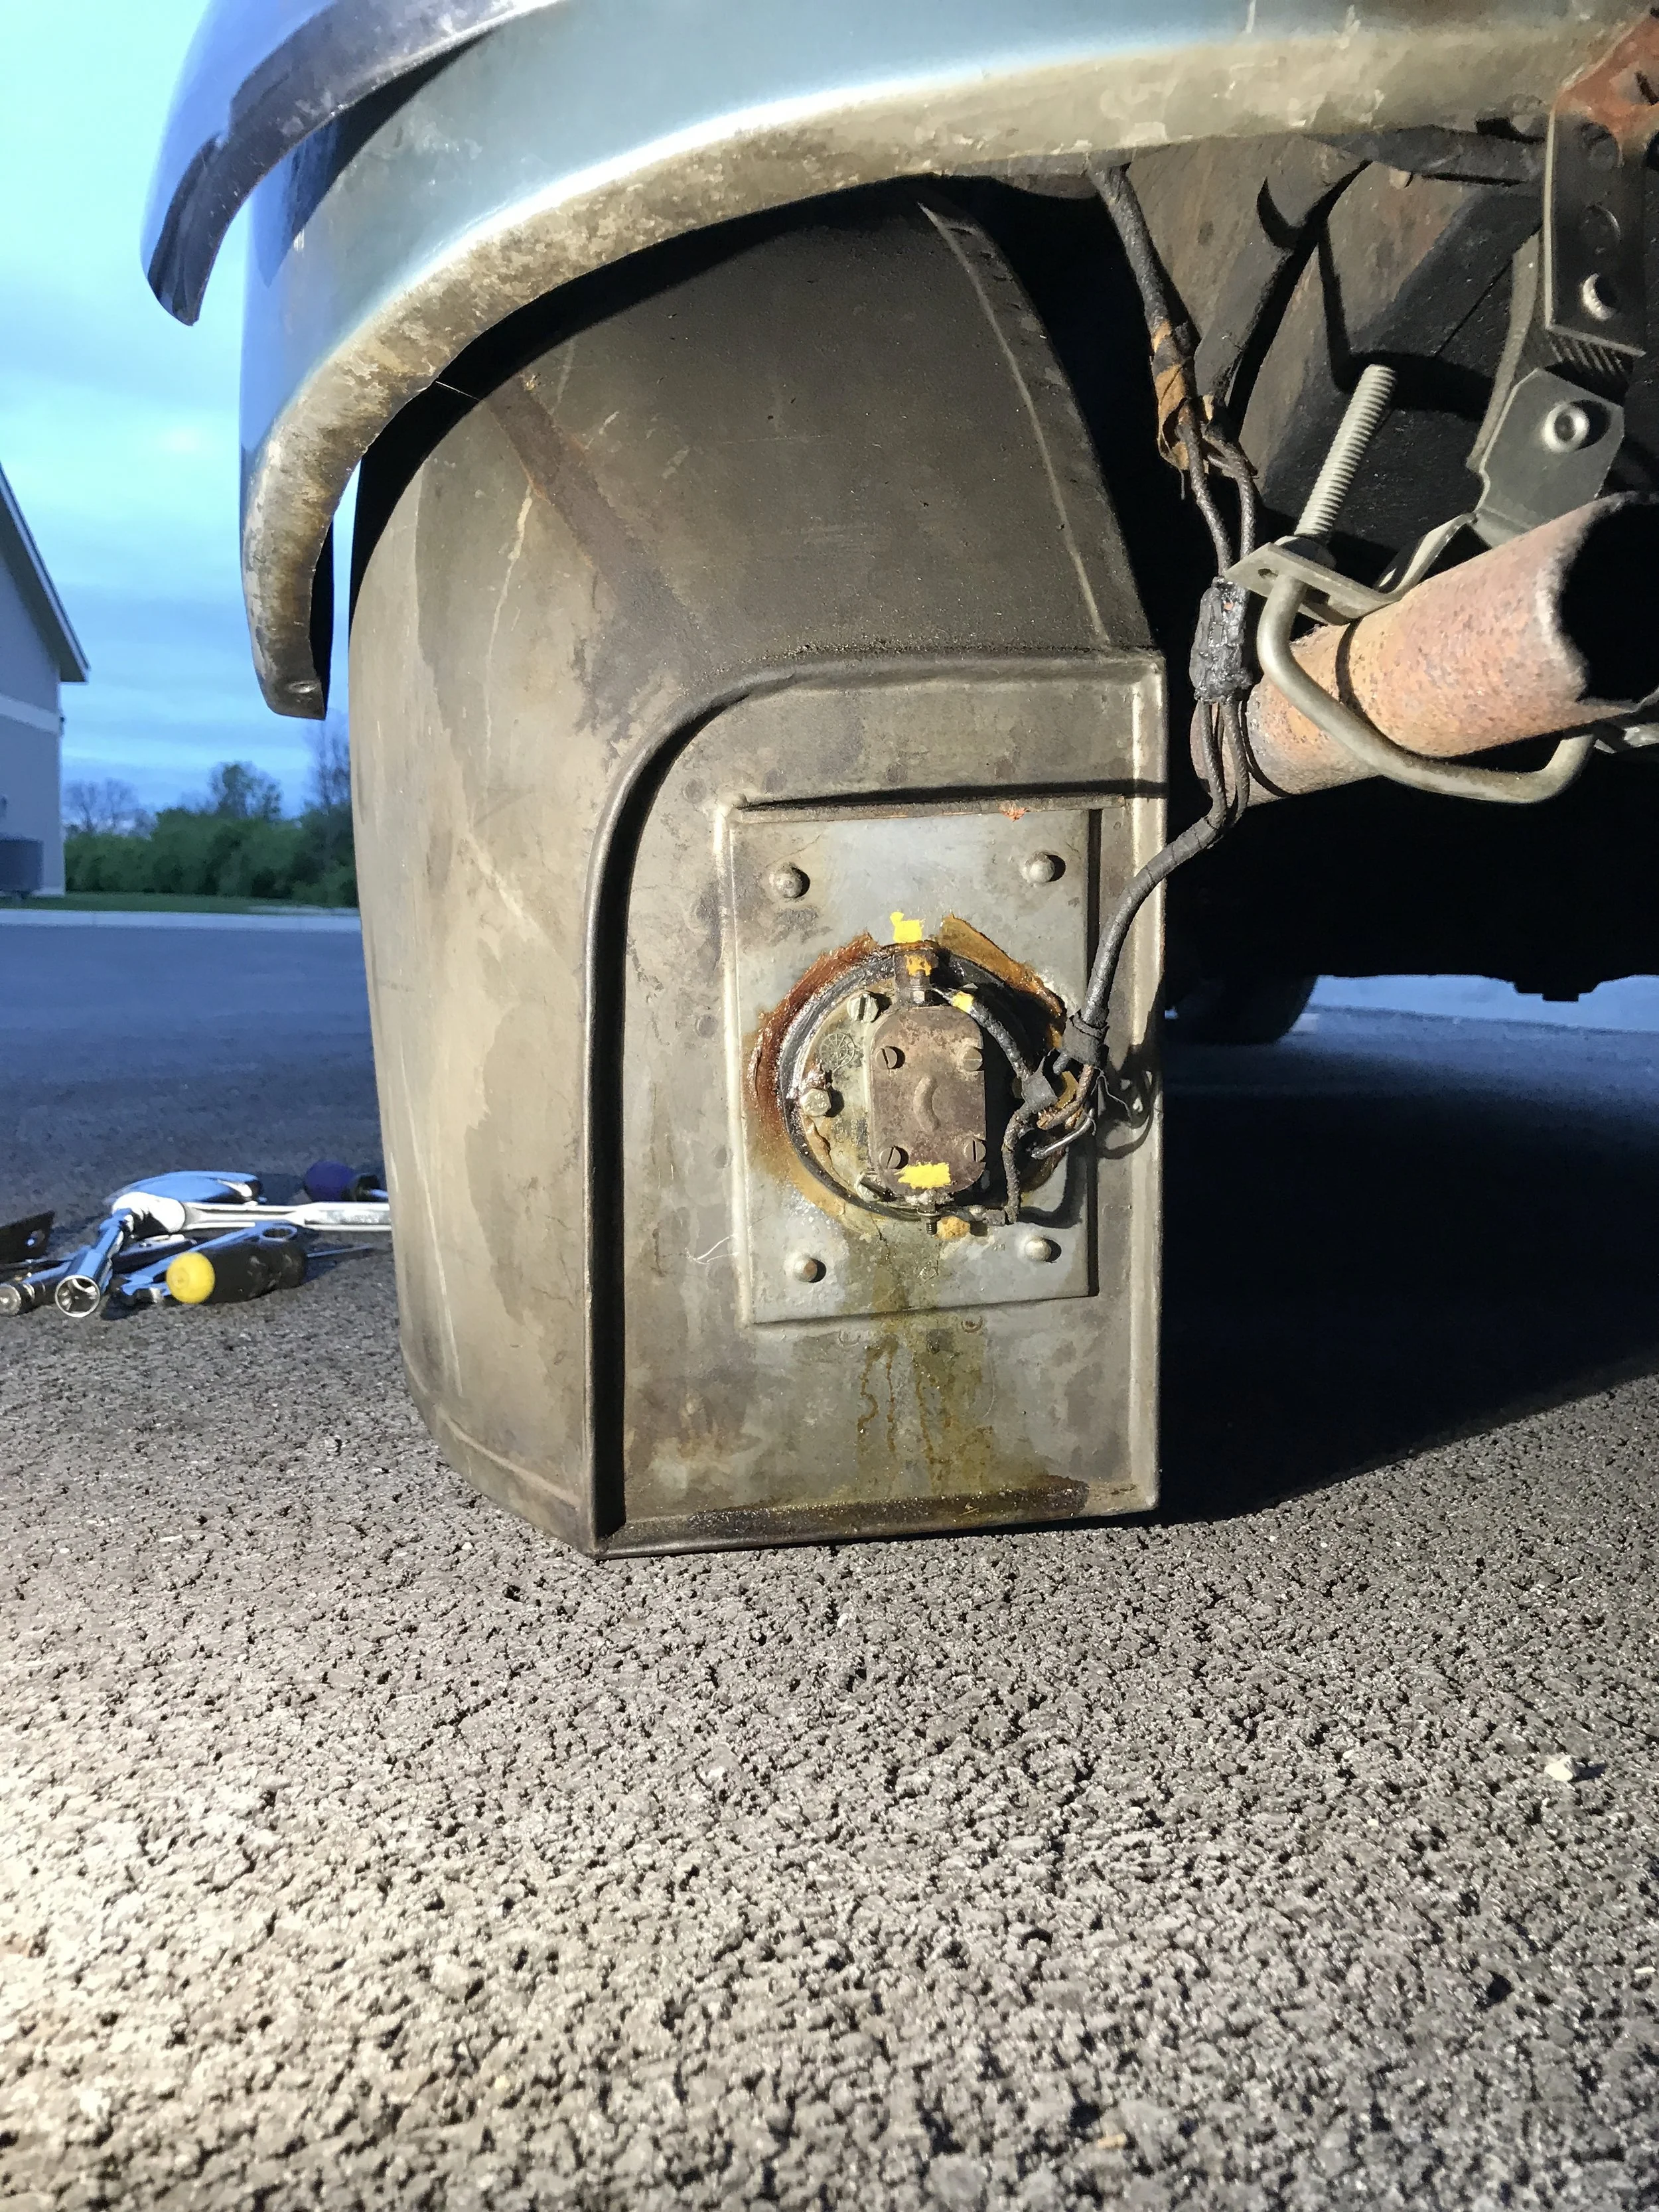
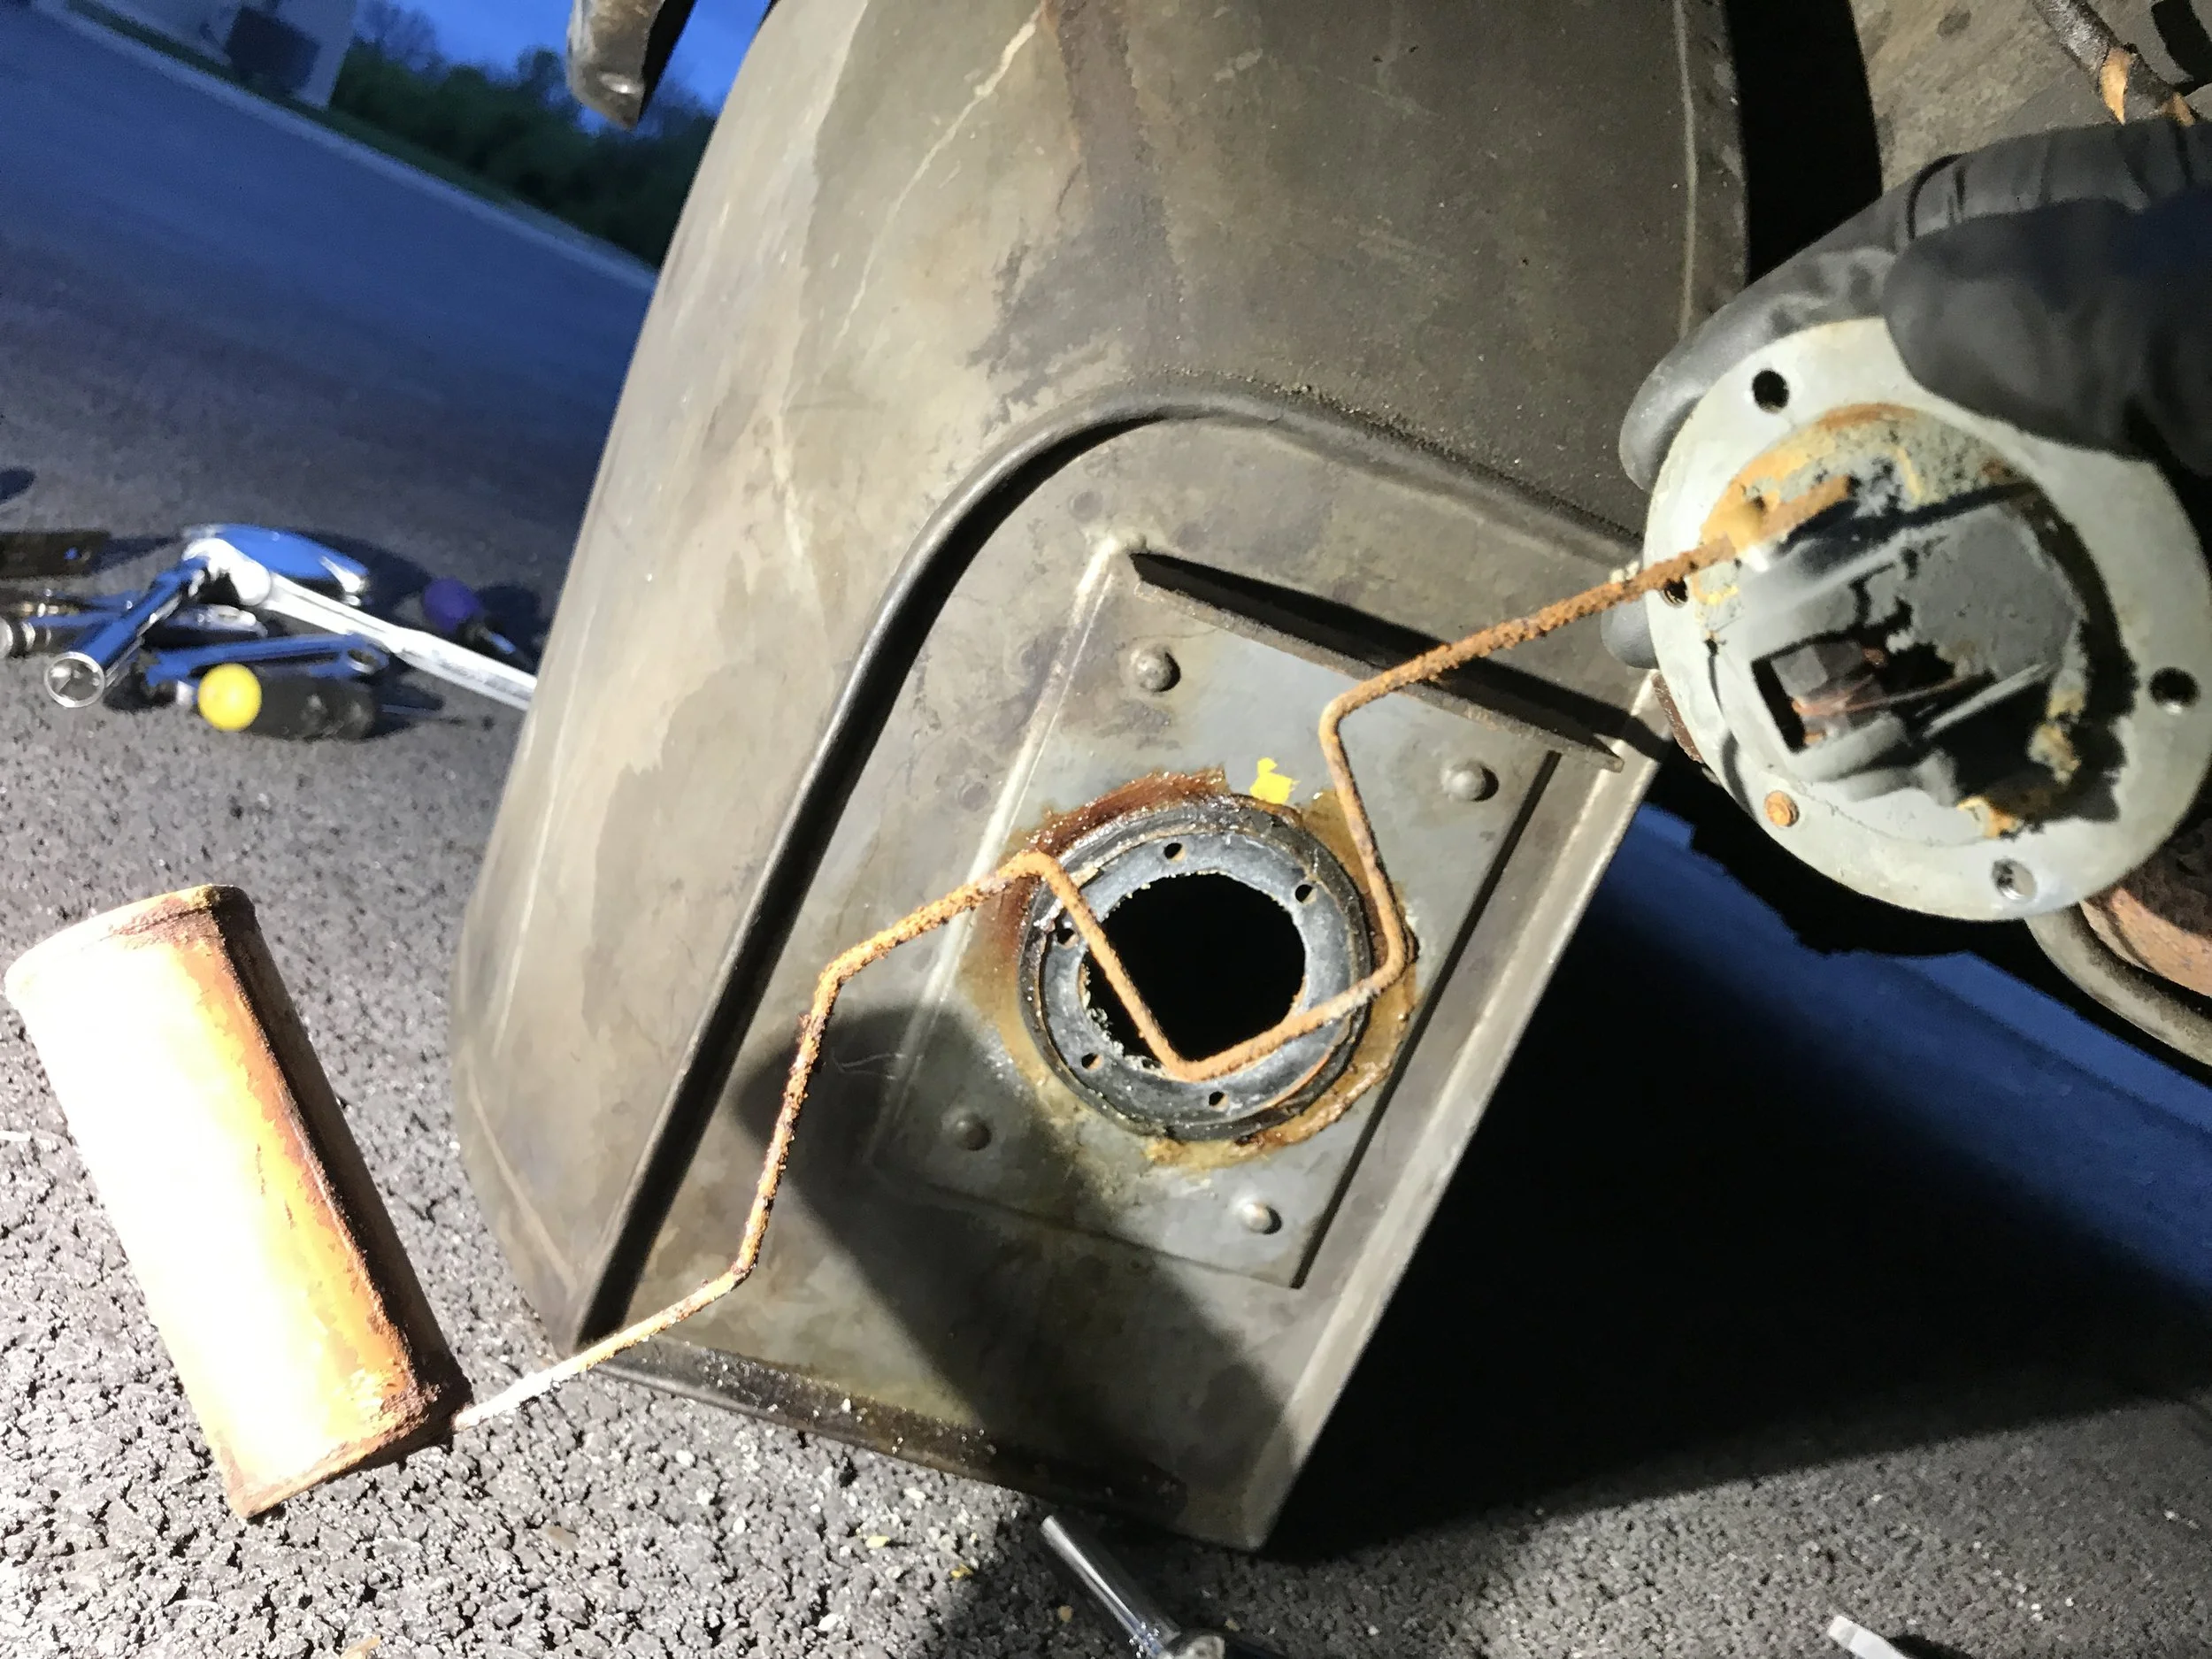
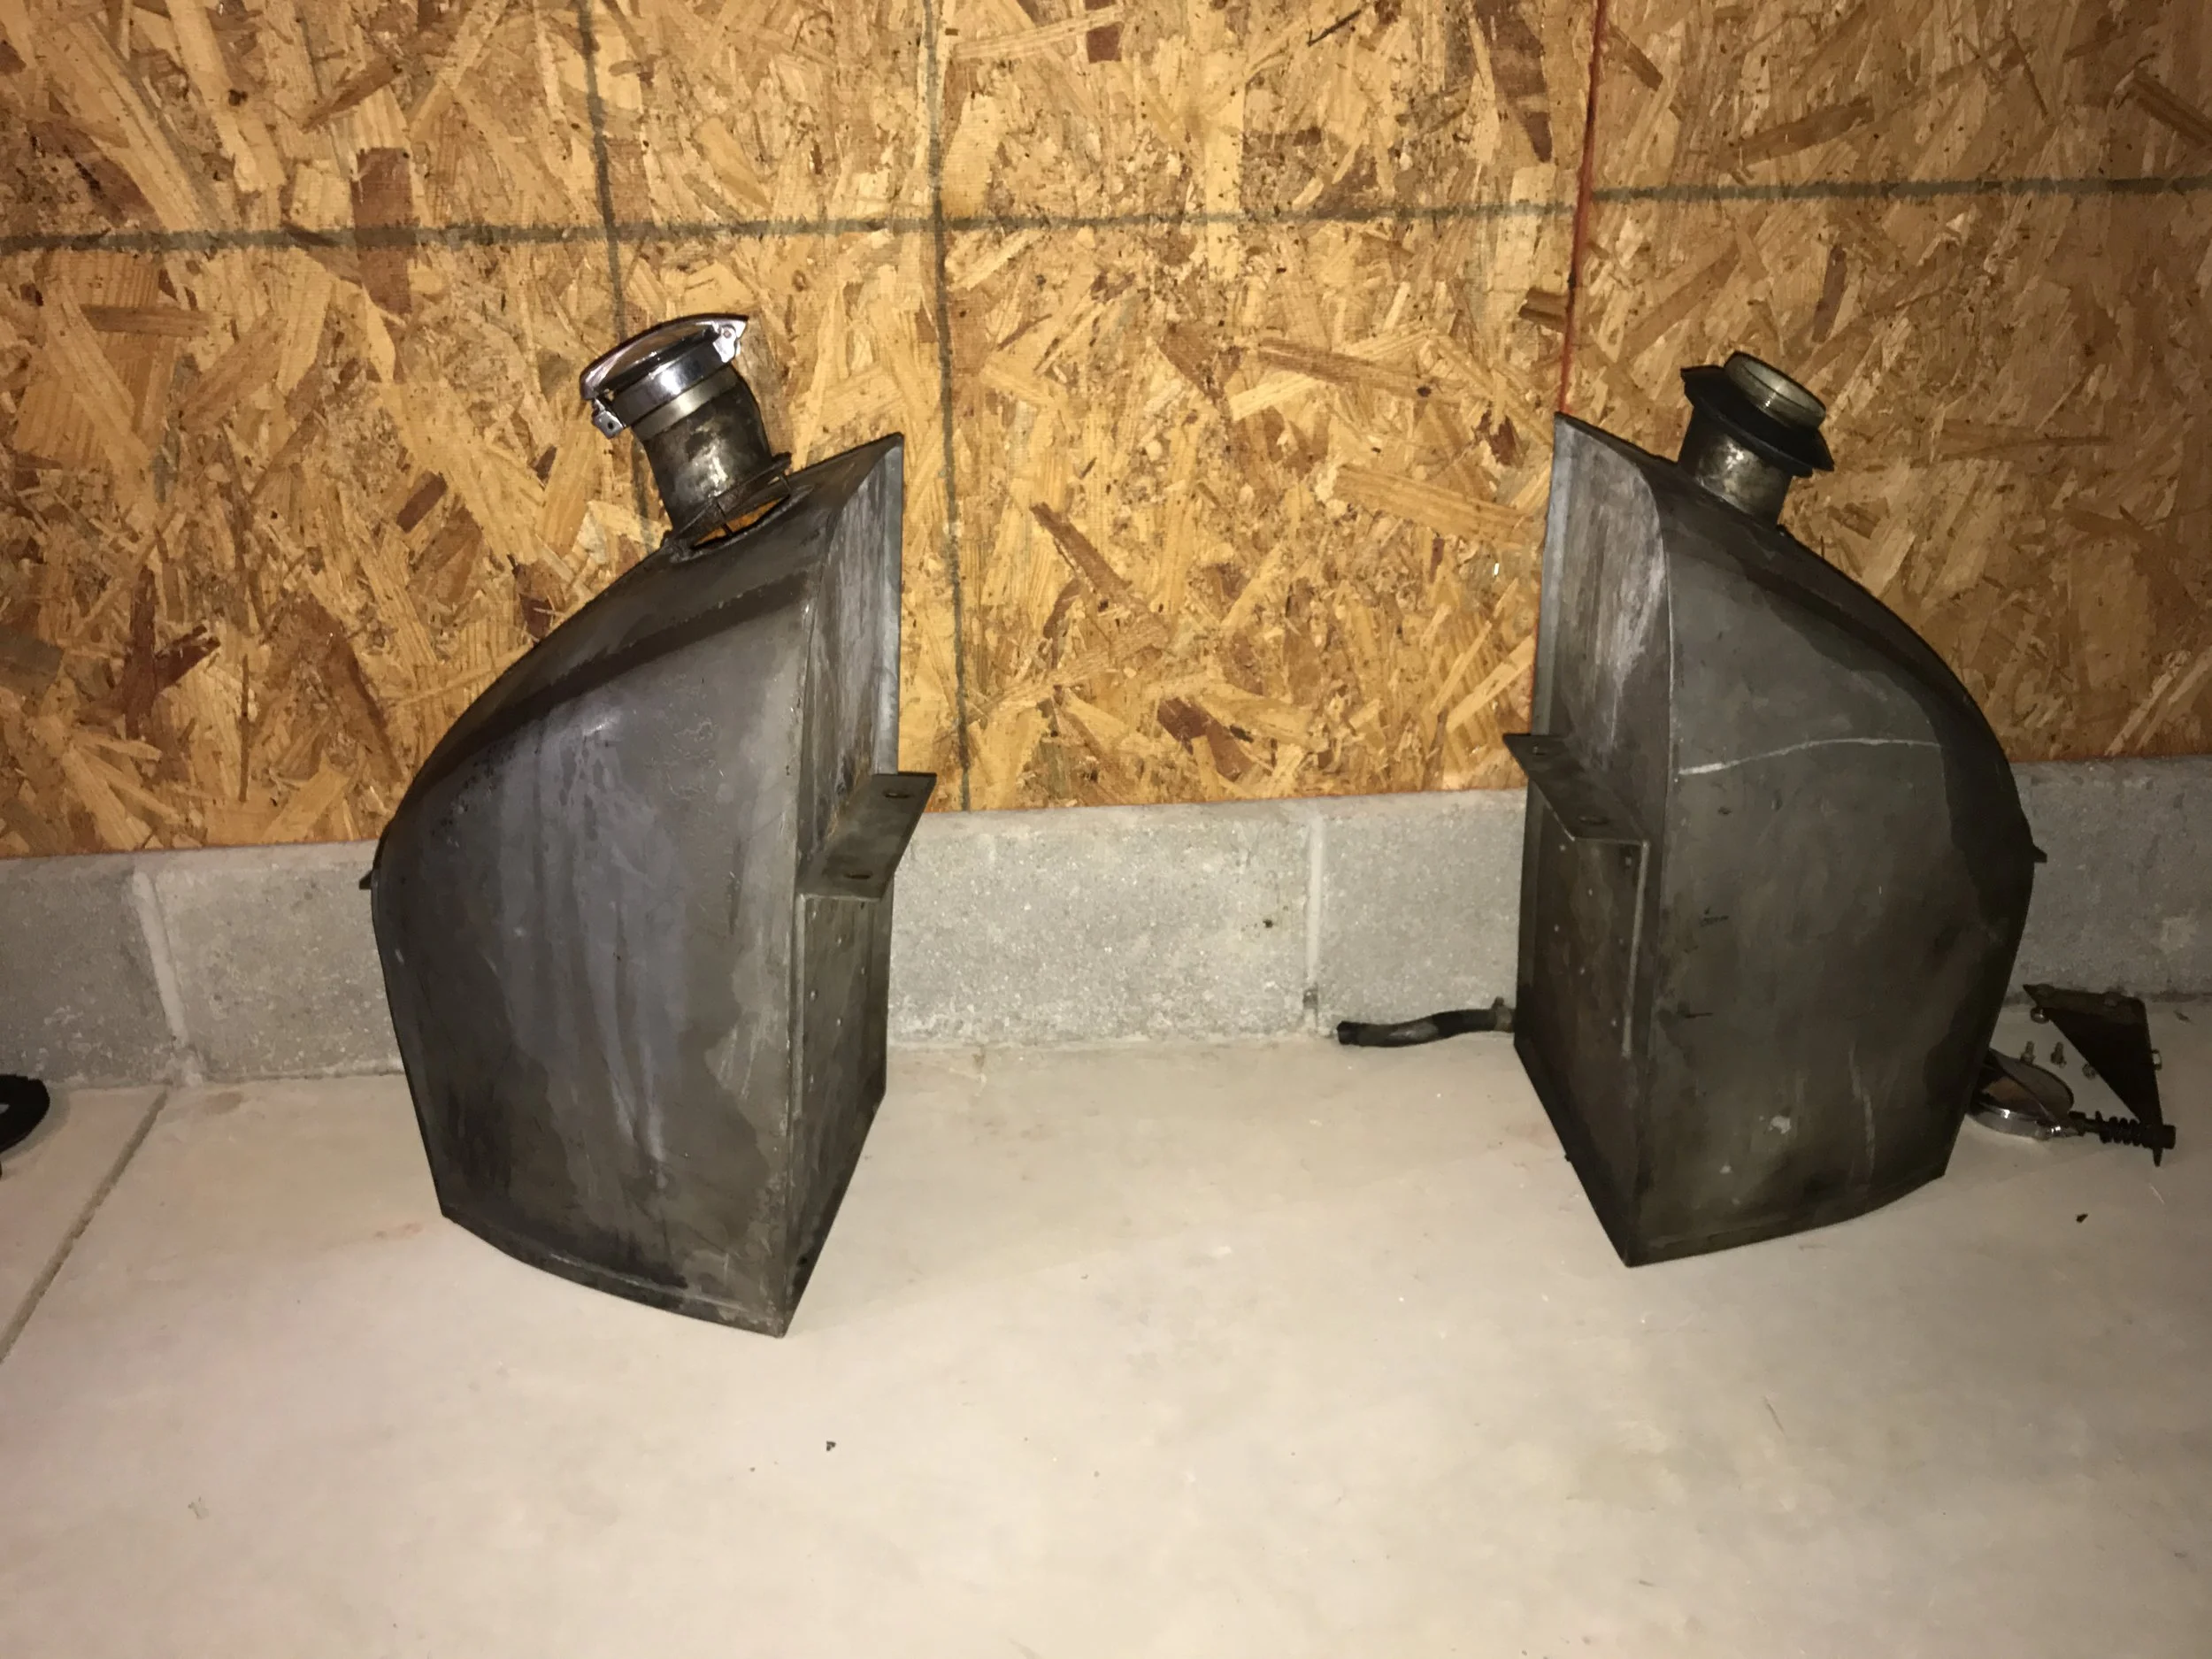
This is the LH side fuel tank - there is a symmetrical one on the right. I think it may be custom-made, because it fits the contour of the body. I have to decide between trying to clean/seal the existing tanks or custom-make new ones.
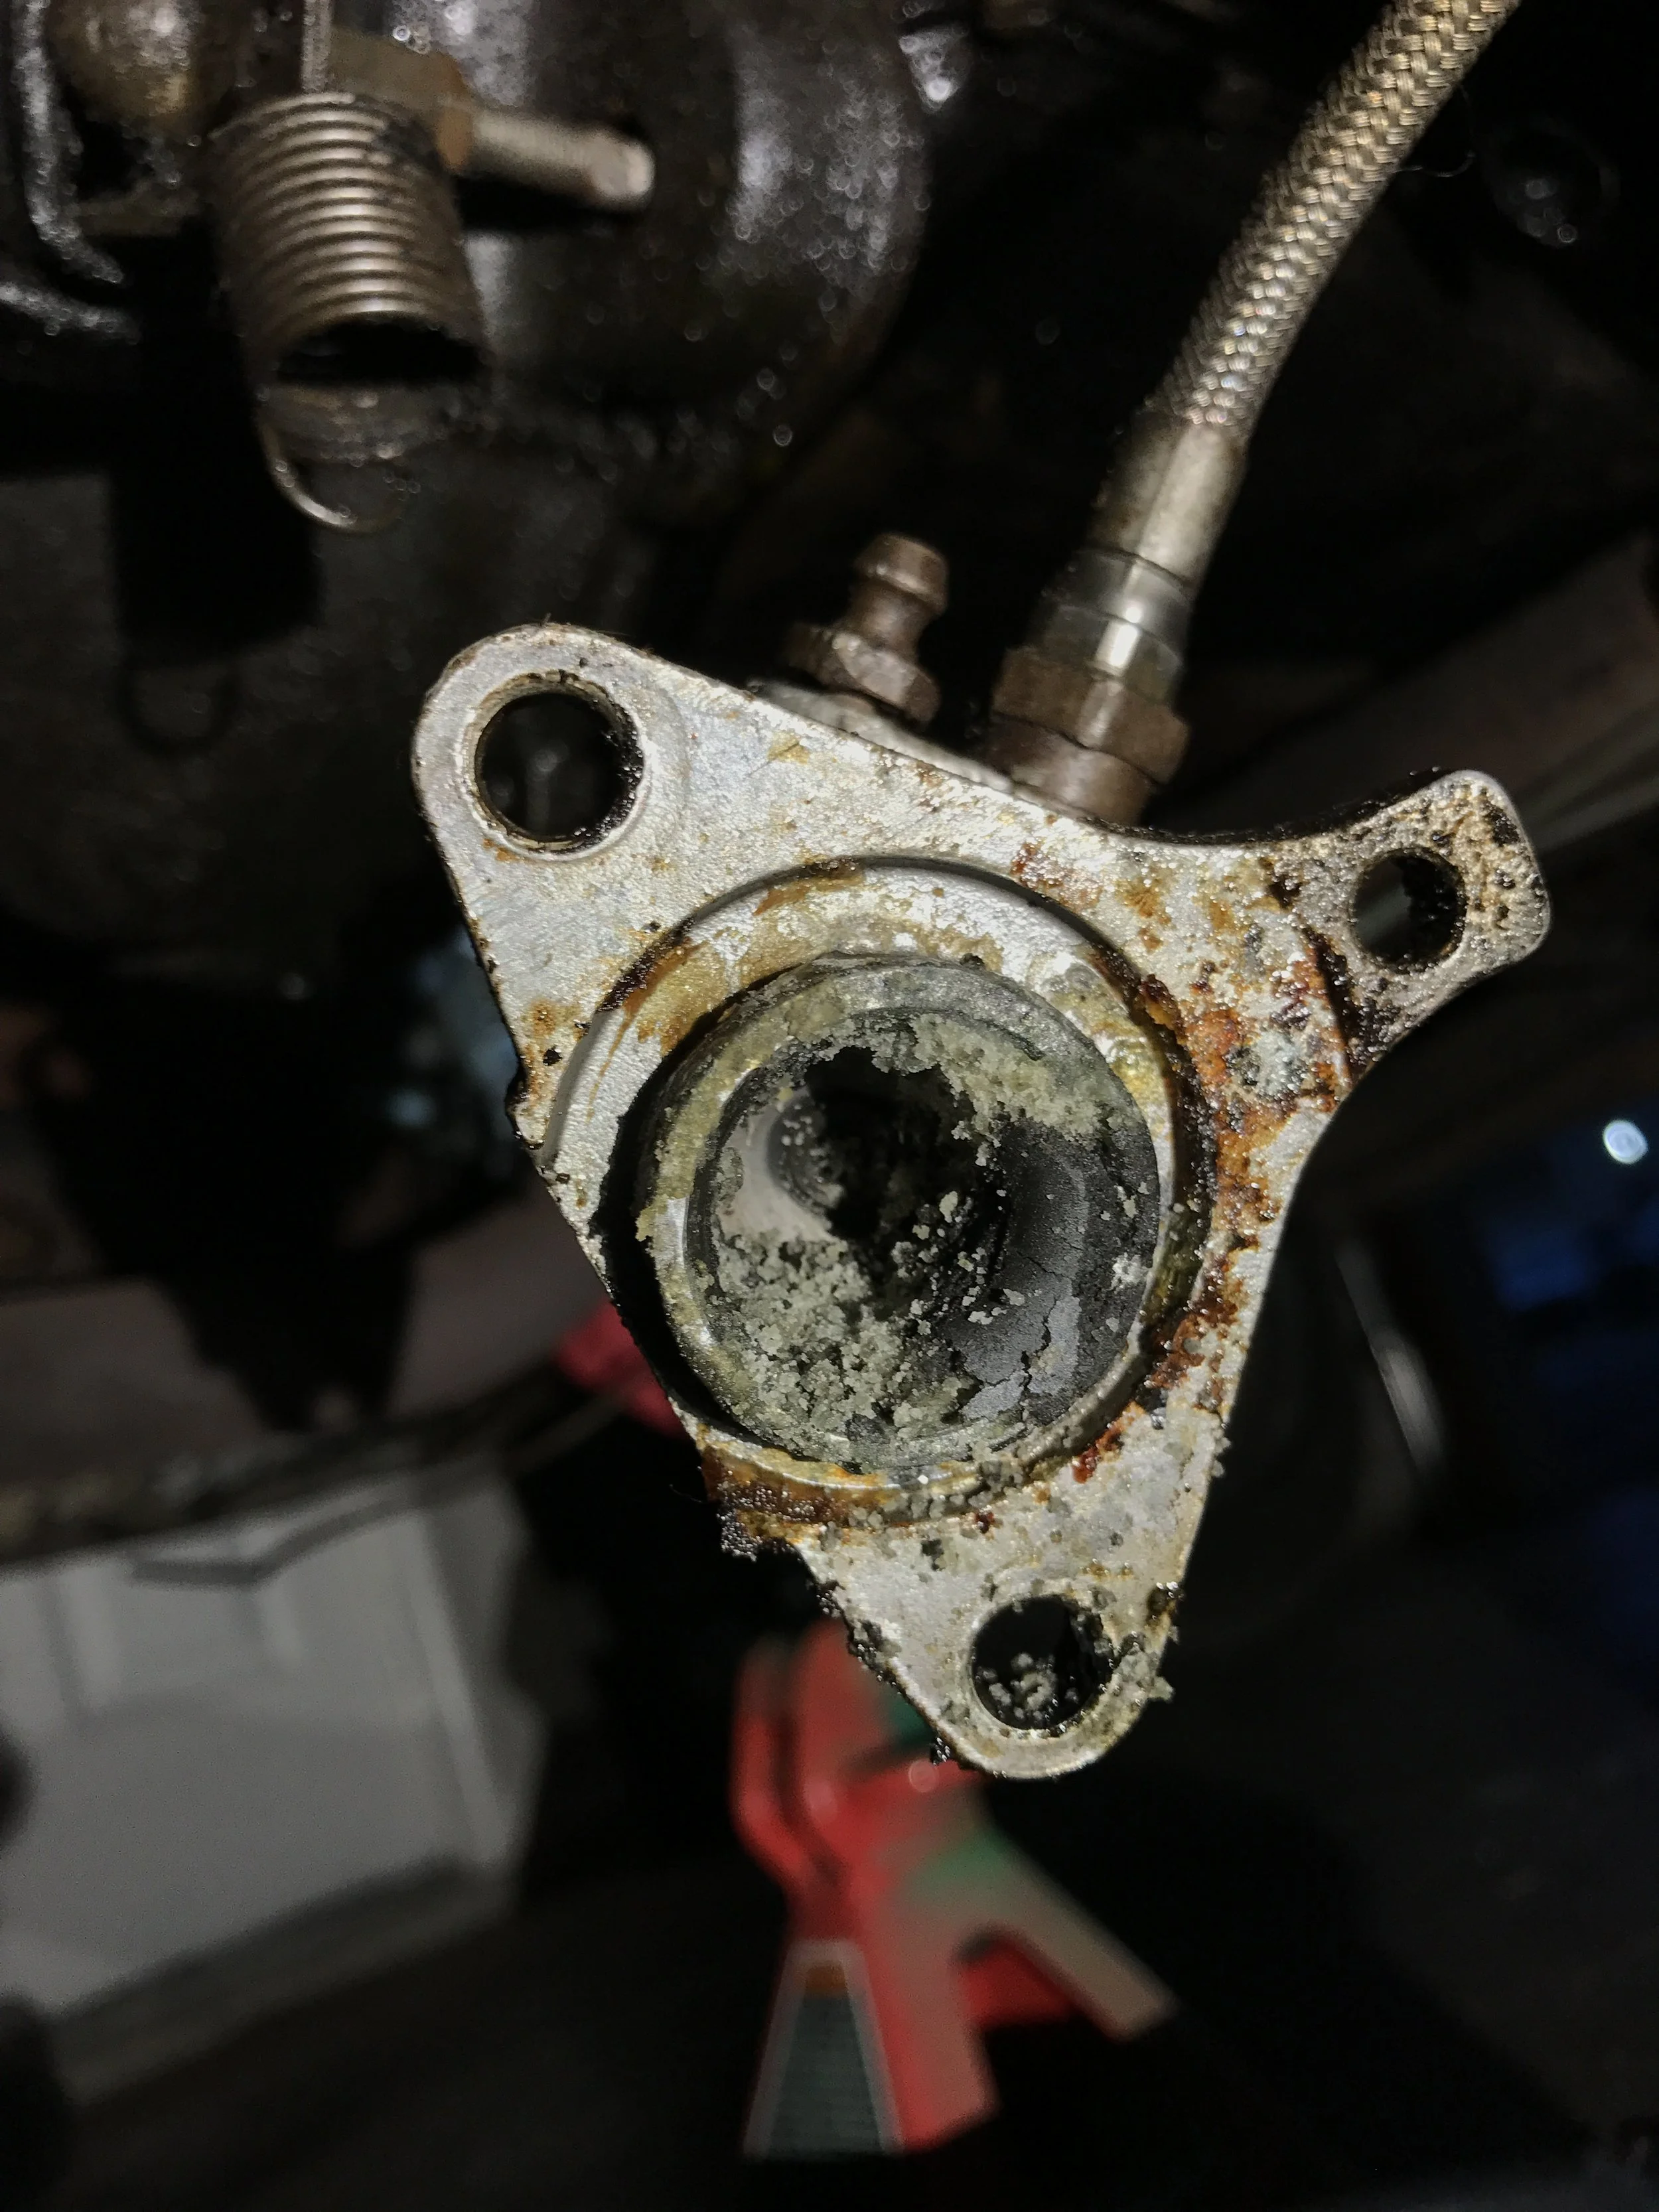
Clutch Slave Cylinder
Thankfully, when I was ordering new MC parts, I ordered a complete new clutch slave cylinder. At the time, I didn't know it would be in this poor condition. I'm not sure what that grime is, but it can't be good.
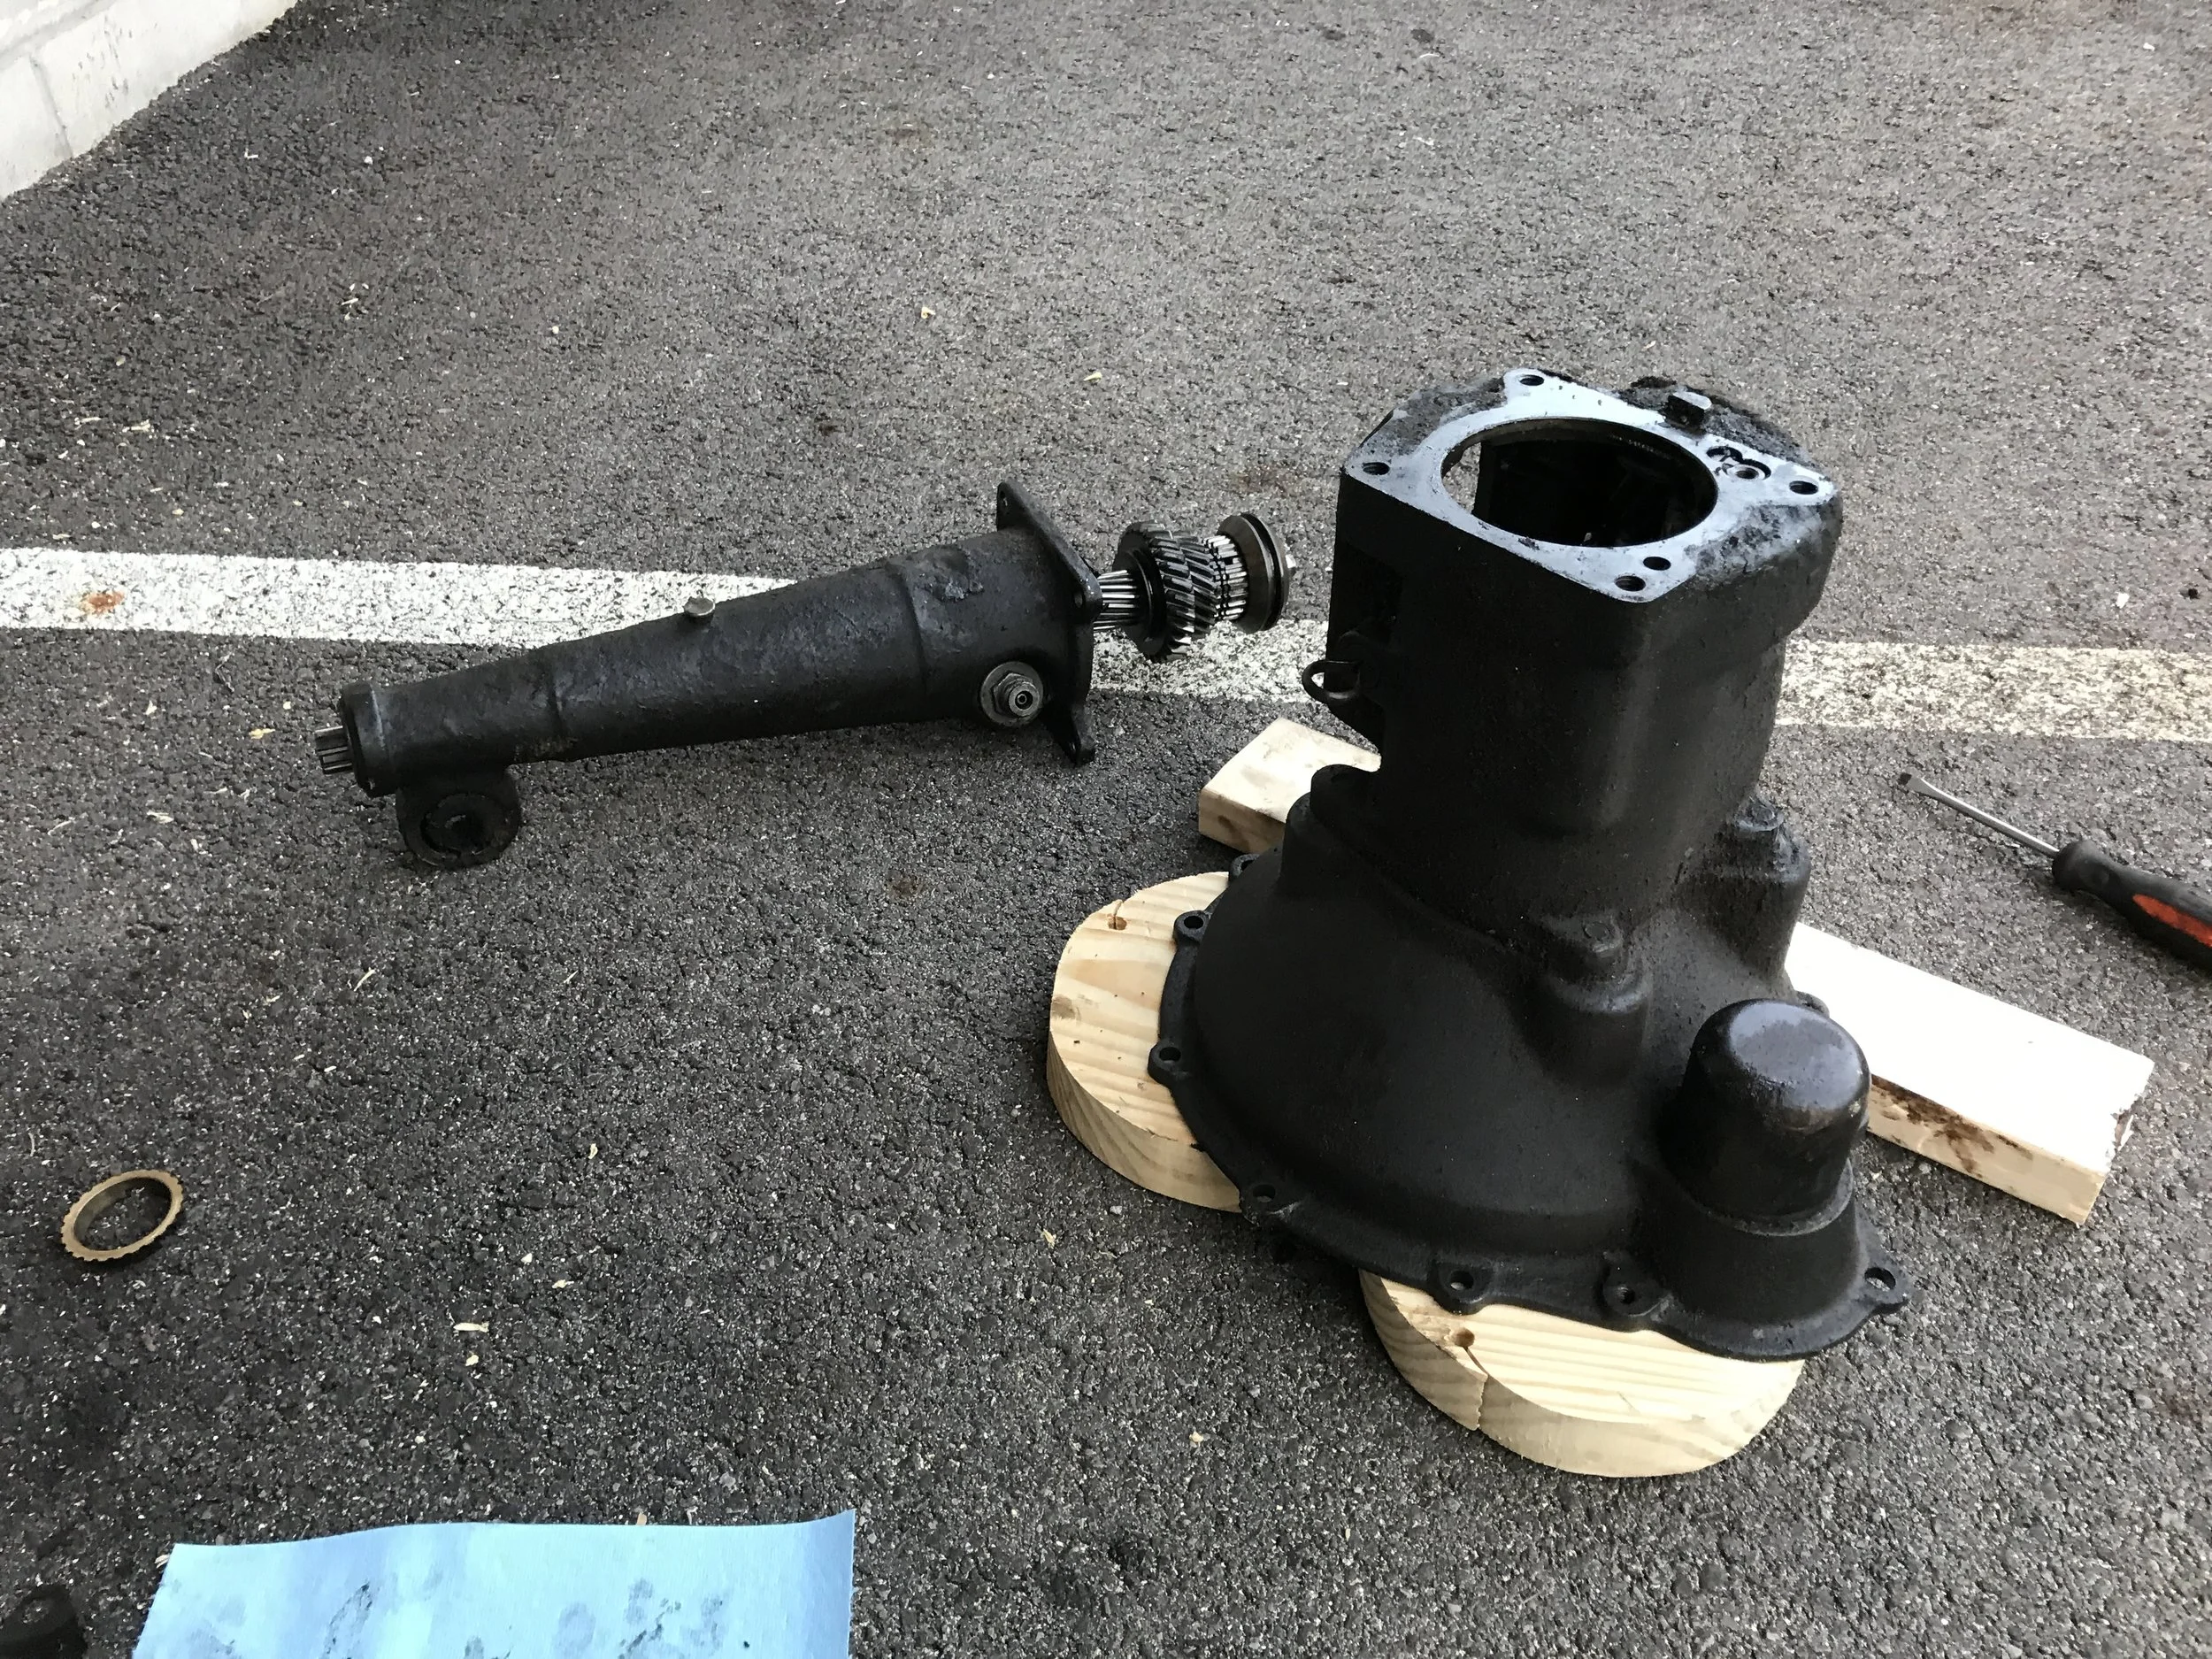
More Project... Transmission Edition
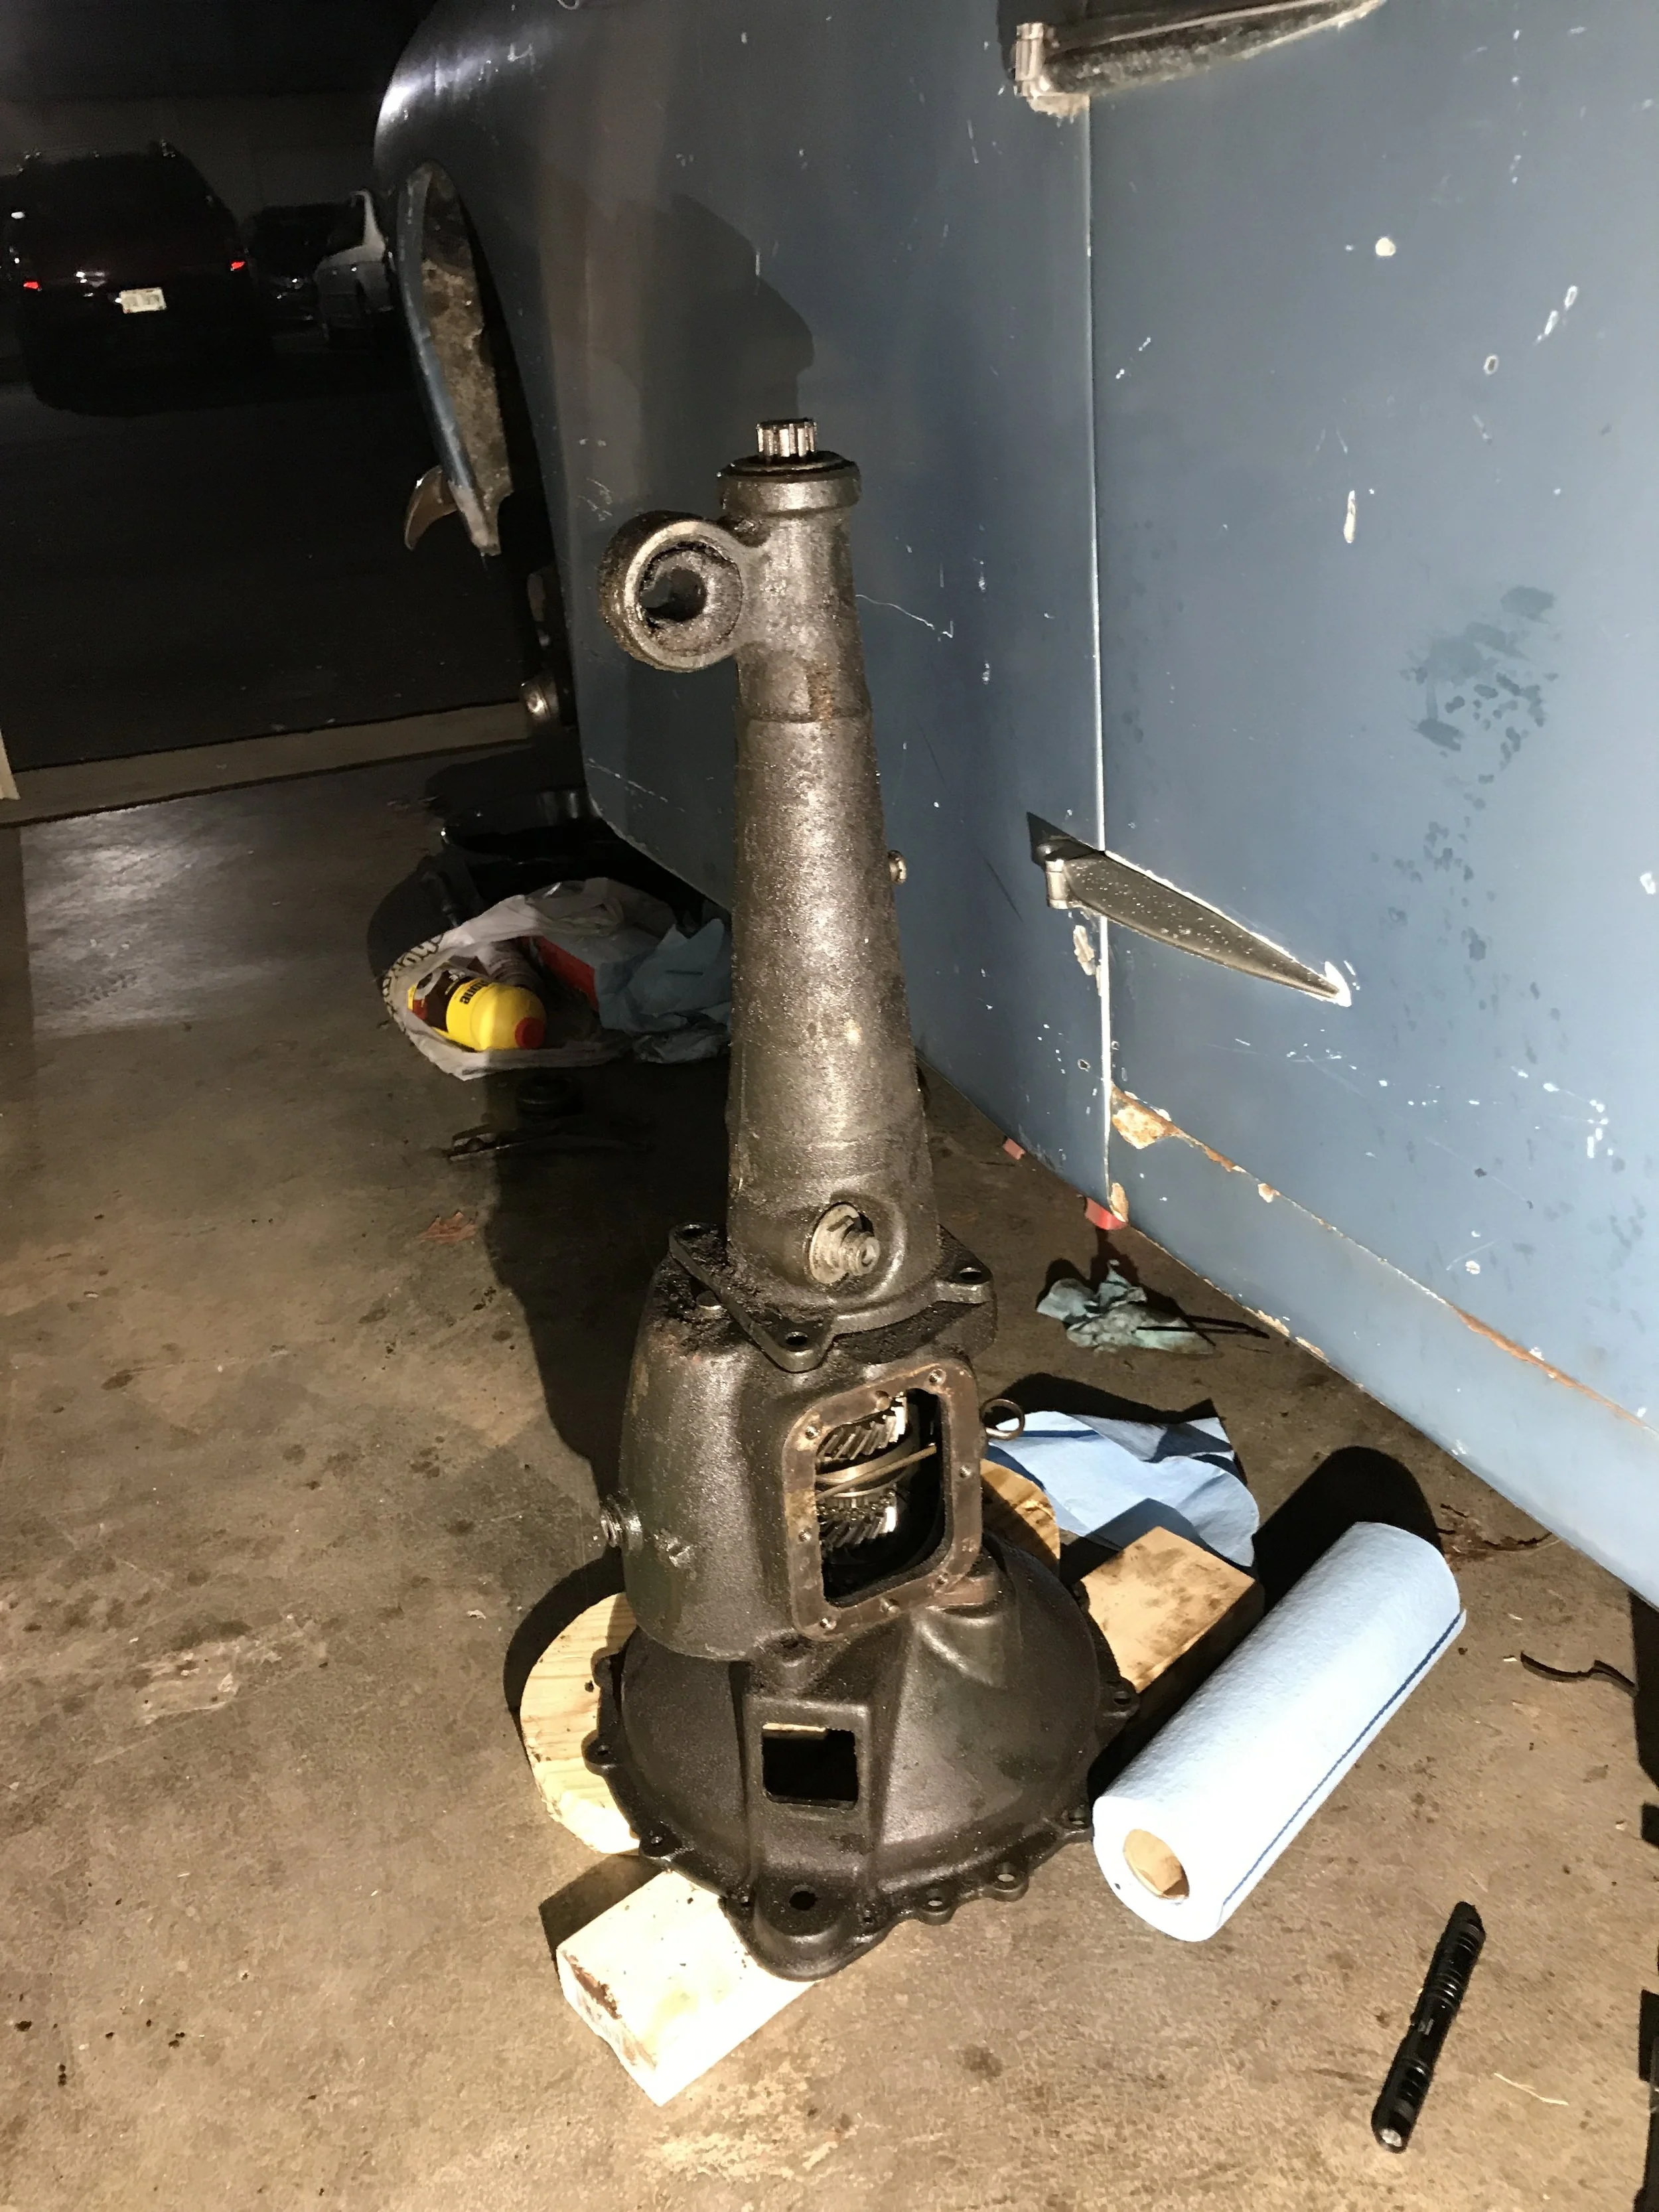
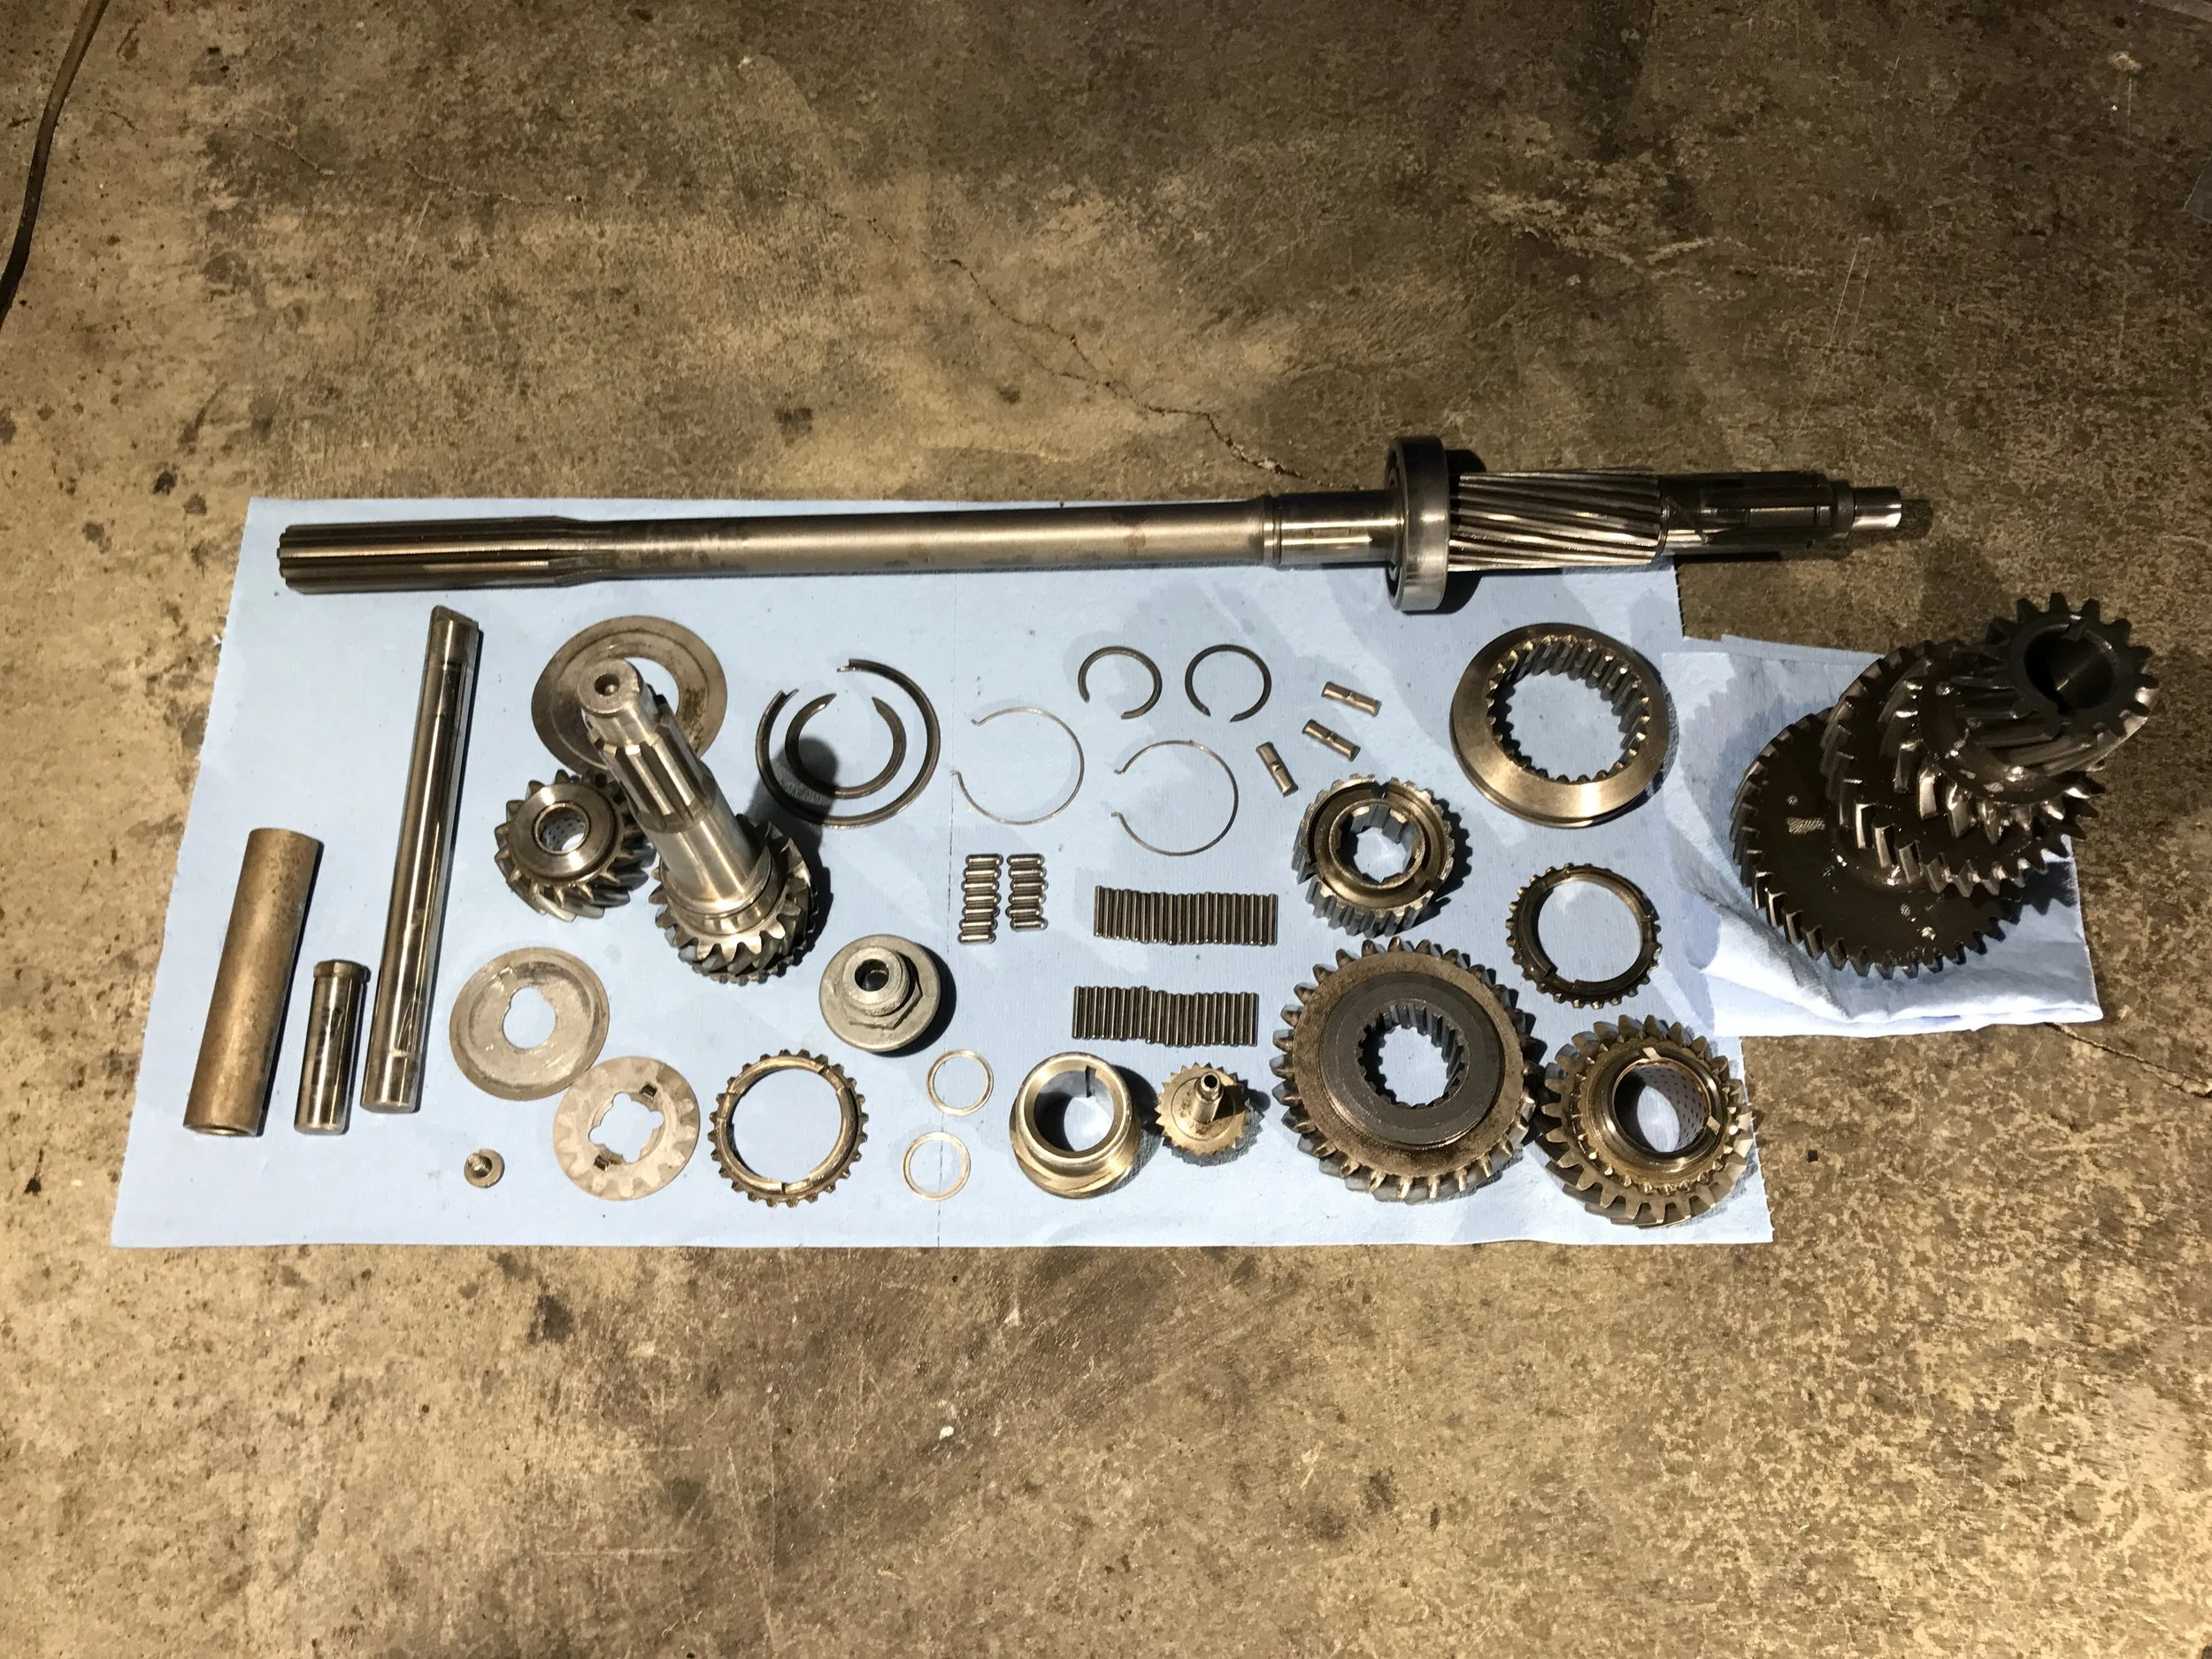
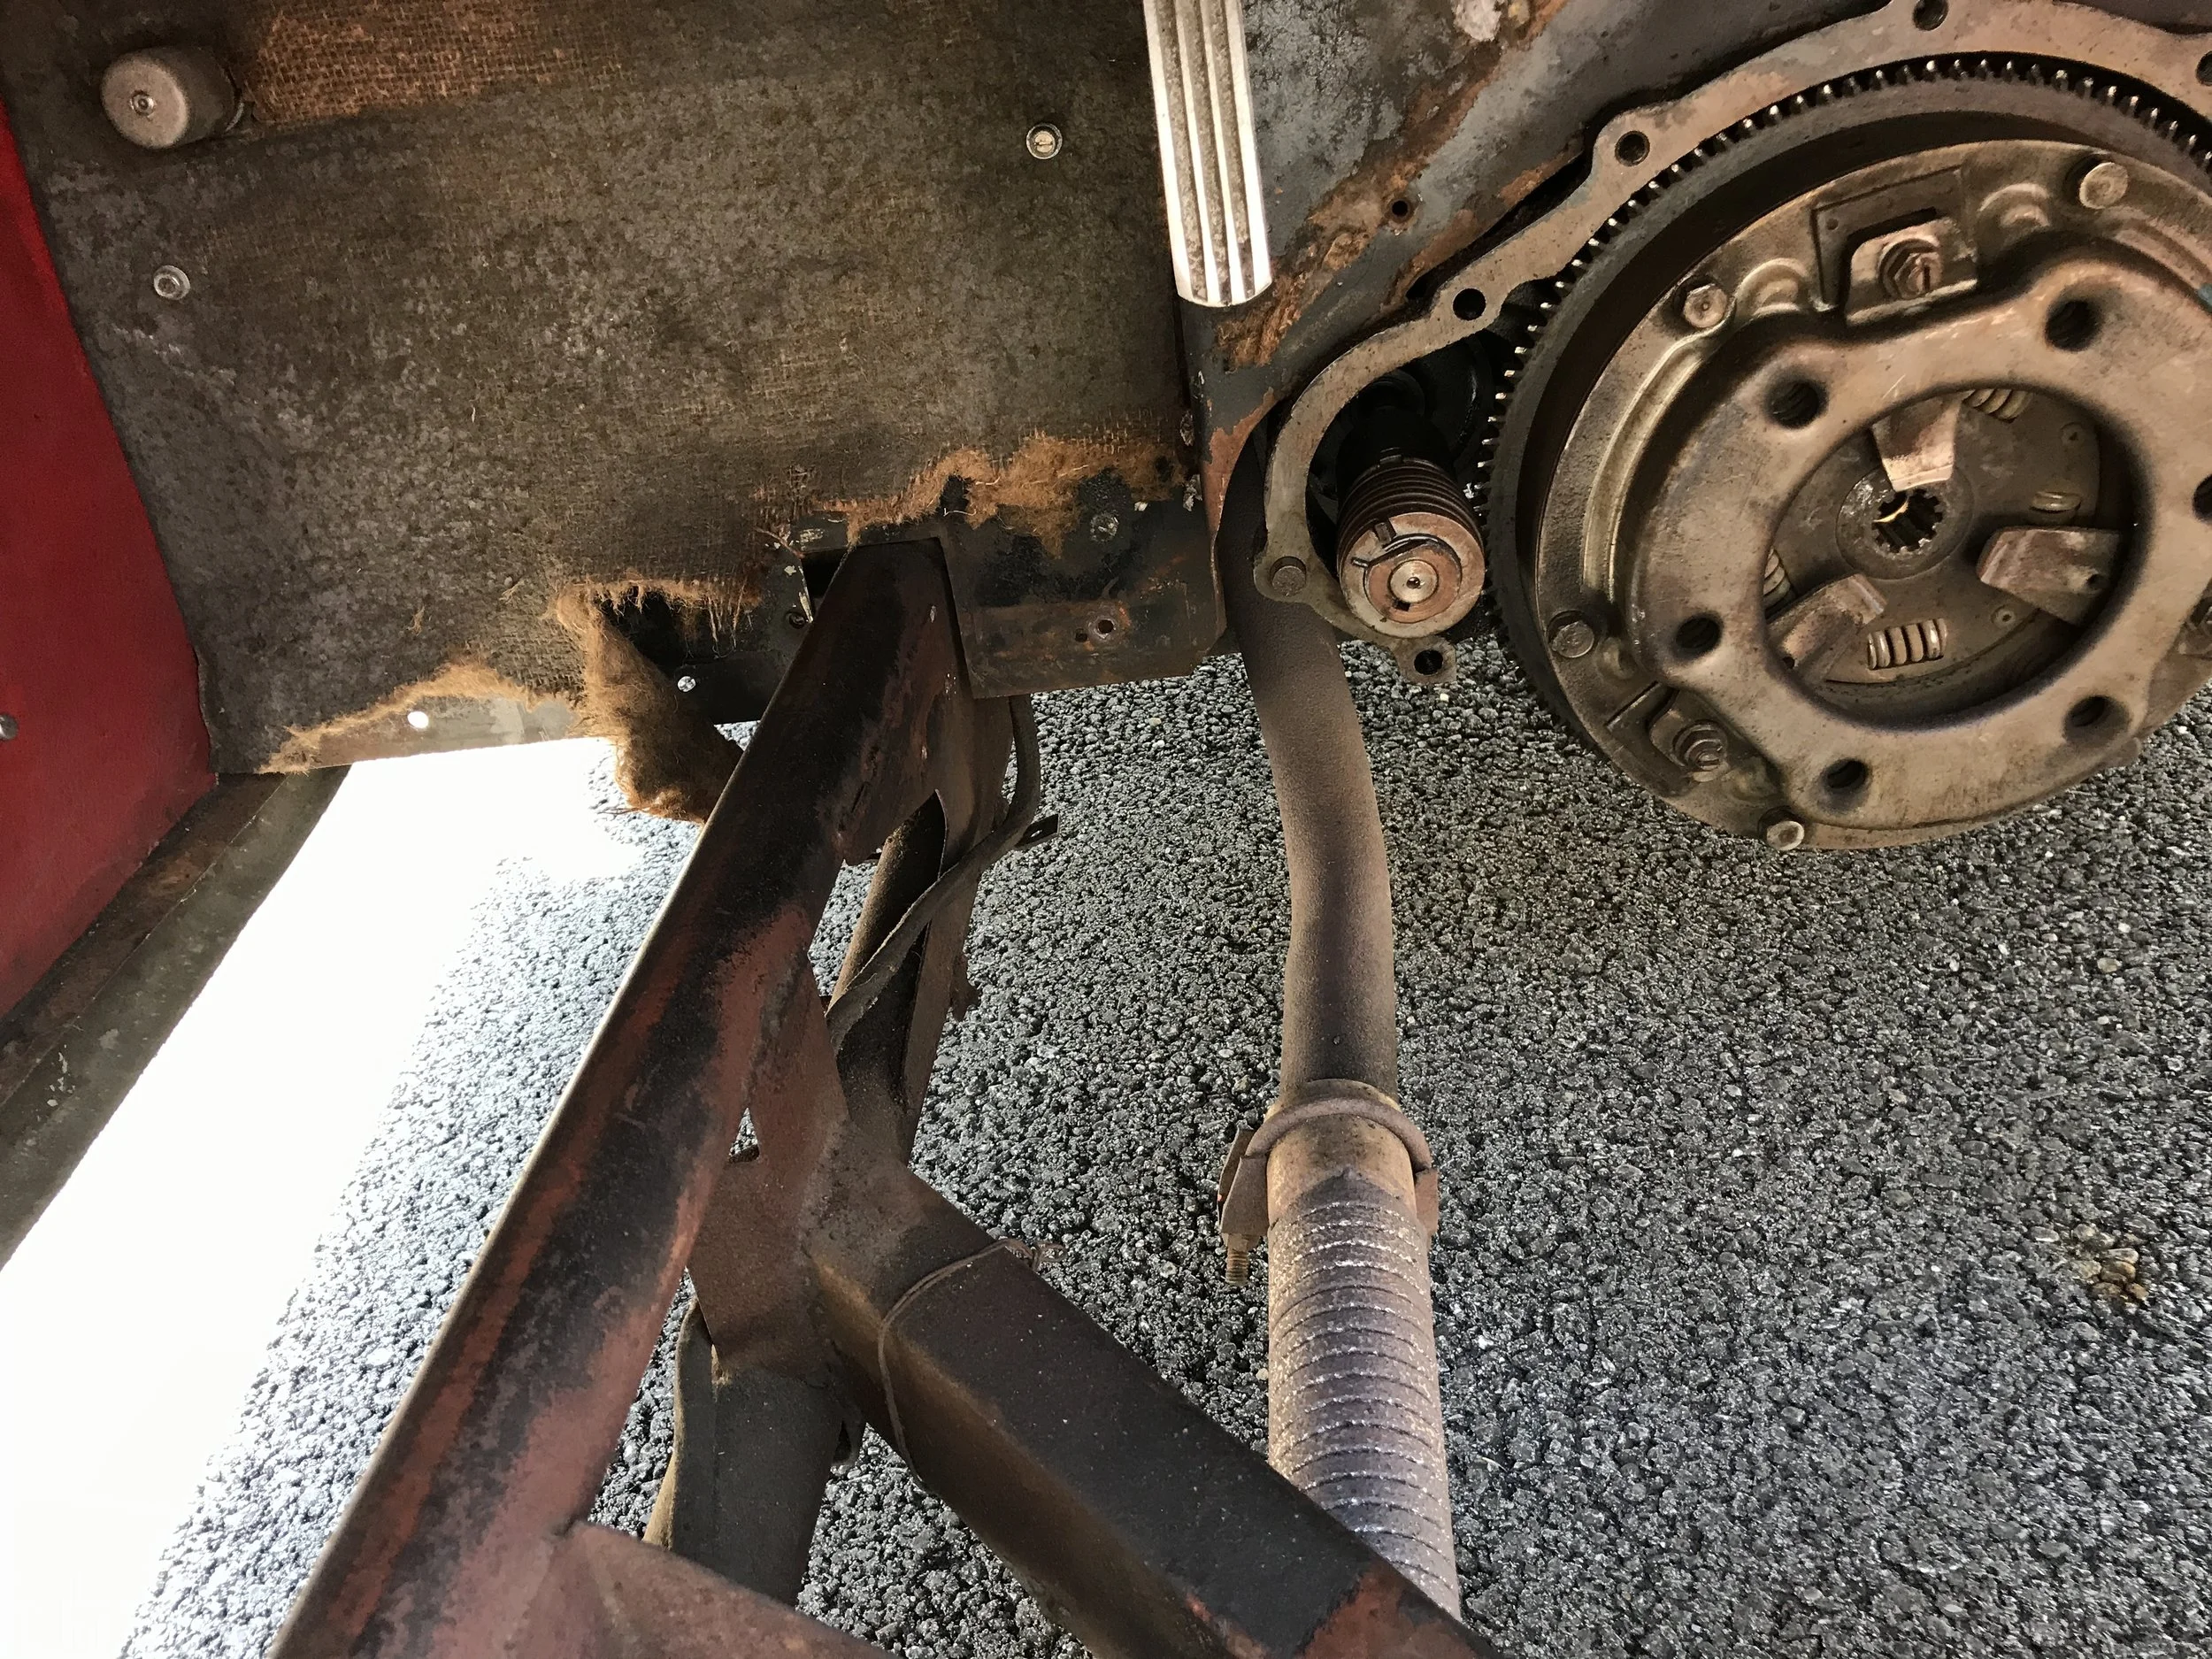
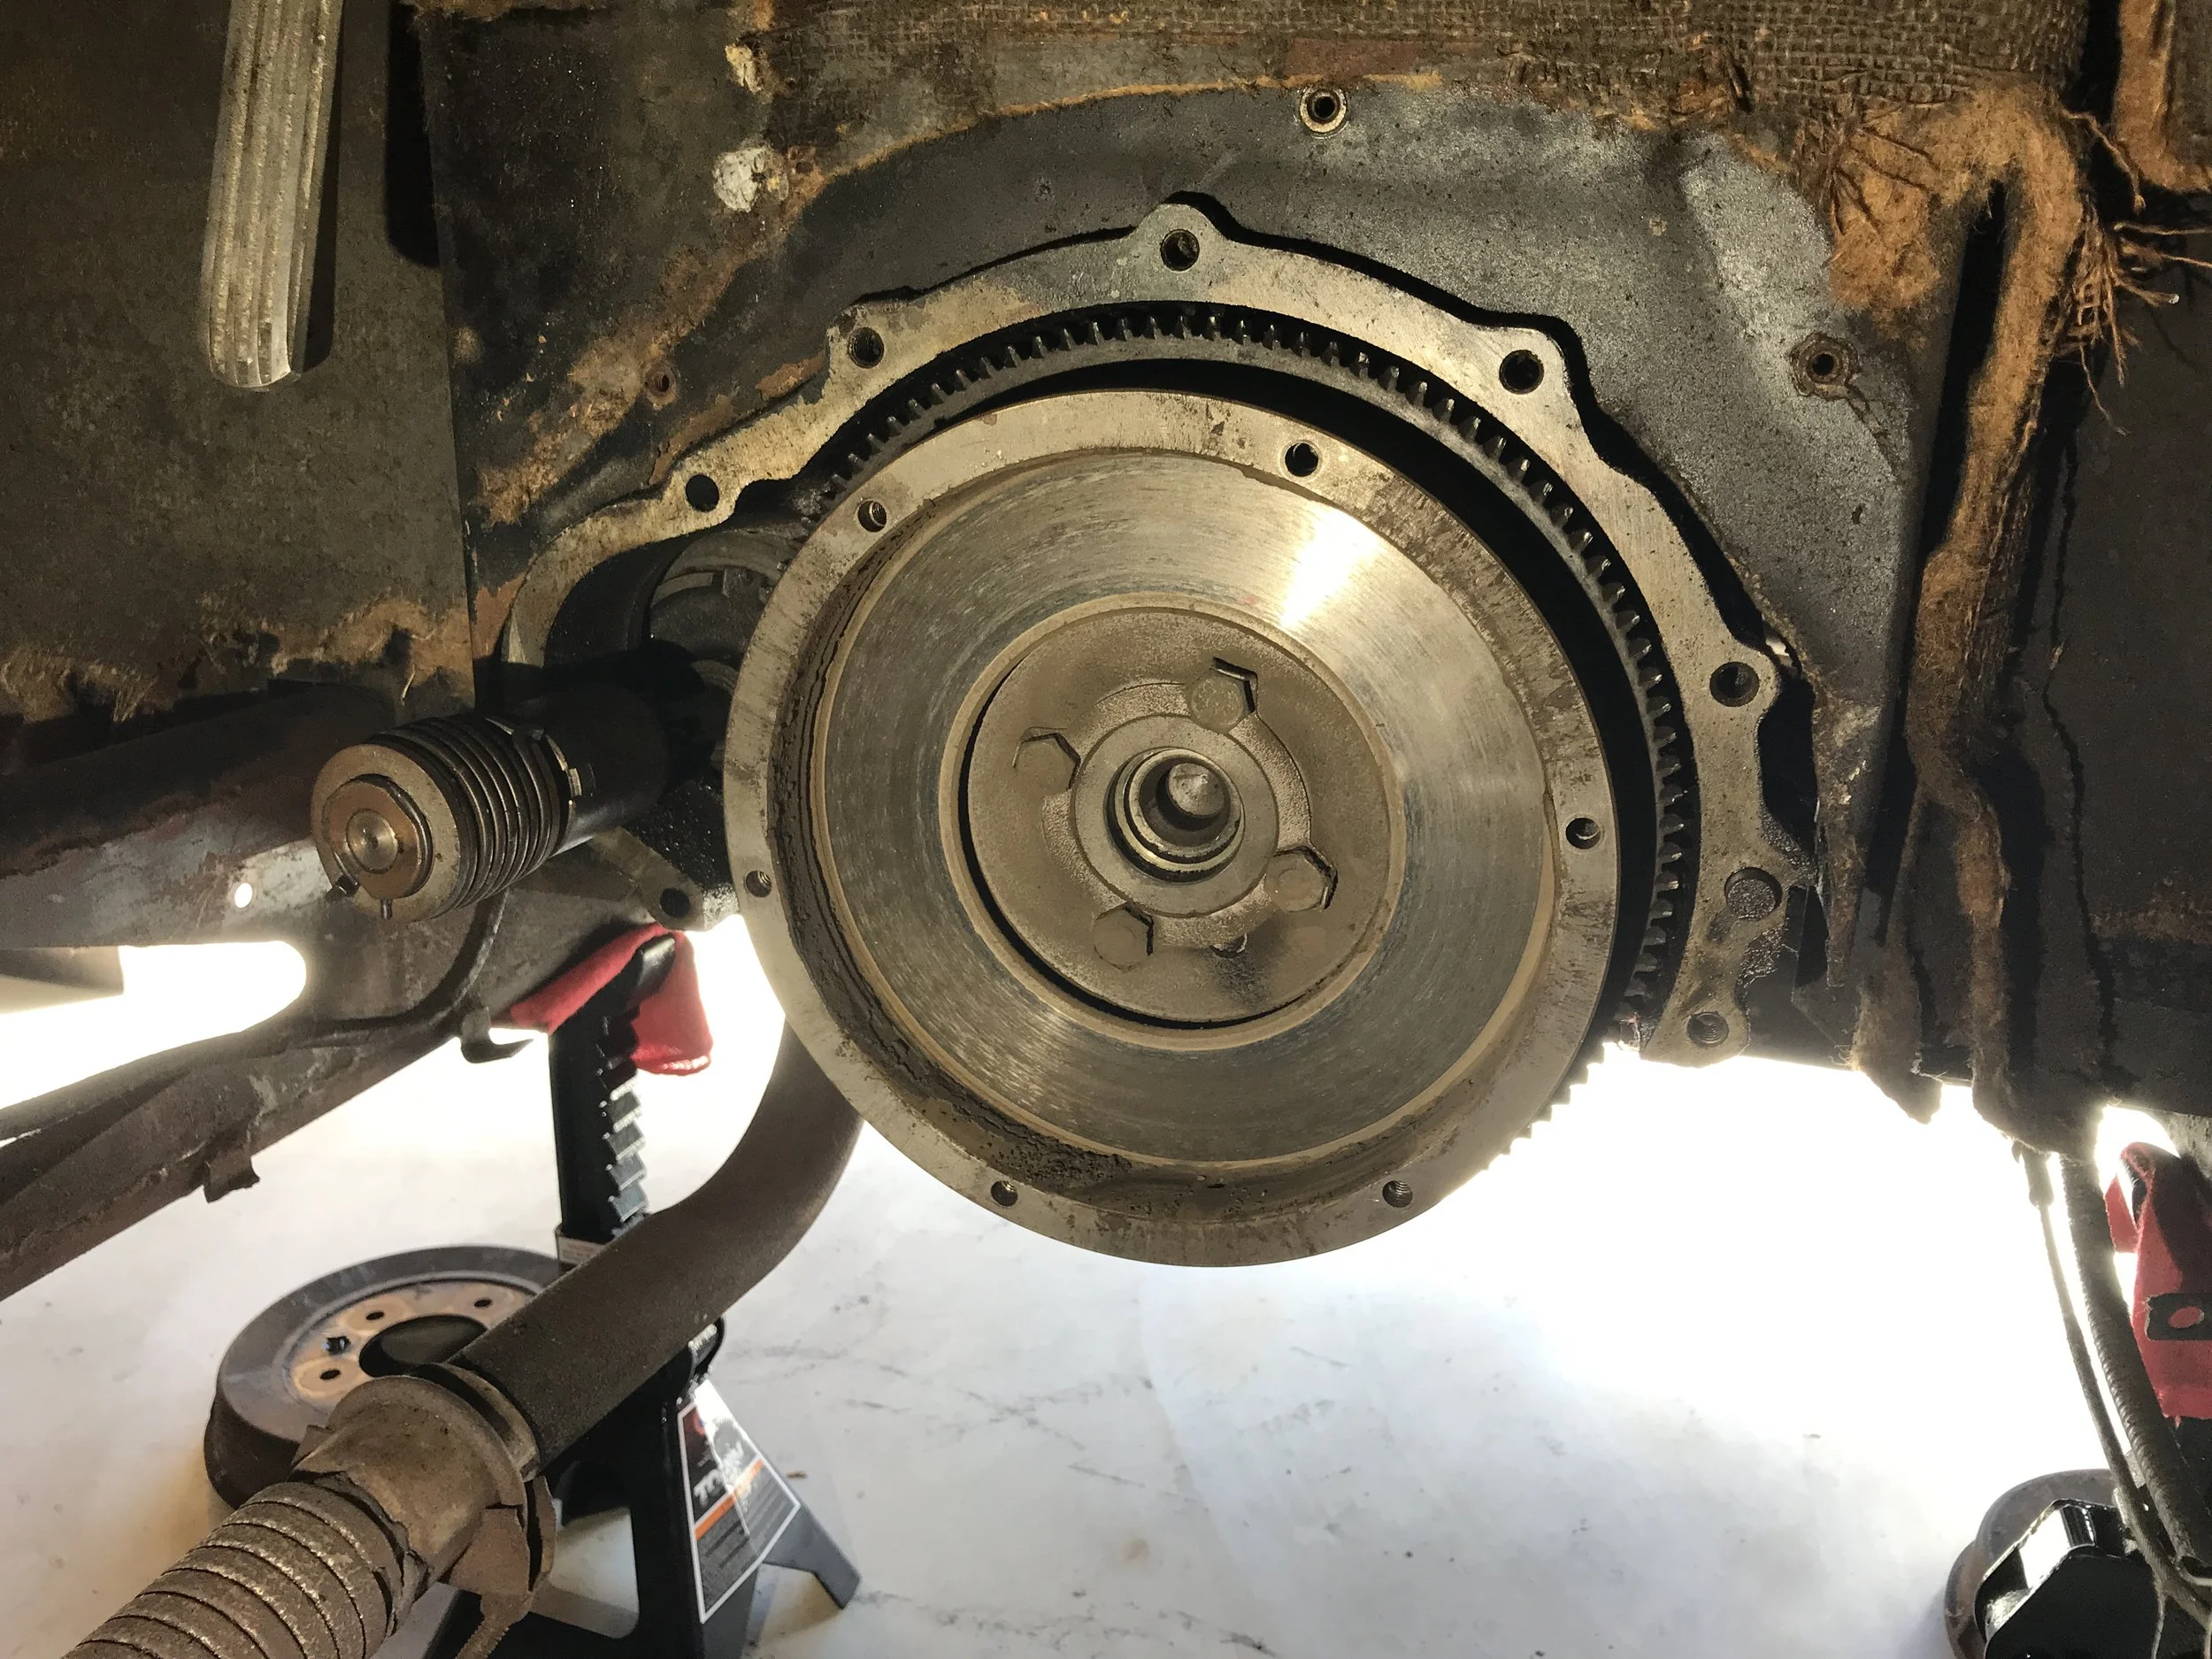
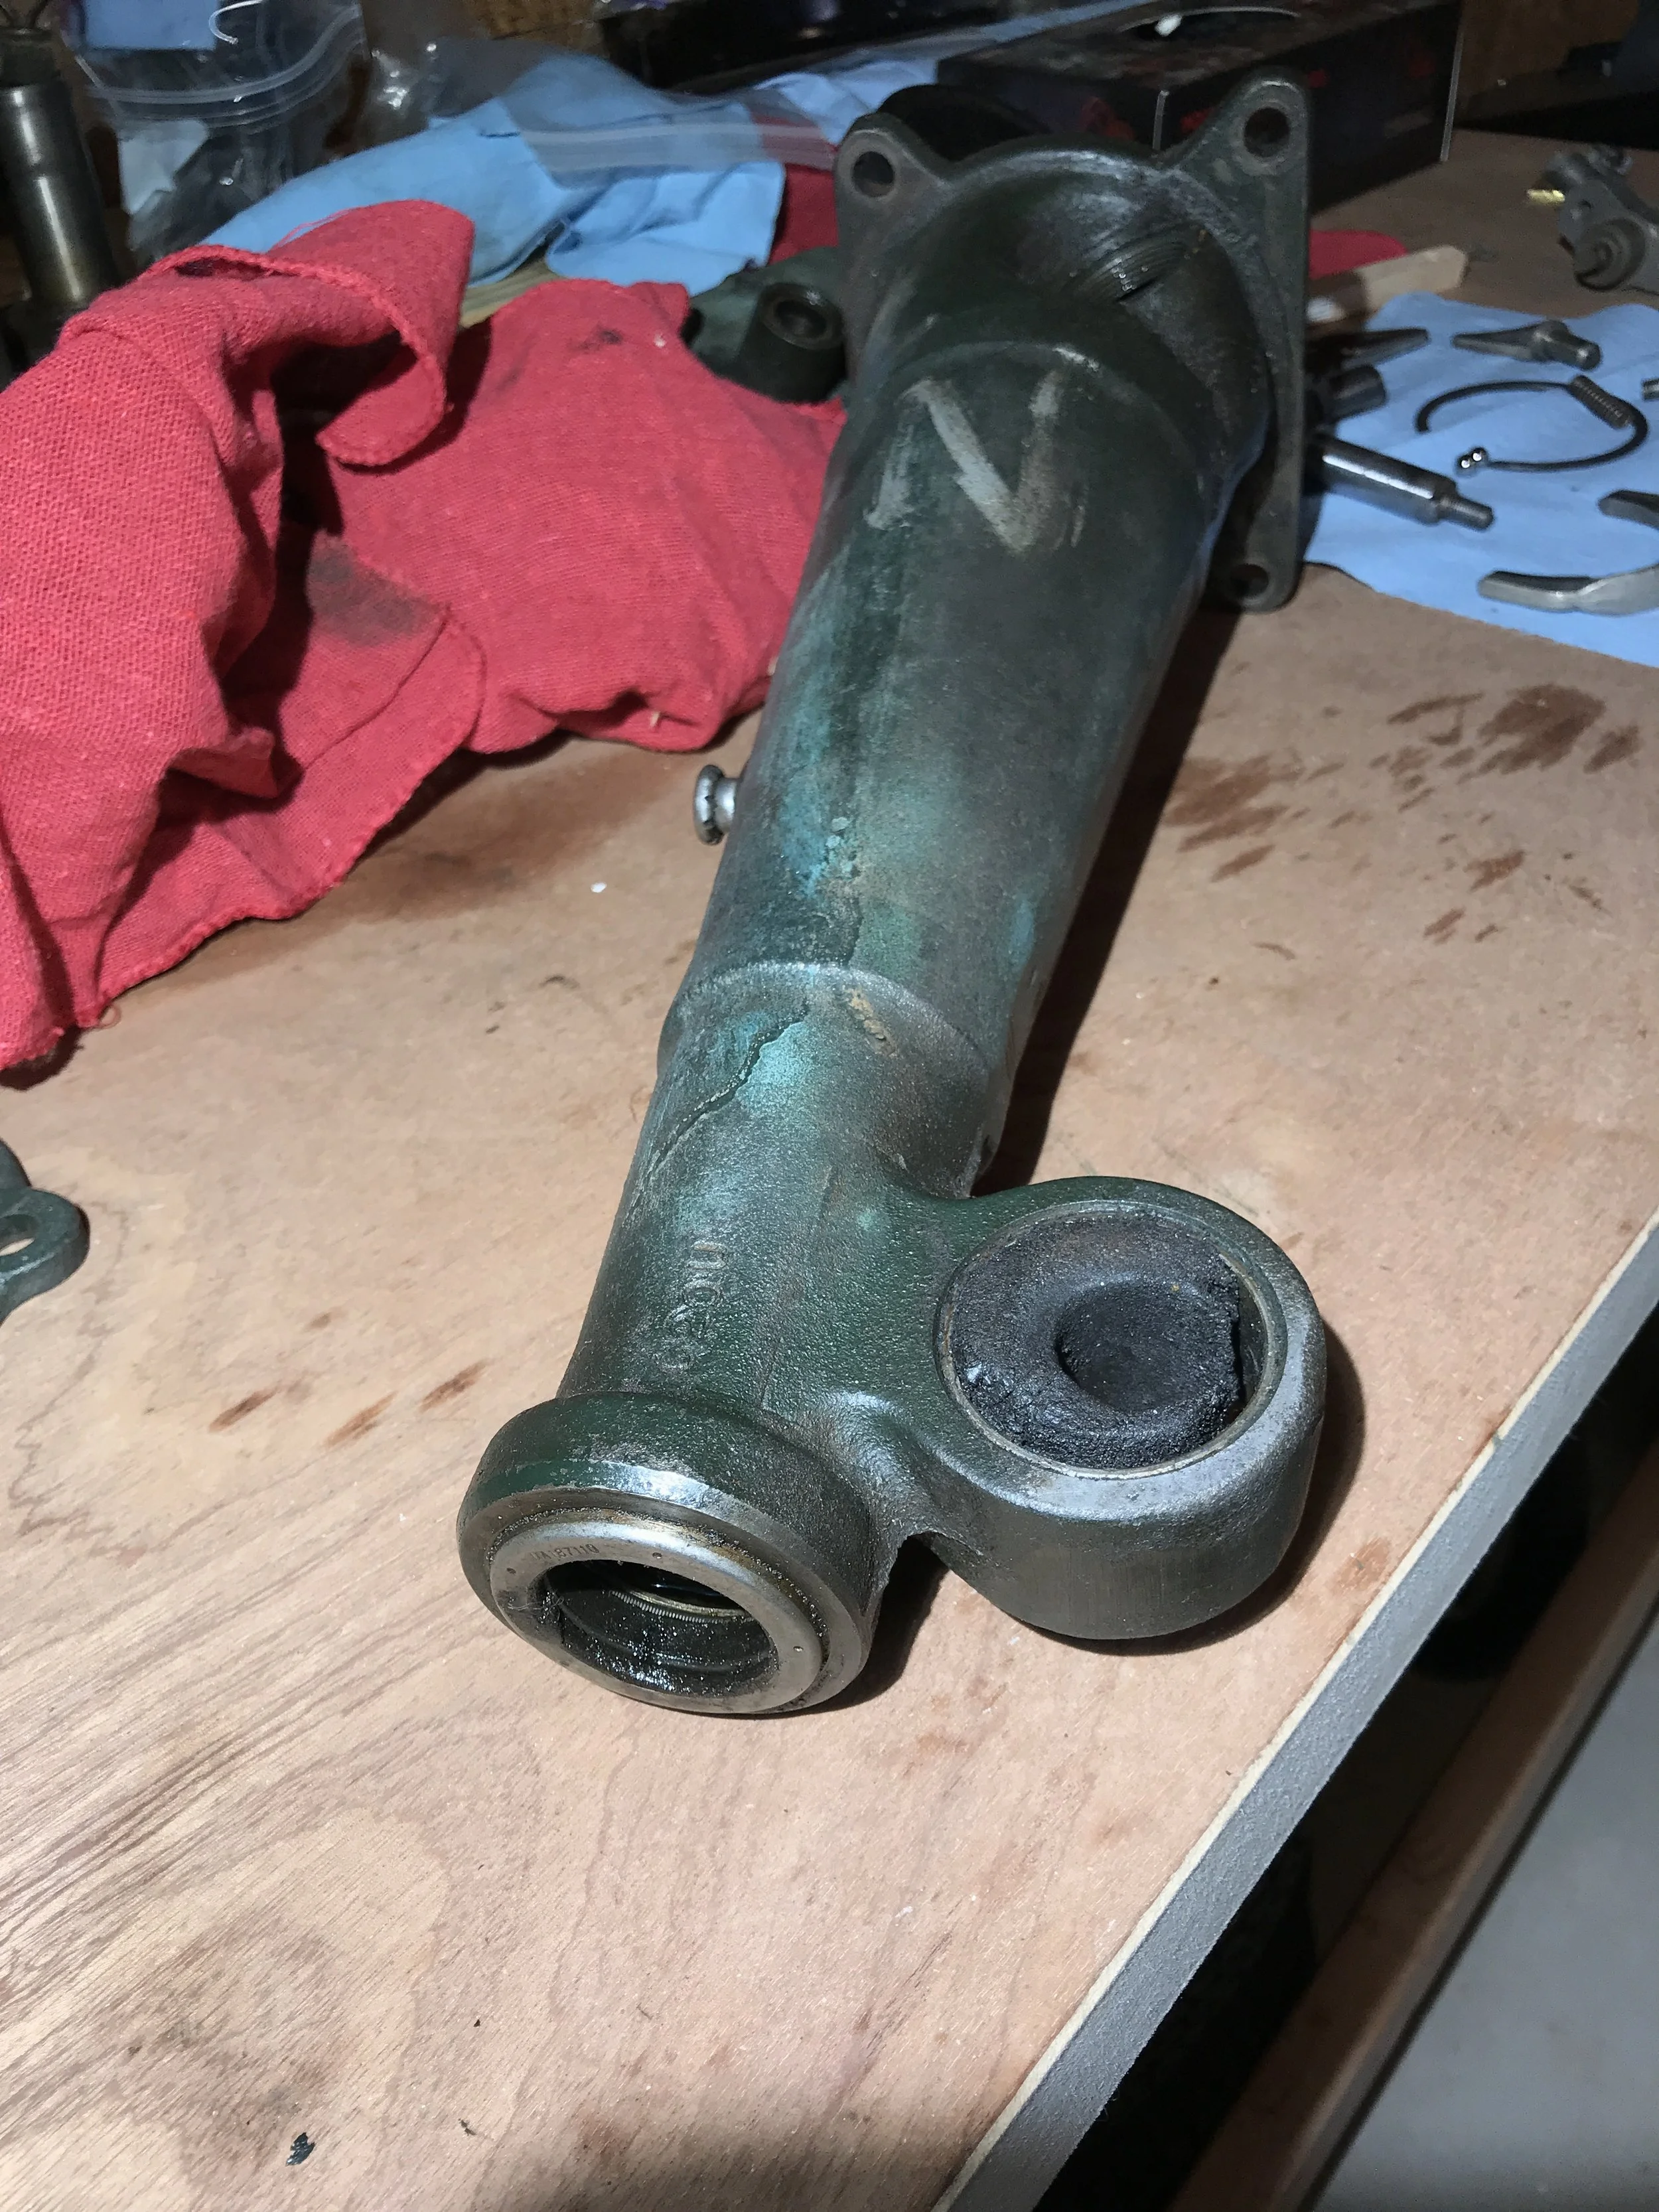
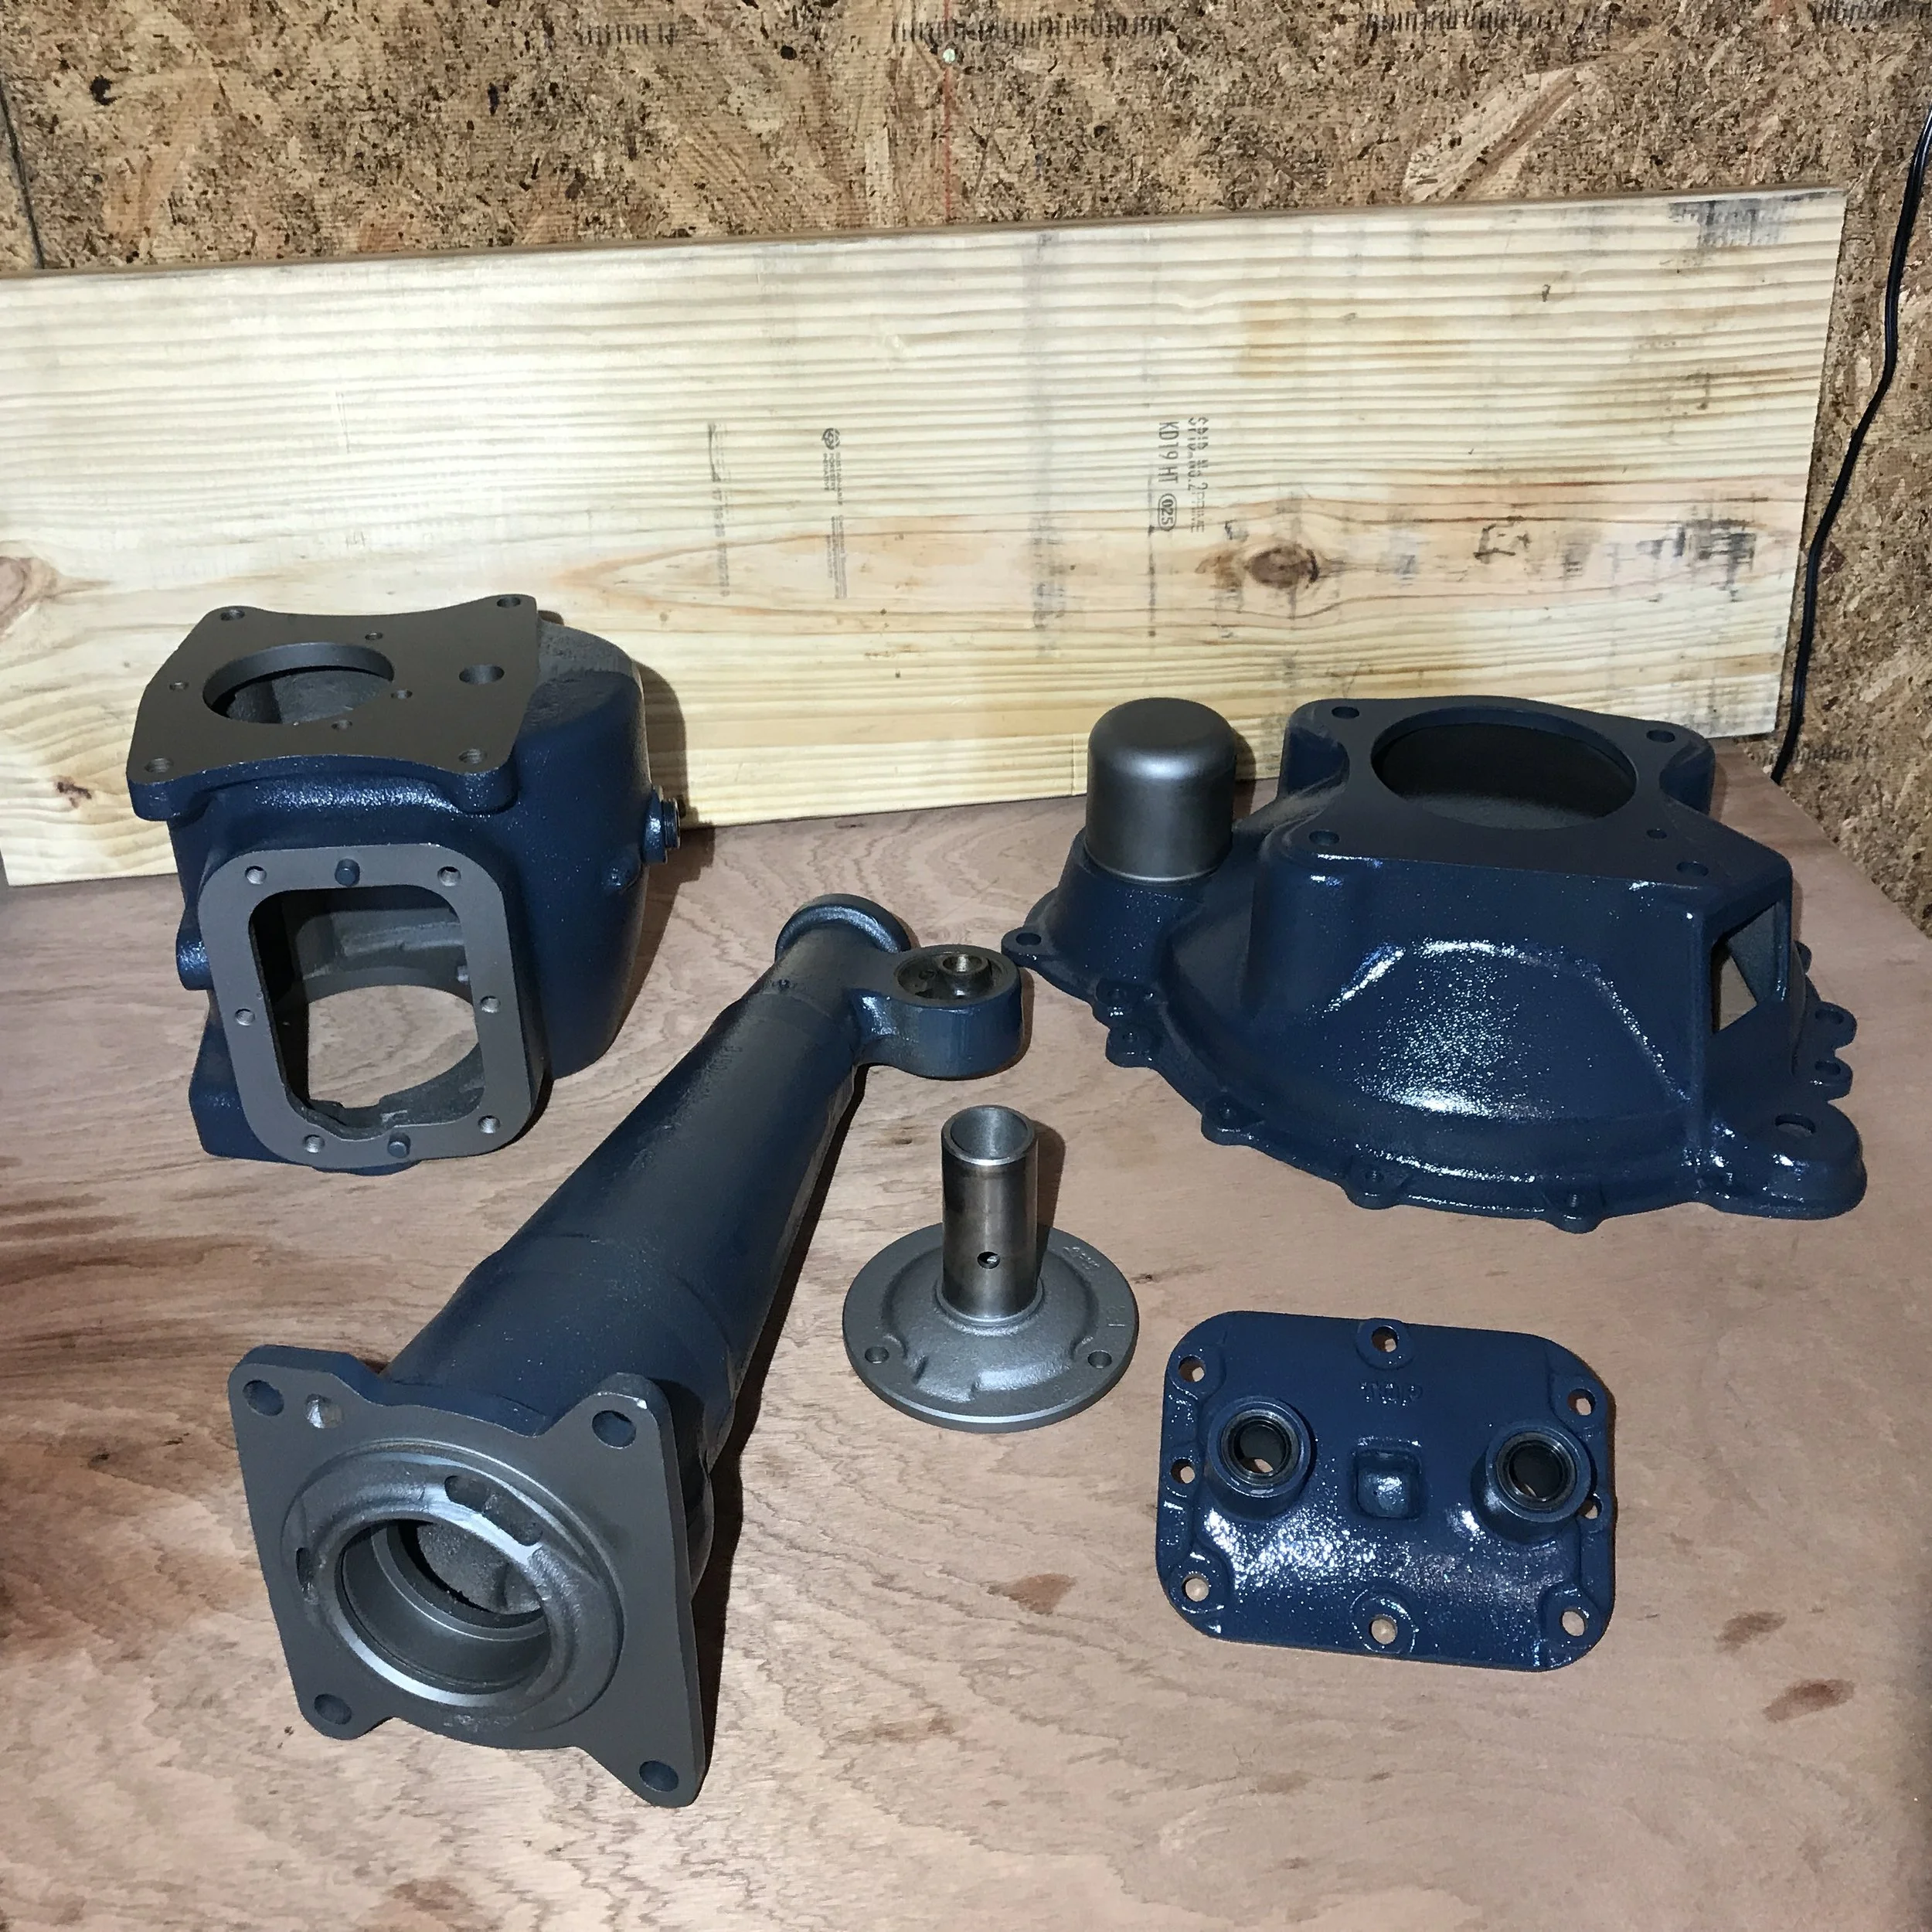
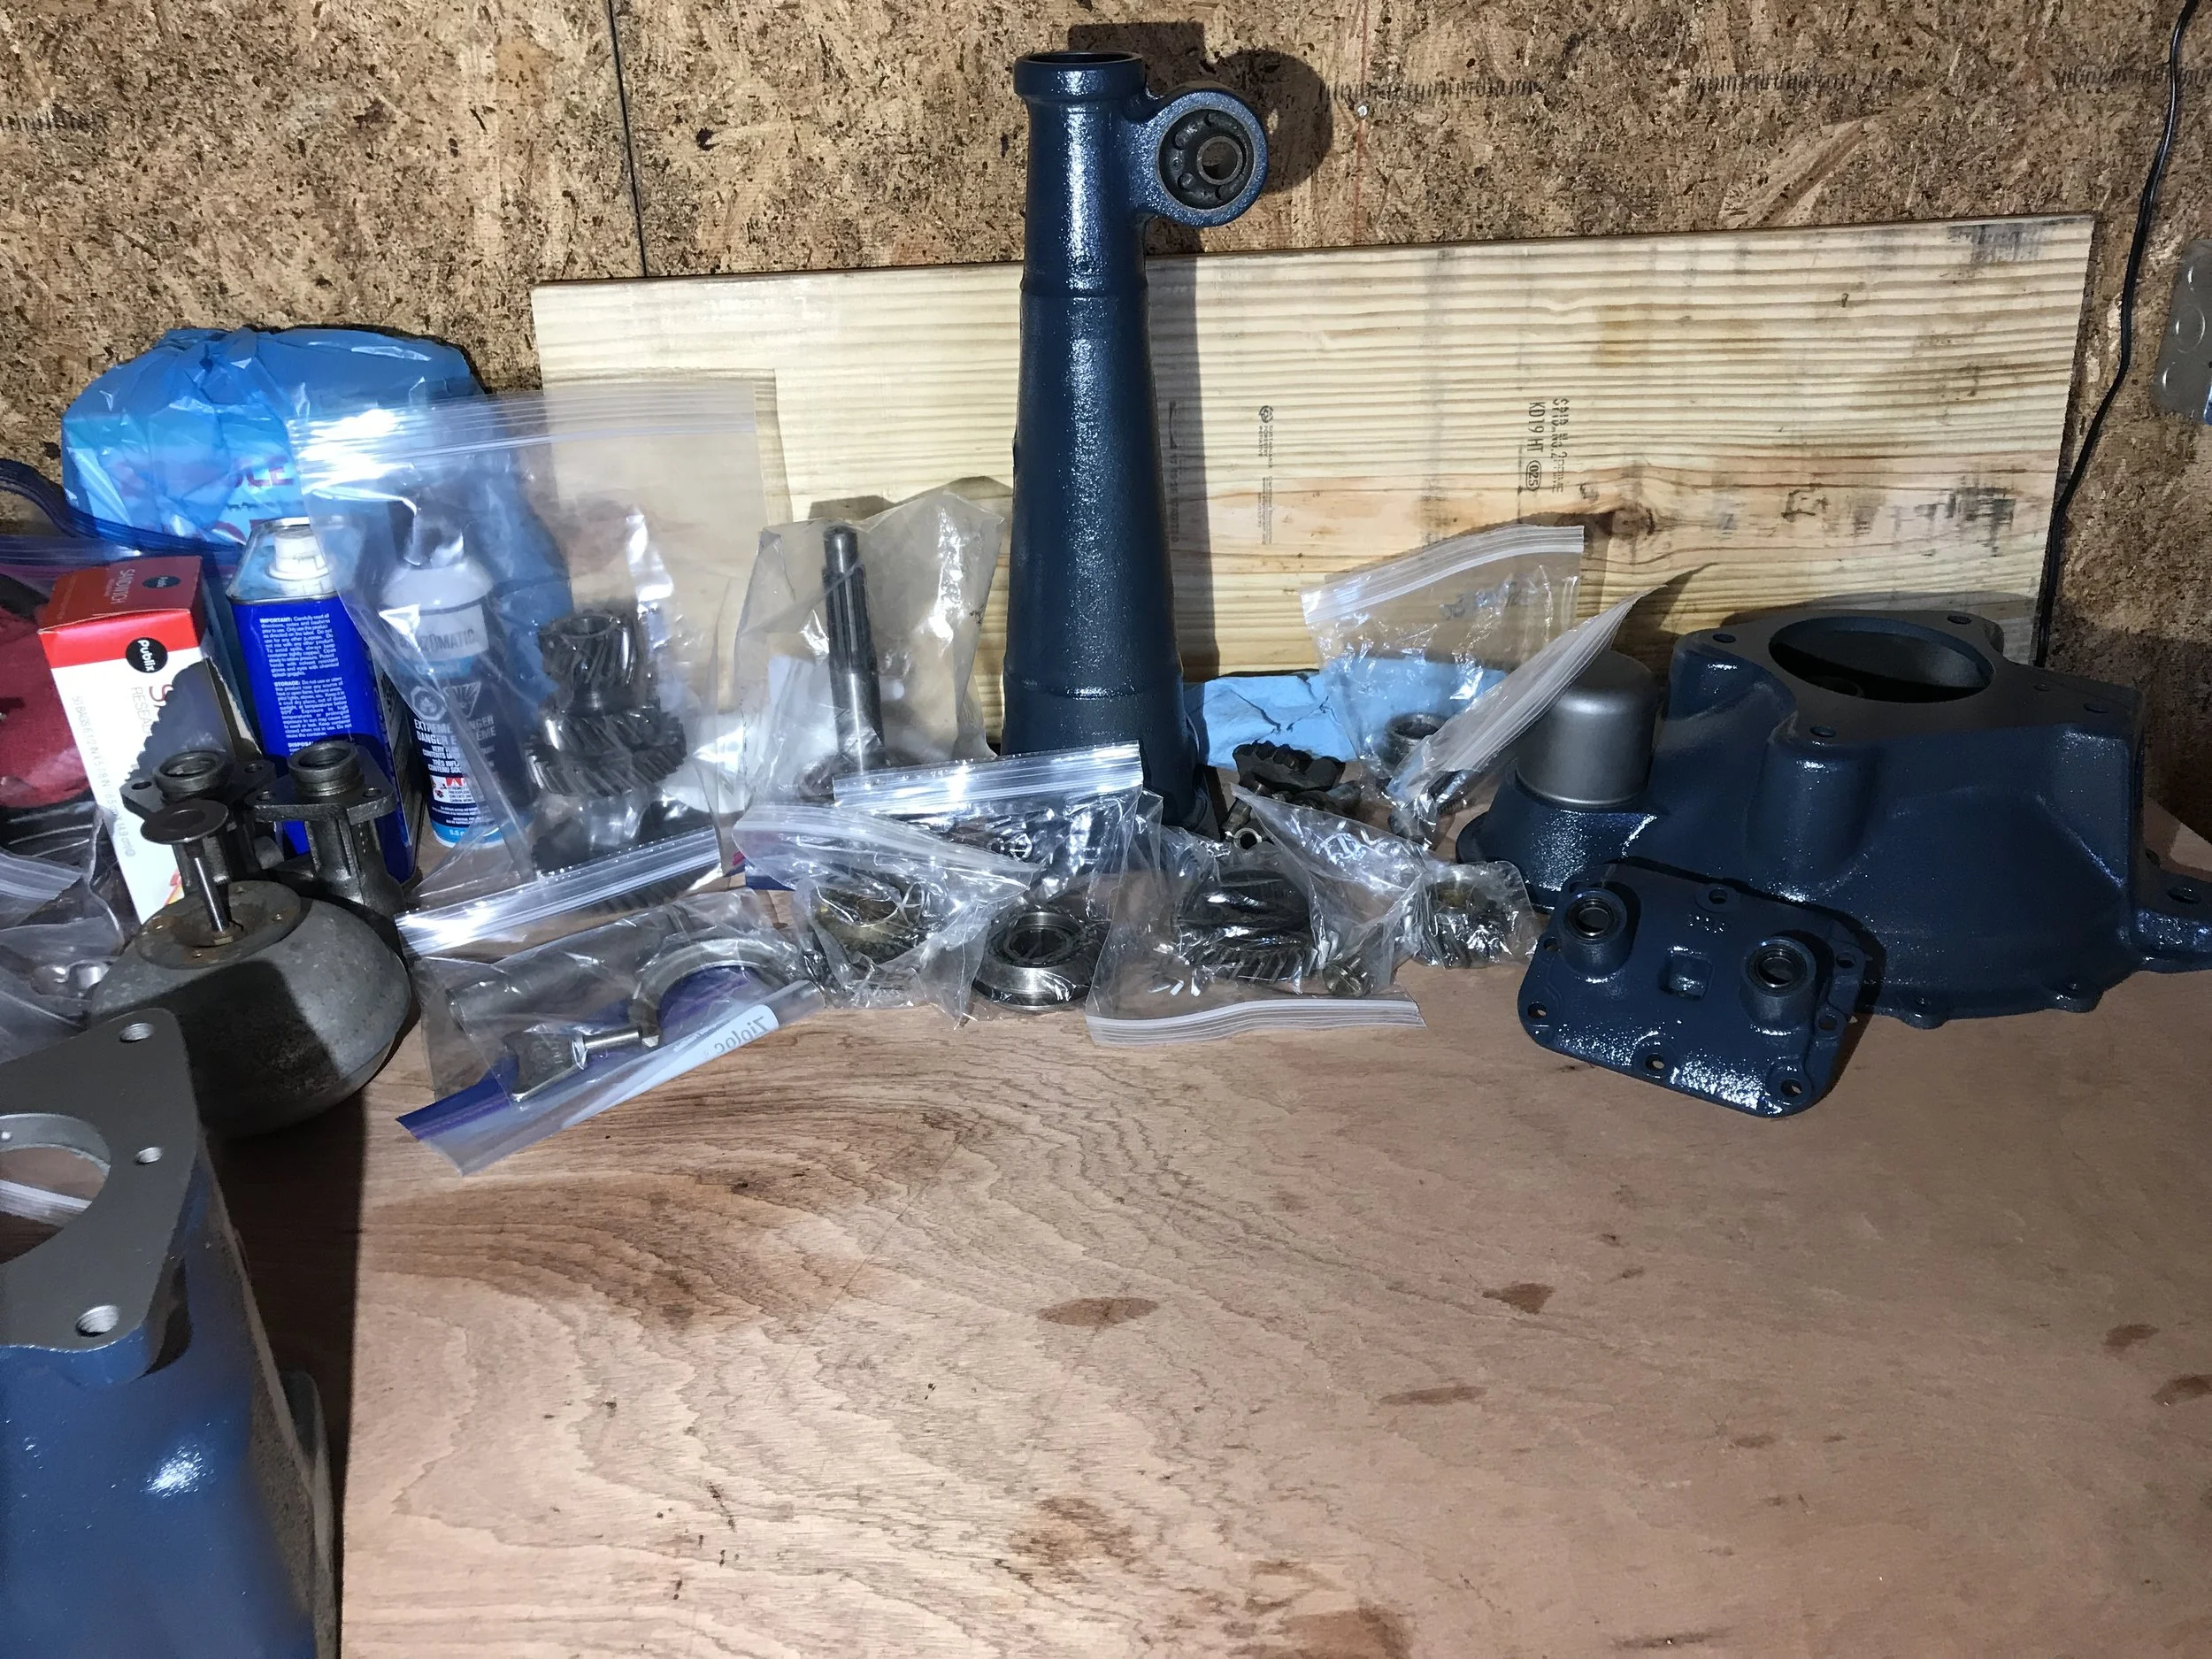
I decided to drop the transmission, since it was leaking - there was oily grime all over the chassis around the transmission, and it was completely empty of fluid.
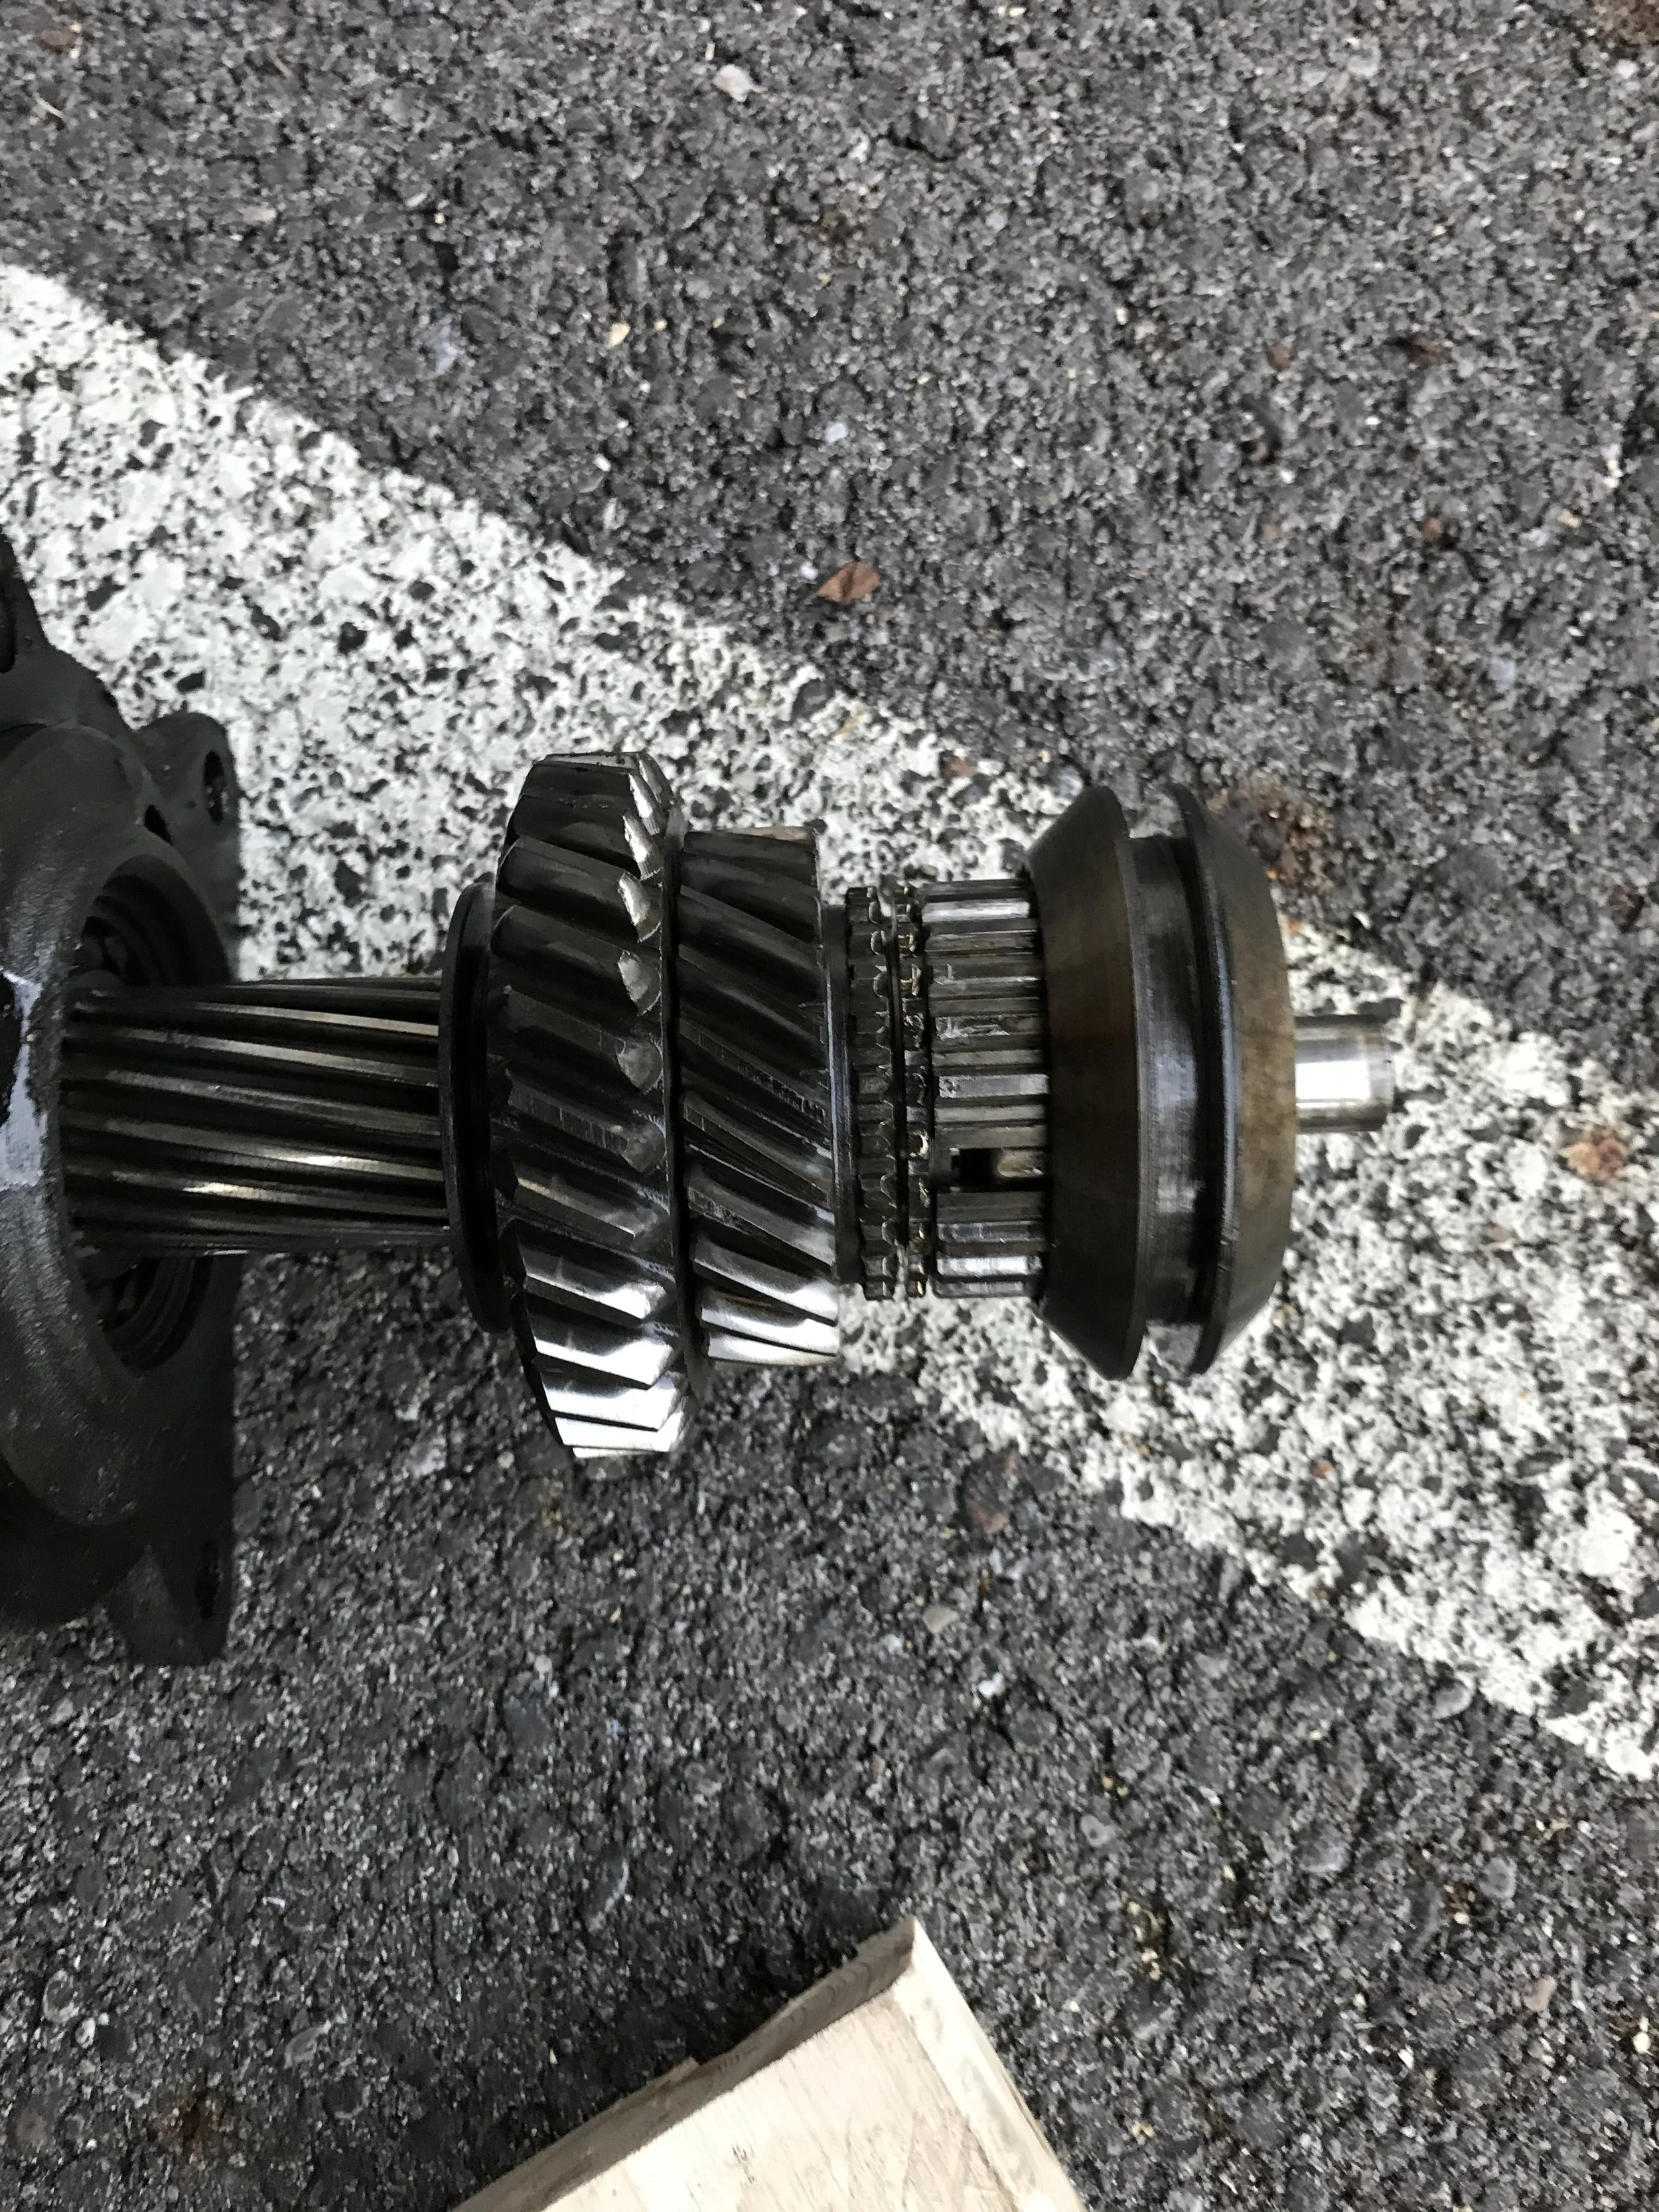
Main Drive Gears
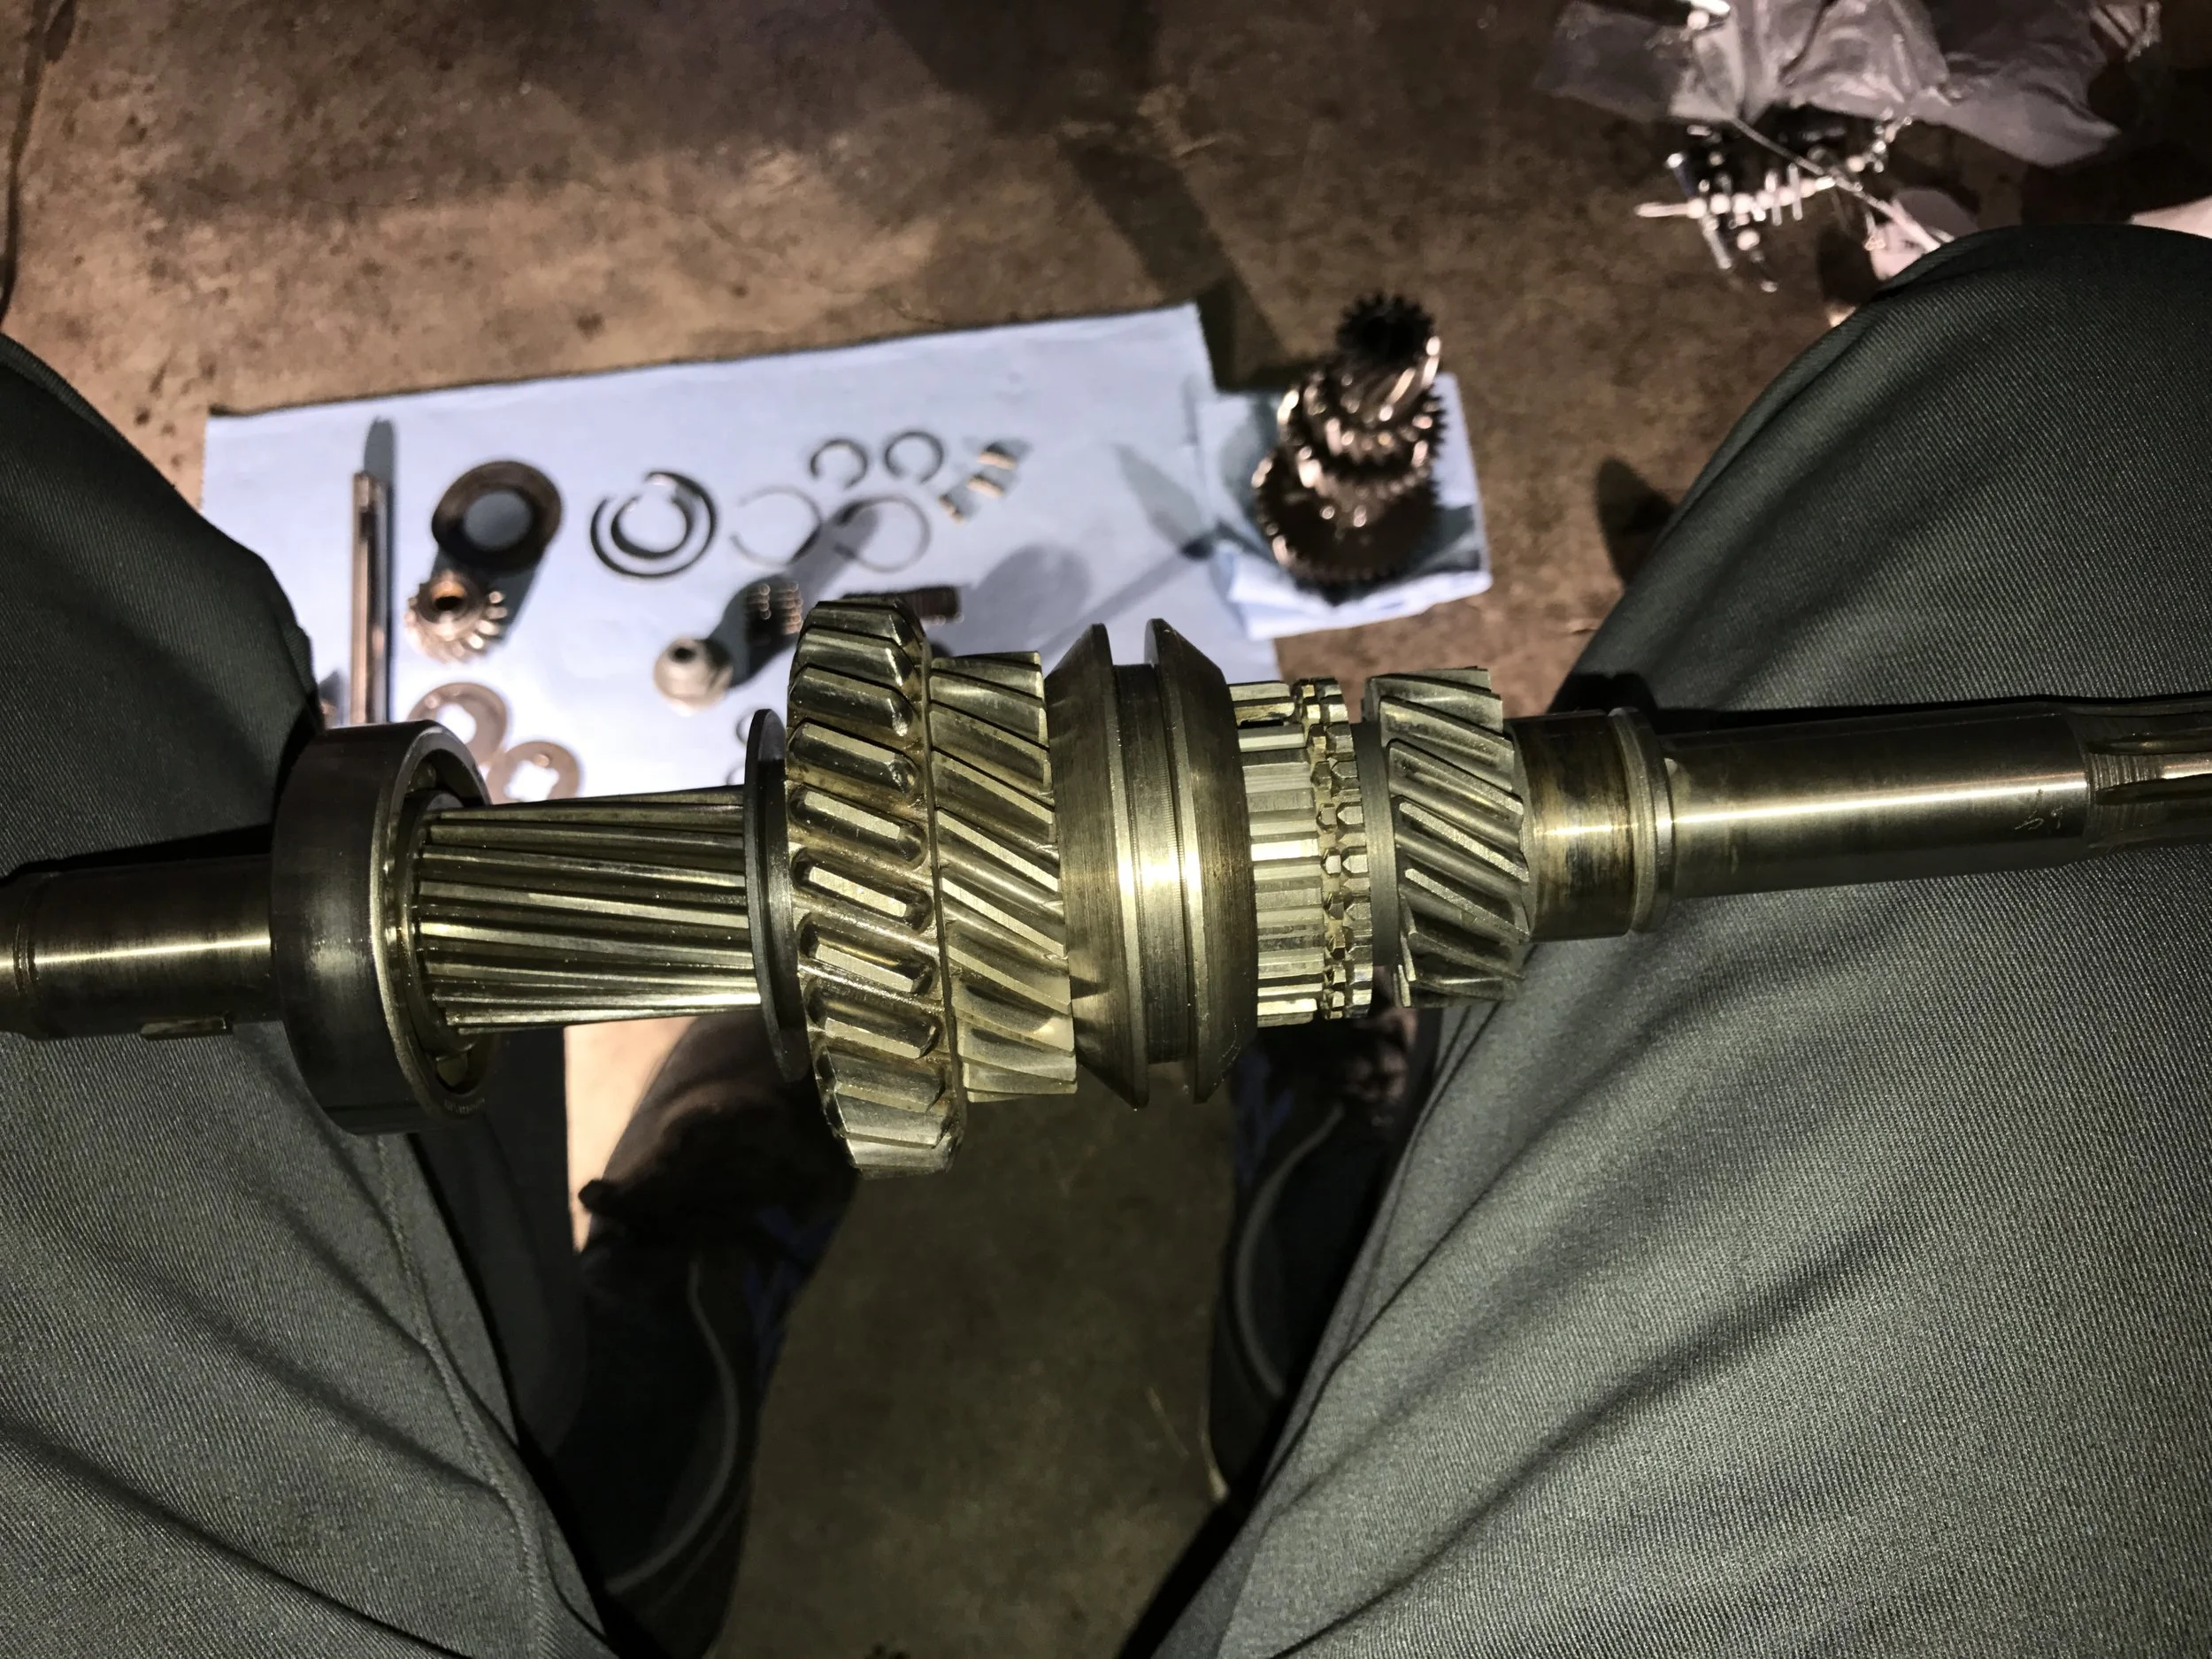
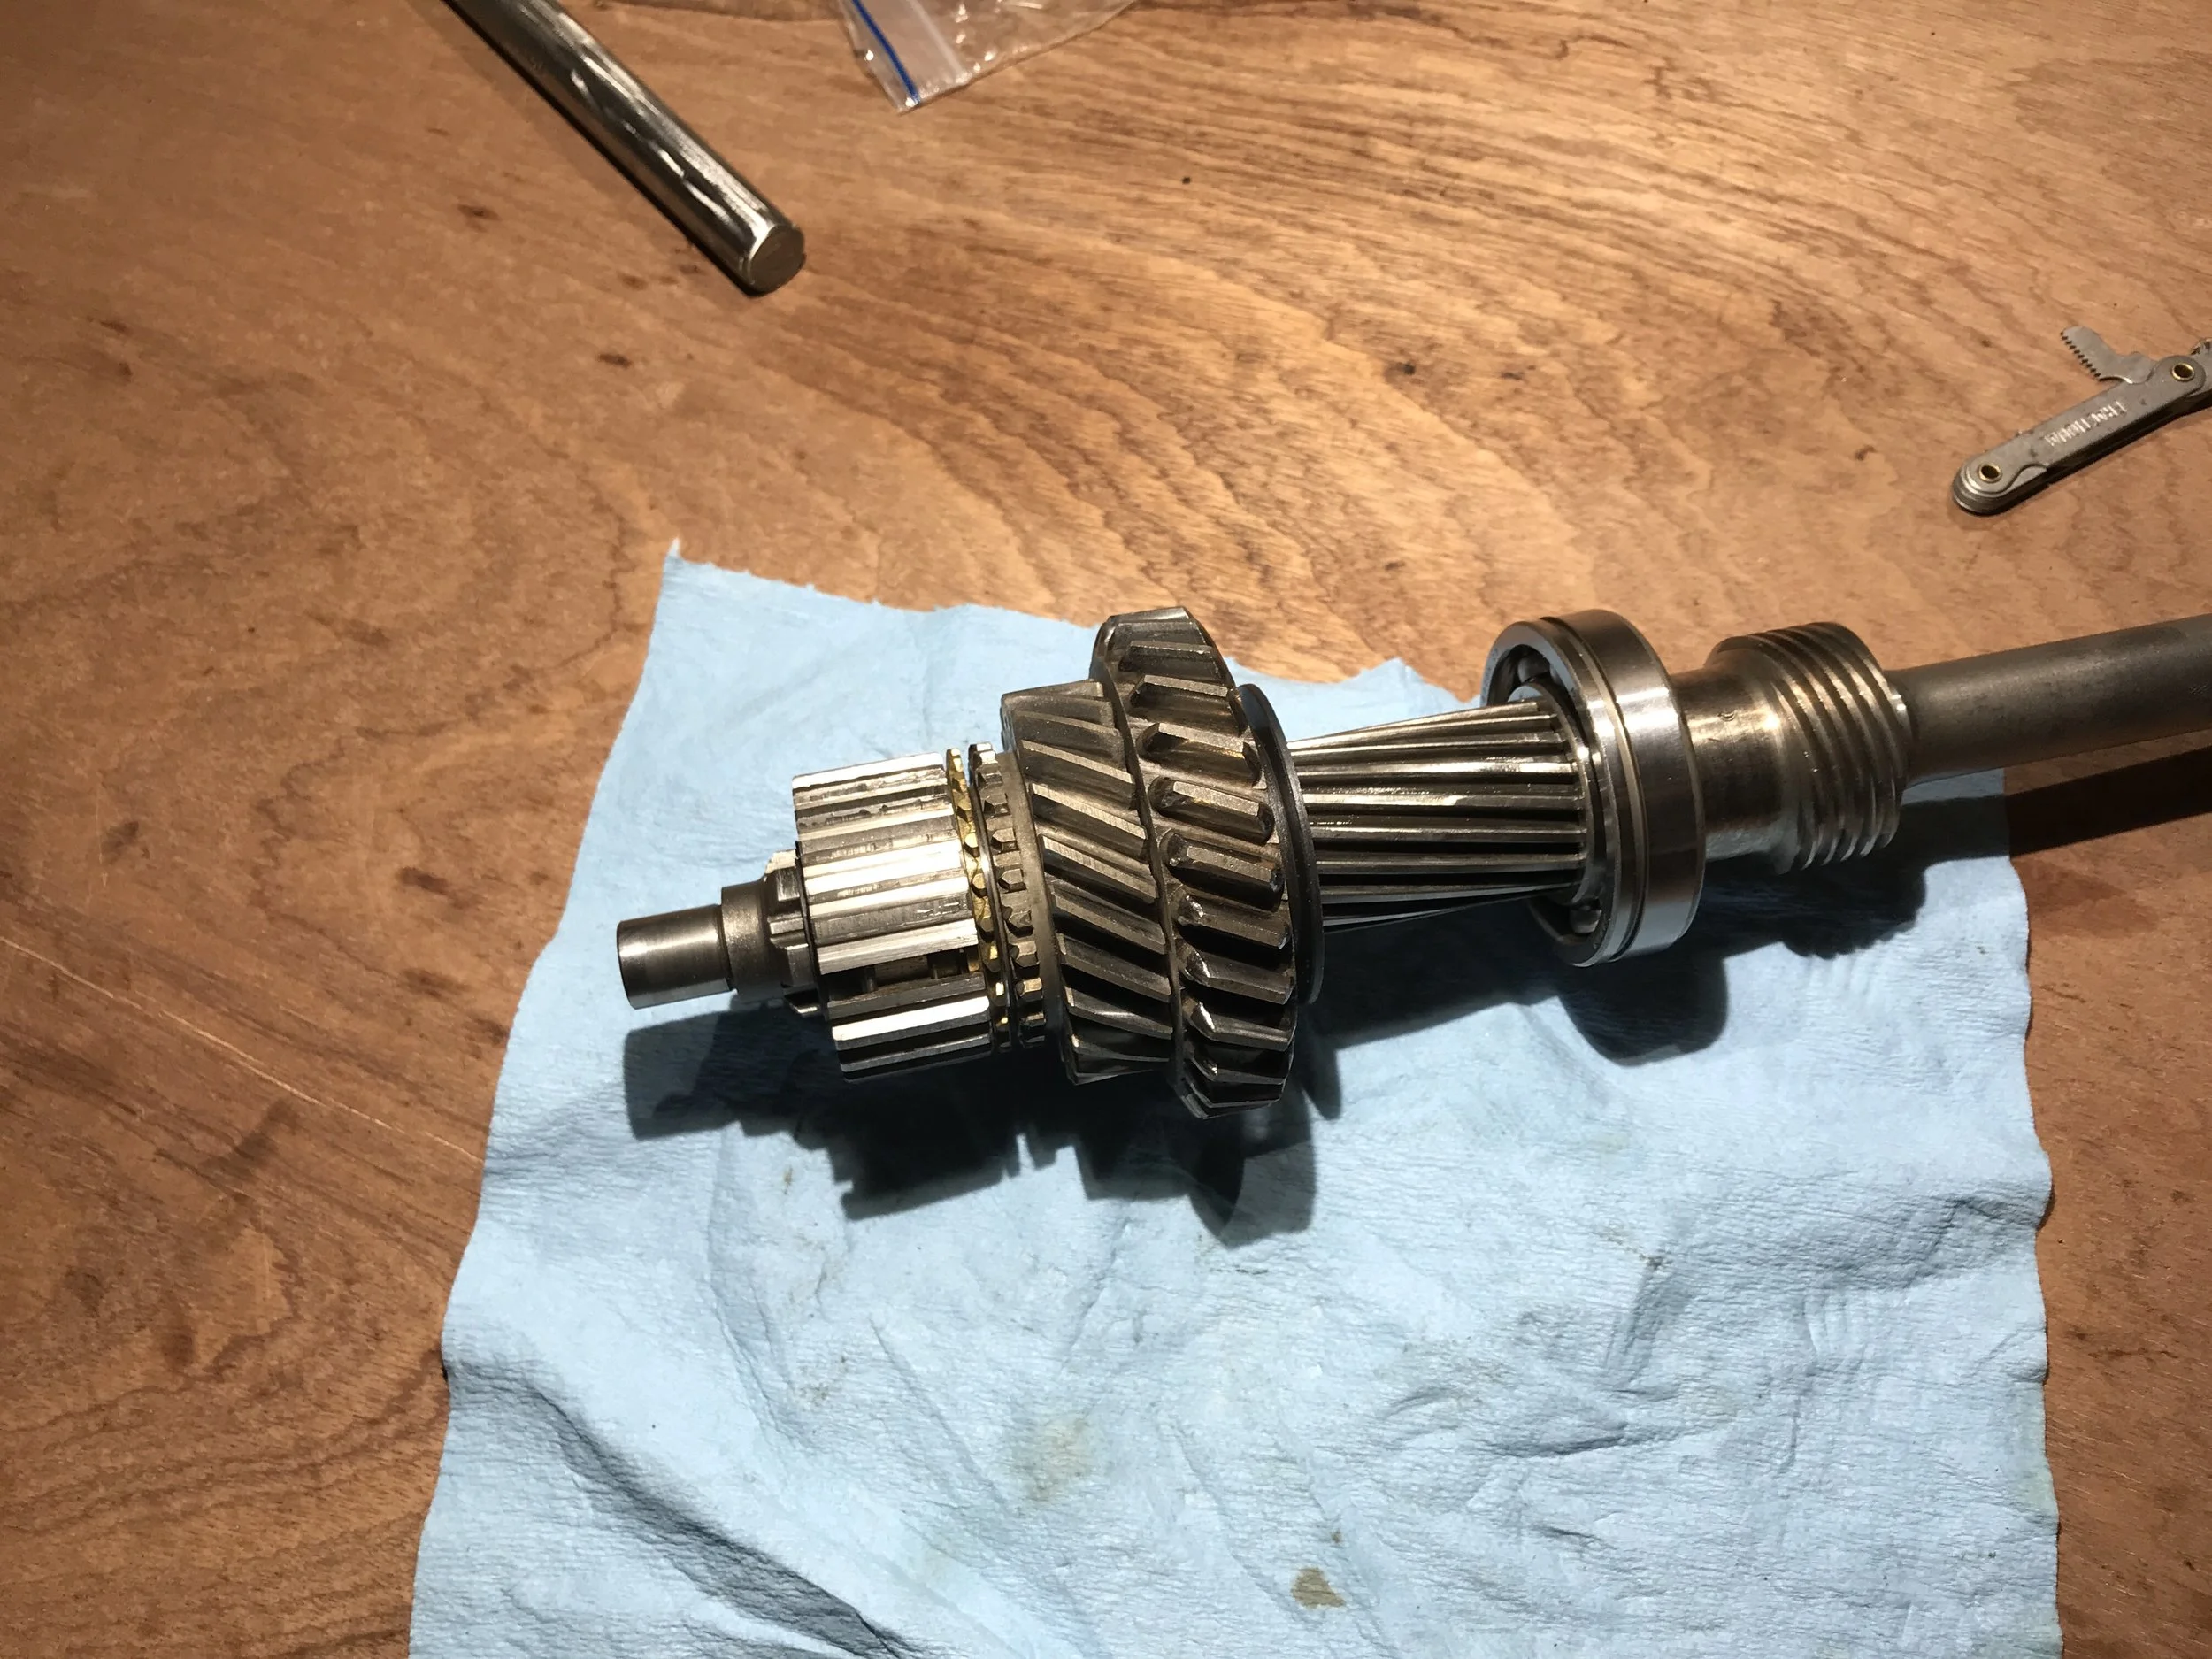
Here you can see 1st/Reverse and second gear, as well as the 2nd/3rd gear shifting dog. The 1st/Reverse gear is unsynchronized - if you look closely, you should see the sides of the teeth rounded off to help make shifting smoother. The 3rd gear is in the transmission casing still, since it's direct drive (1:1 gear ratio). These gears are only spinning when the clutch is engaged, as these are the final drive gears.

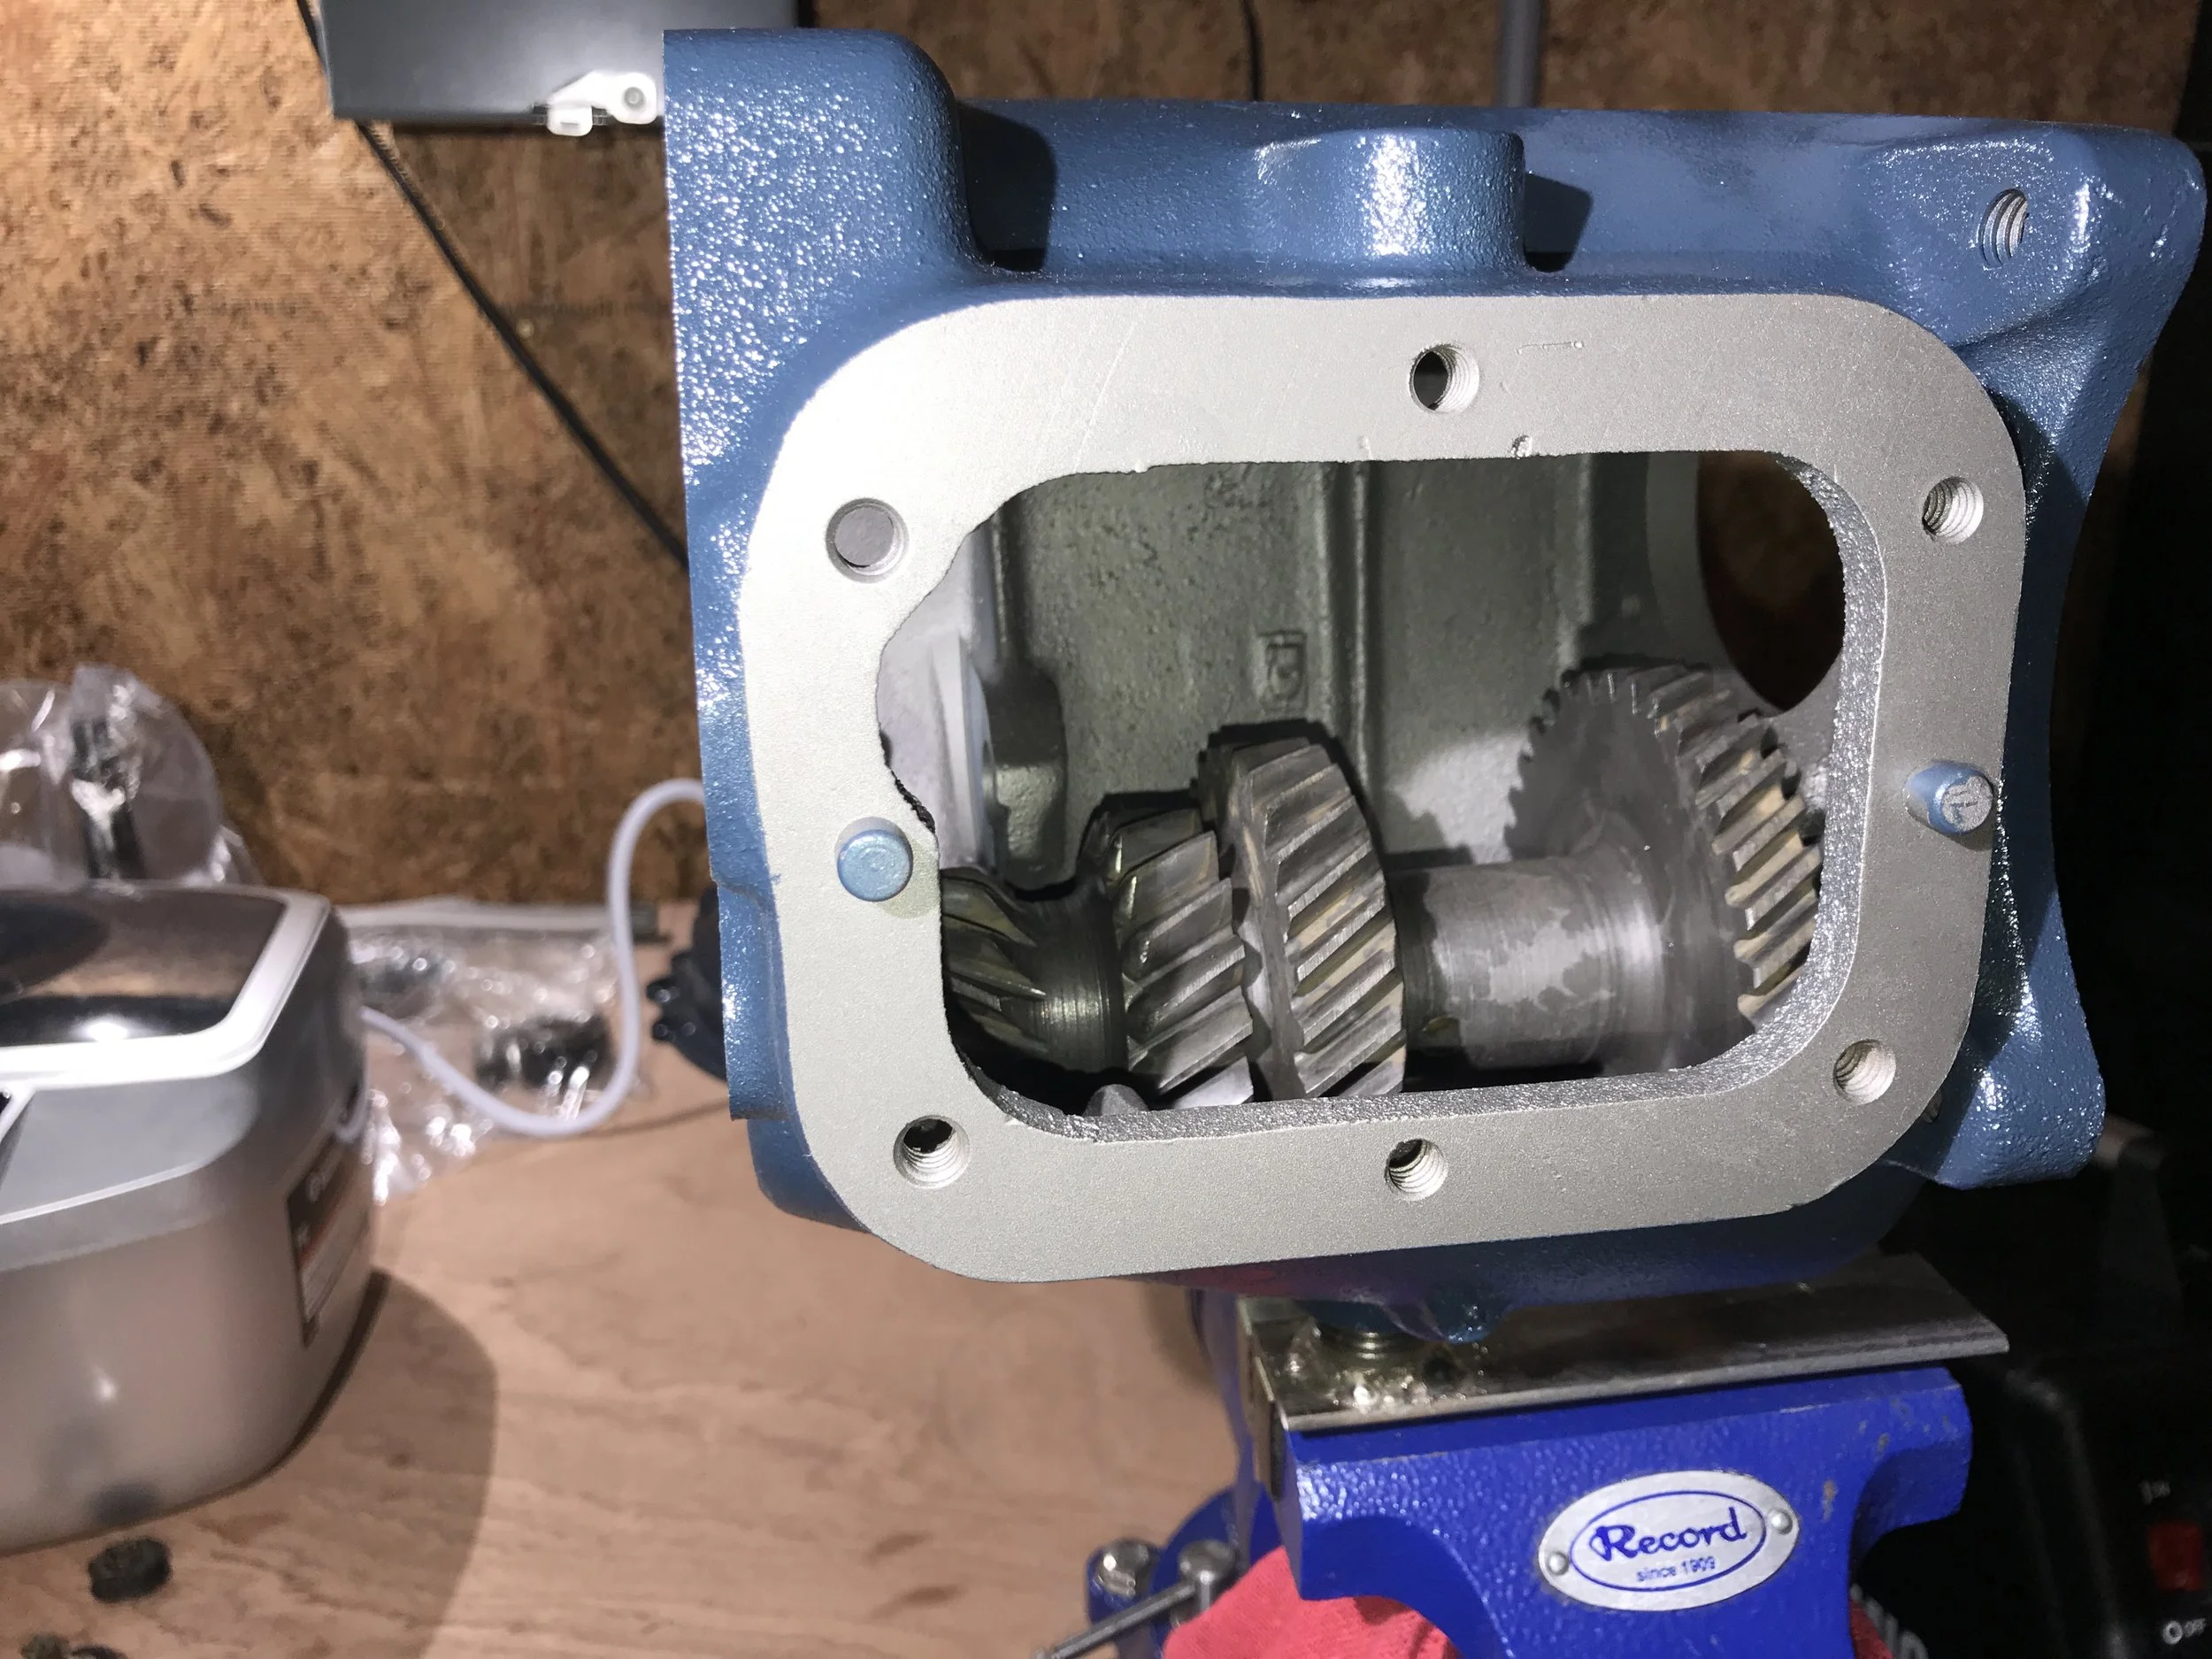
Transmission Housing
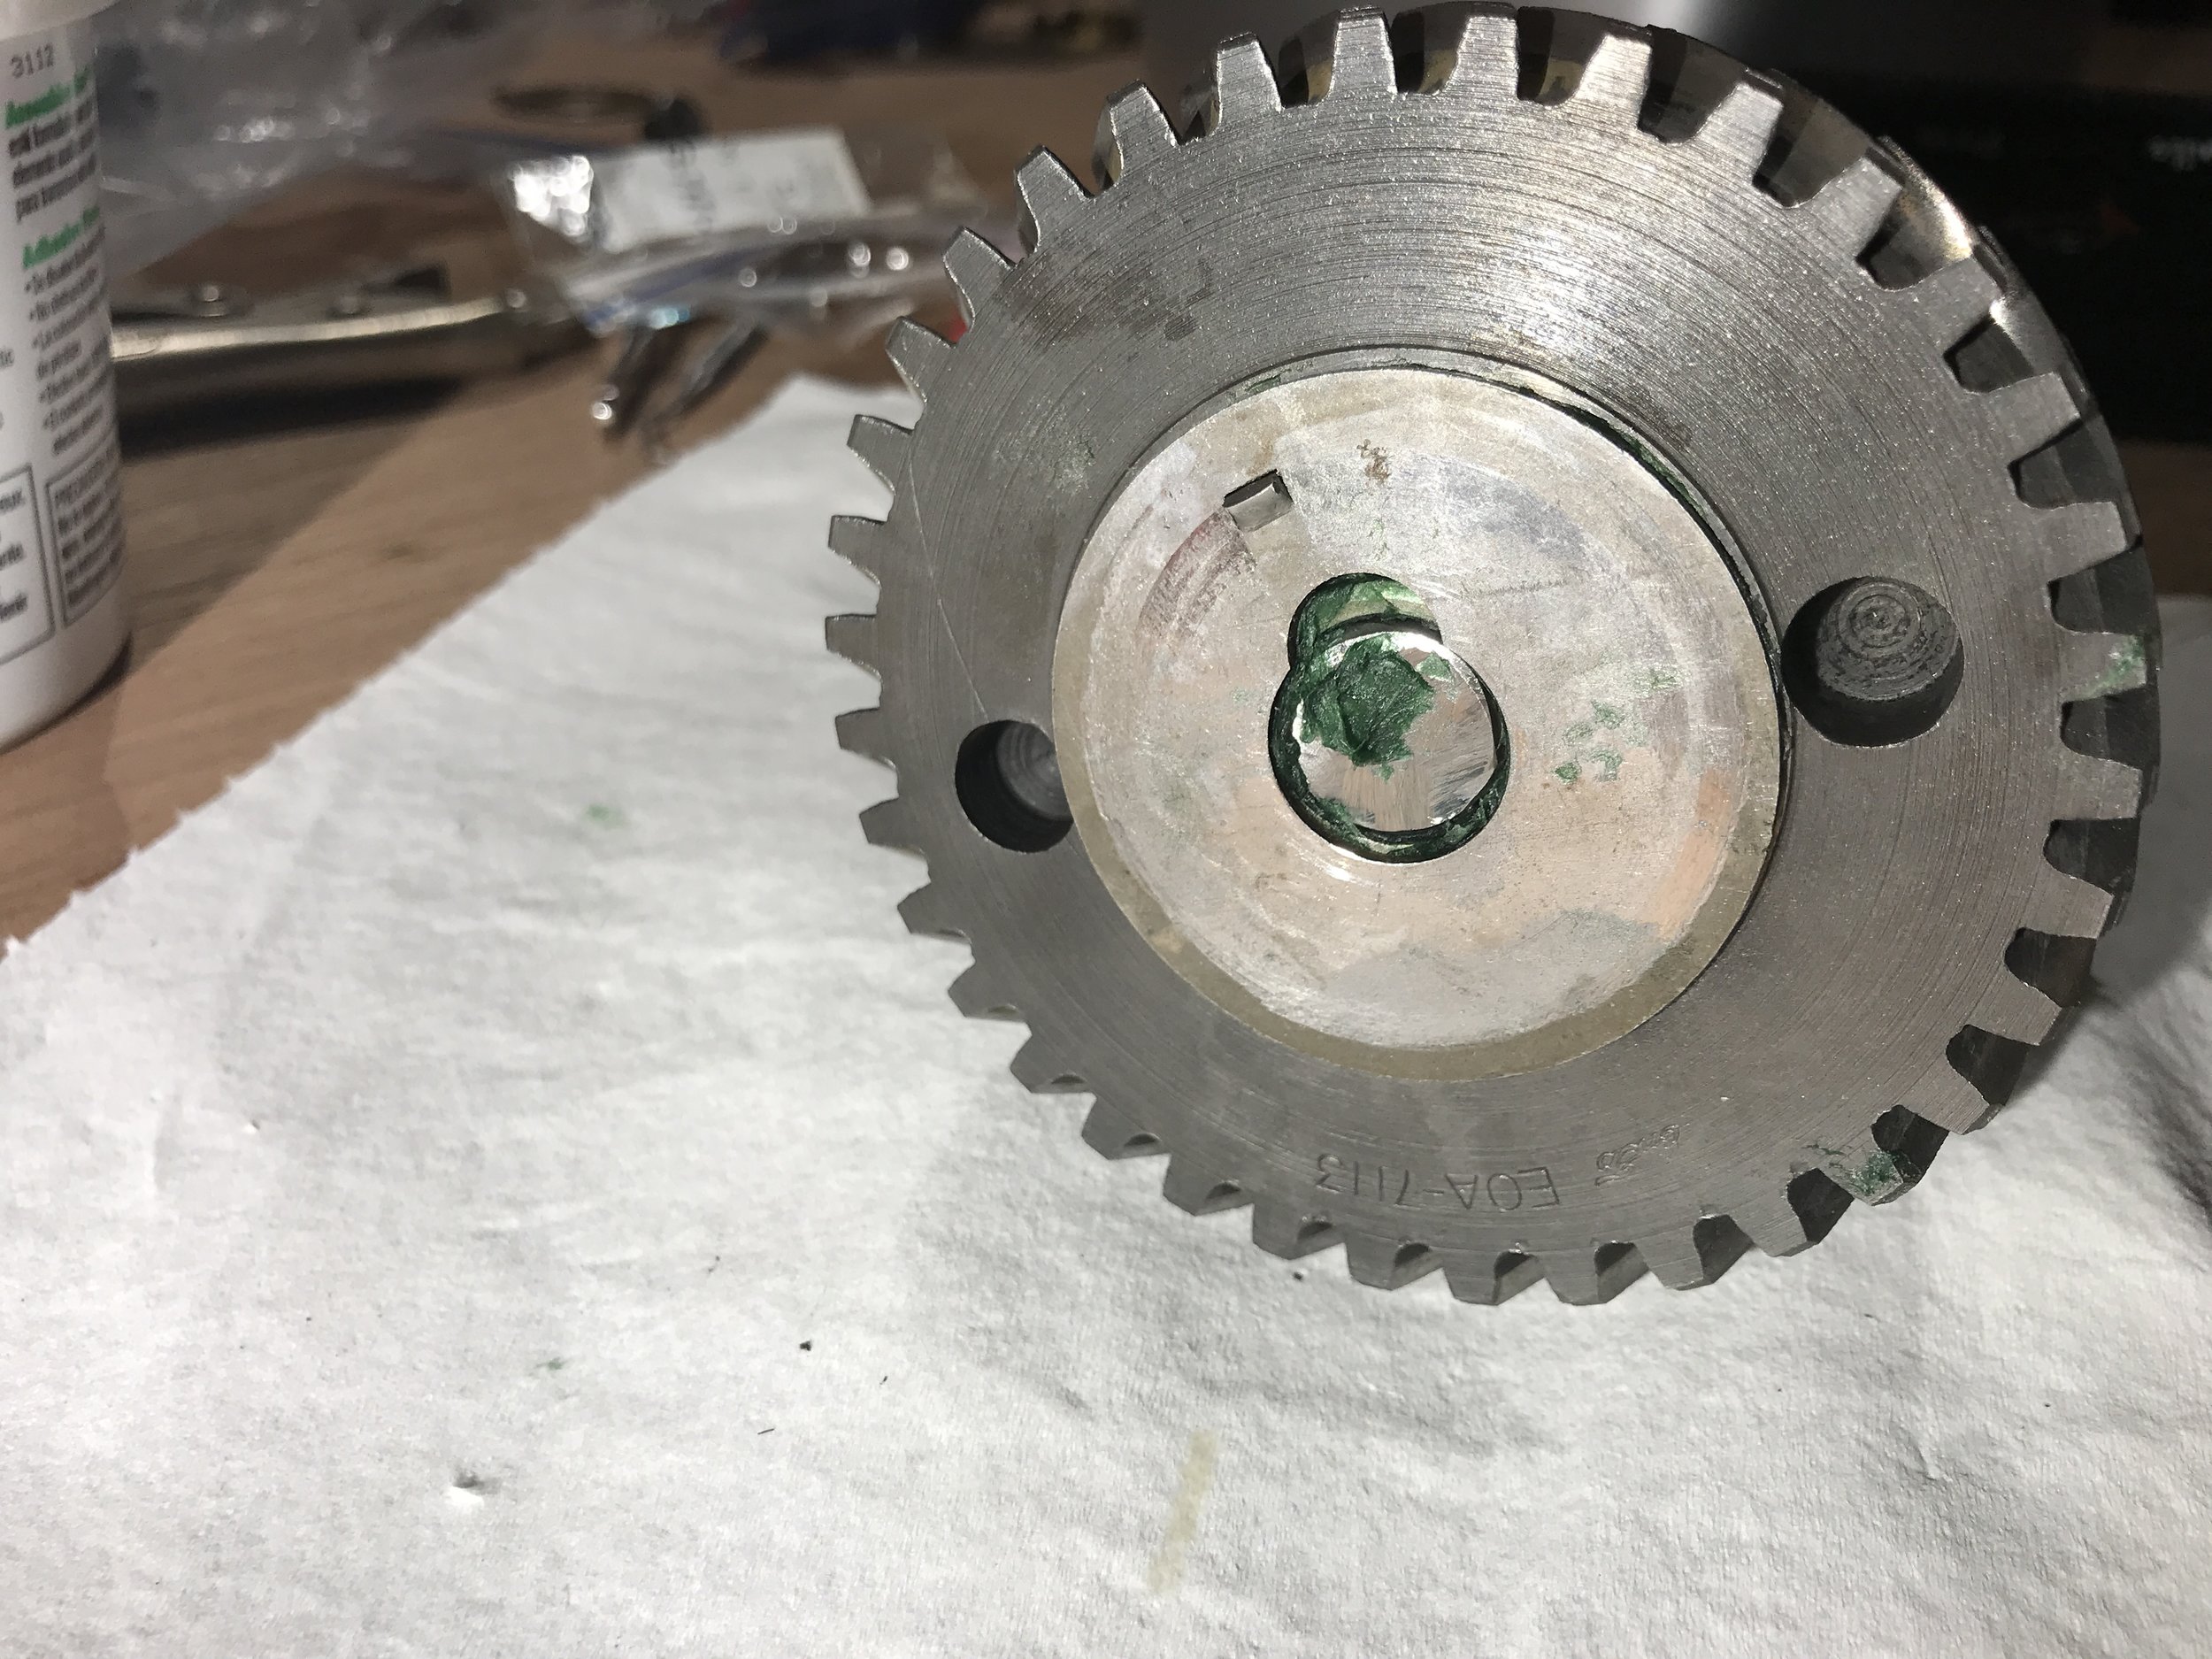
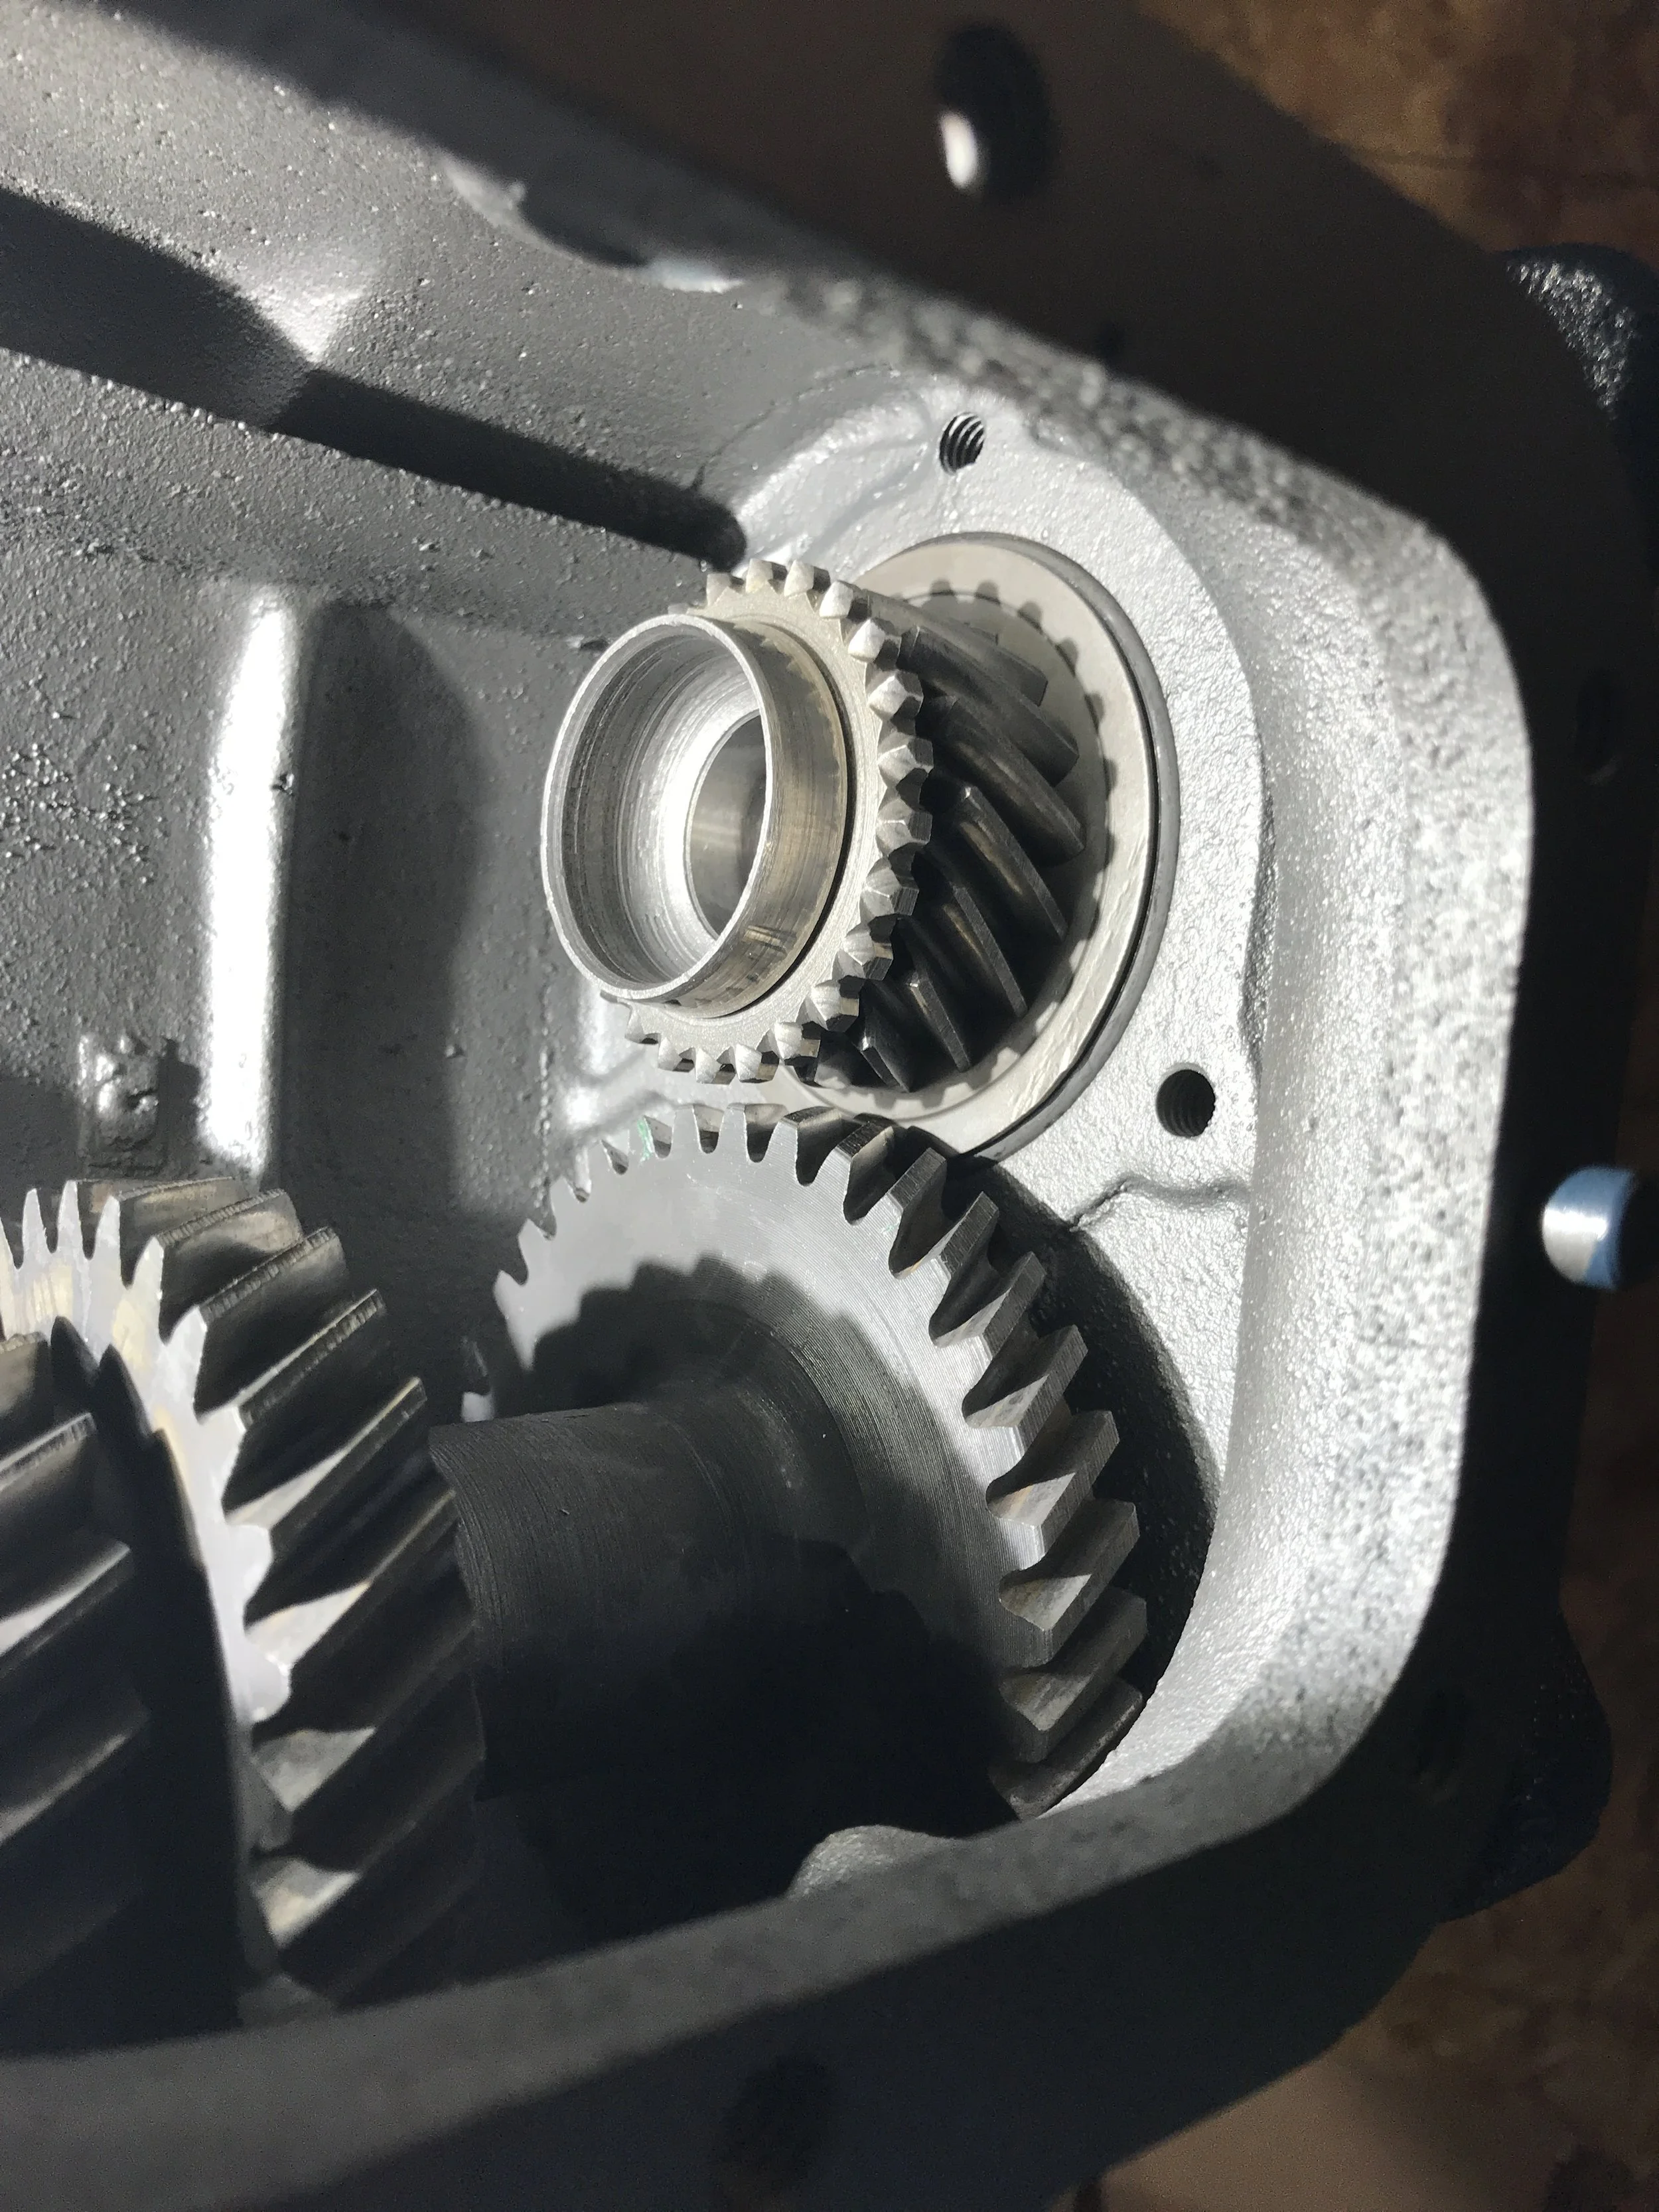
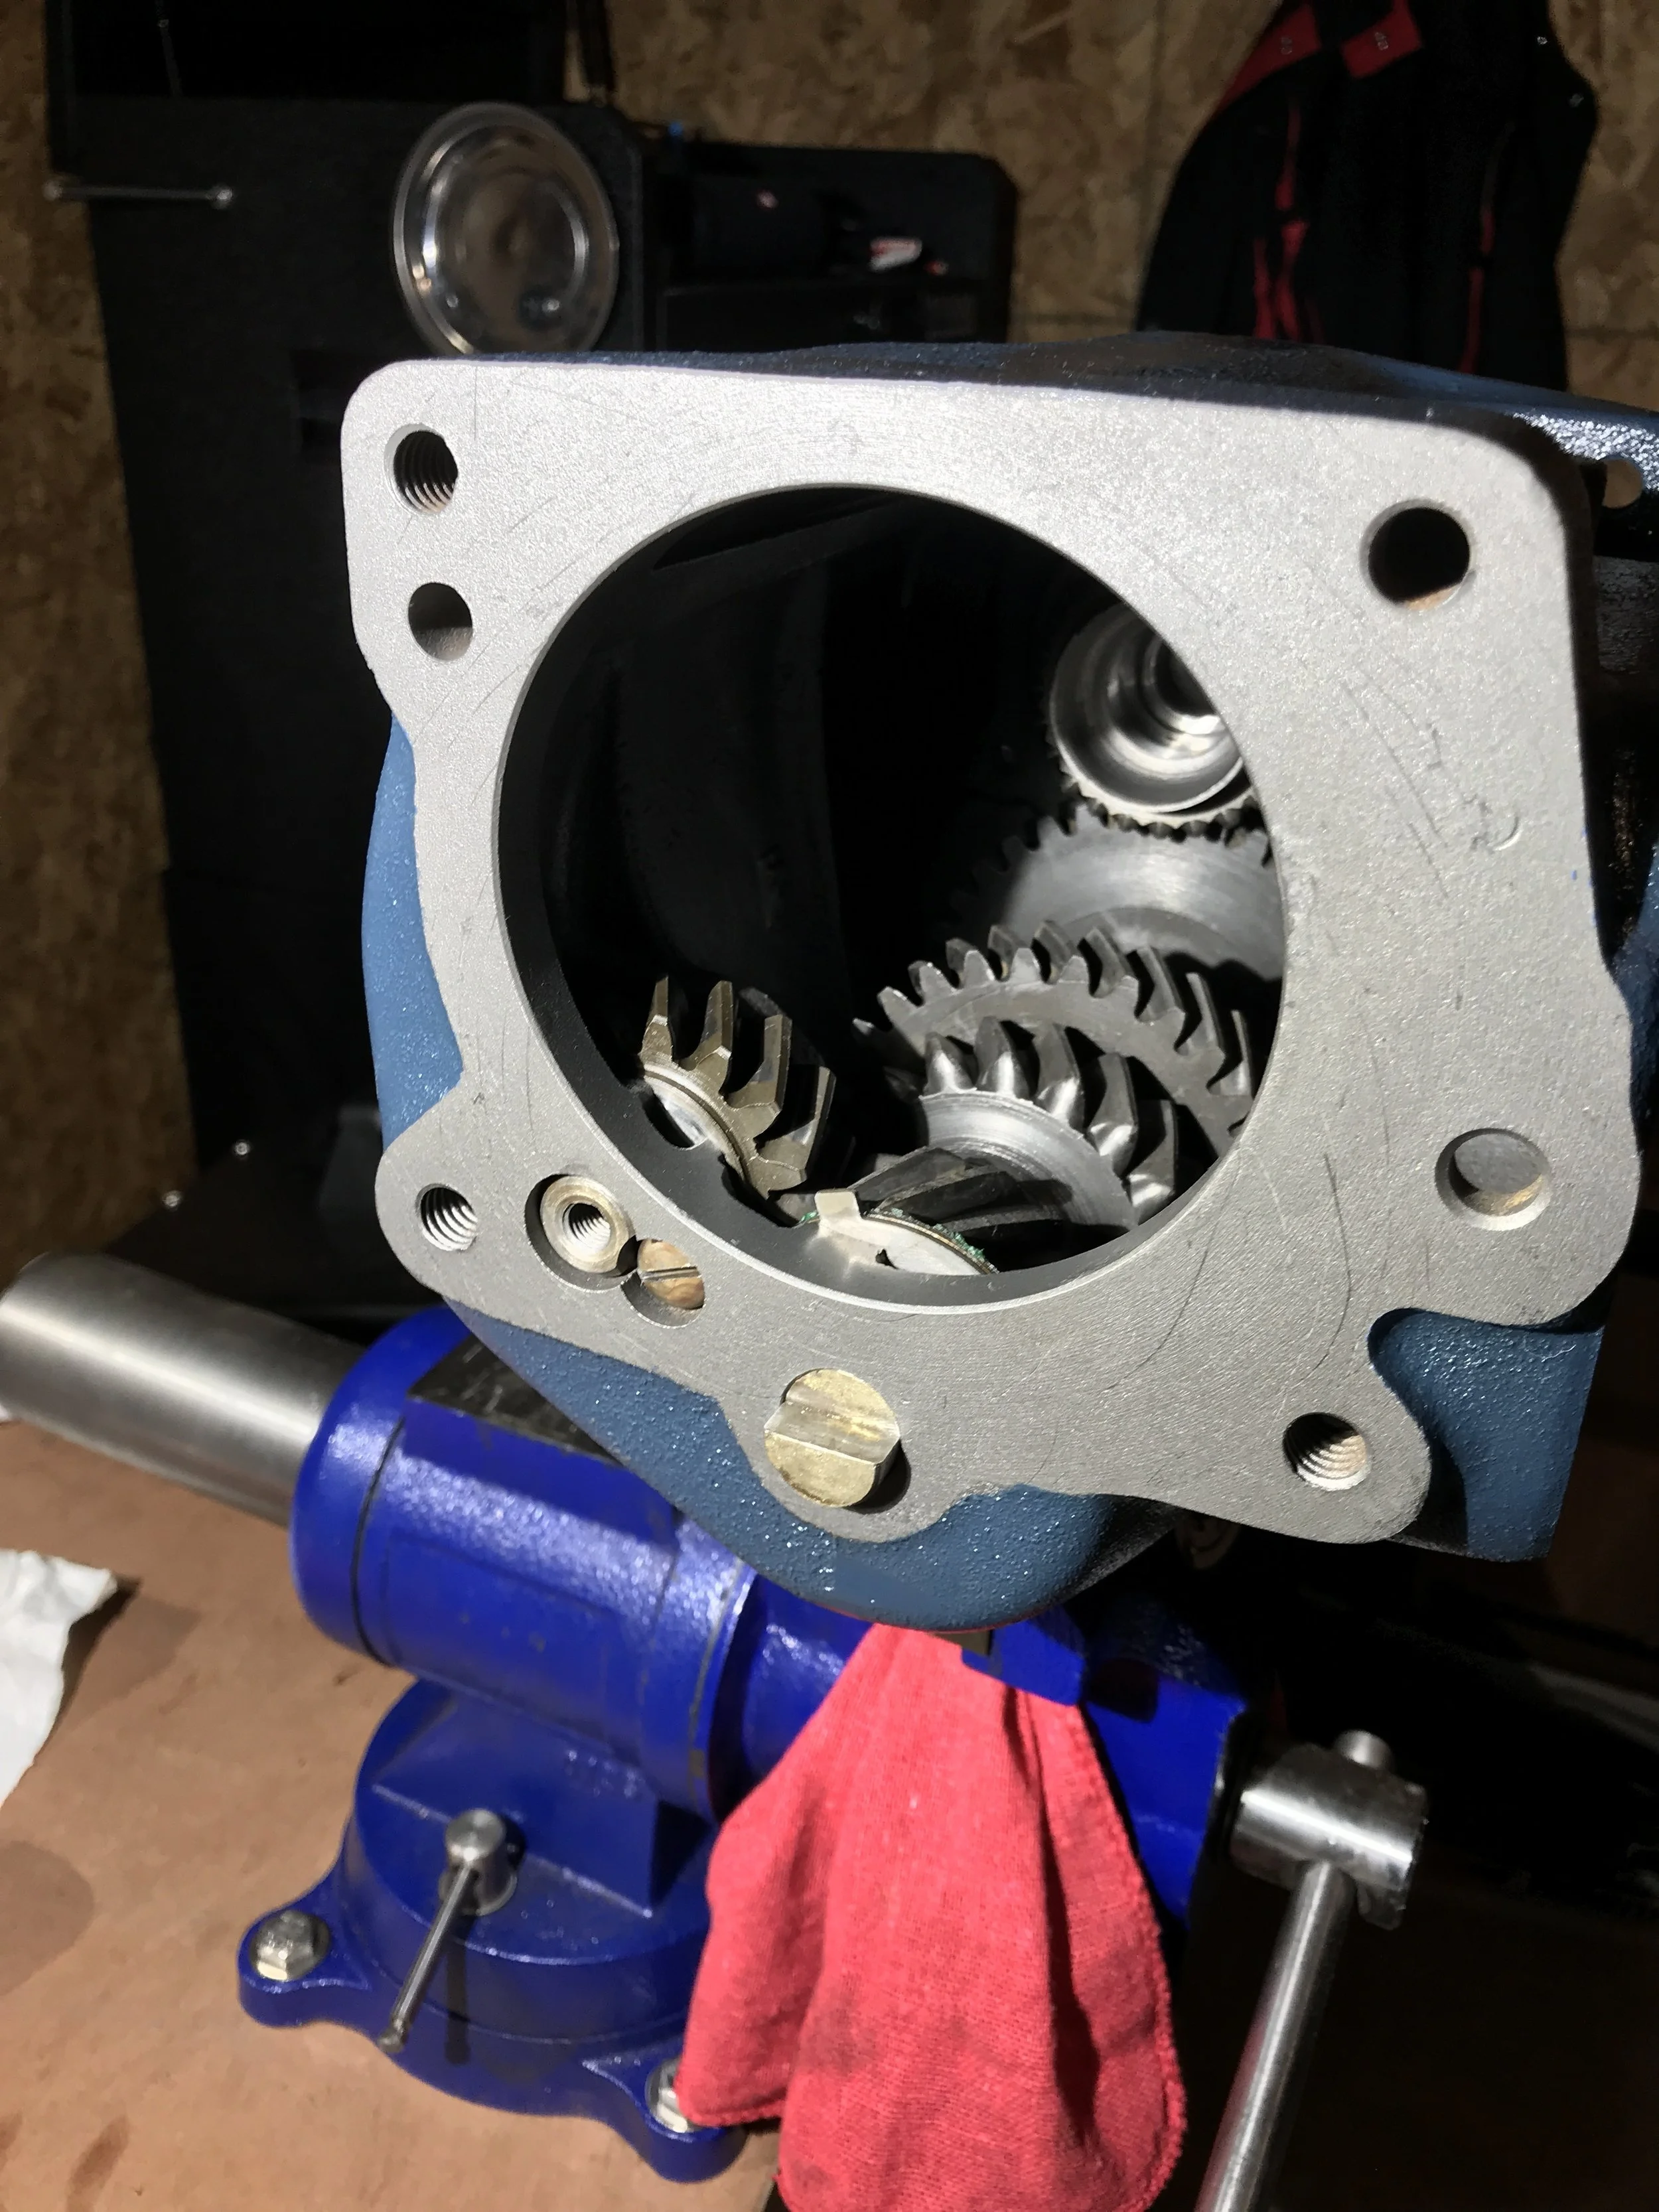
Here is the rest of the gearing. The main cluster of gears is the idler shaft - It is always spinning with the engine.
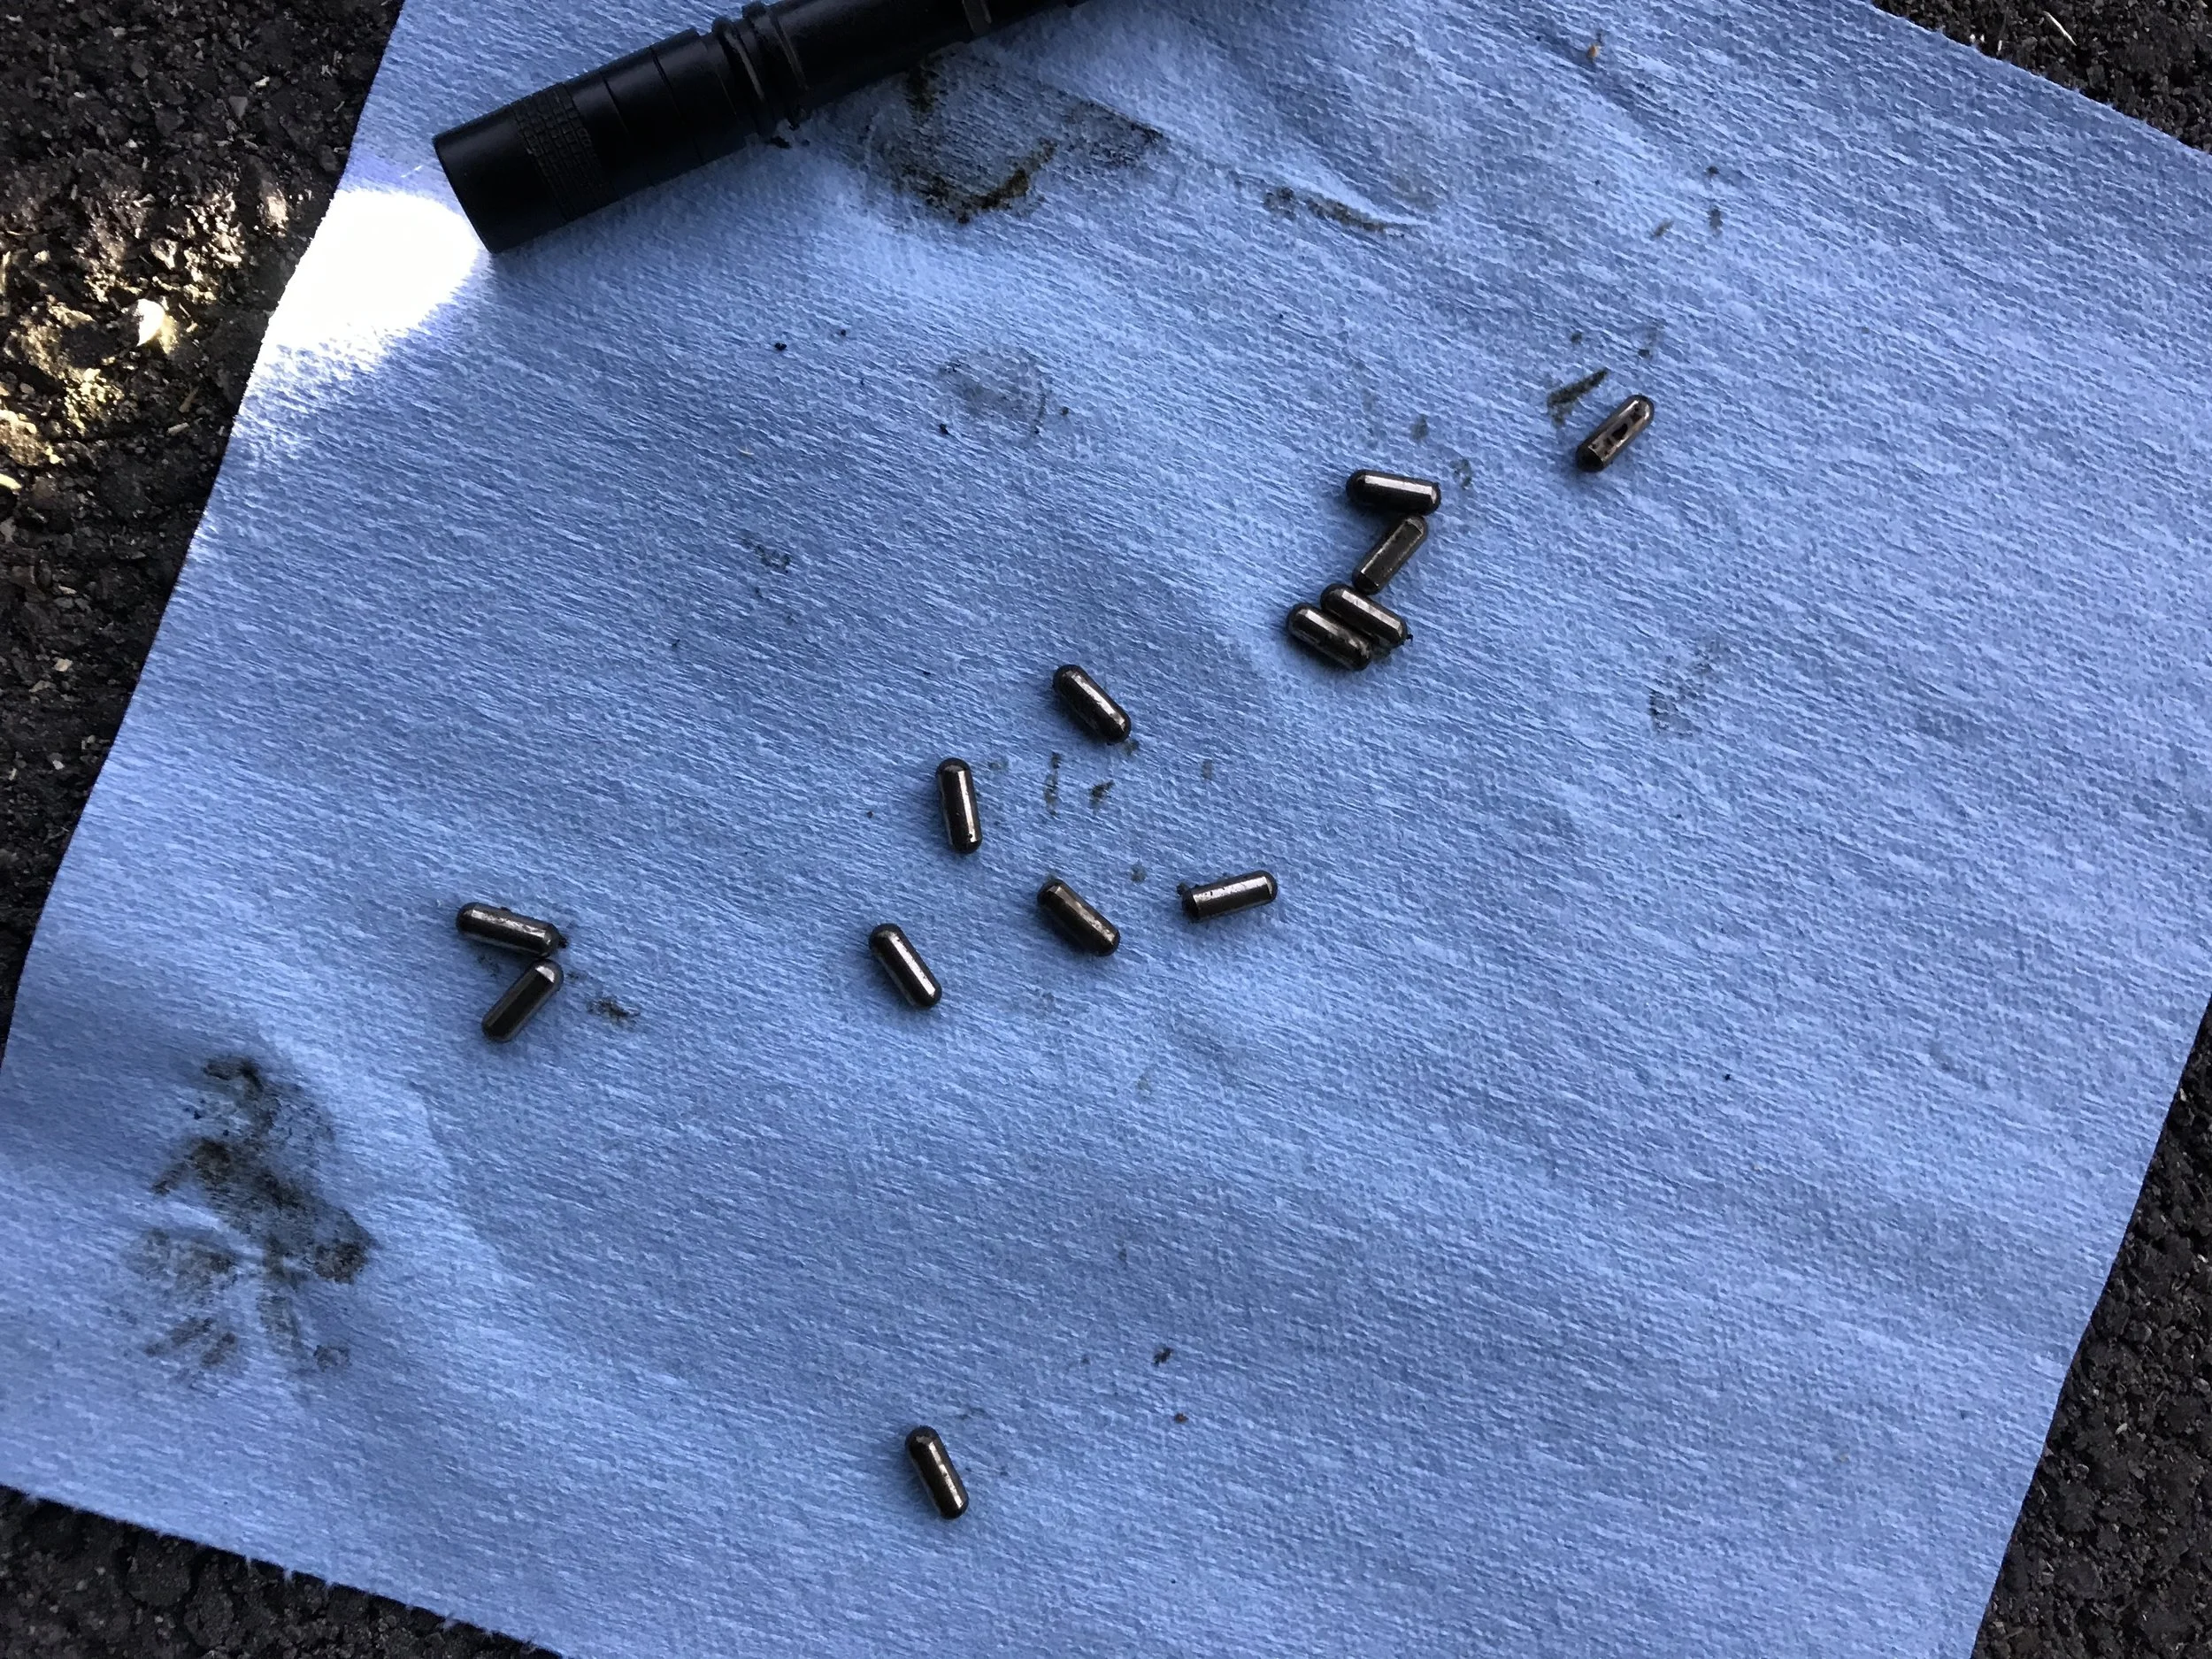
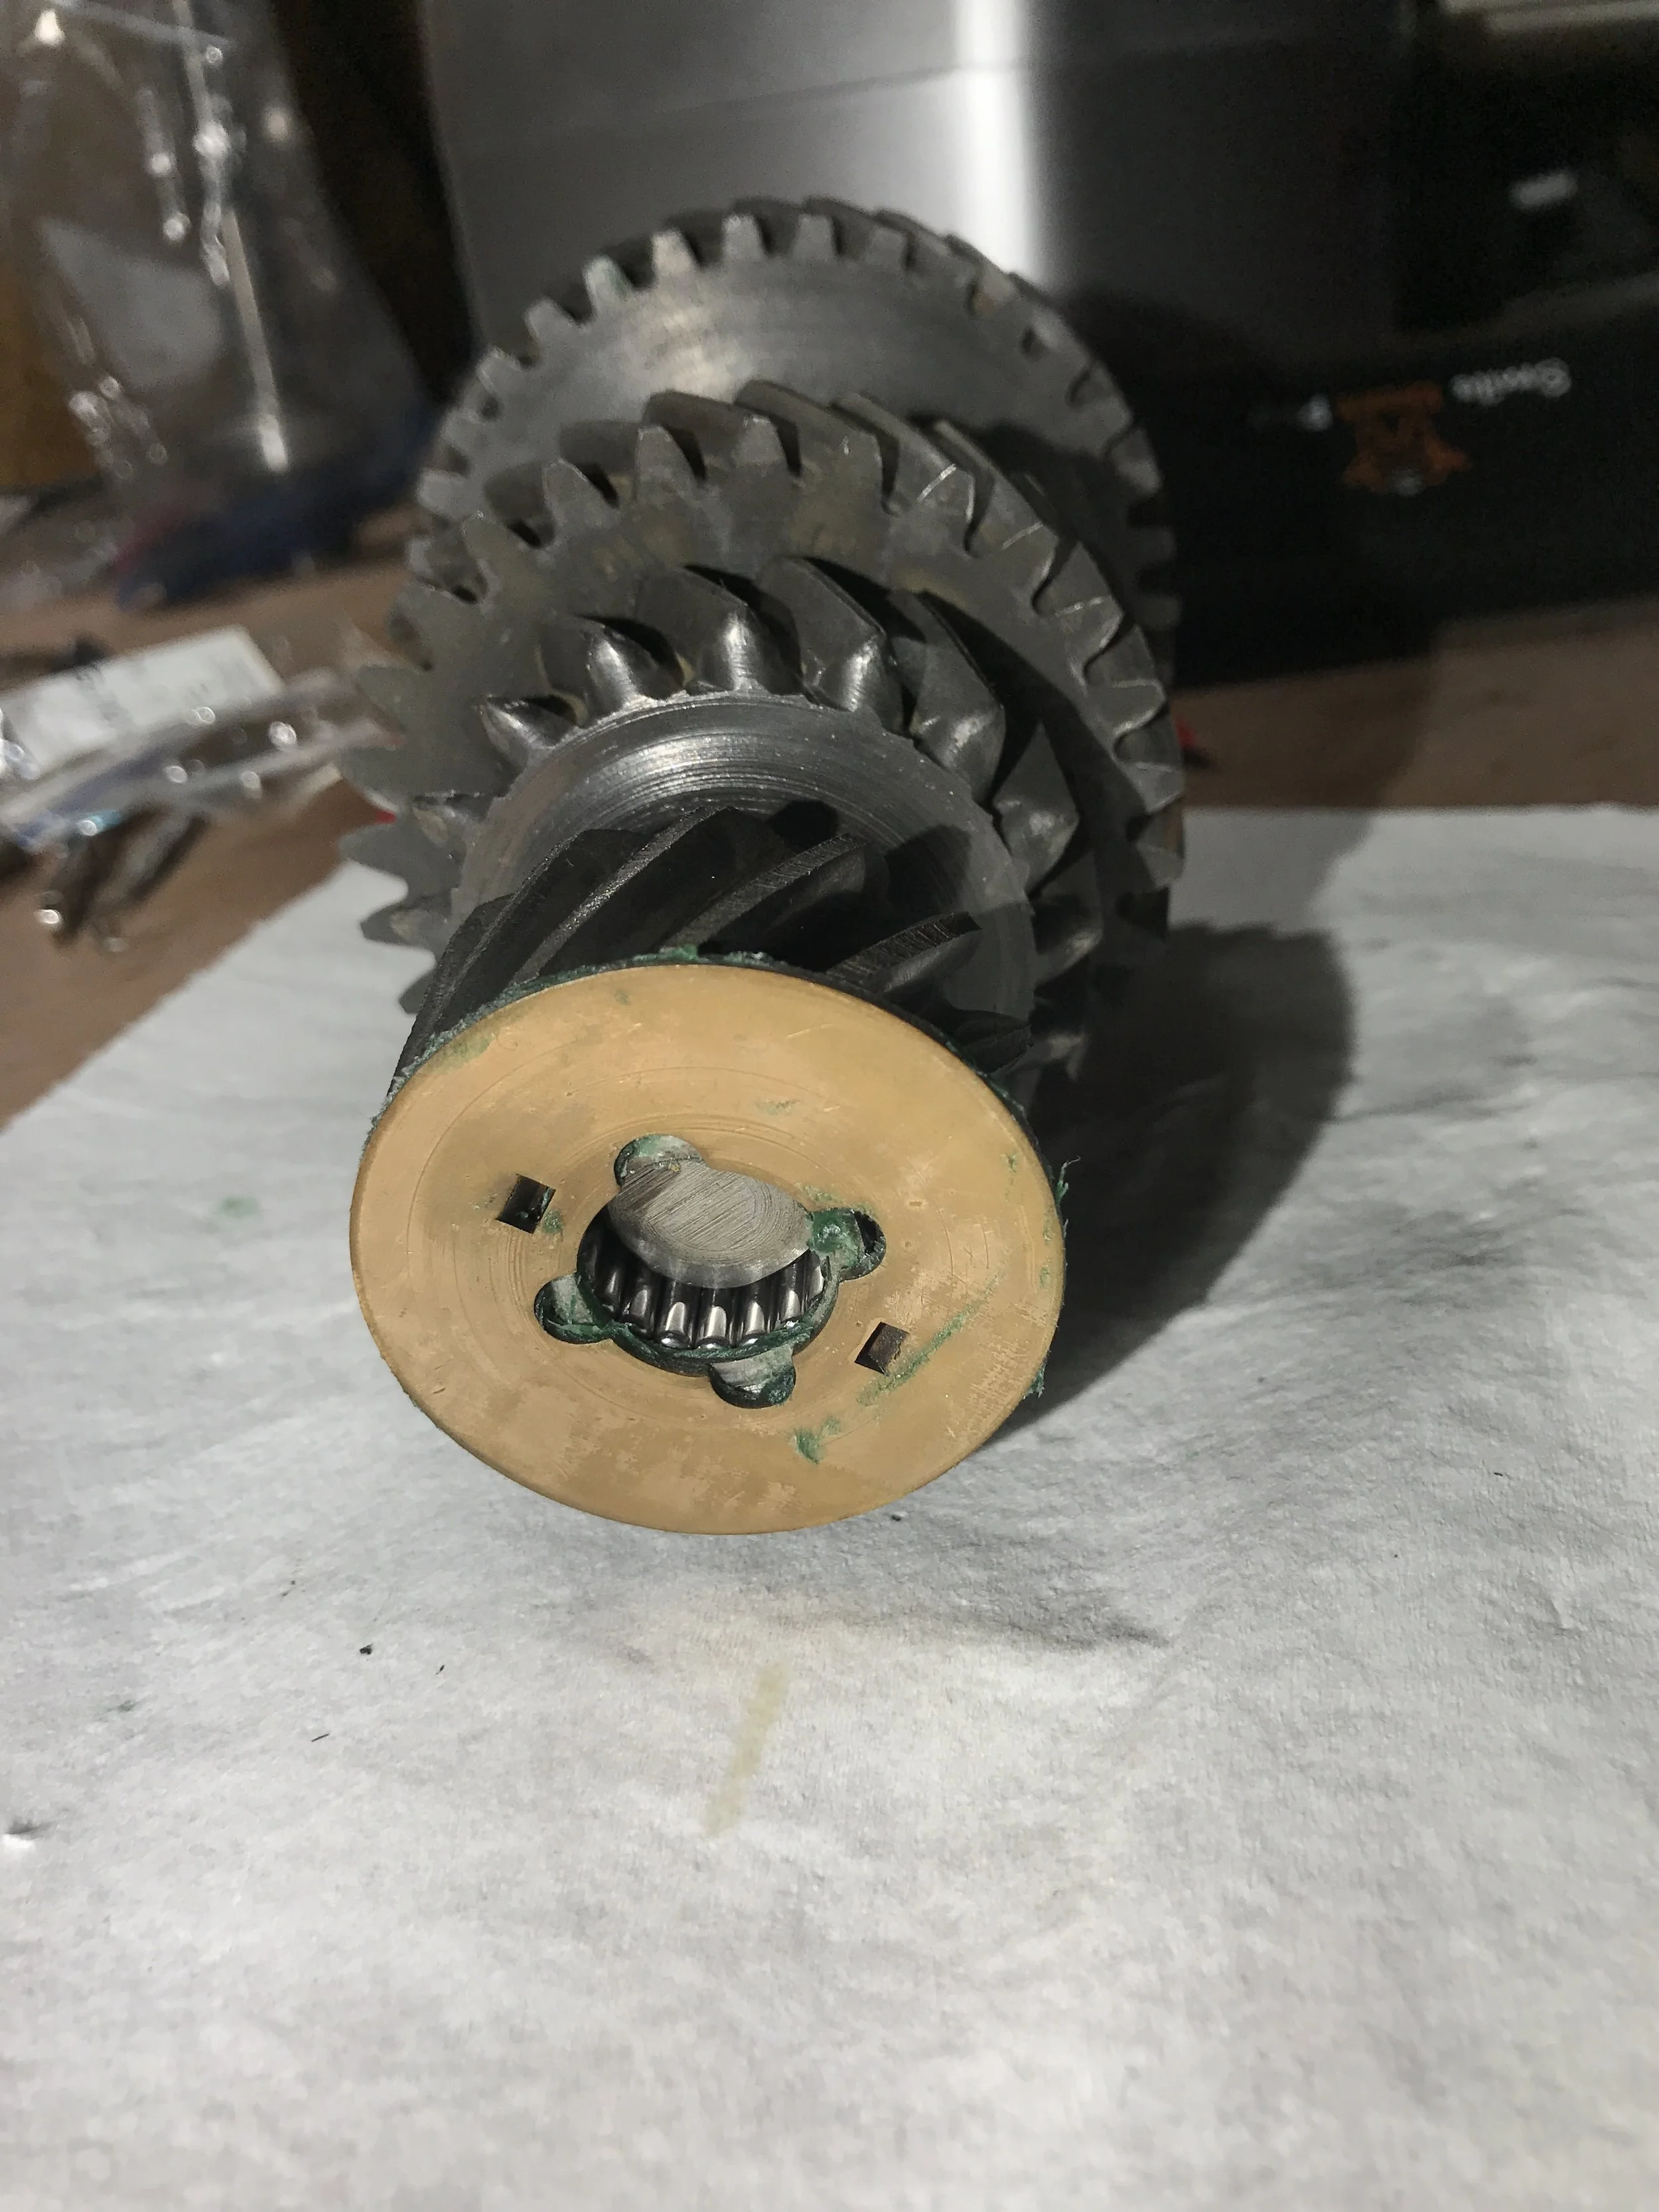
Needle Bearings
When I removed the transmission tailshaft with the main drive gears, 13 needle bearings came out. Thankfully I was able to recover all of them.

The Chassis
With the floor and gearbox removed, you can see the tube-frame chassis. There is a ton of dirt/grime that will need to be cleaned off. The shifter hasn’t been removed yet, but as you can see it’s a floor-mount style.
